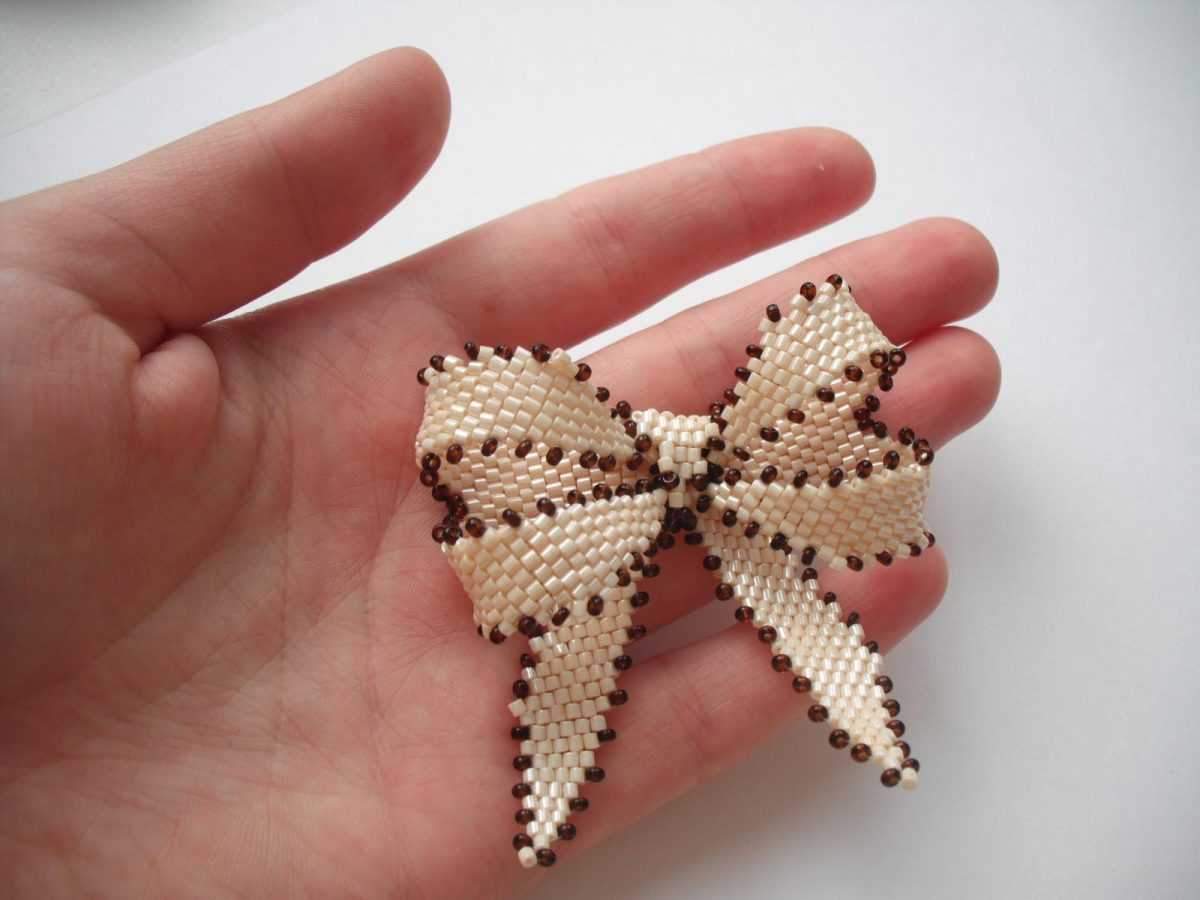
Beaded brooch with beads for your own hands - brooch varieties, details and step by step instructions with photo
Beautiful beaded brooches are an ideal gift for a girl or a woman. Such jewelry attracts attention, arouses interest and curiosity. After all, handmade is always valuable and original.
You can create such a brooch not only from beads, but also from other bright materials. Use the advice of experienced craftsmen to create your own original work.
Basis for work
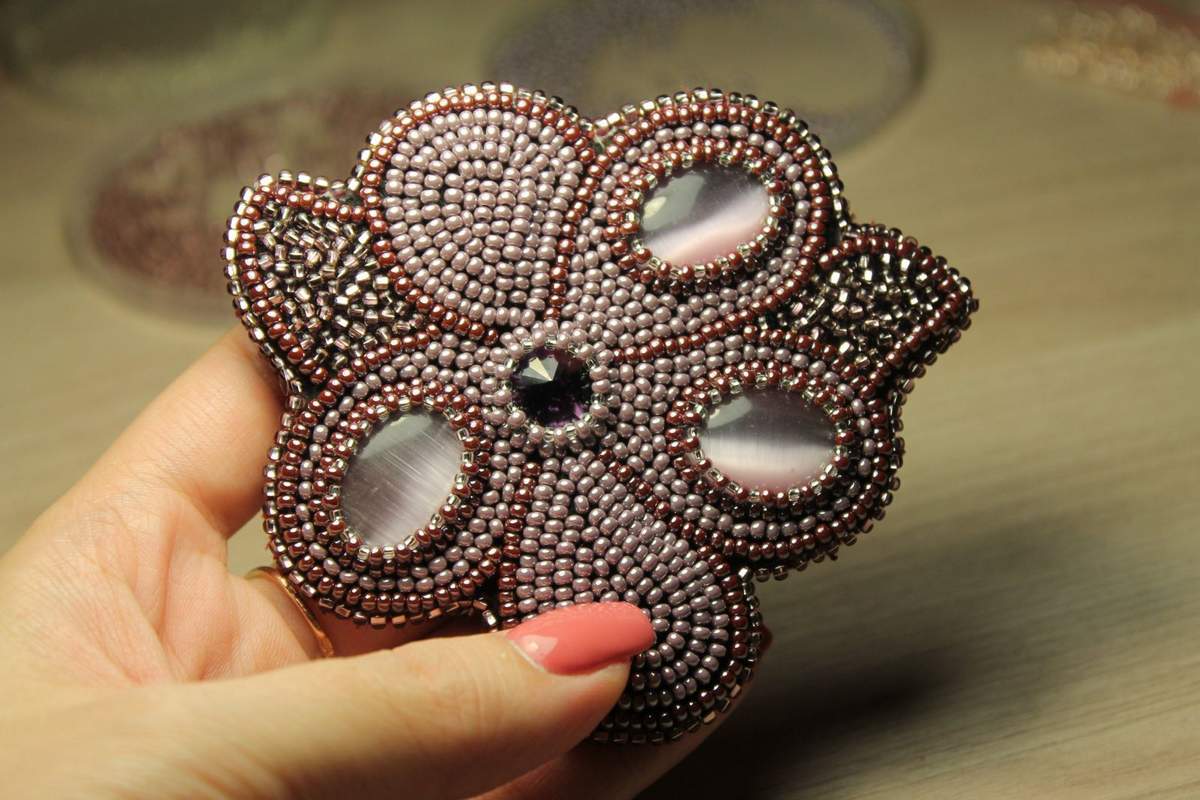
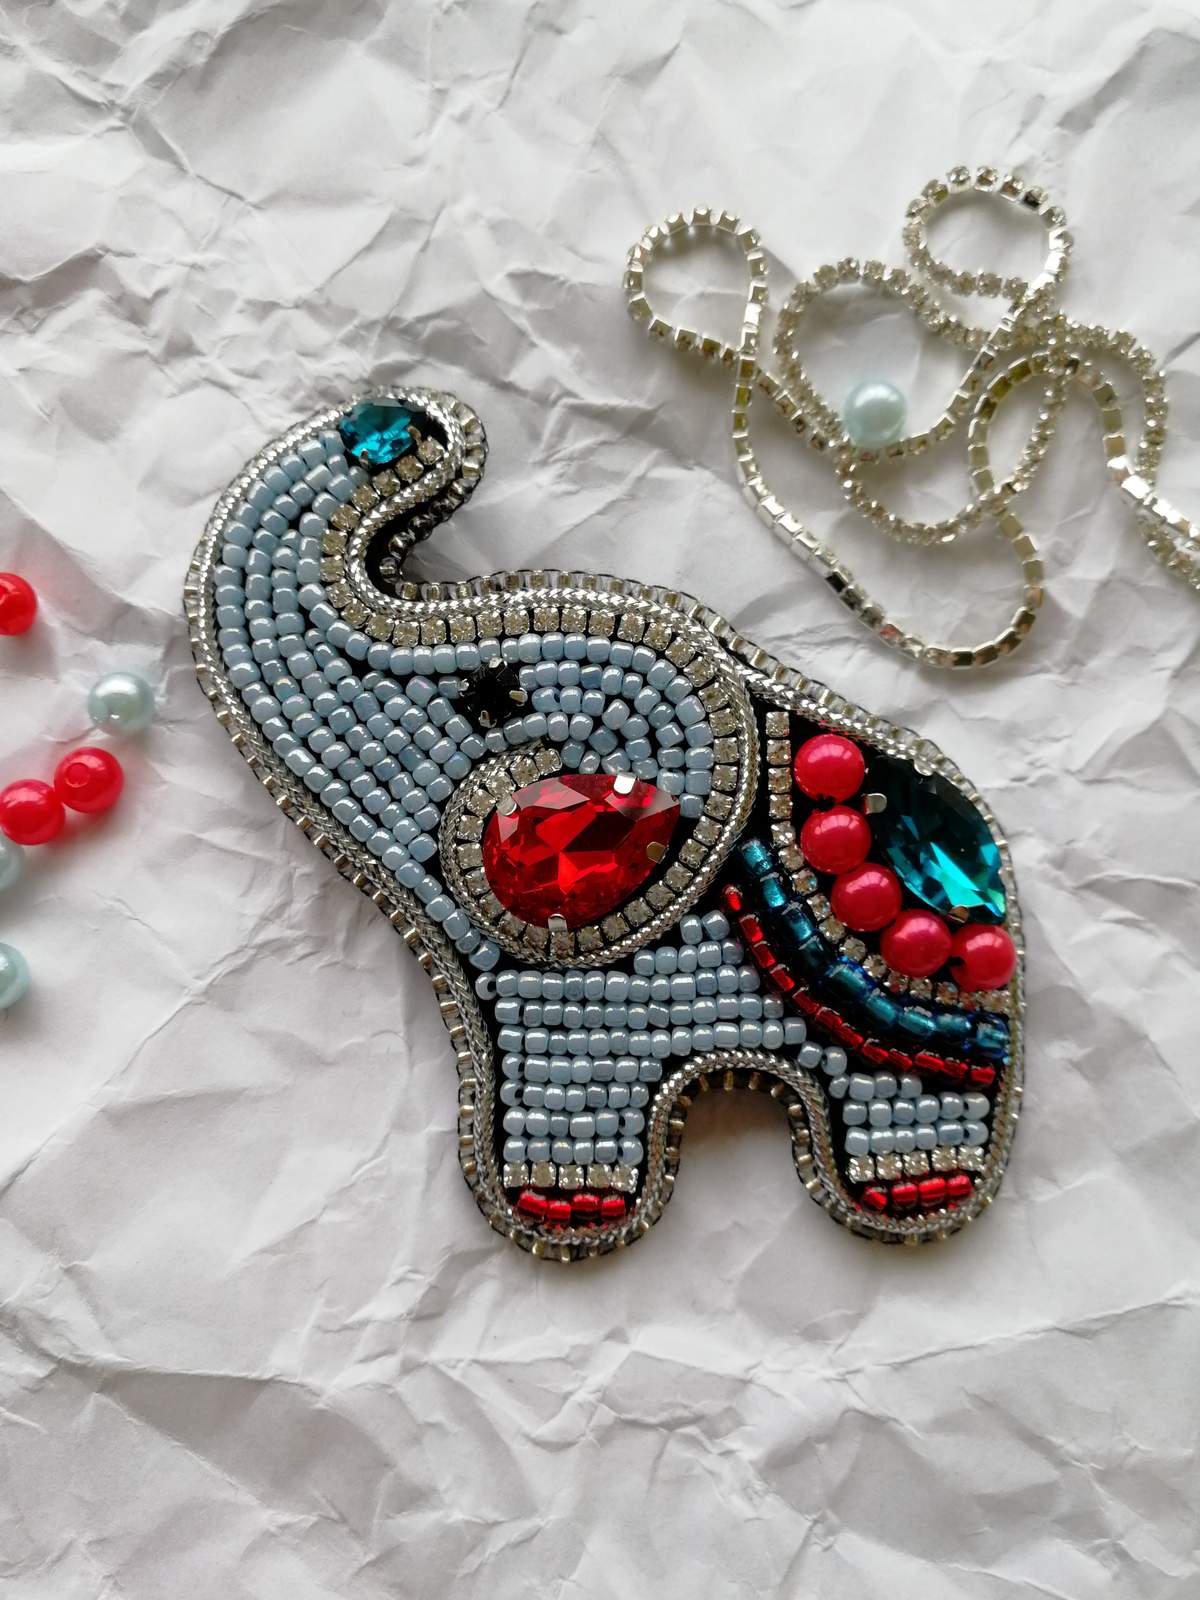
So, how to learn how to make a brooch from beads? The principle in the basis of all crafts is approximately the same. A large number of small beads are taken, and a large piece - a stone or a rhinestone, a cabochon - stands out against them.
To insert a decoration into a brooch, setings - special accessories with a frame-right - are used. You can fasten a stone or a base with beads there with settees. Settings can be simple and smooth or already have their own decor, original shape and are beautiful on their own.
You can do without a frame, take a button and trim it with fabric, and glue or stitch beads on top.
Decor in addition to beads
Do not forget to use additional types of decorations - this will make the brooch more decorative and original. You can take the following varieties of decorations:
- pieces of fur;
- ribbons;
- netting;
- shiny piping;
- sequins, rhinestones;
- Stones - artificial or semi-precious, like crystal.
Tip: You can take a special type of rhinestones - hotfix. They are glued on by heating, when the rhinestones are taken with tweezers and held up to a burning candle, then pressed down.
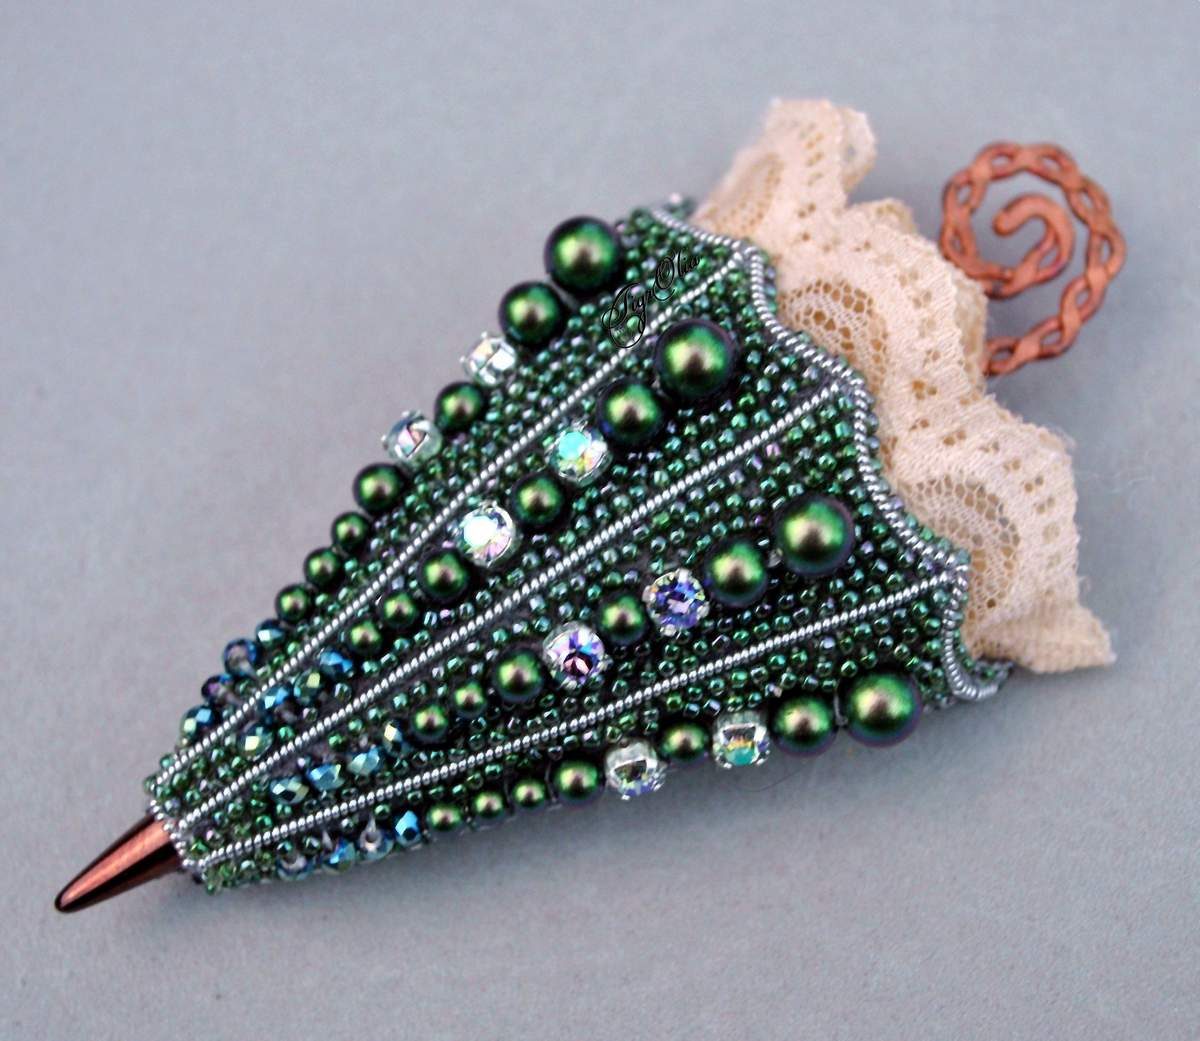
Very beautiful are cabochon (round-cut) or rivoly cut stones (with facets and a cone at the base).

Variety of brooches
The master has a wide variety of ideas to choose from, which can be gleaned from the Internet, albums, or workshops. Types of brooches can be as follows:
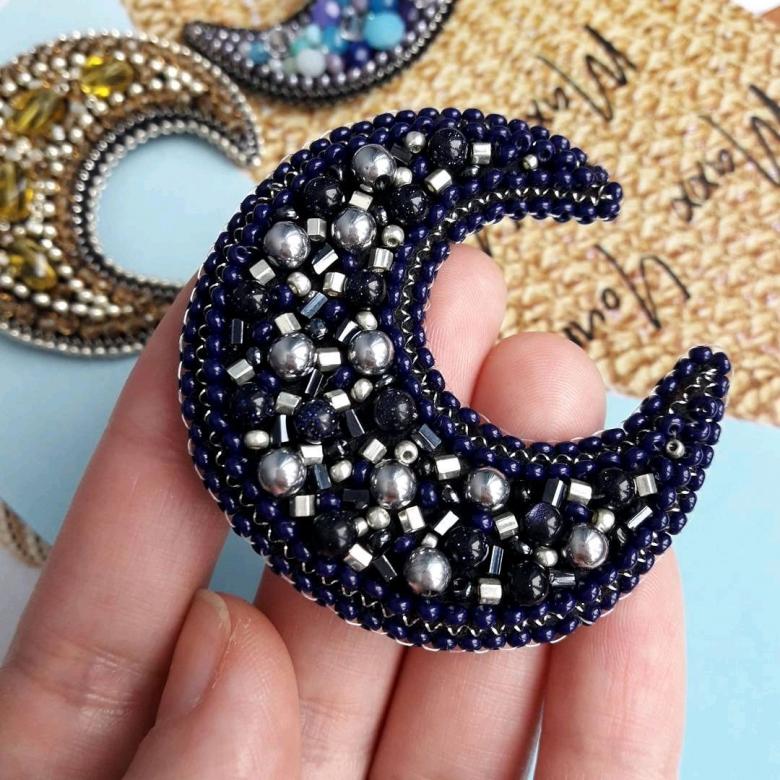
- Pendant. The easiest way to make such a brooch is from a setting with a pendant, where there is already a hole.
- A braid of beads for a rivoli or cabochon.
- Mesh or ribbon for jewelry. The tube-shaped net can be filled with beads, and the ribbon serves as a flat base for attaching the pieces.
- Boutonniere - a miniature bouquet of beads on wire is made, fastened to the base and decorated with stones.
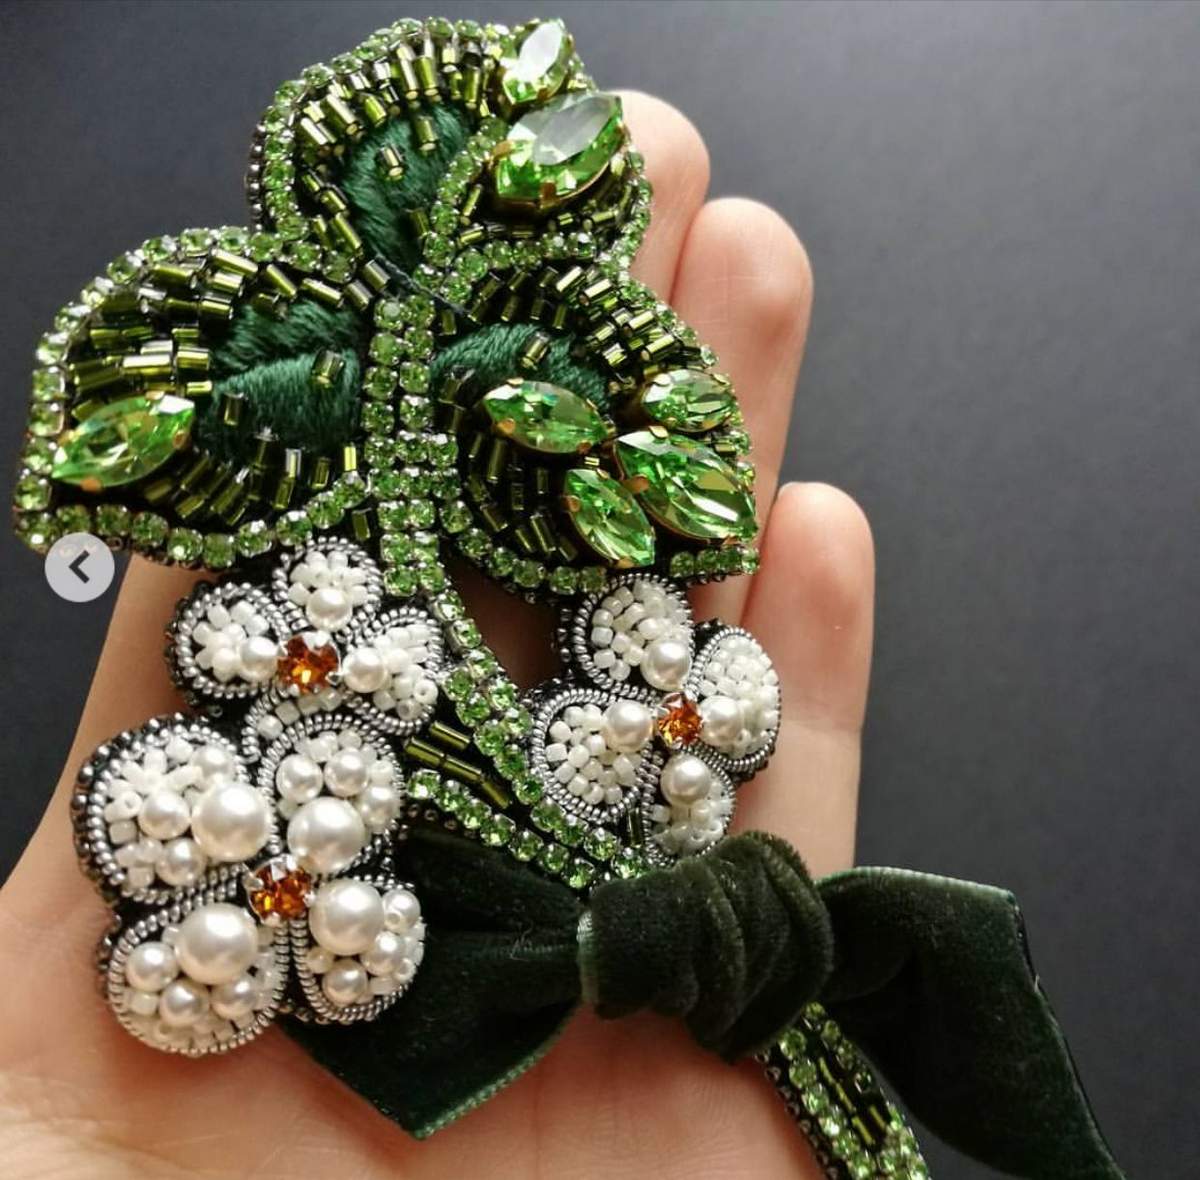
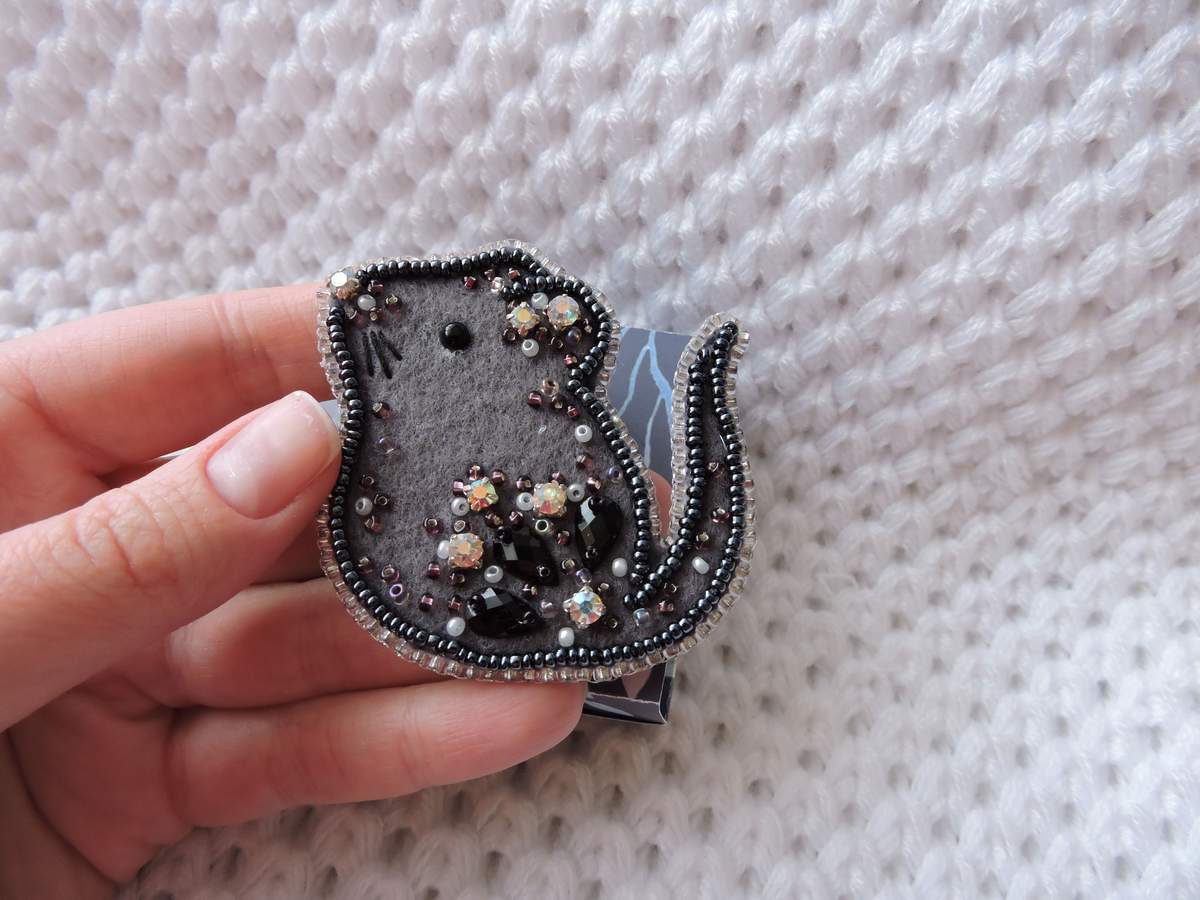
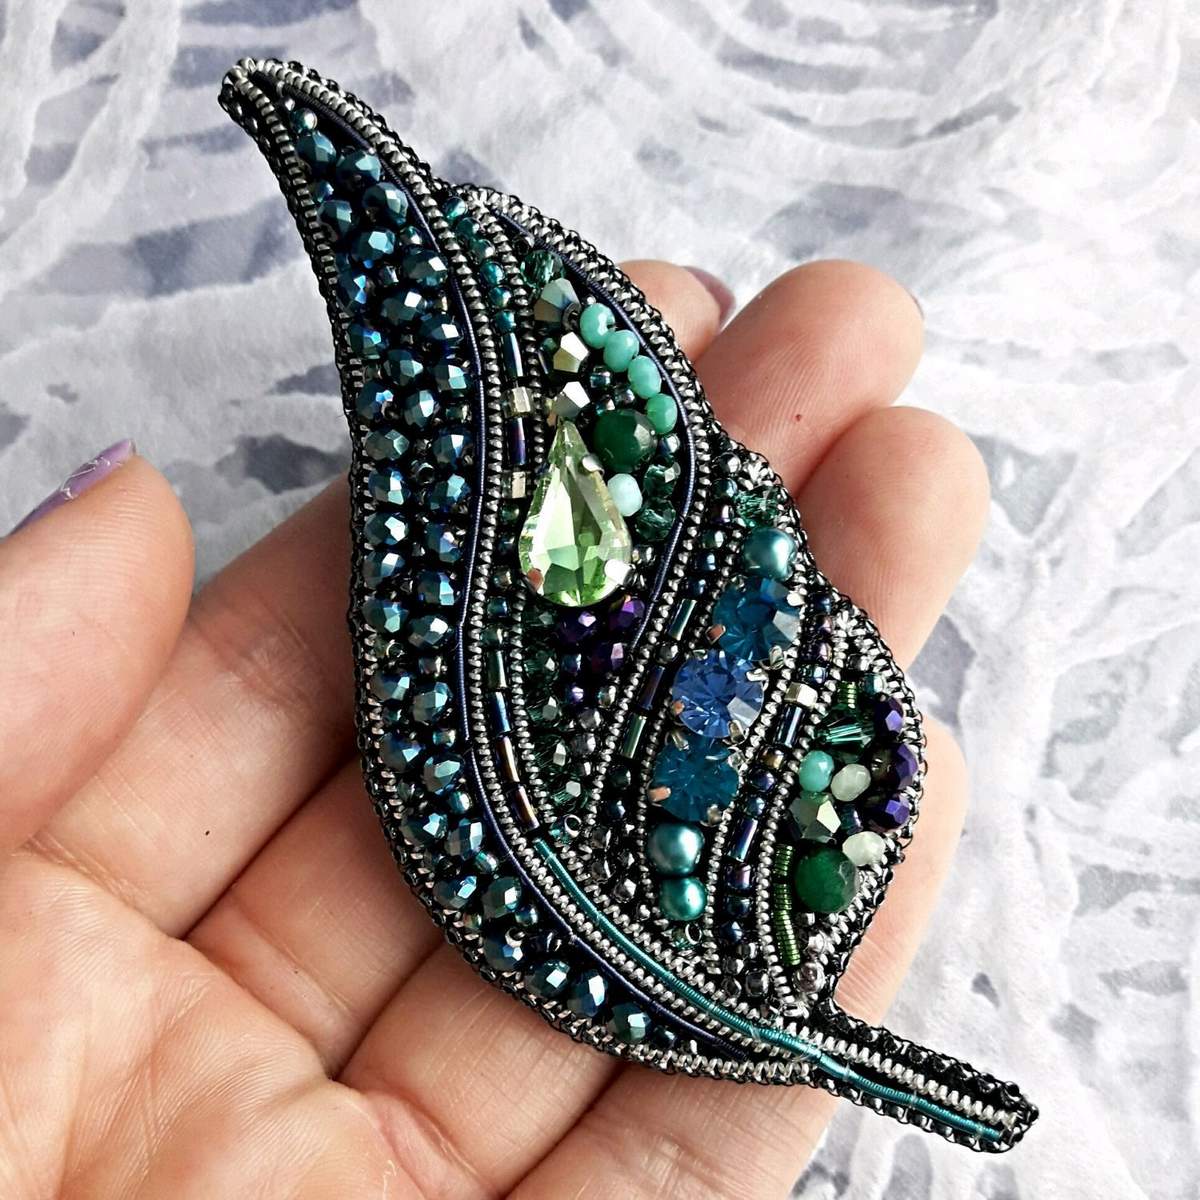
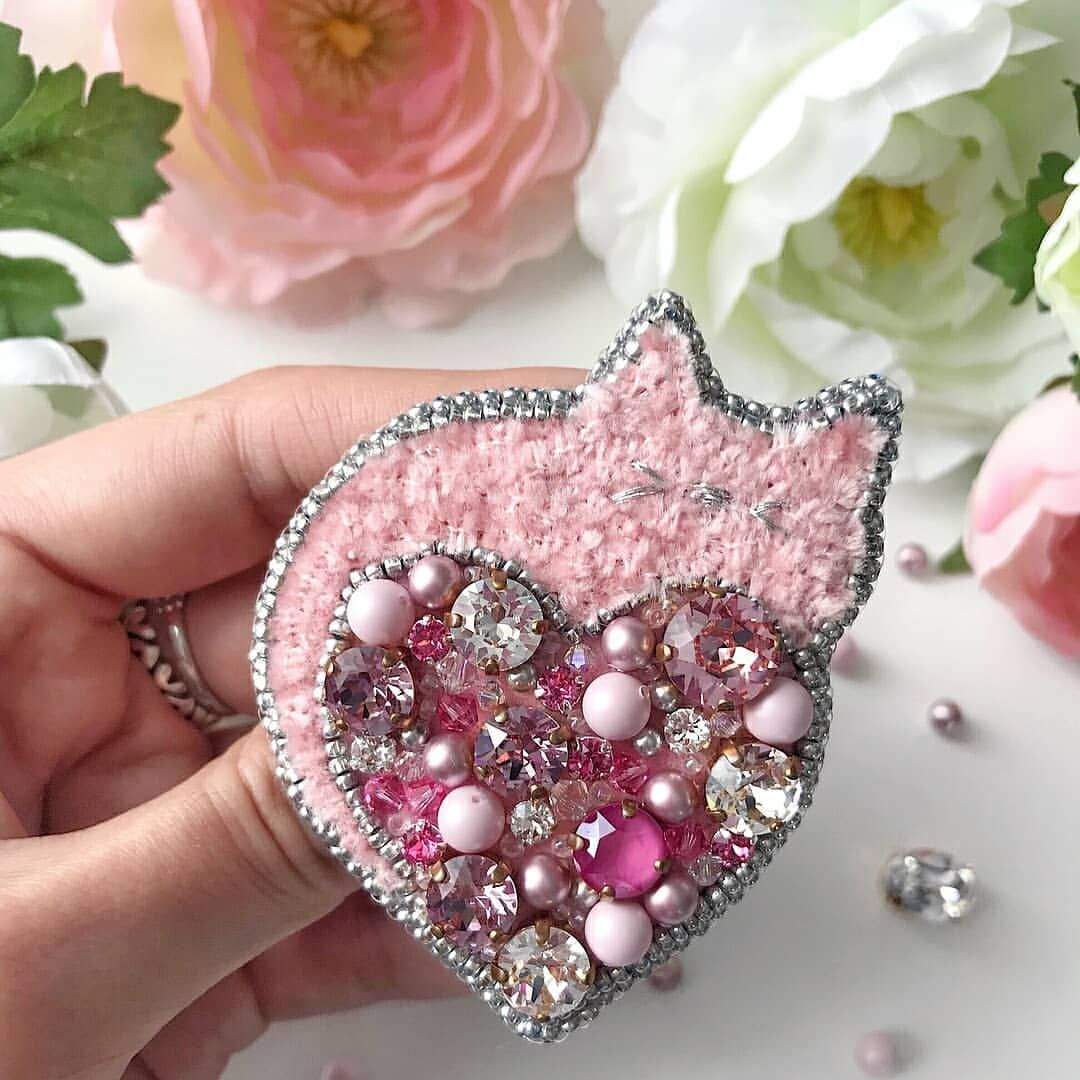
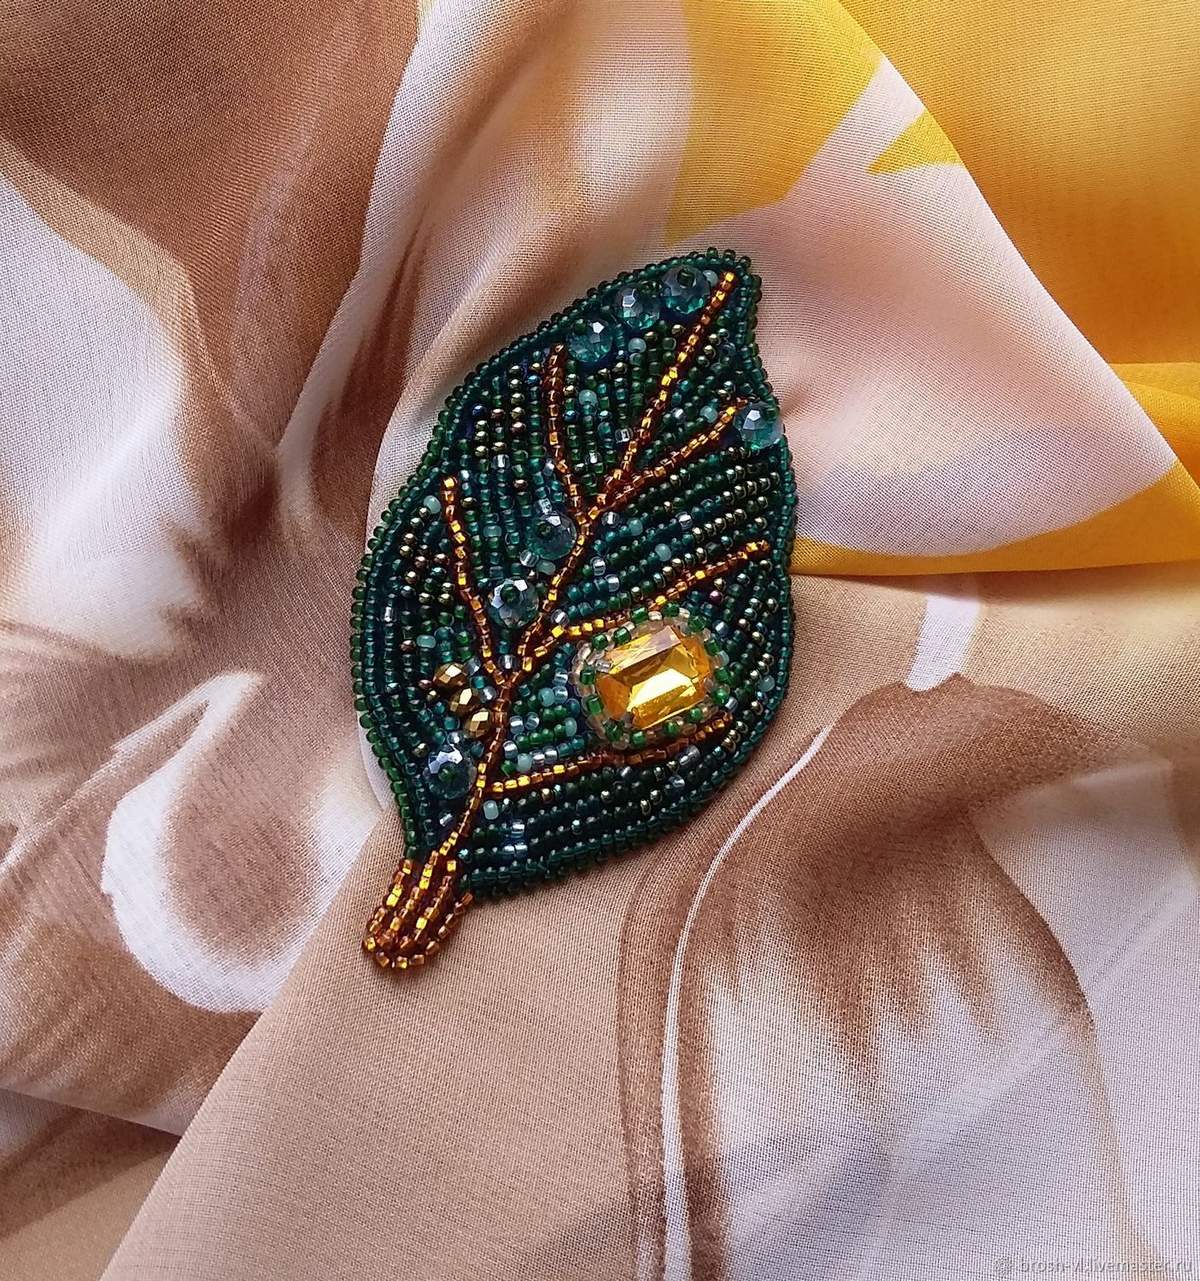
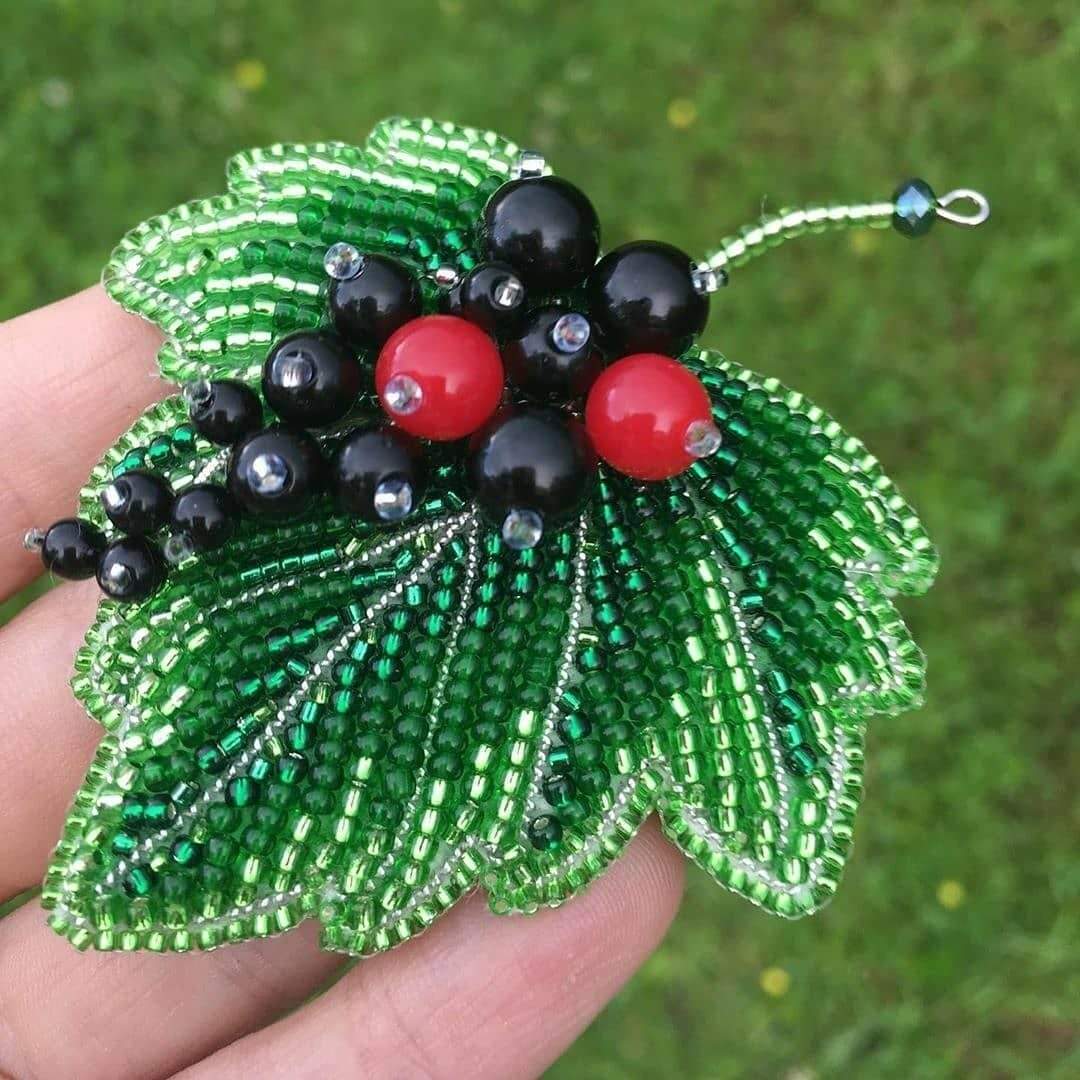
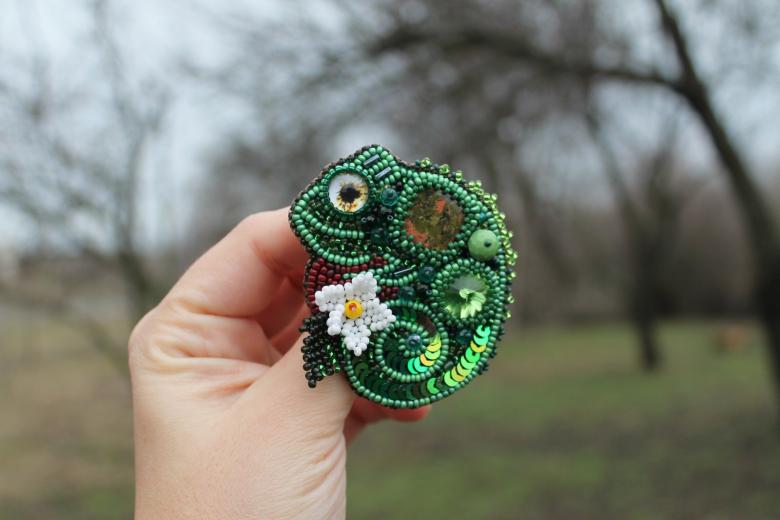
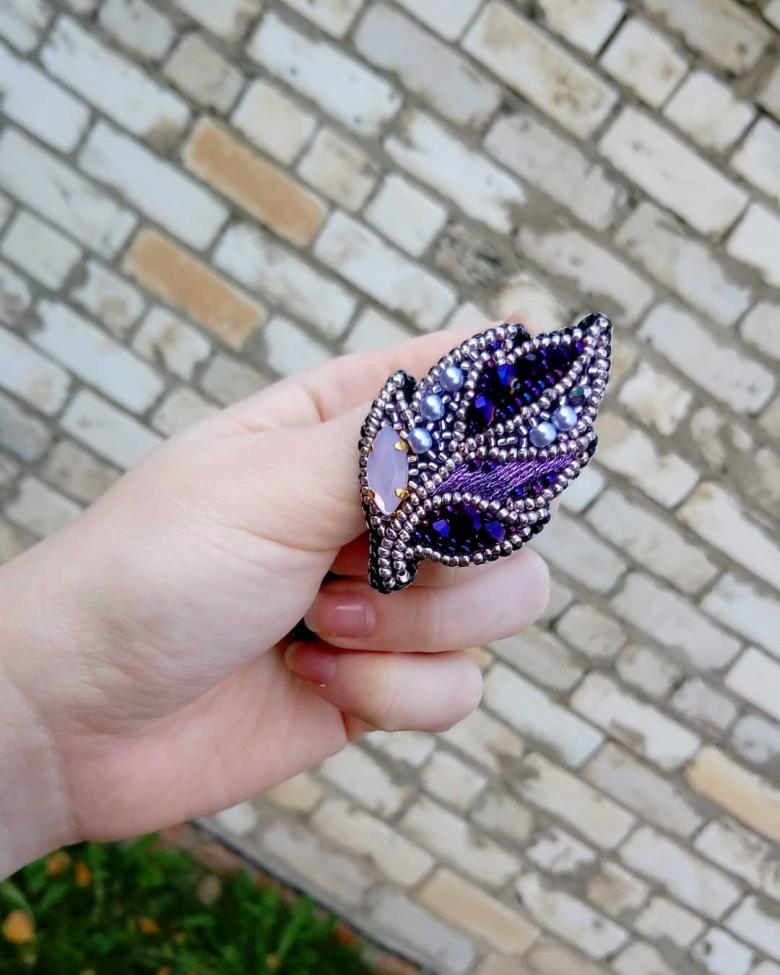
- Embroidery on the brooch. It is possible to embroider a fabric basis with beads and threads, combining different techniques. Fabrics suitable are felt, cloth, satin, wool, and velvet.
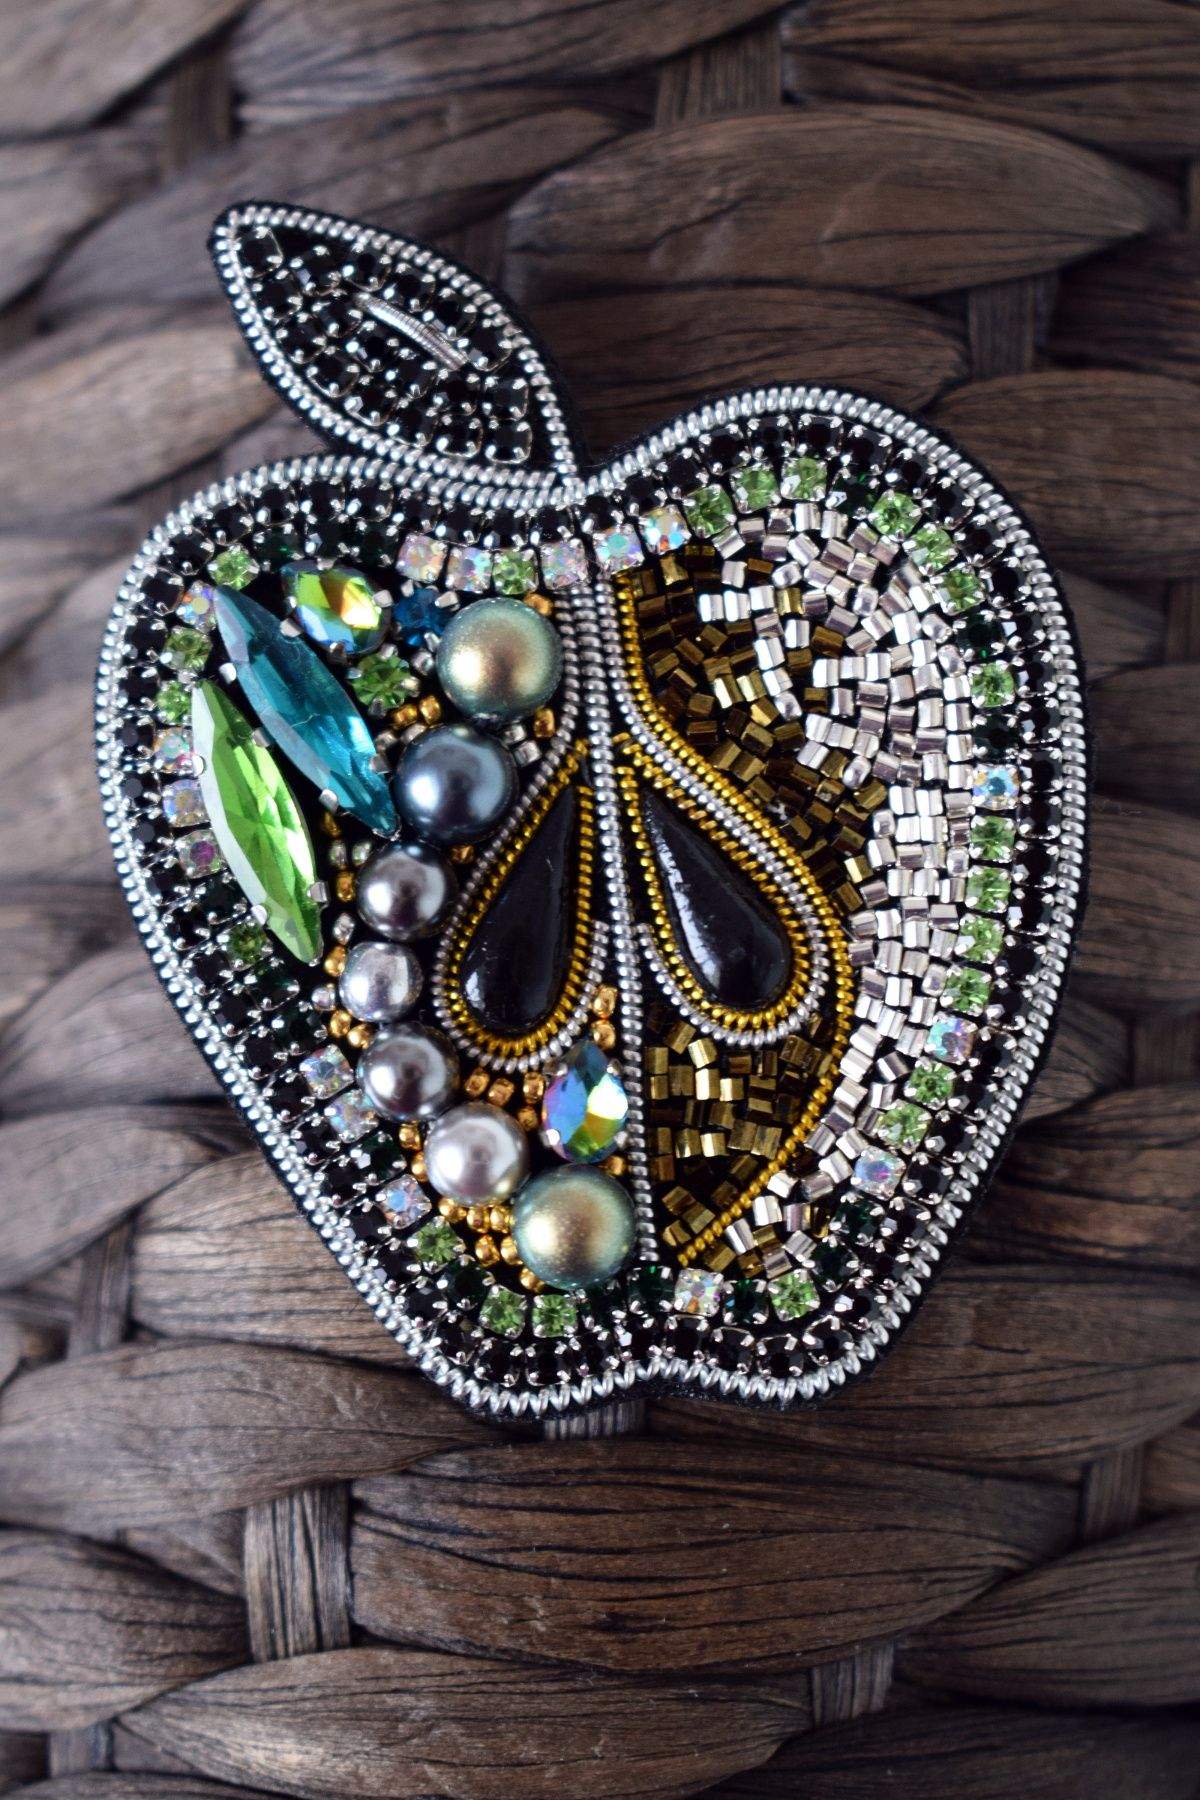
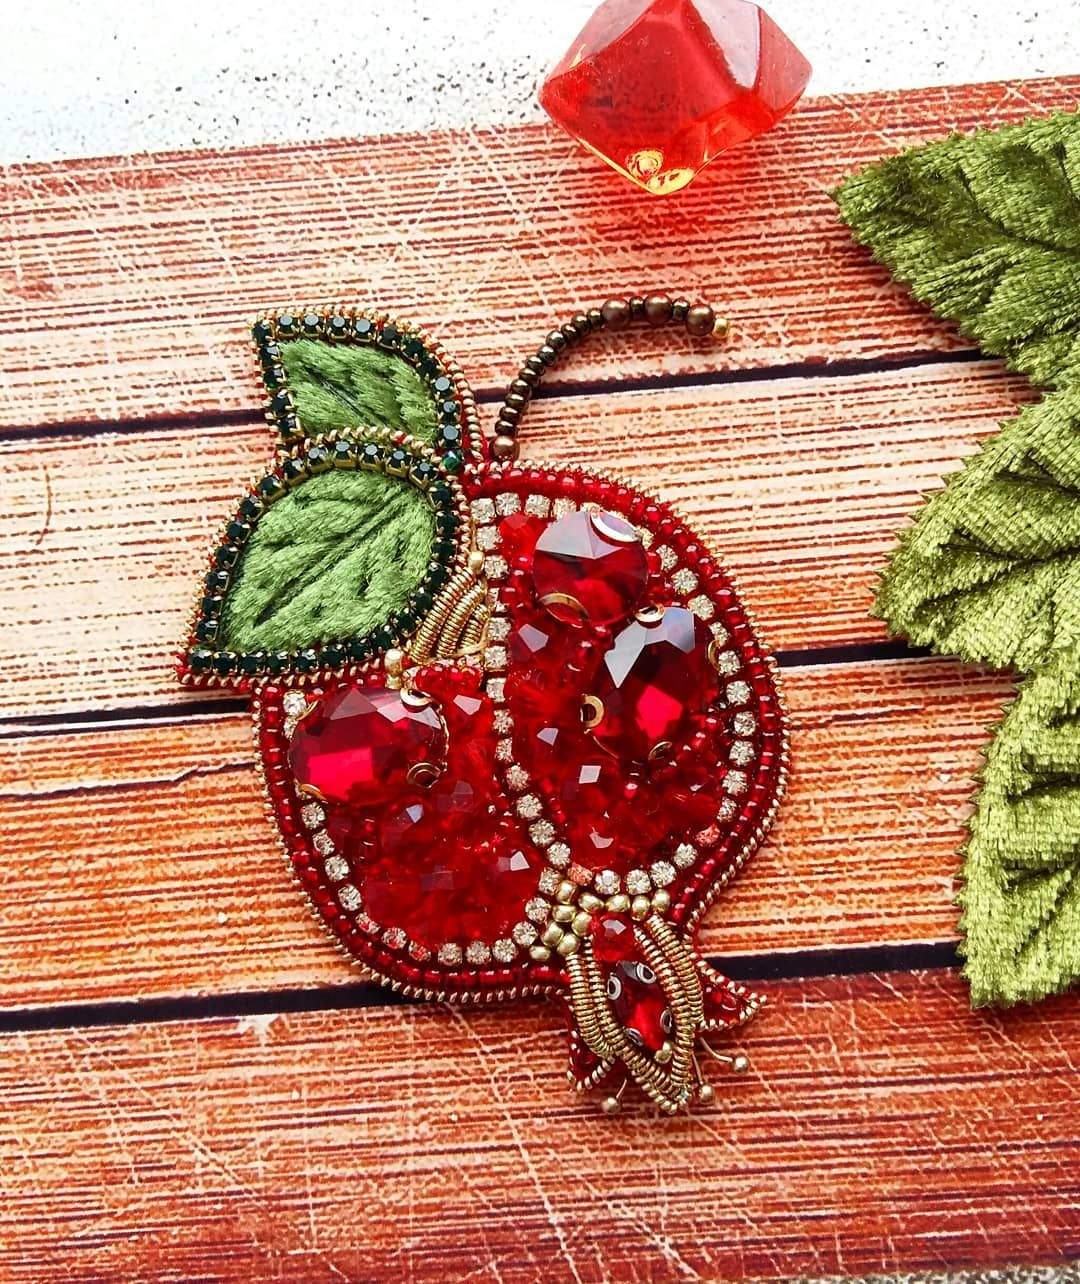
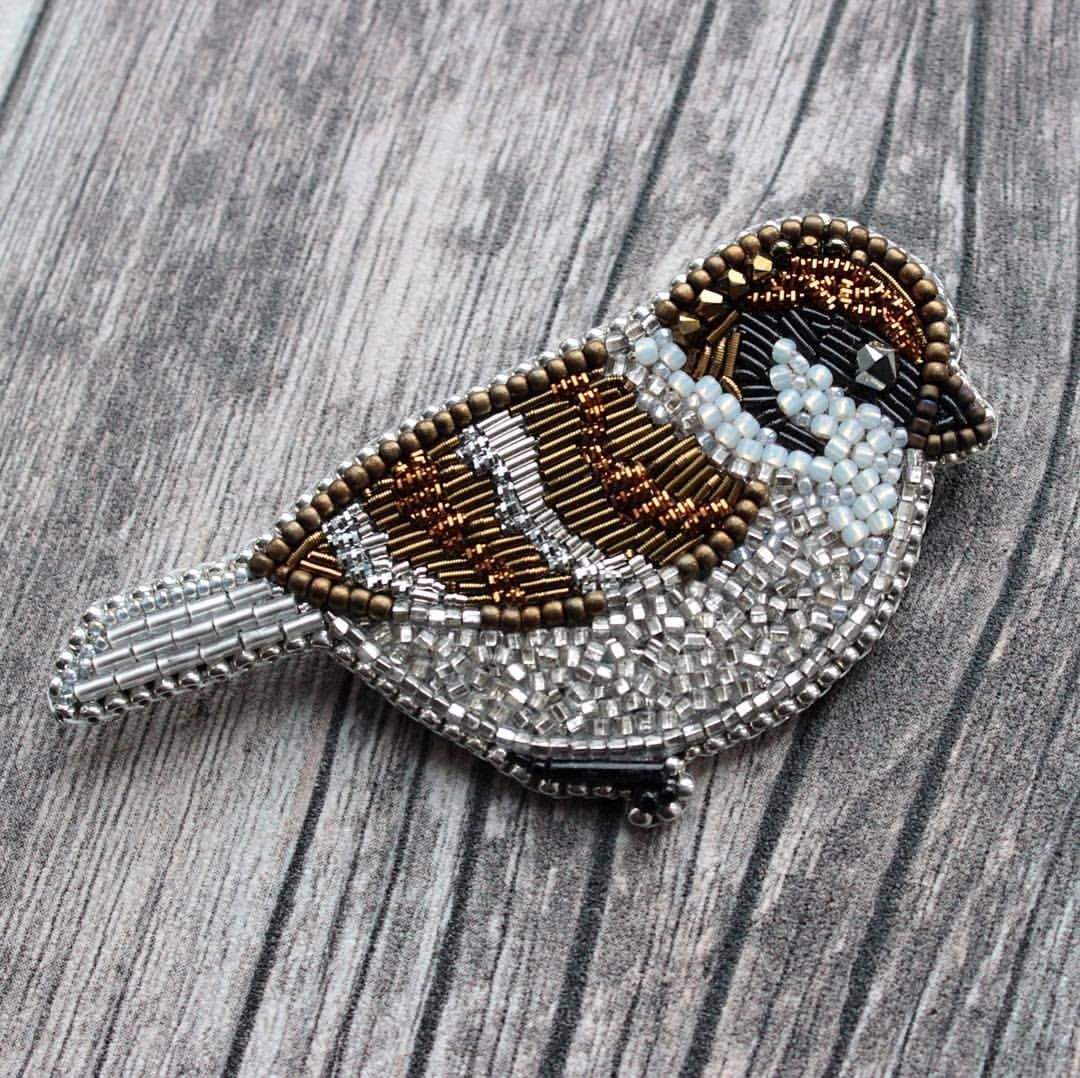
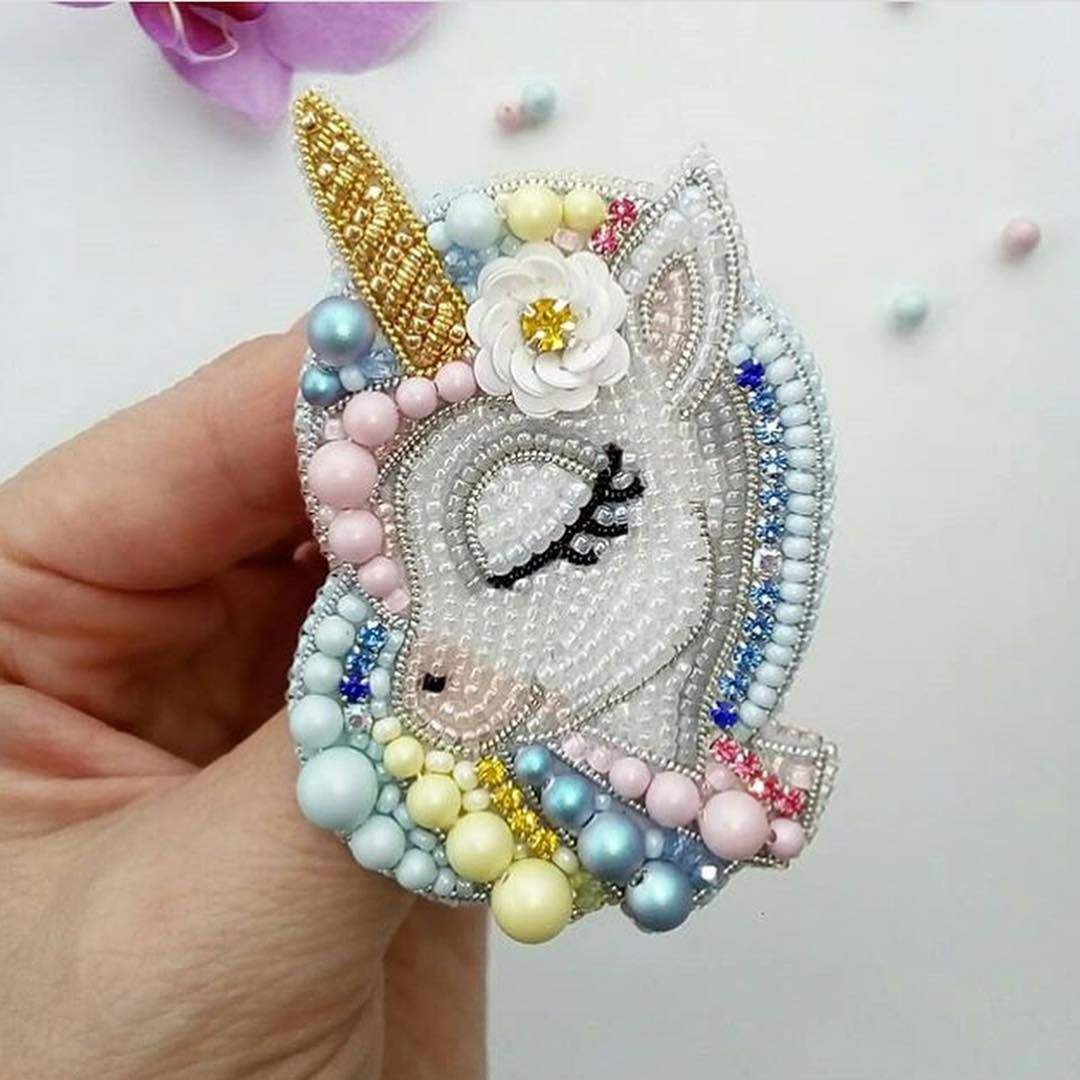
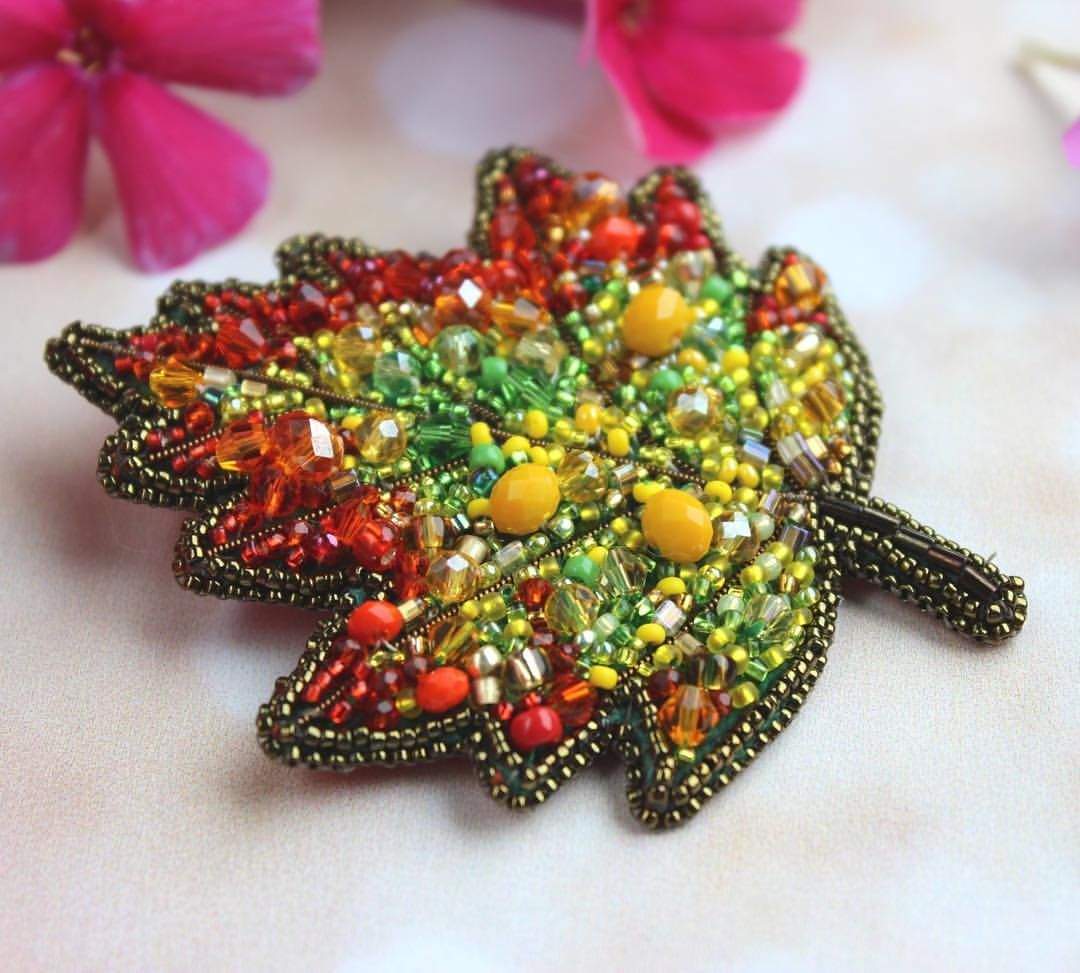
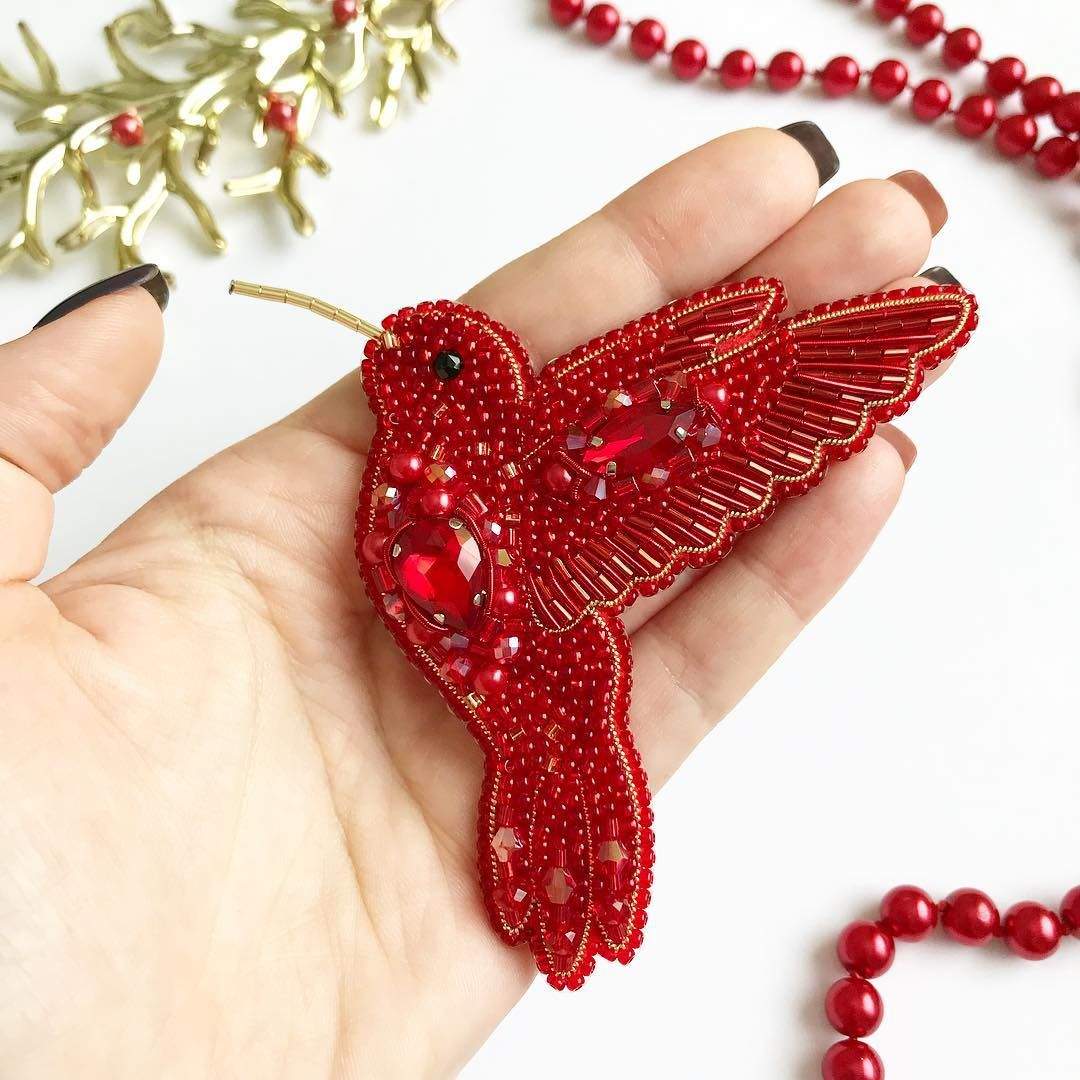
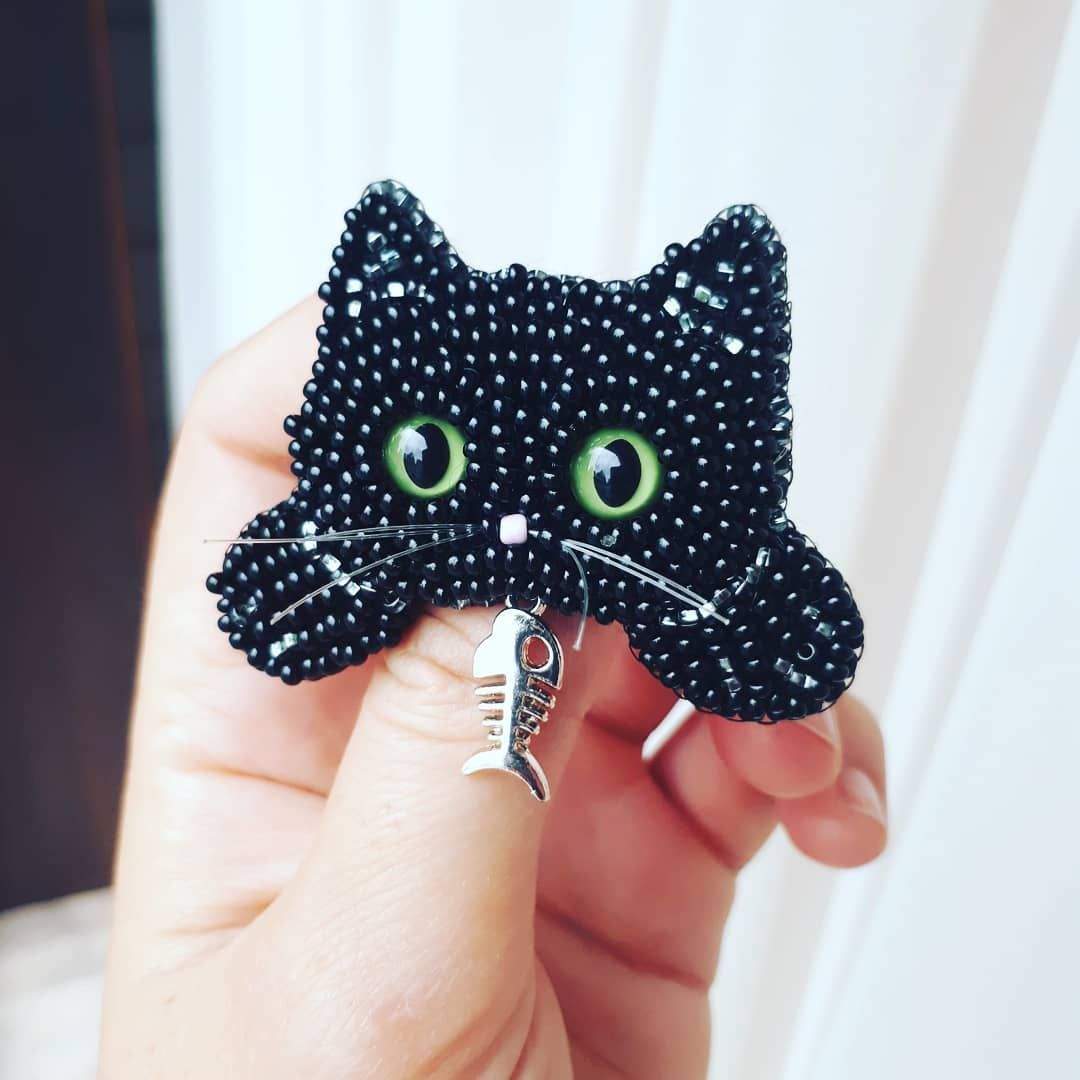
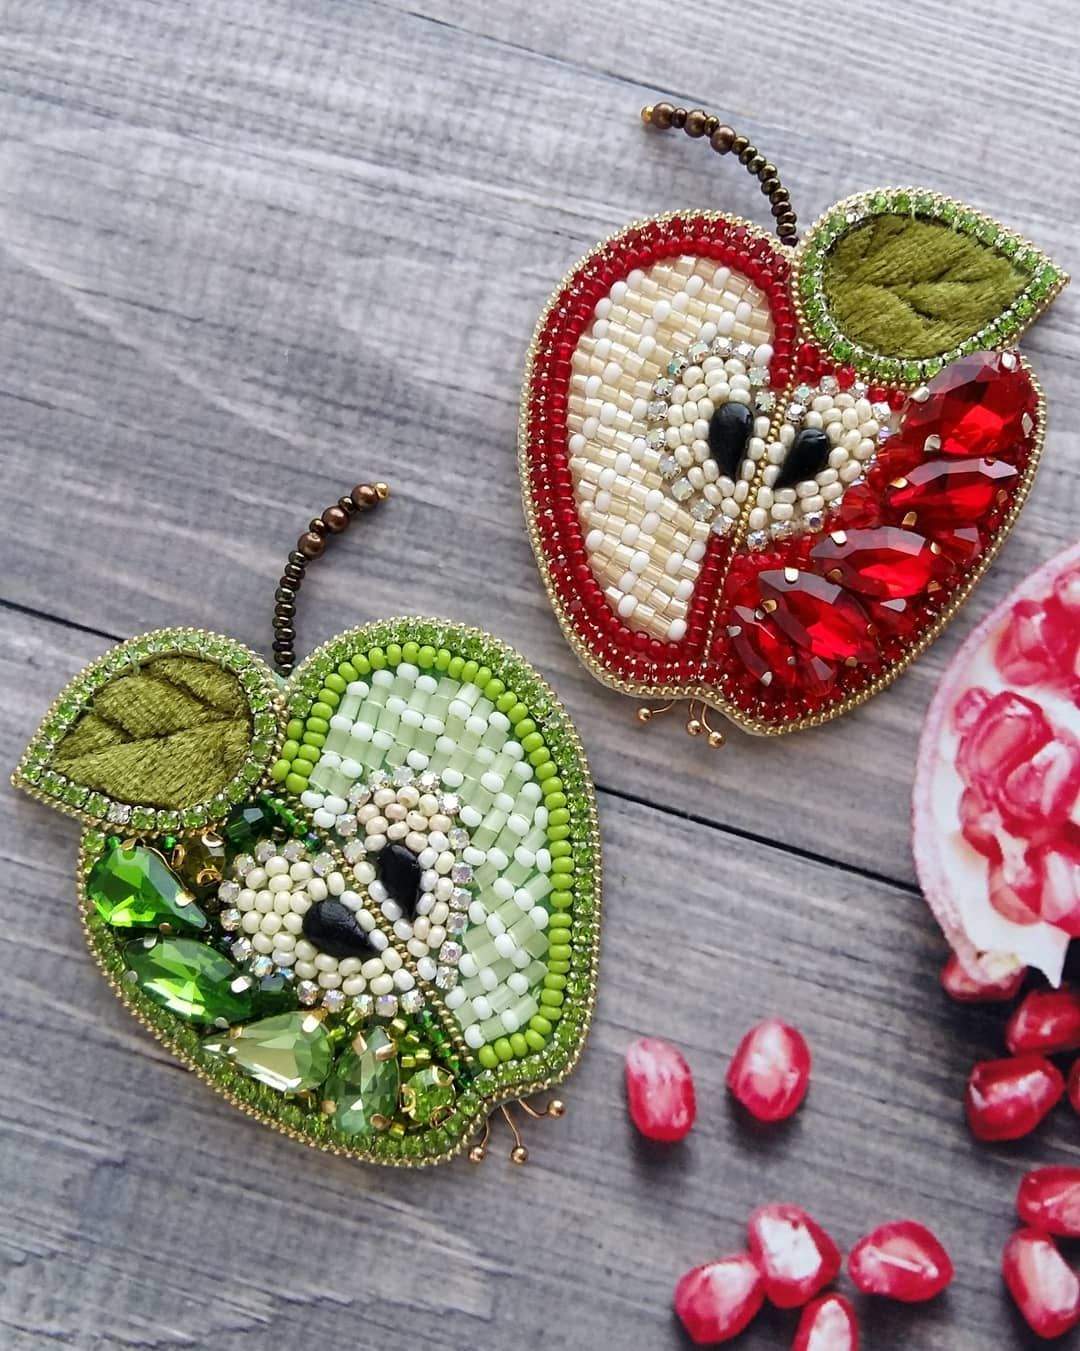
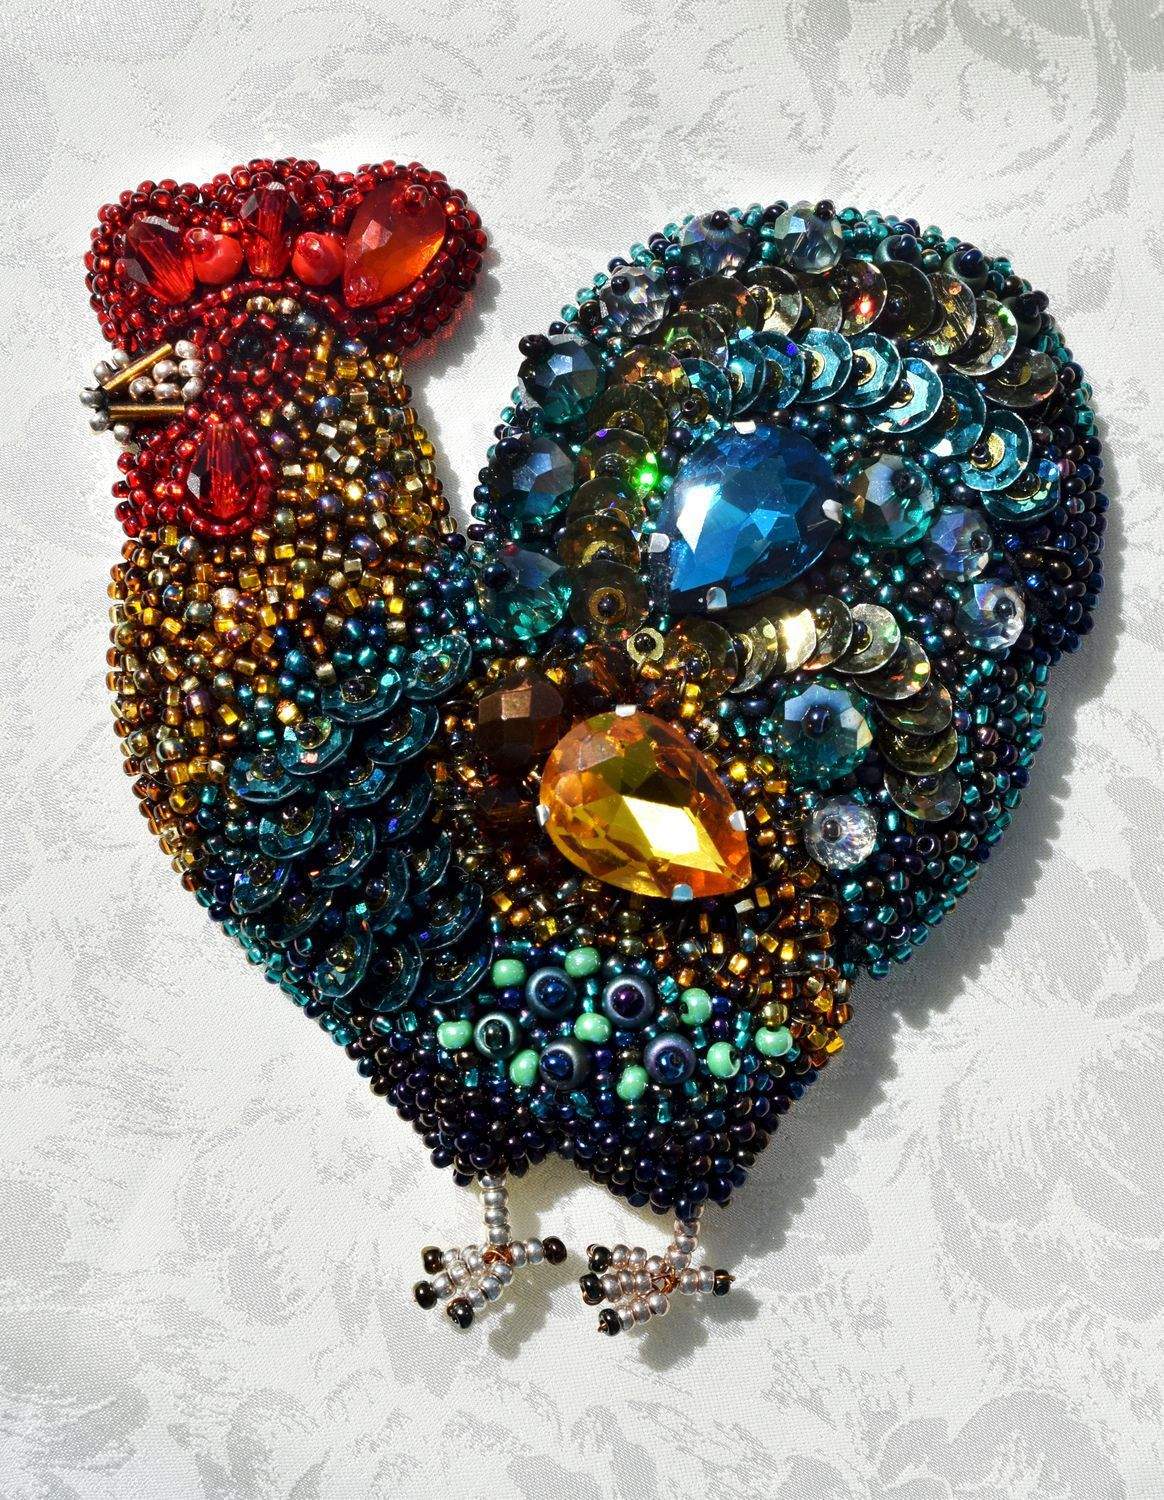
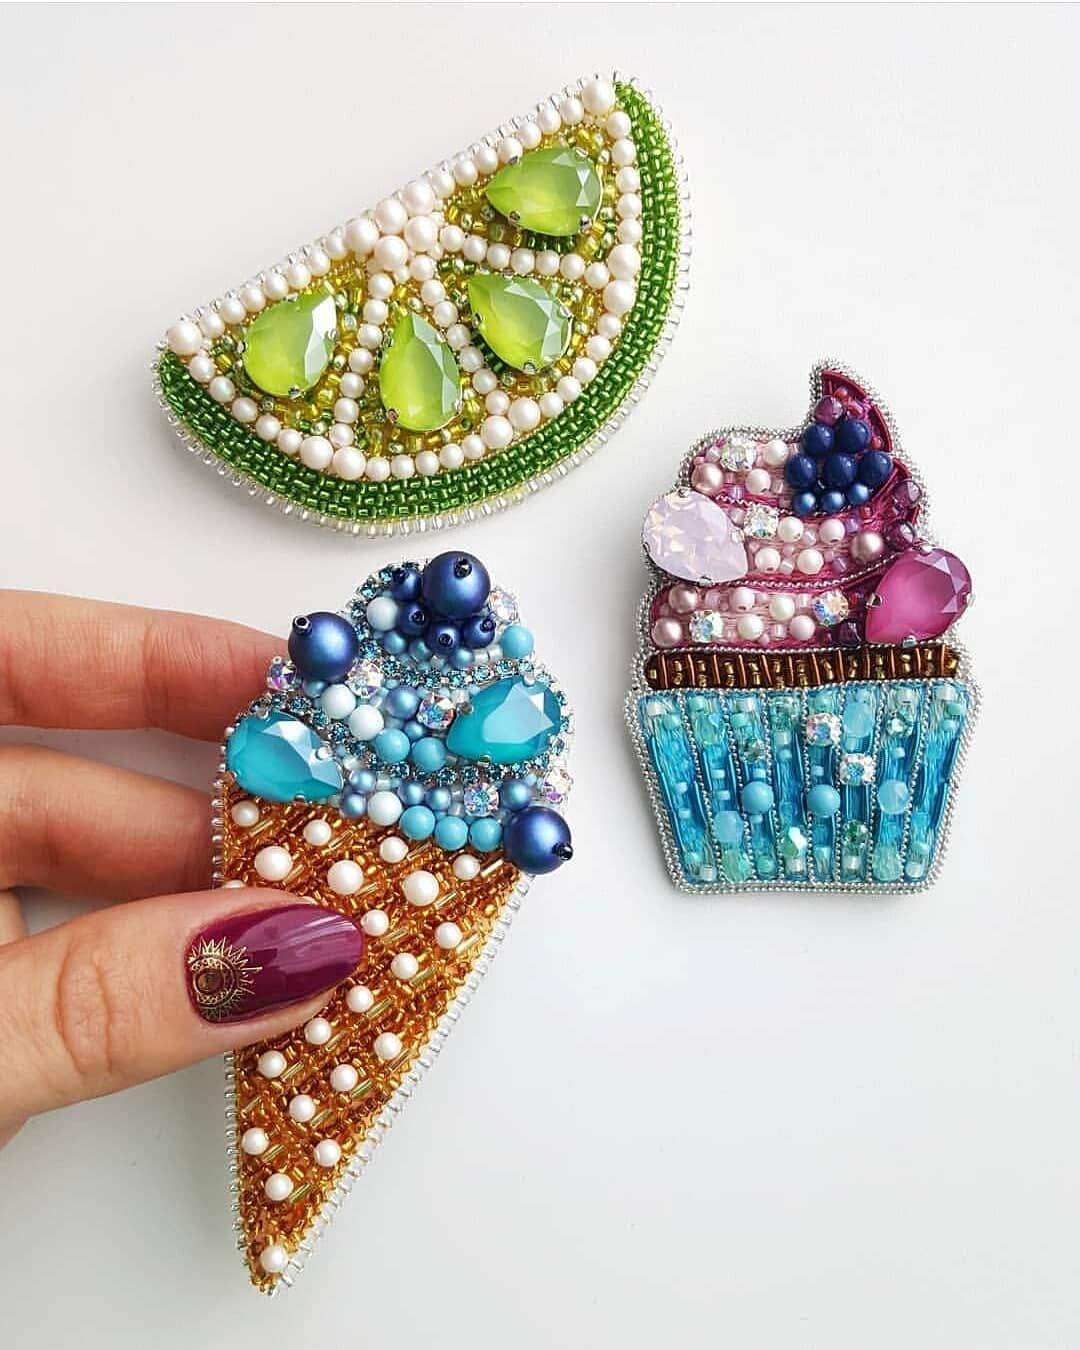
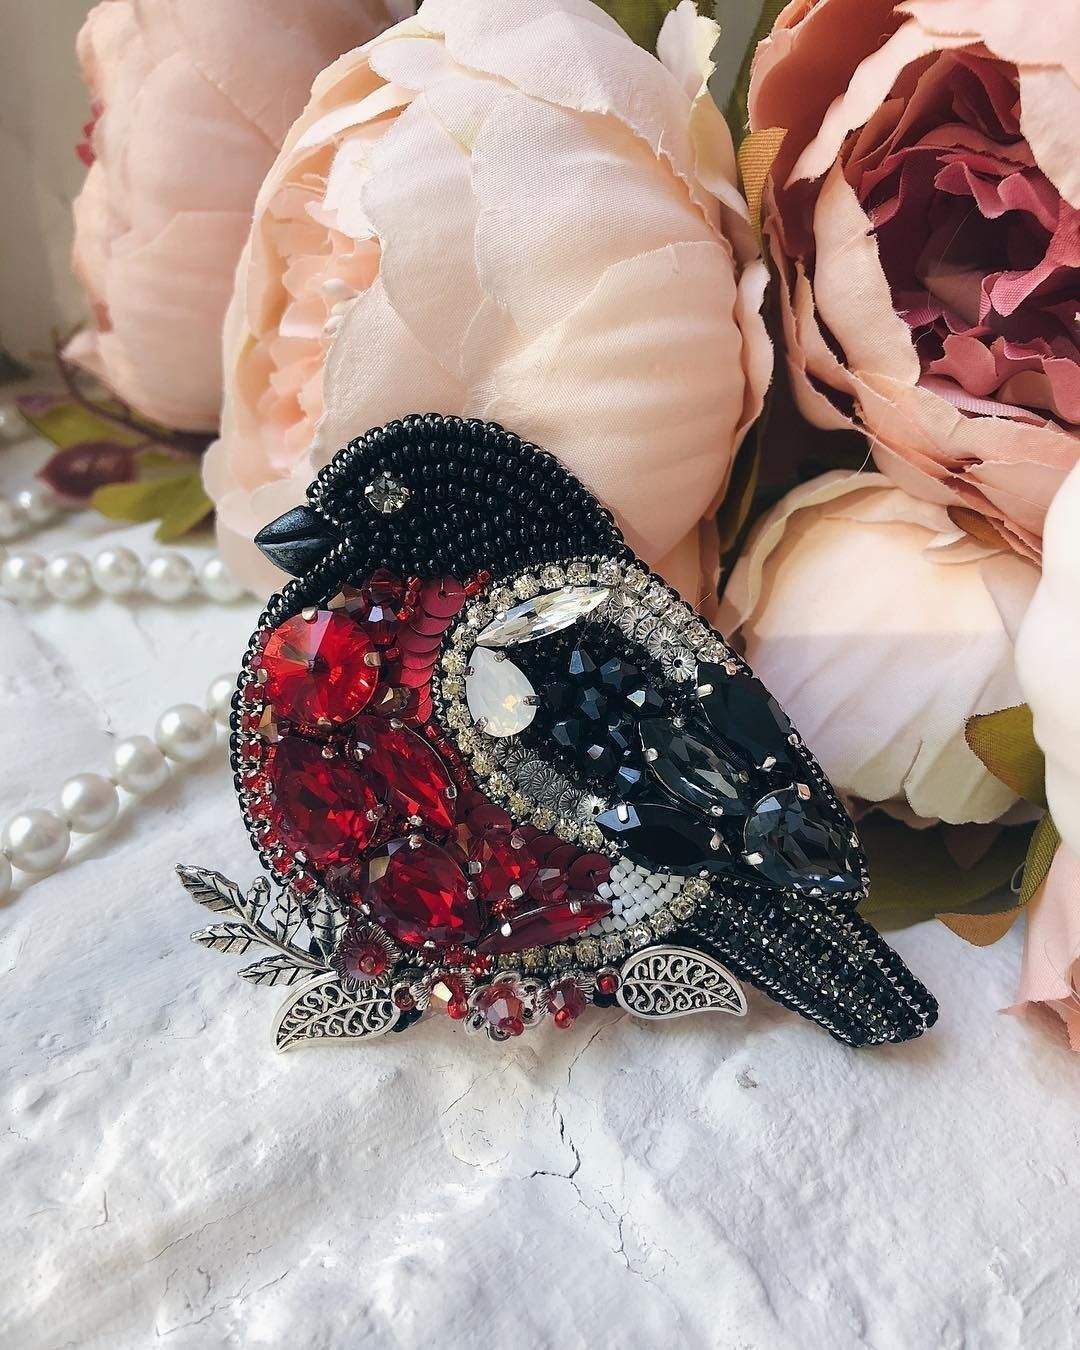
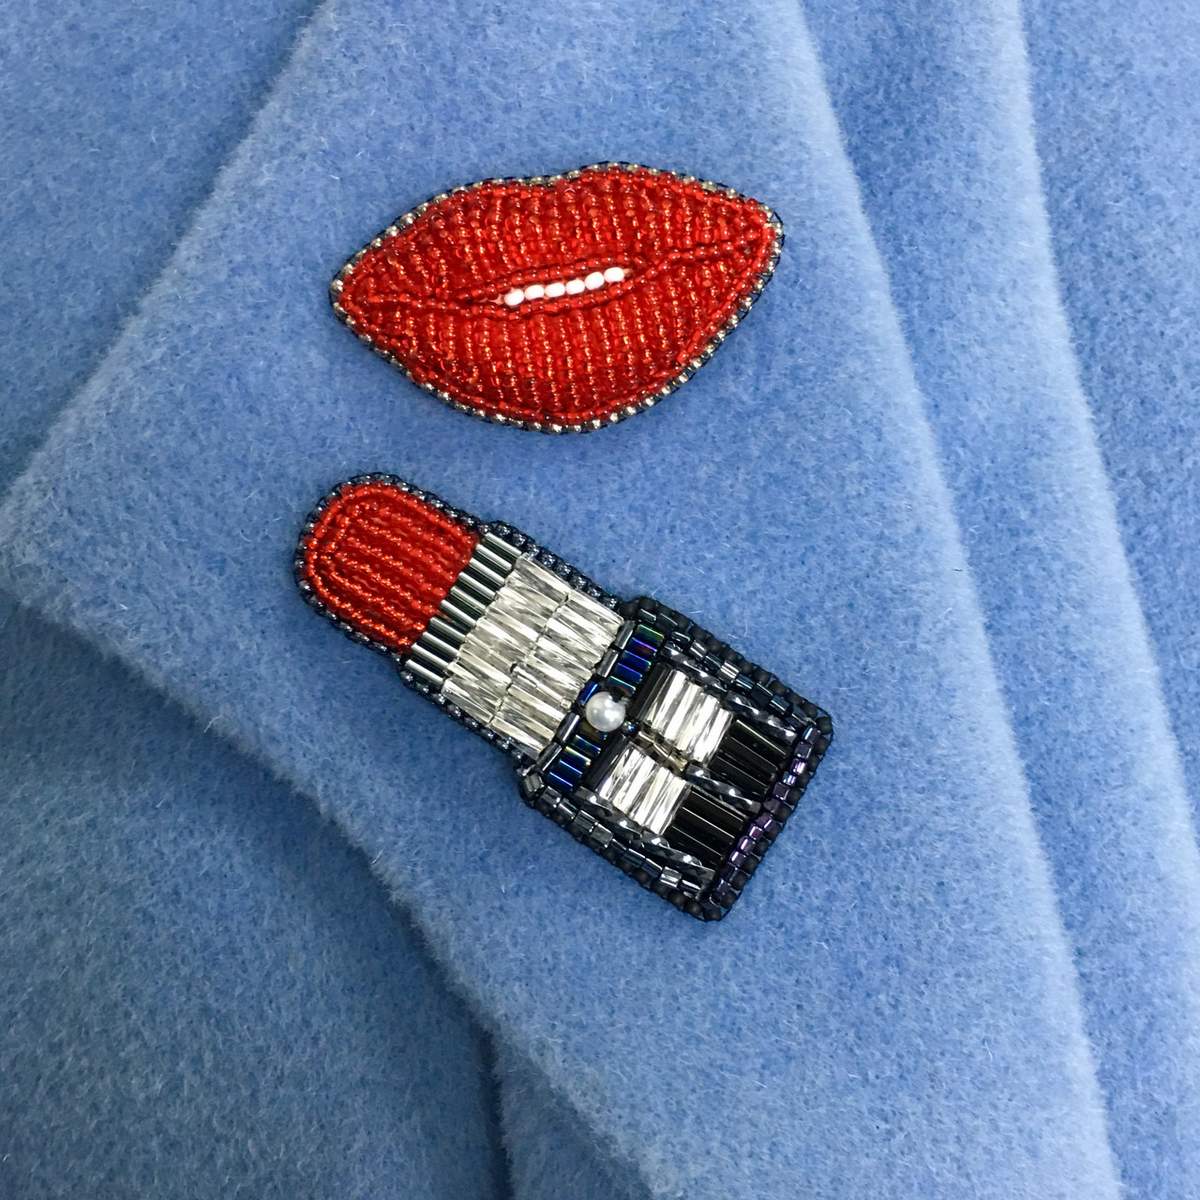
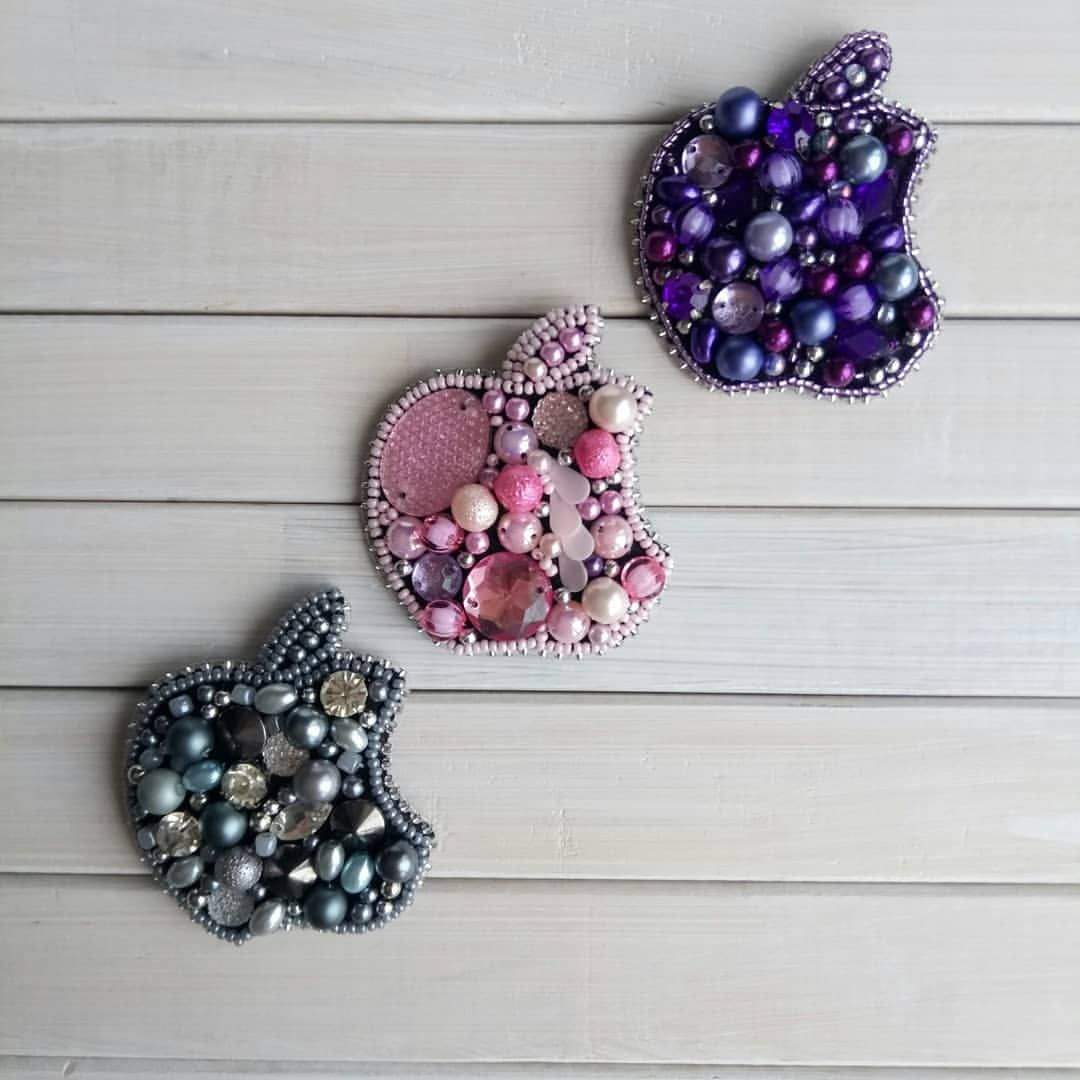
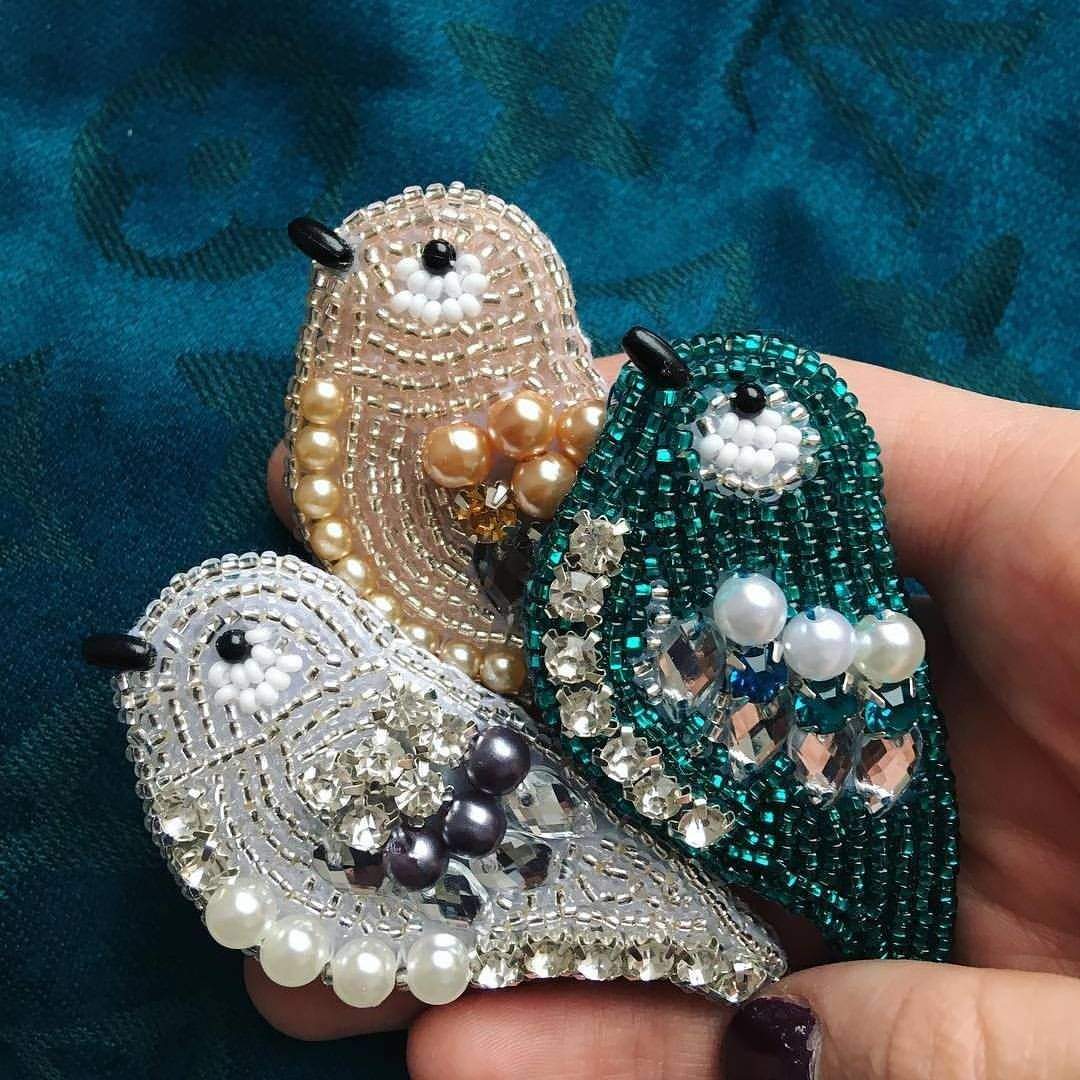
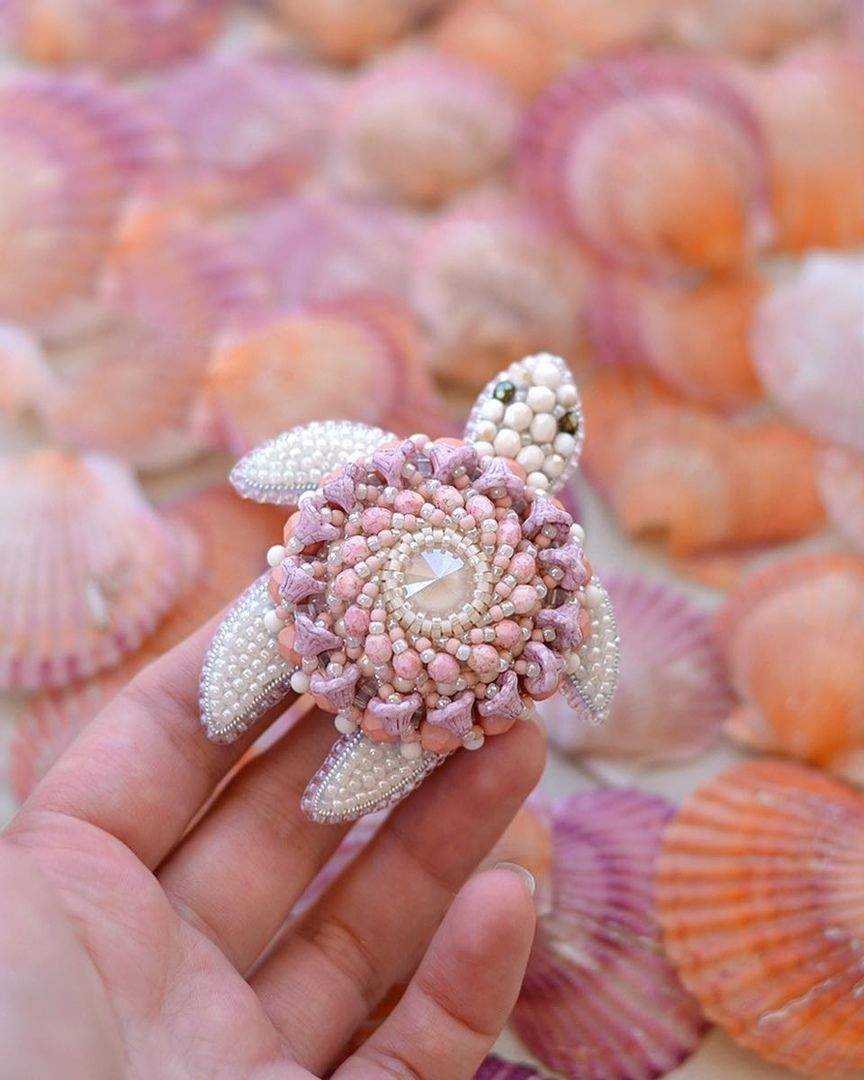
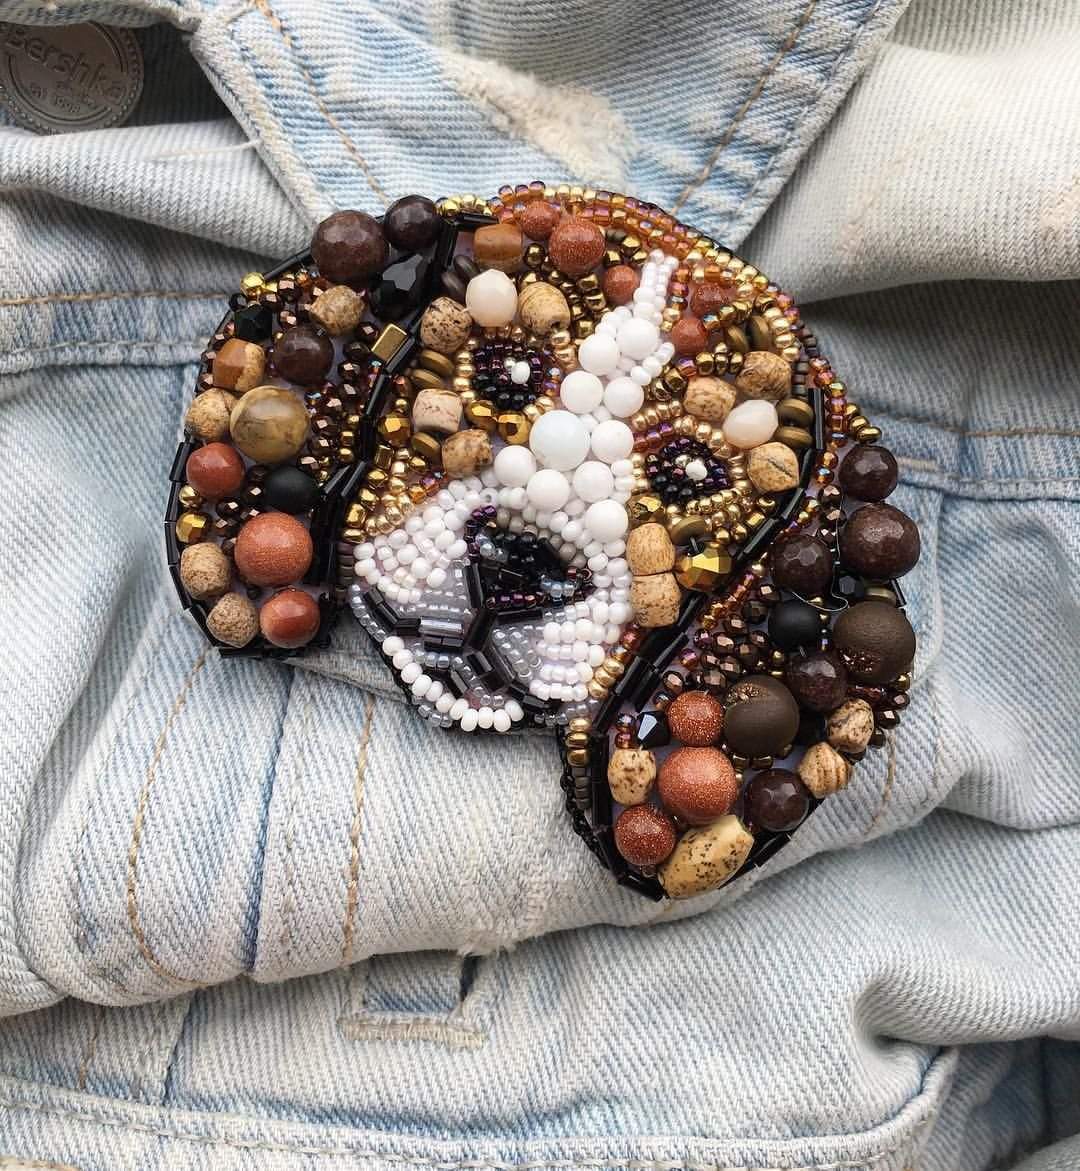
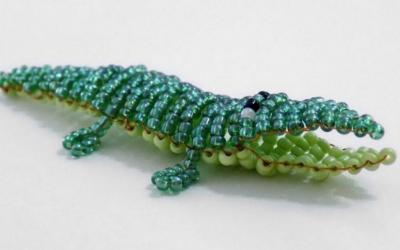
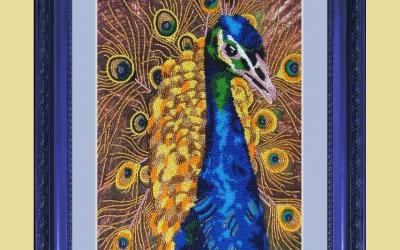
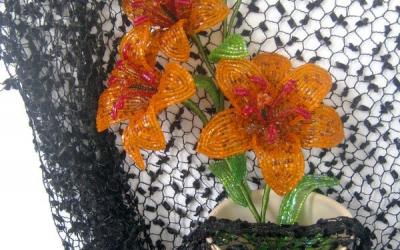
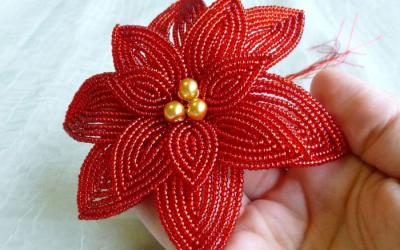
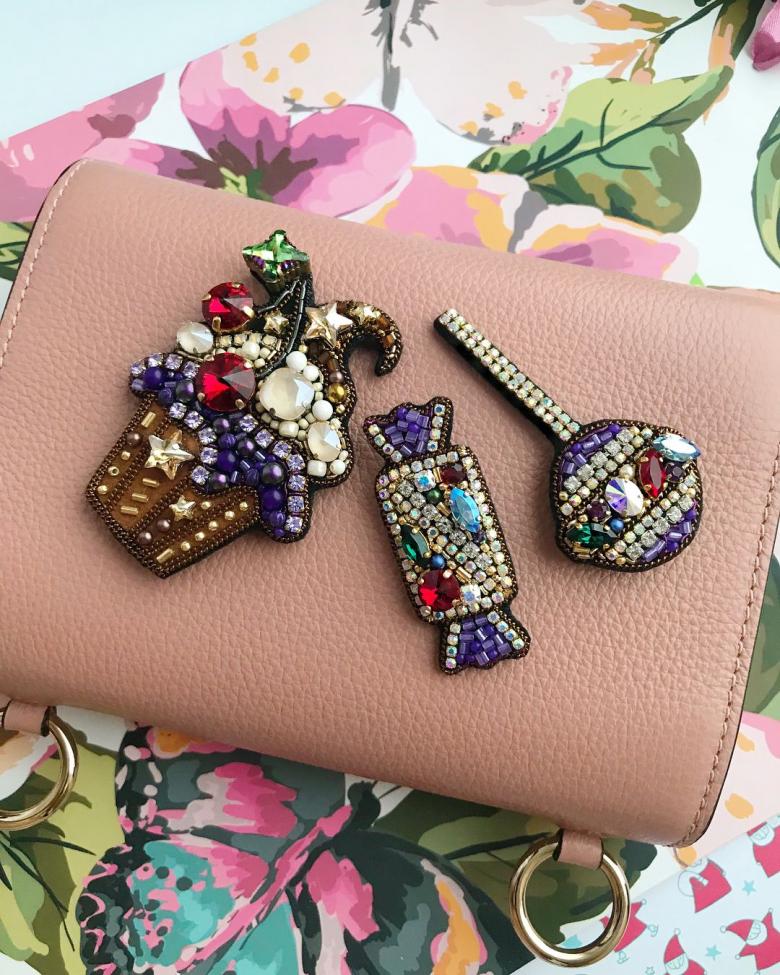
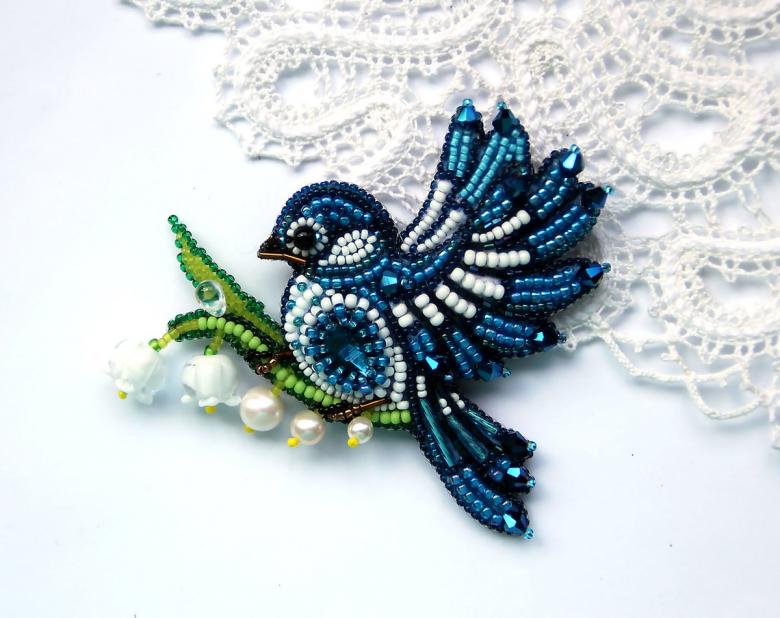
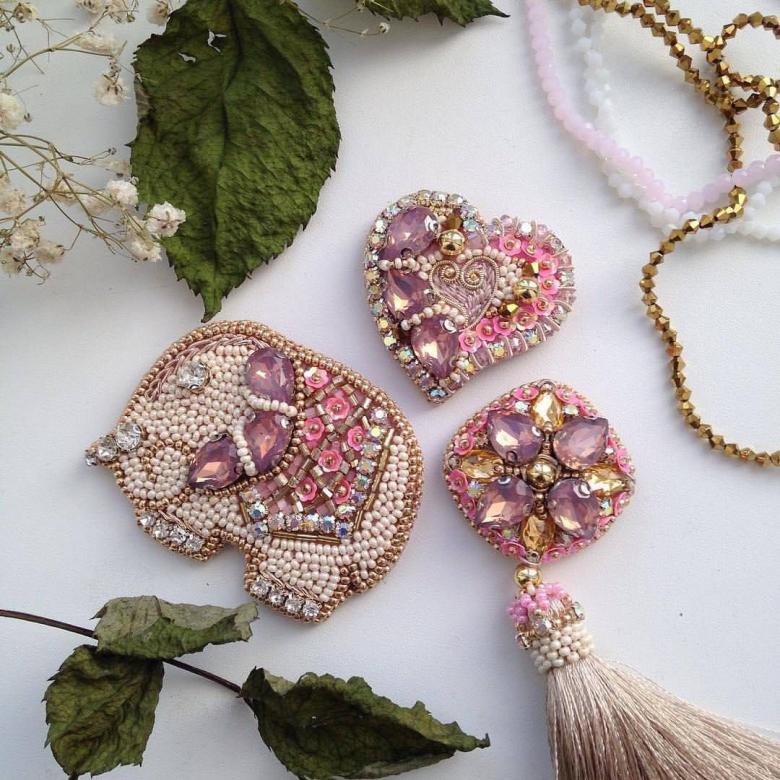
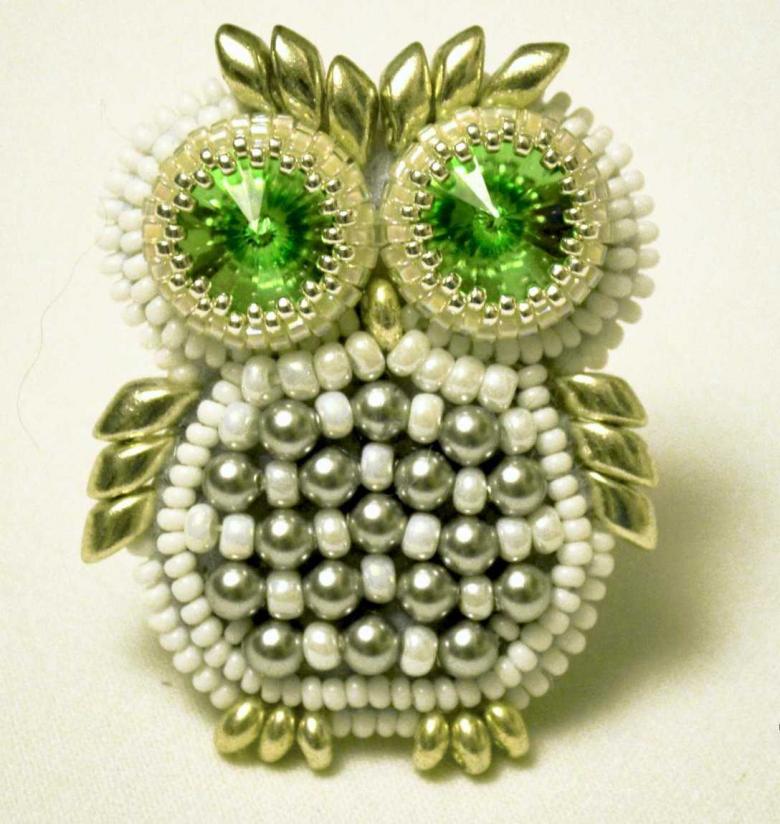
- Popular motifs: animals, flowers, sweets, fruit, toys, cartoon characters, coats of arms and symbols.
Tip: Use high-quality, uniform beads. It is necessary to sew or glue it in even rows, symmetrically and neatly, for the work to look qualitative.
In the following pages we'll tell you how to make a brooch from beads, step by step, using a well-known algorithm.
Step by step instruction
To make brooches from beads and beads, you can use our master class. Let's try to create simple models - a butterfly, a flower and a candy.
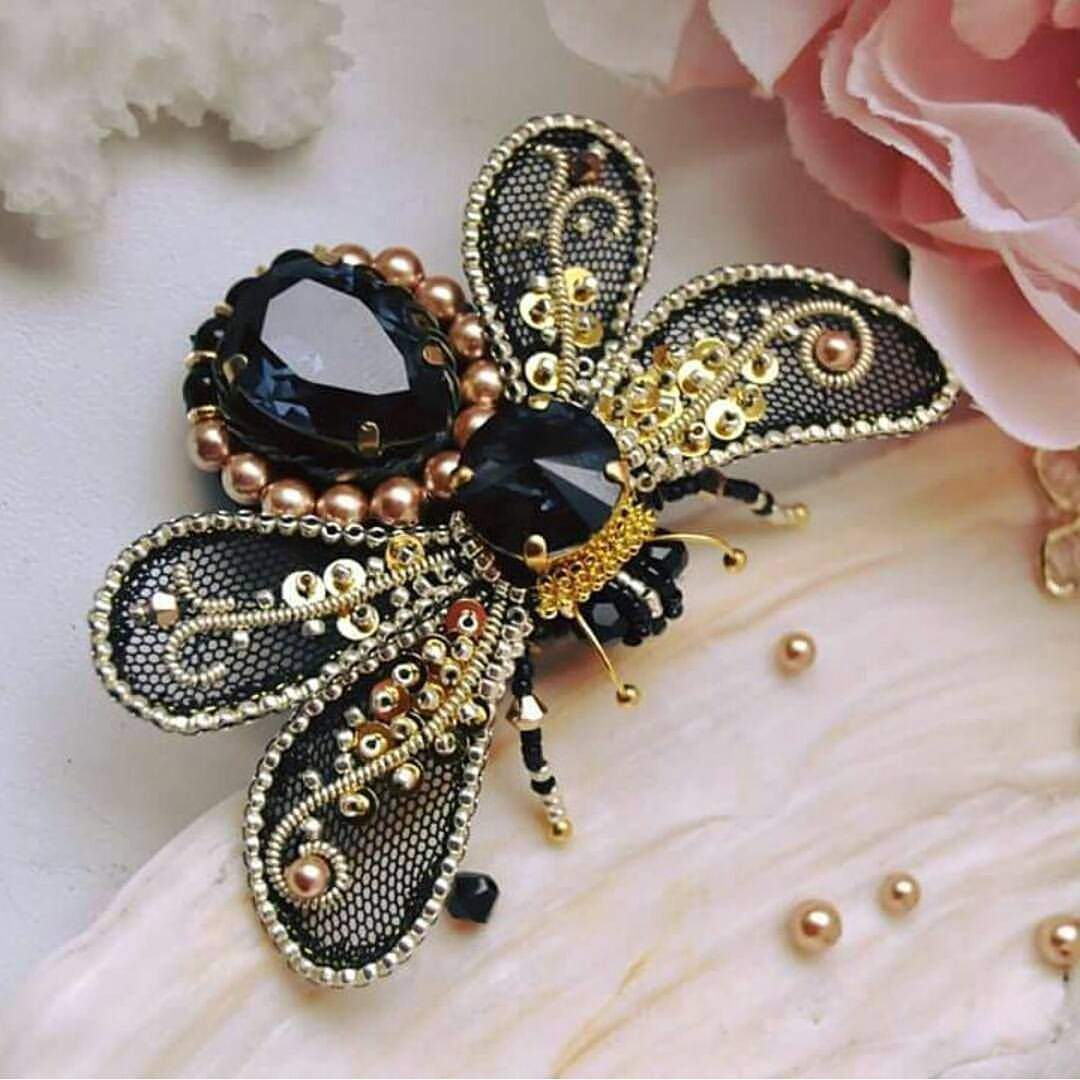
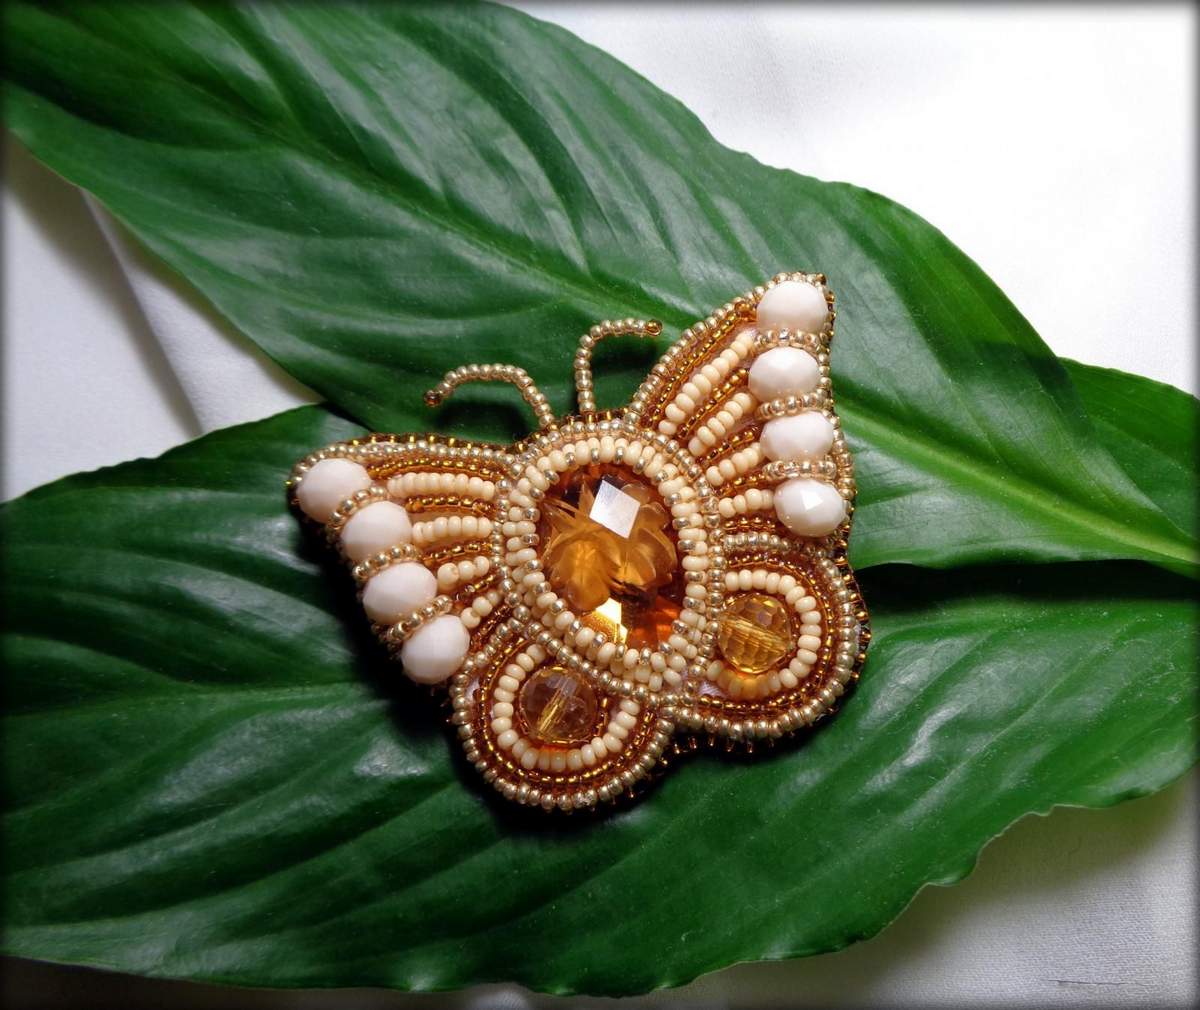
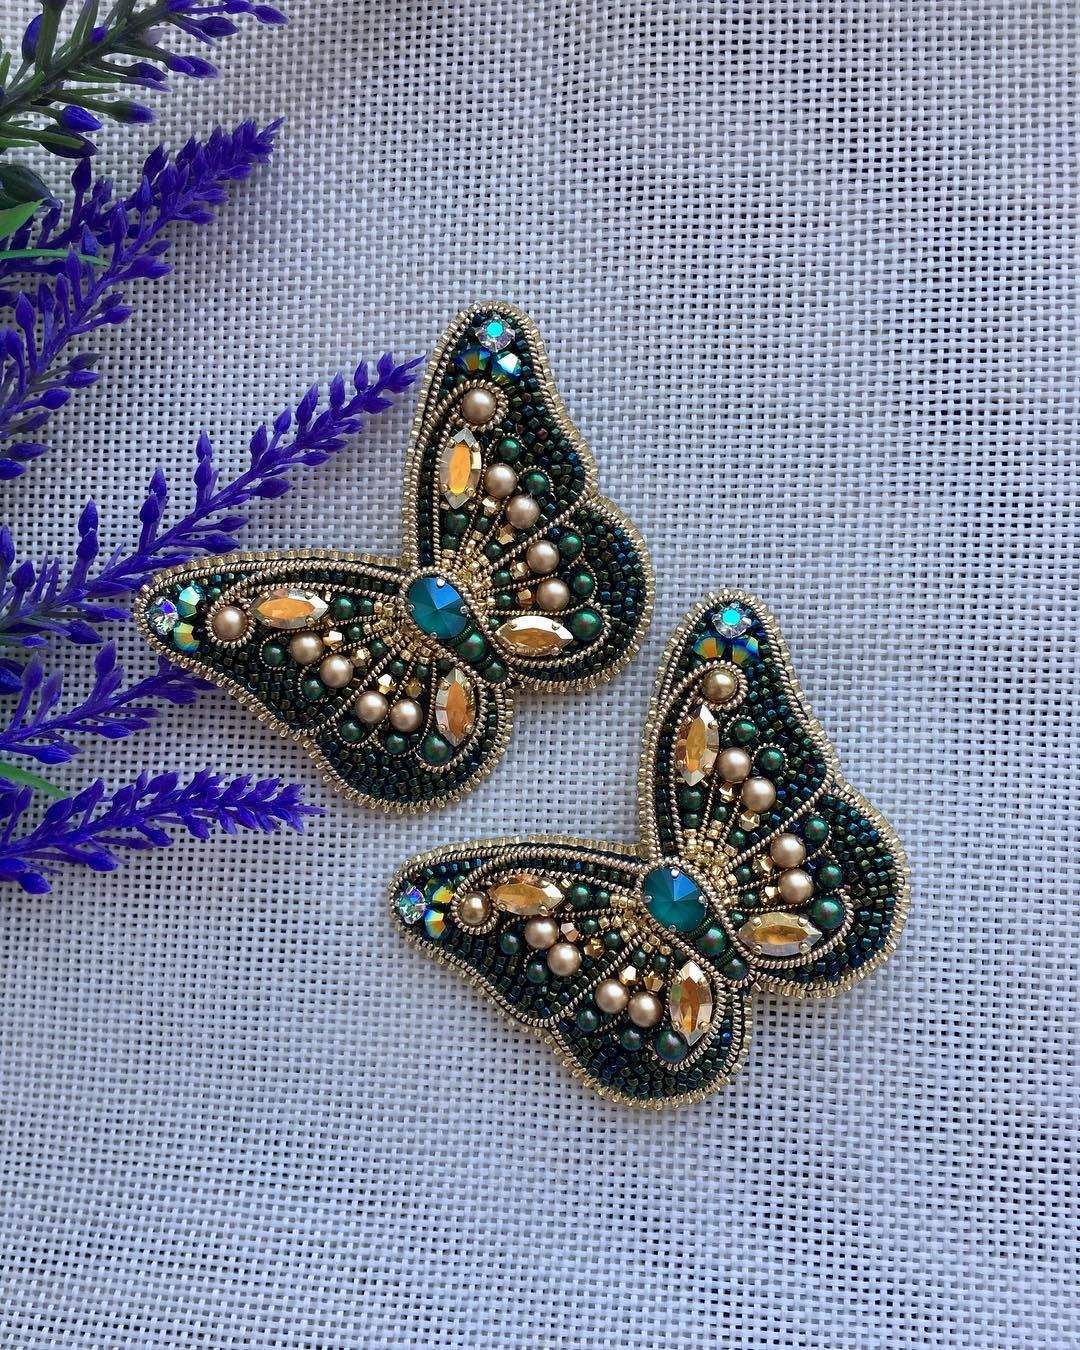
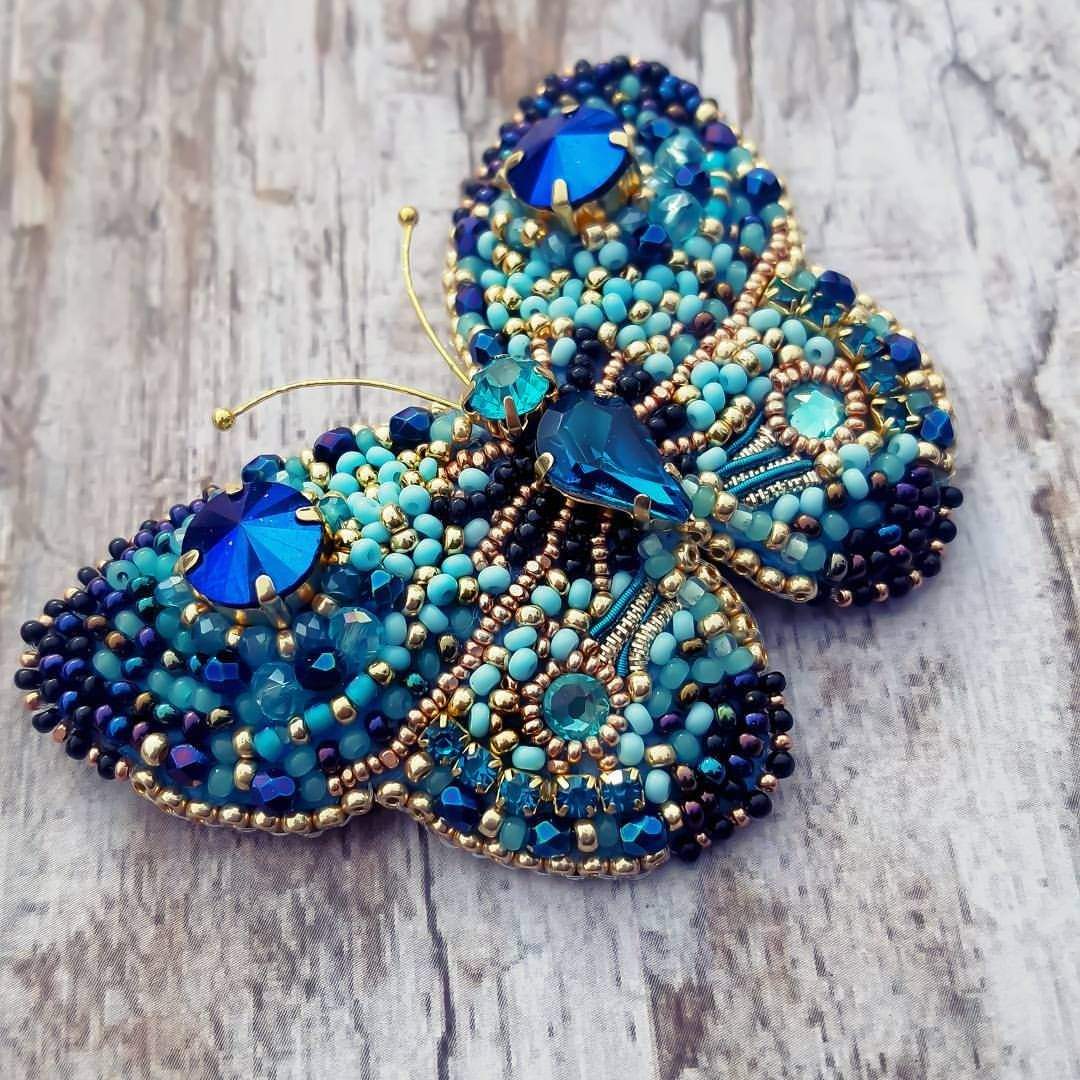
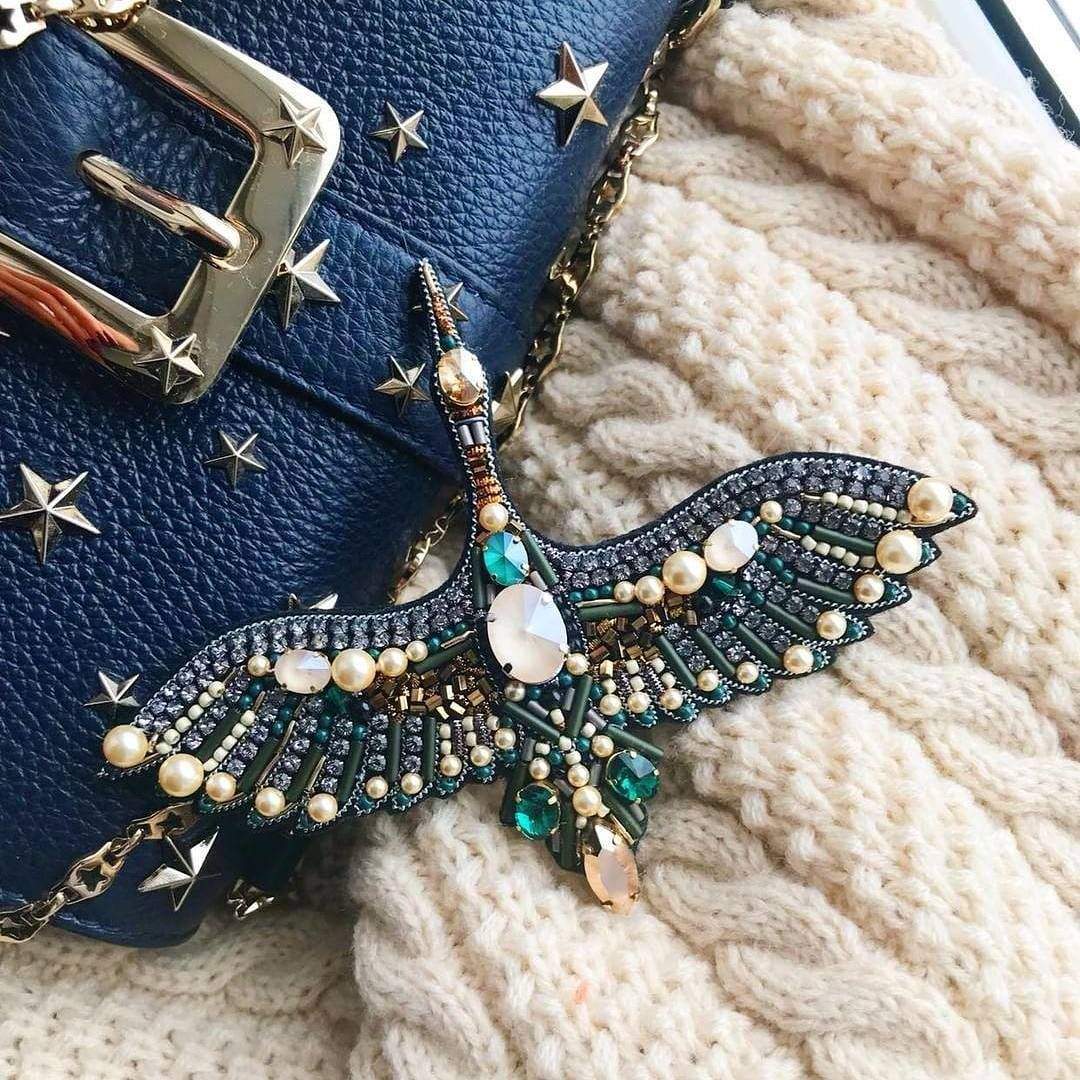
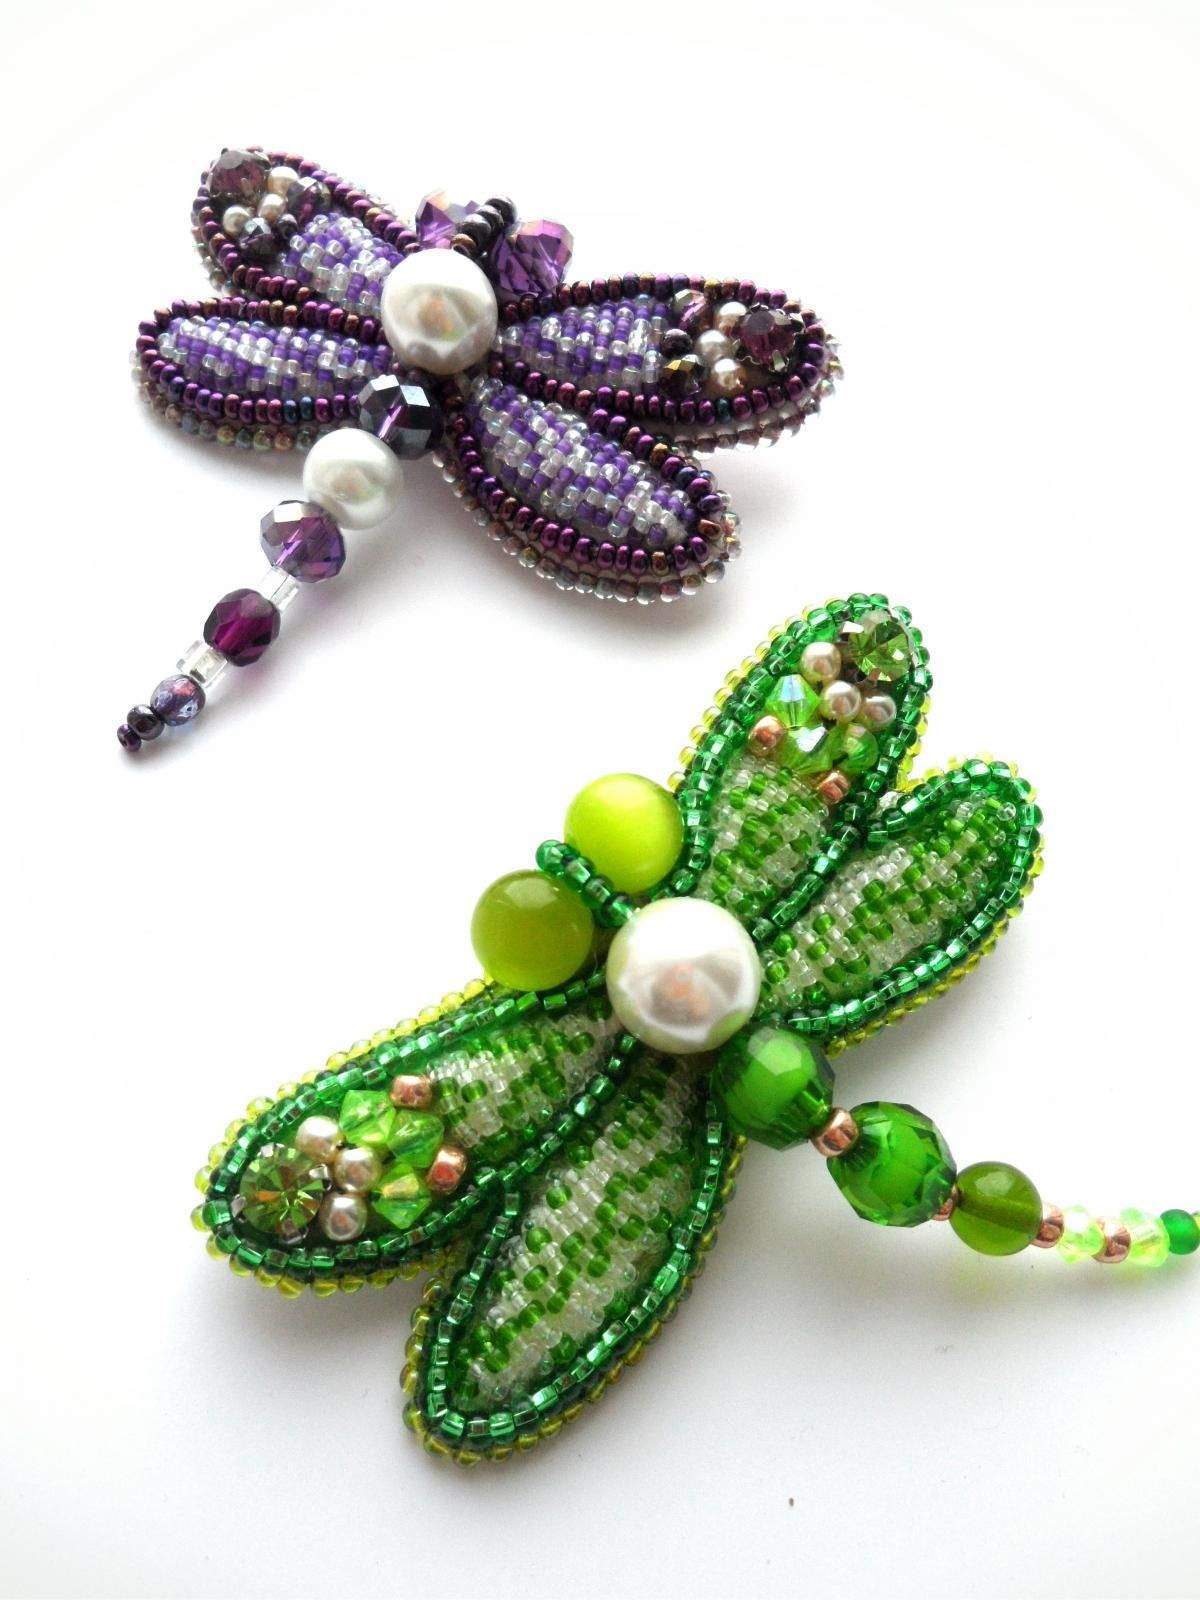
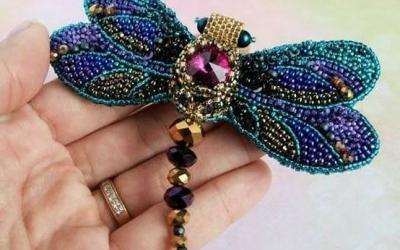
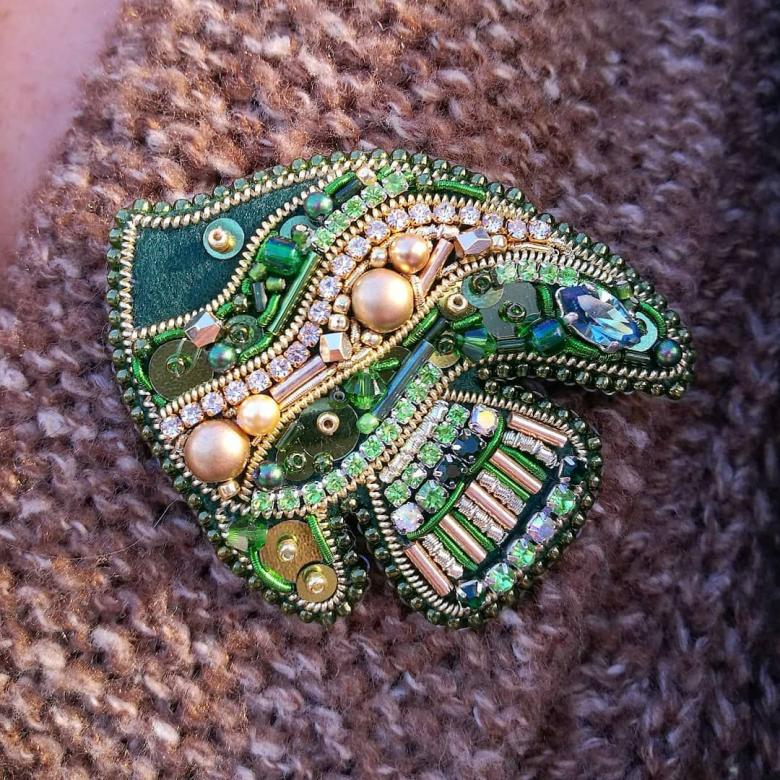
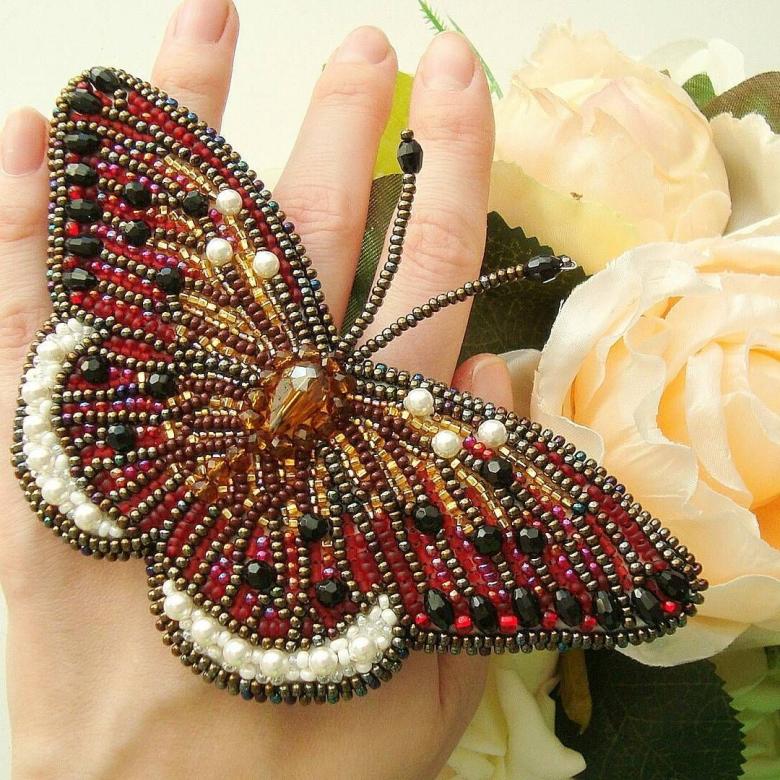
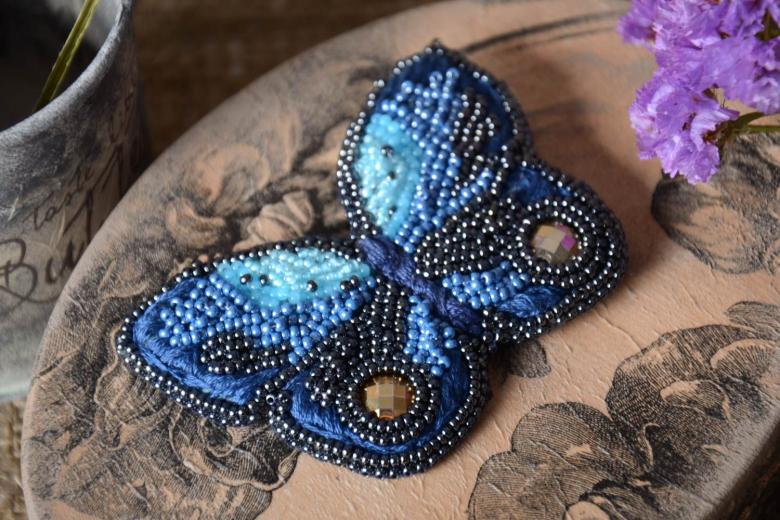
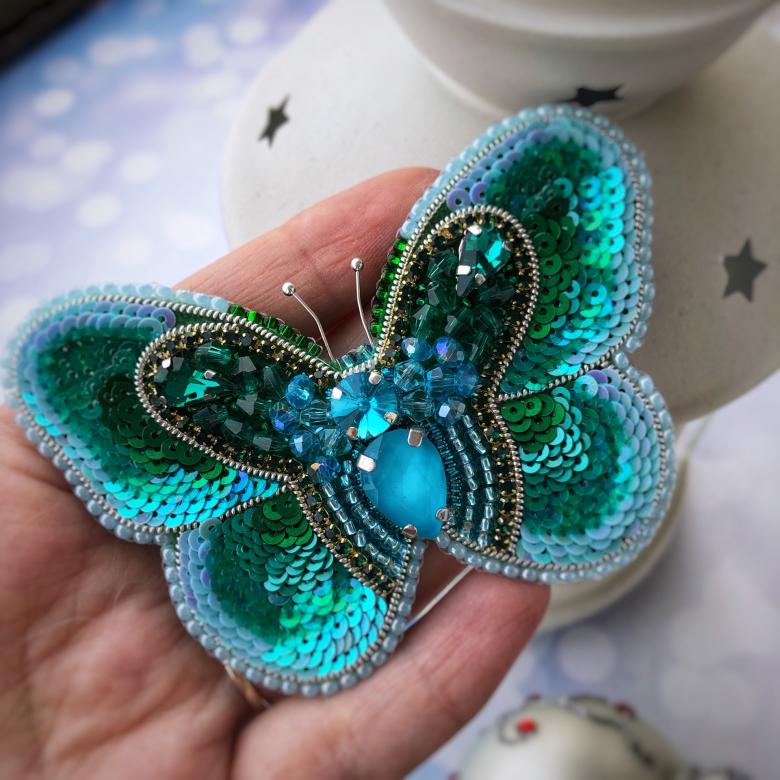
Butterfly brooch .
The following materials will be needed:
- A large bead or decorative stone.
- Glass beads of dark or blue color.
- Beads of any color.
- Felt or other thick pieces of fabric.
- A short piece of wire.
- Piece of leather or imitation leather.
- Glue for cloth and plastic.
- Paper/cardboard.
- A lock for a clasp.
- Embroidering needles.
- Scissors.
Let's get to work:
- Create a stencil from cardboard according to the pattern, draw an outline on the fabric, but do not cut it out. In the center fix a large stone.
- We make a beading along the outline of the pattern.
- Next, sew the beads inside the silhouette of a butterfly, with veins on the wings of gold beads. The main background is purple, green.
- Then we cut out the butterfly from a piece of felt, make whiskers from wire and sew them on the back.
- We create a template on cardboard and glue it on the back of the butterfly with glue.
- Similarly, a leather stencil is made and glued over the butterfly.
- It remains to fix the clasp of the brooch, make a beautiful outline.
Our butterfly is ready - it can be worn on a dress or suit, given to friends or sold online in a handmade auction.
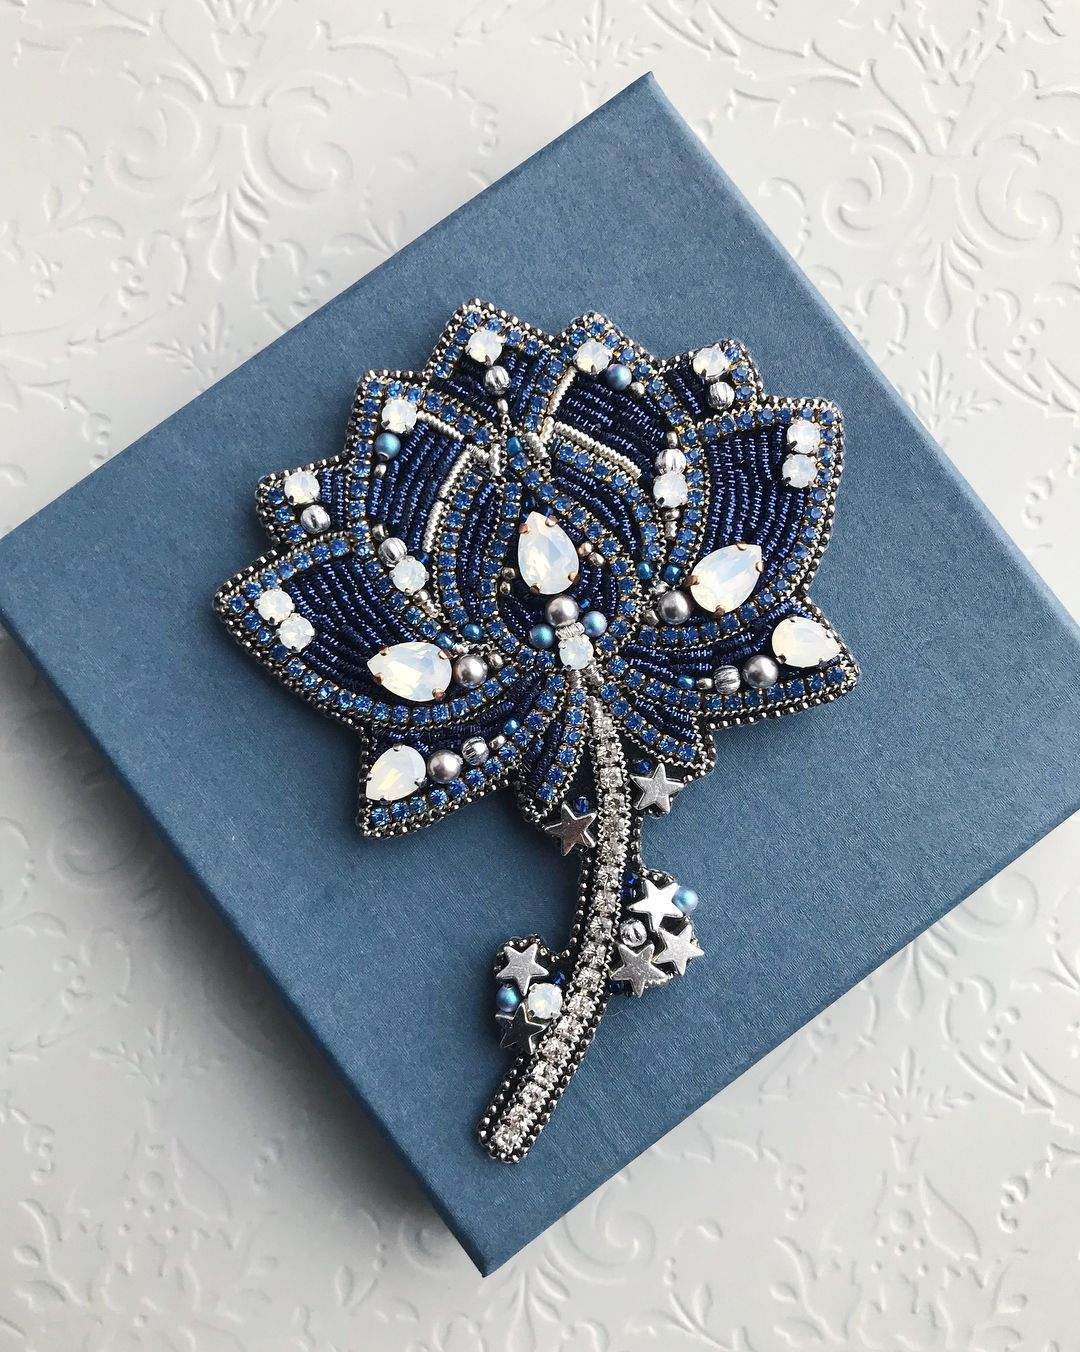
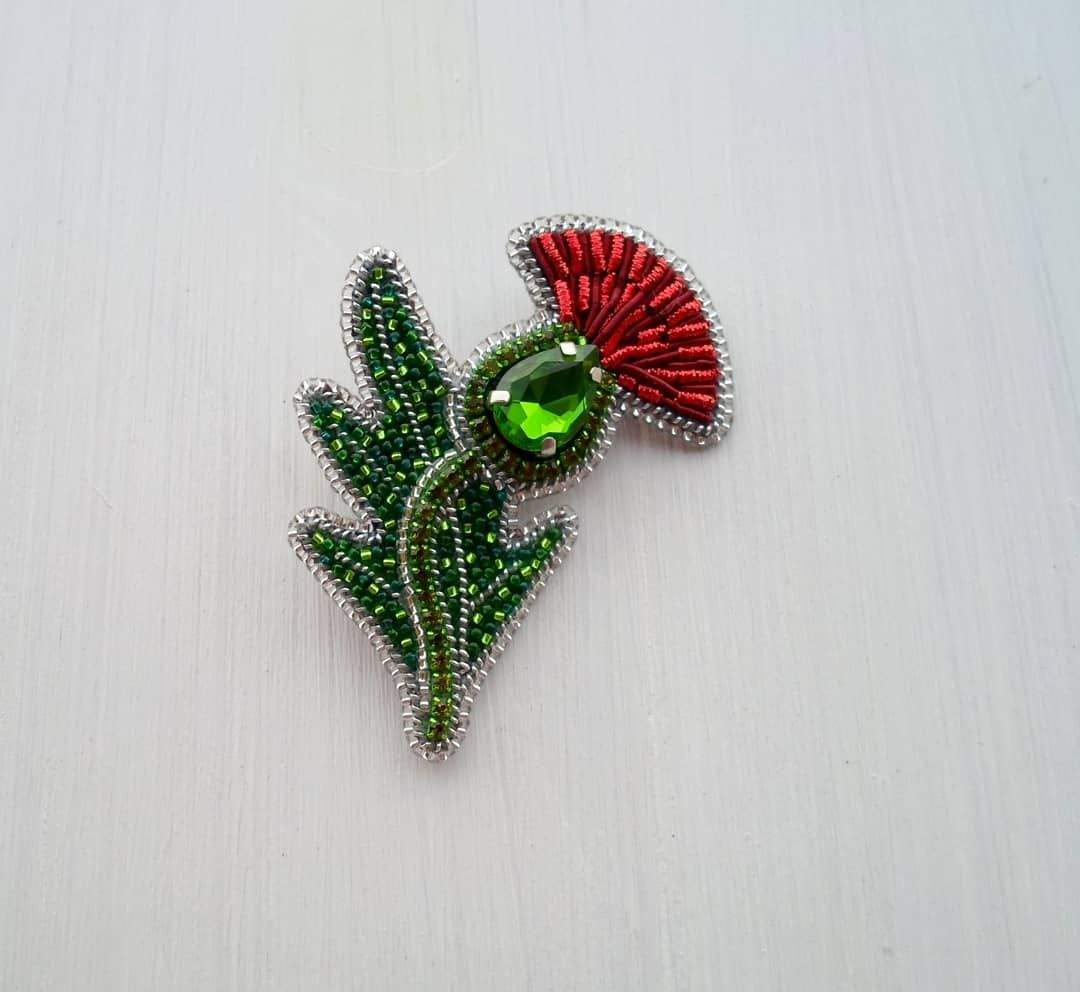
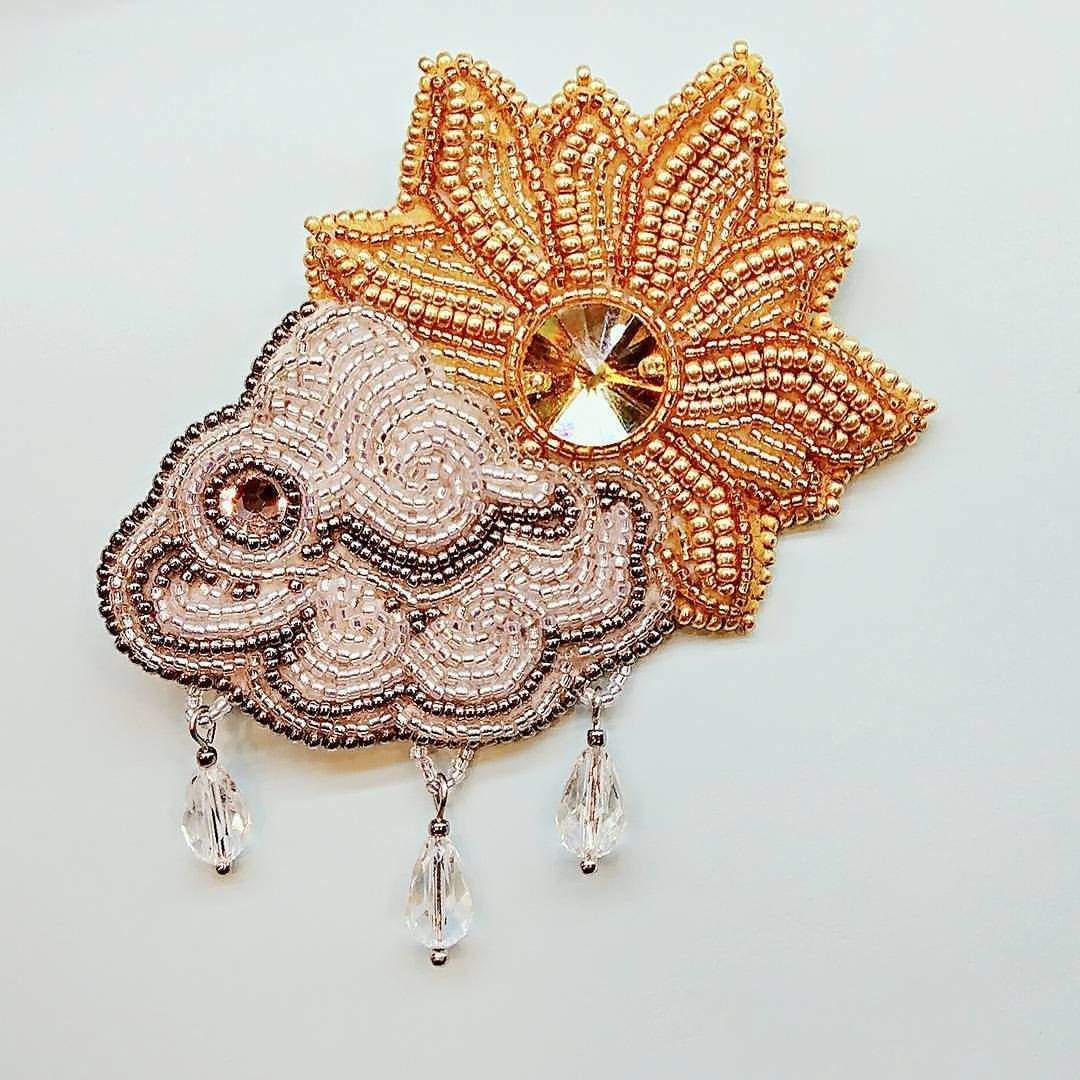
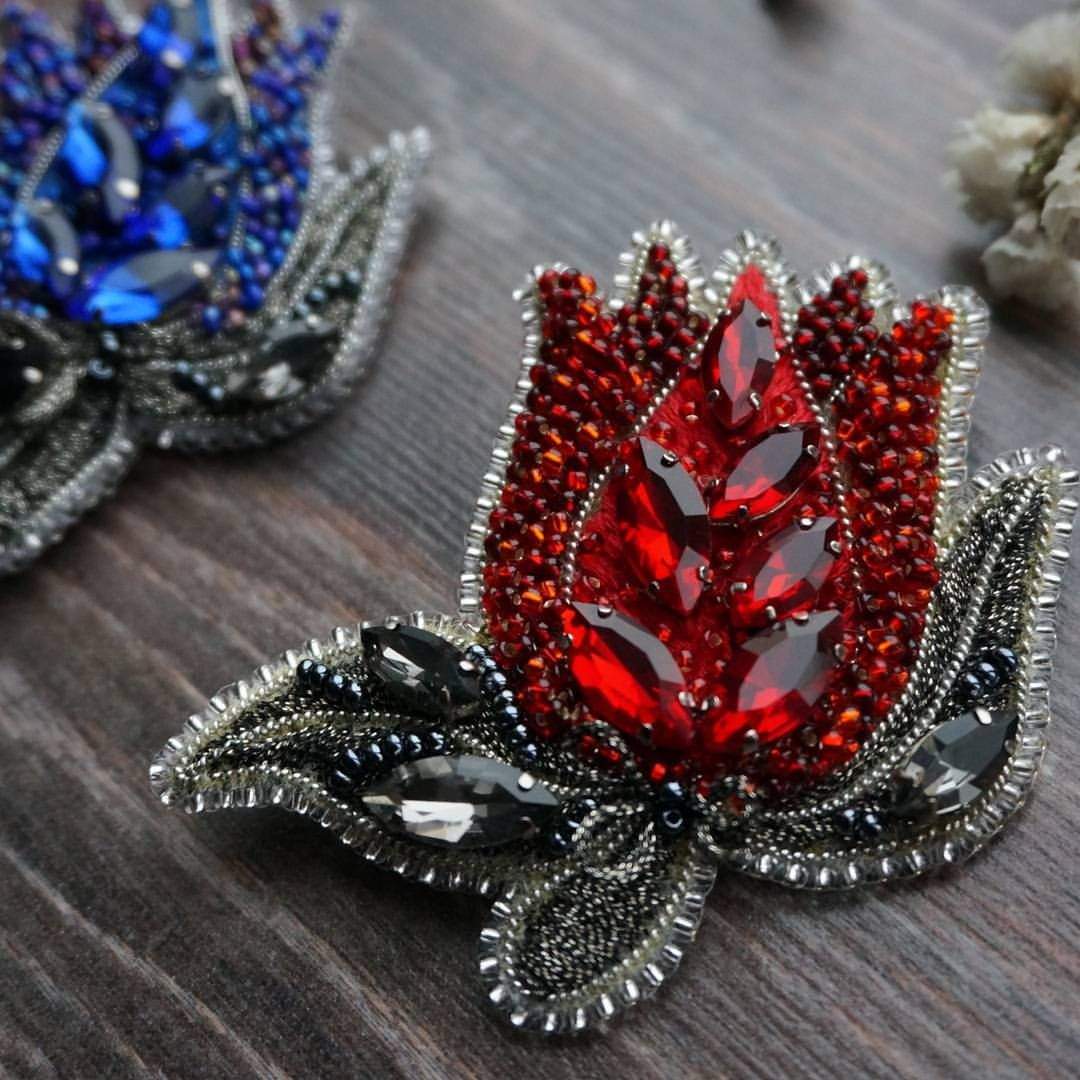
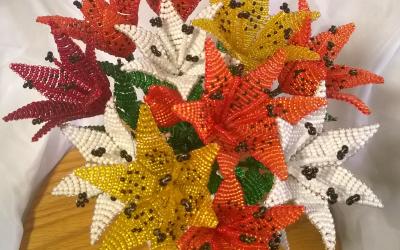
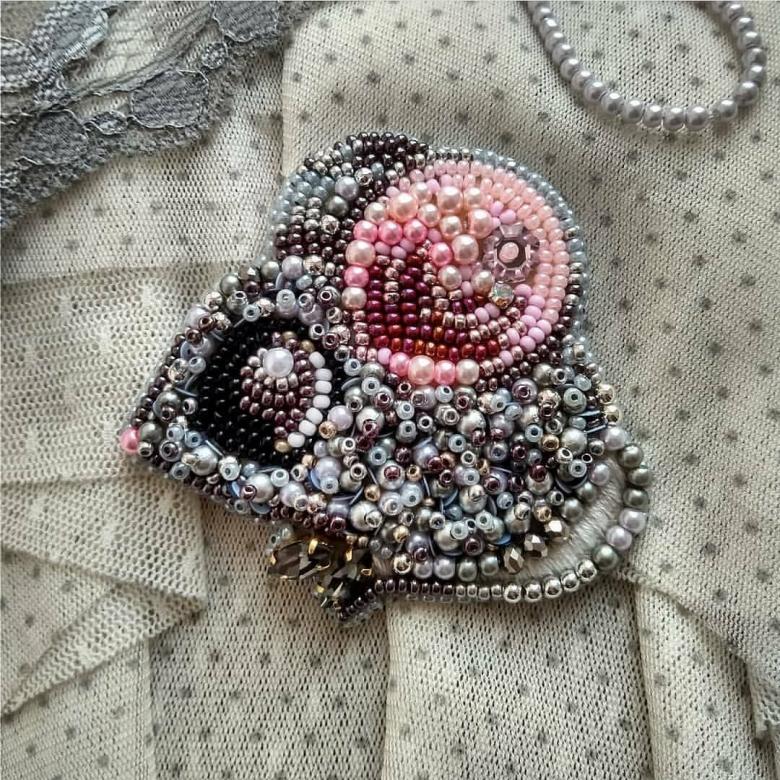
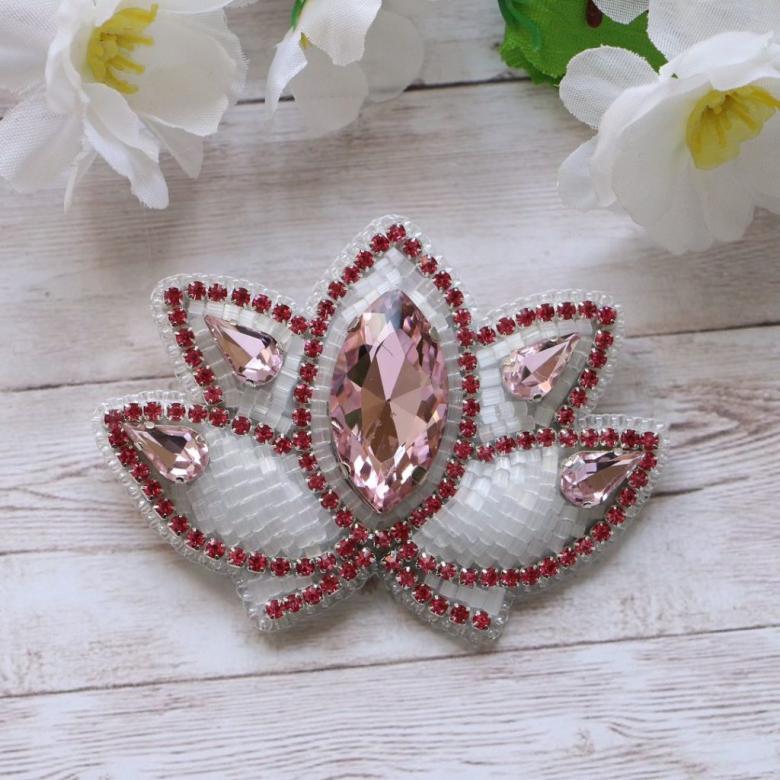
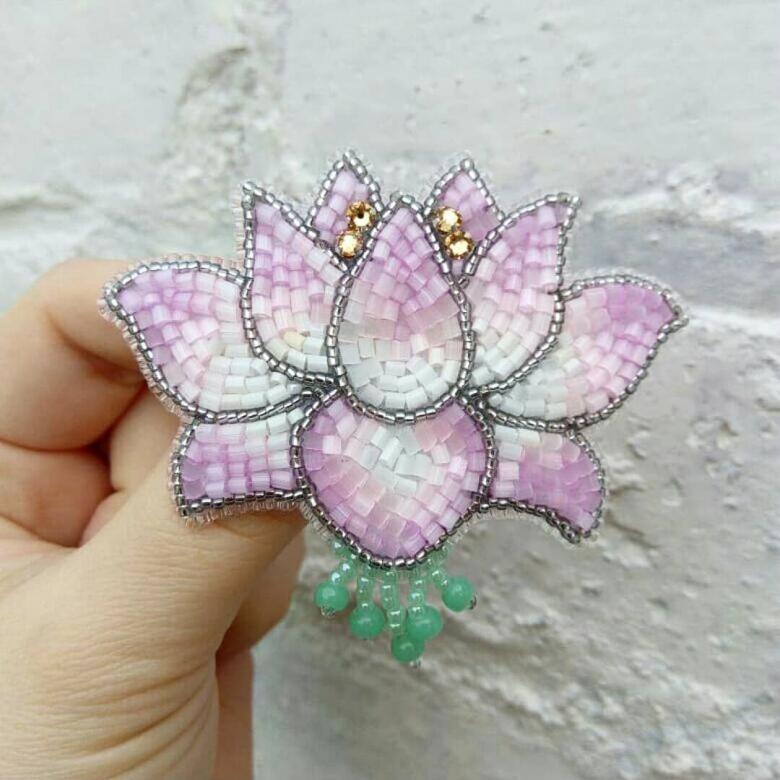
Lotus flower
A delicate lotus is a great option for creating with beads. Use the following material to create it:
- Multicolored beads.
- A large bead or craft stone.
- A piece of felt and leather or leatherette.
- Glue and scissors.
- A pin.
- Thread with a needle.
- String.
Procedure:
- Draw a double stencil. On the first leave the flower intact, on the second cut the petals.
- Transfer the stencil along the contour on the felt. Cut out the petals and glue them to the fabric.
- In the center sew a bead.
- On the wrong side secure the thread with a knot so there is no pulling parts.
- Fill the flower beads, making two separate rays - long and short. Also add stamens.
- The flower is cut out of fabric, and from cardboard - an analogue of a smaller size, glued to the felt.
- In the leather flap make a hole, insert a pin.
- Glue everything to the cardboard plane.
- The edges quilted with thread.
- You can decorate the edge of the brooch with beads, if desired.
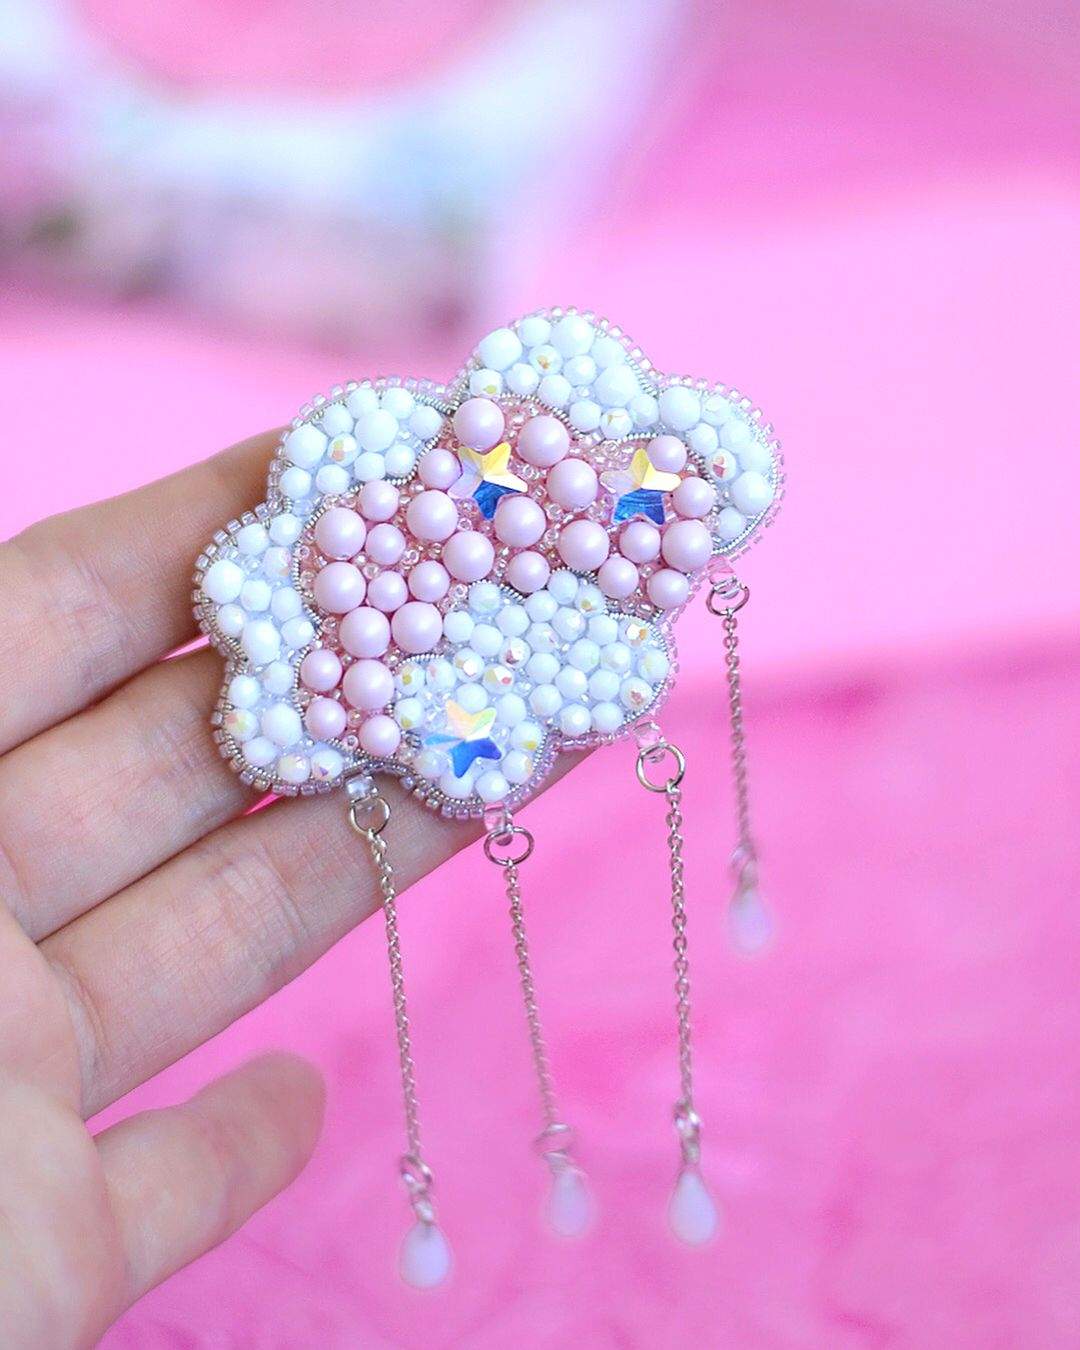
Tip: you can make a brooch not on the pin, but in the form of a pendant. To do this, you need to collect beads on a thread and make a loop, fasten the end to one of the beads of the brooch.
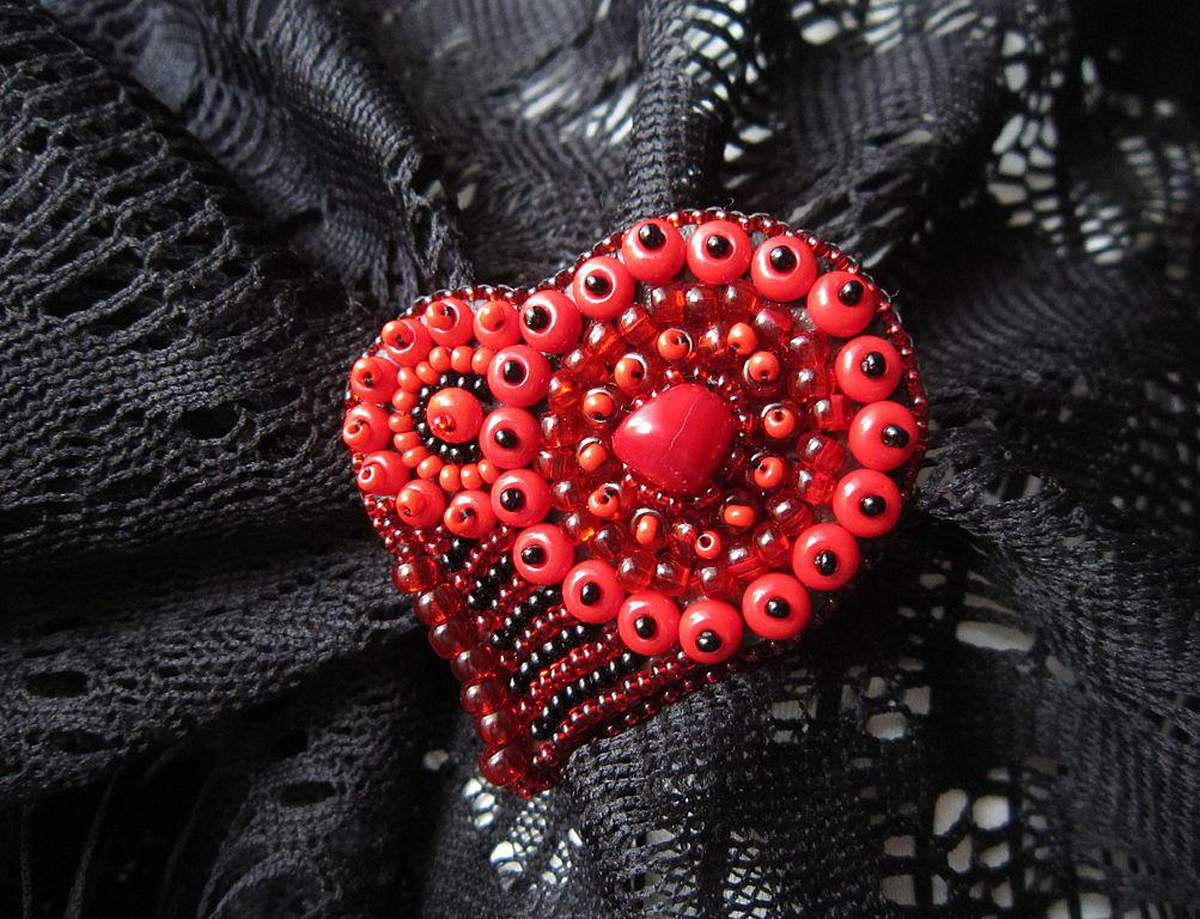
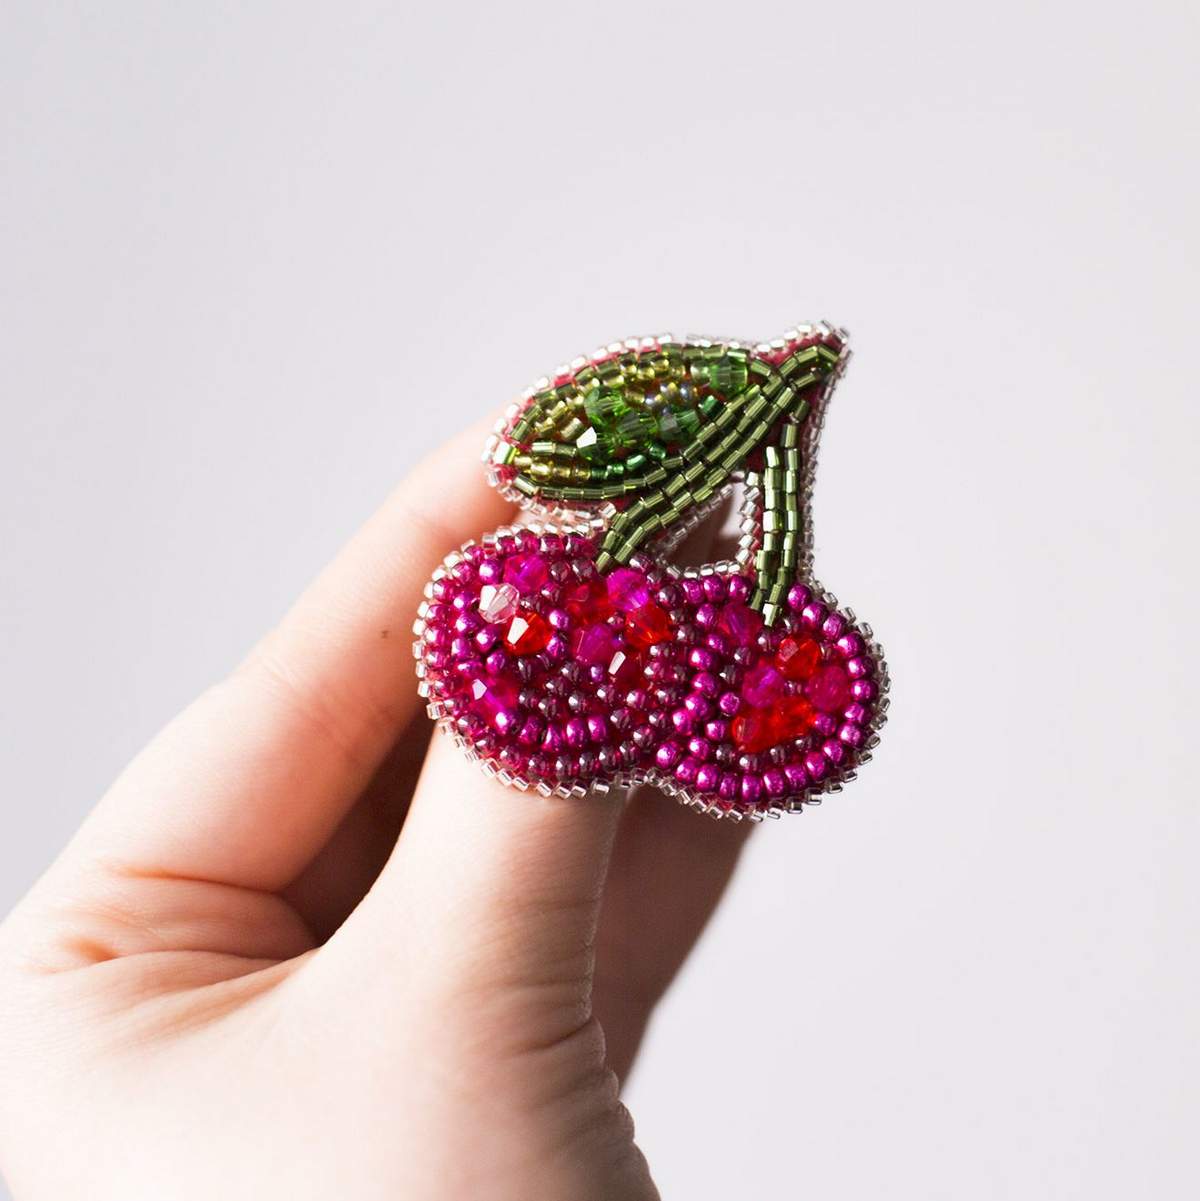
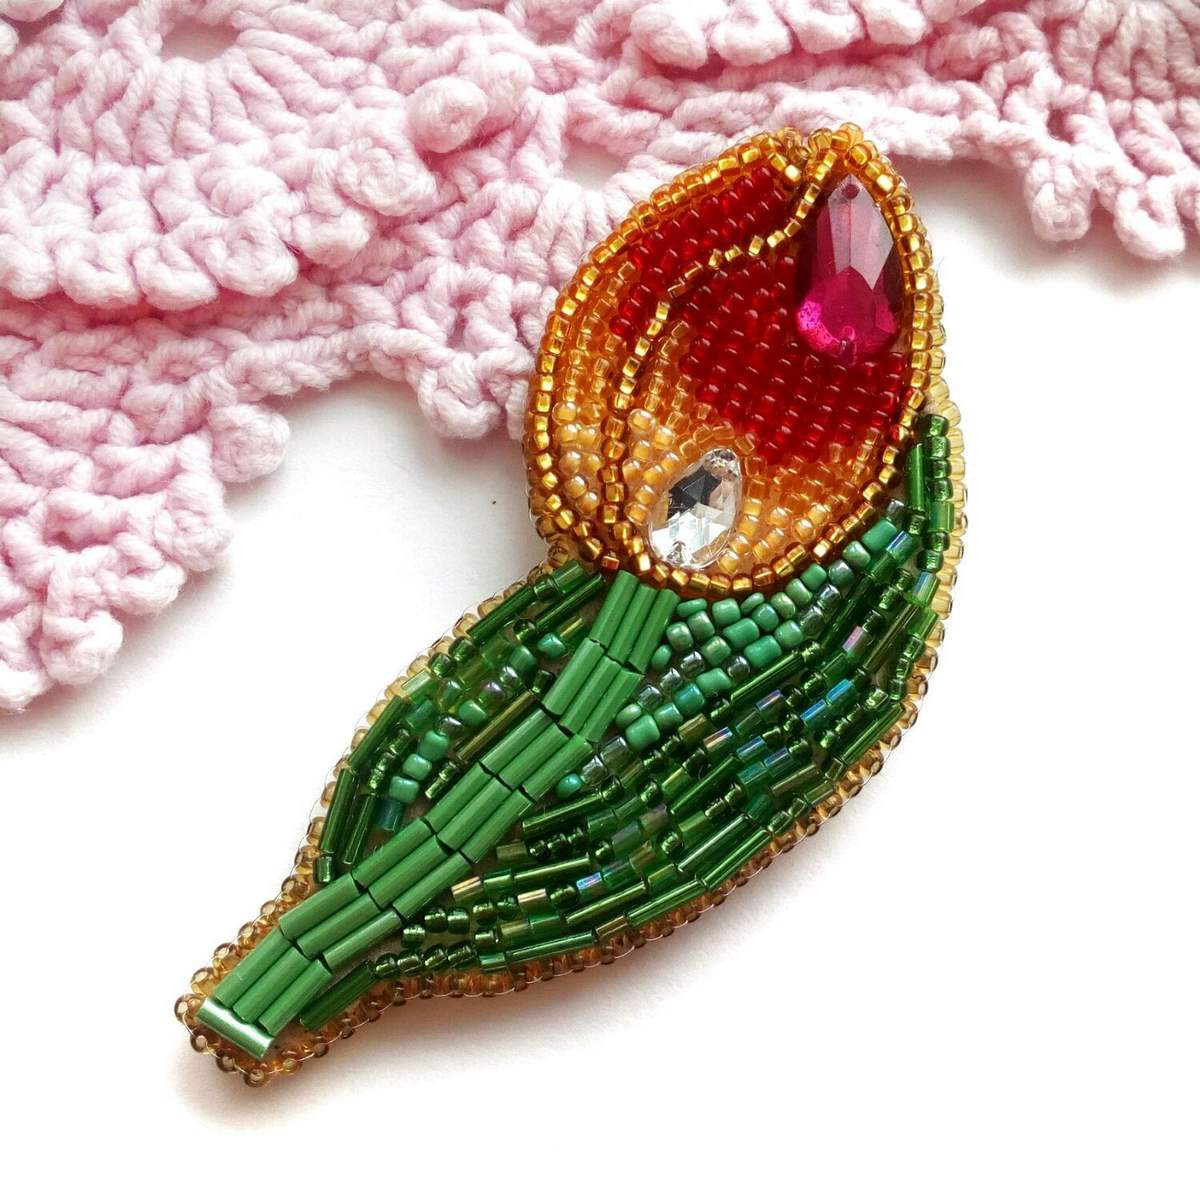
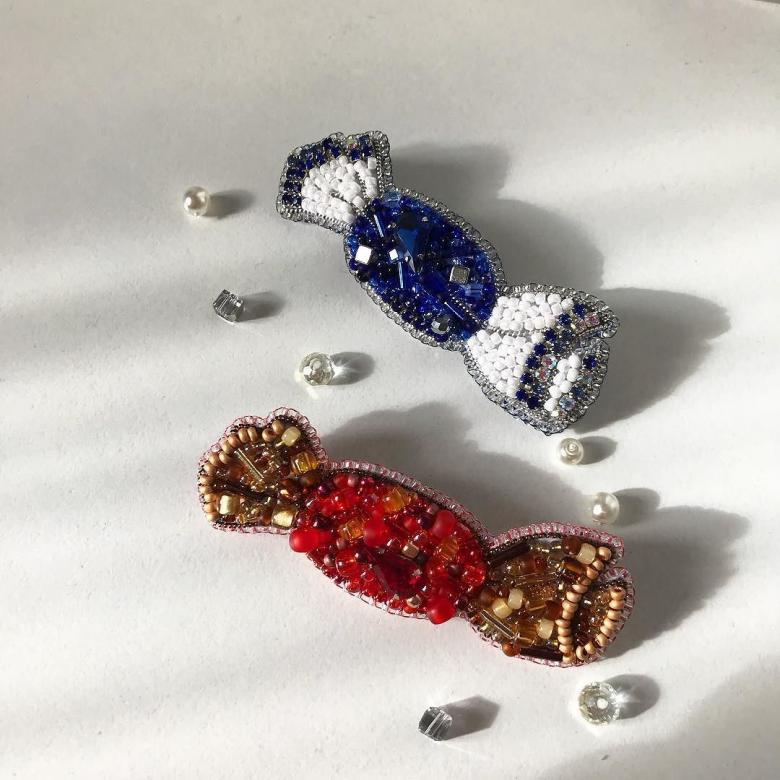
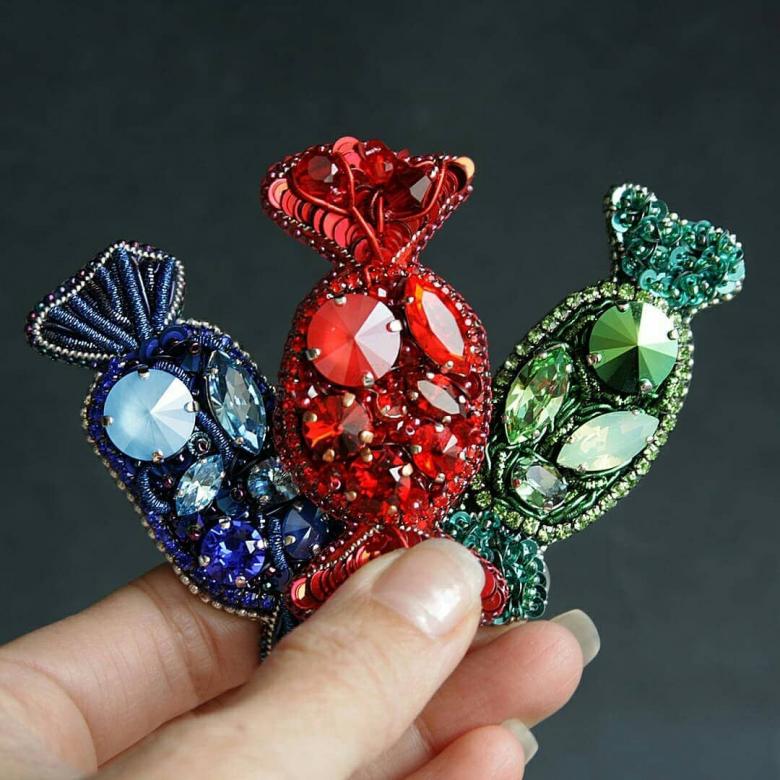
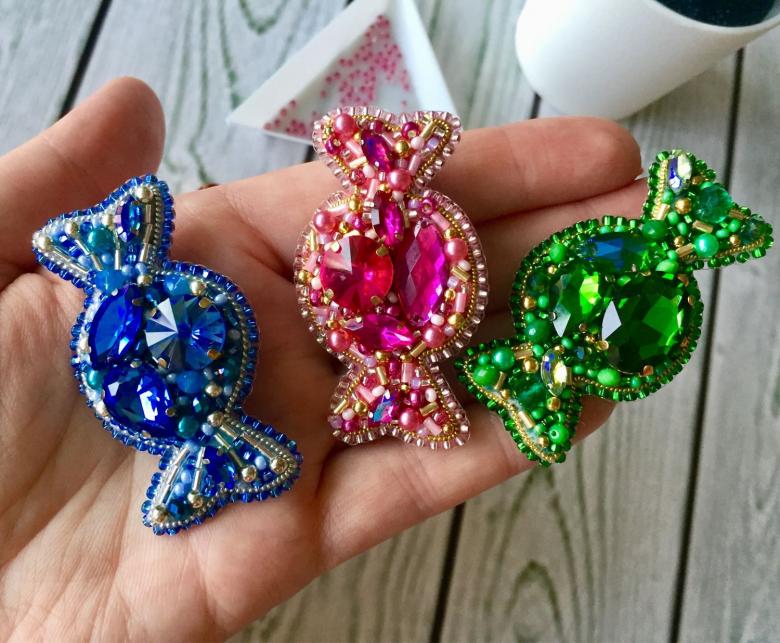
Candy
You can make one or more cute candies on a blouse or jacket. You will need the following tools and materials:
- Raffia 1 meter long (width 5-10 mm).
- Swarovski crystals, 5 chatons.
- The beads are 4 mm long.
- Beads of any color.
- The base for the brooch with a clasp (size - 28 mm).
- Stiff and light-toned felt.
- Monofilament type Gamma (0,12 mm).
- Needles.
- A piece of leather or velvet, suede or other material.
- Cardboard to seal it.
- Superglue or Moment.
- Nail scissors.
Procedure:
- Transfer drawing to felt with pen or pencil, sew on Swarovski crystals.
- Smooth the corners with scissors.
- Crystals are attached with glue, they originally have a frame, just enough to place them on the candy and sew through the holes with a couple of stitches.
- Sew on the bicone.
- Embroider a pattern of knots with raffia, fill the empty spaces with beads.
- Make the tips of the raffia sweets.
- Assemble the brooch and trim the back and edges.
We hope that in the end, the beaded brooch master class will turn out a beautiful pattern. Do not limit your imagination, make a piece of jewelry that pleases the eye!
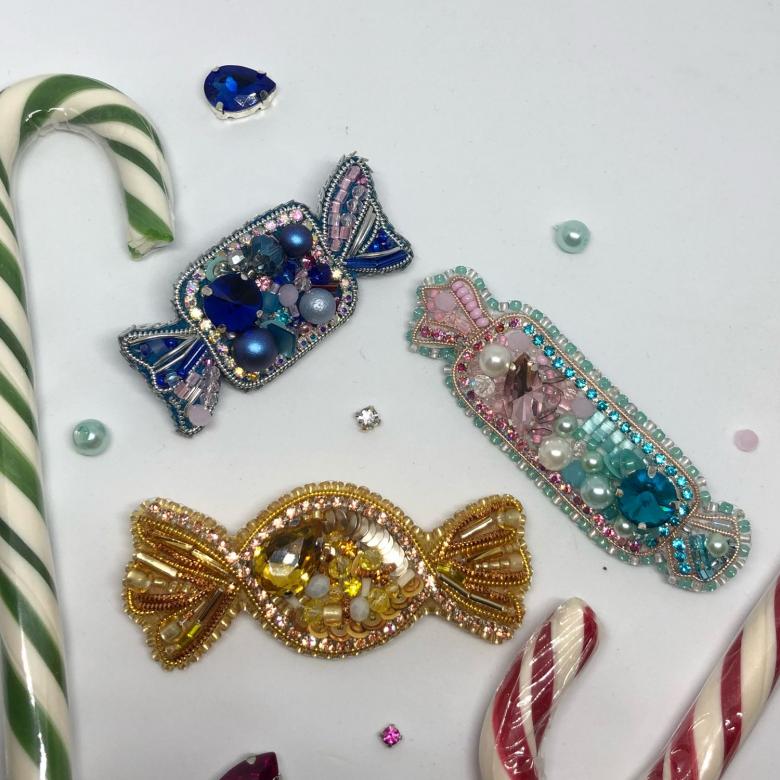
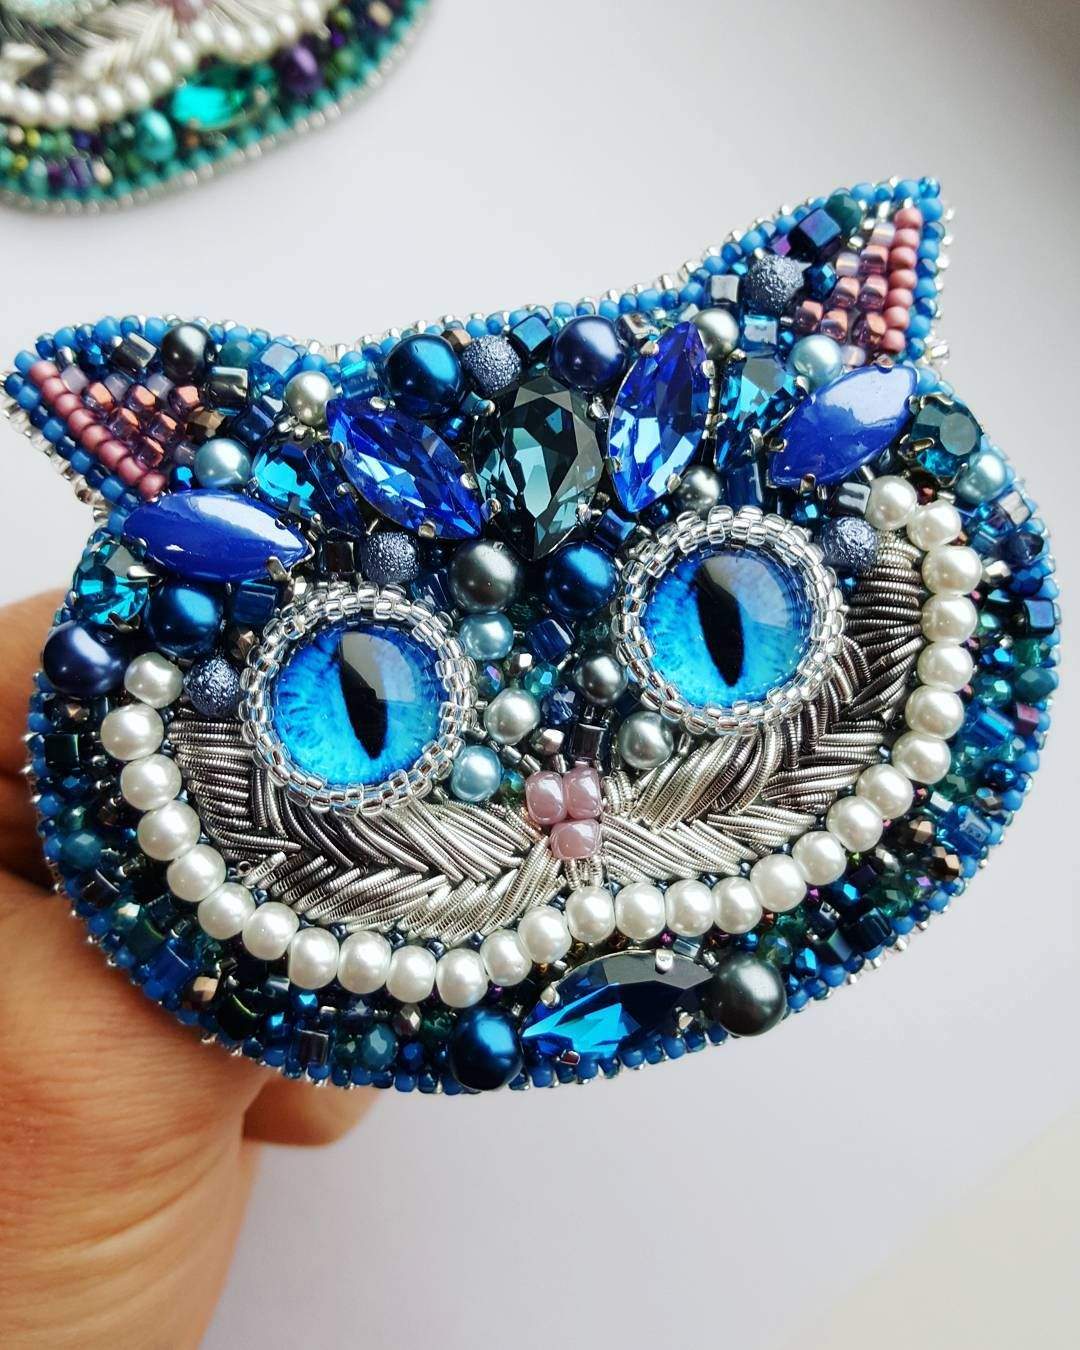
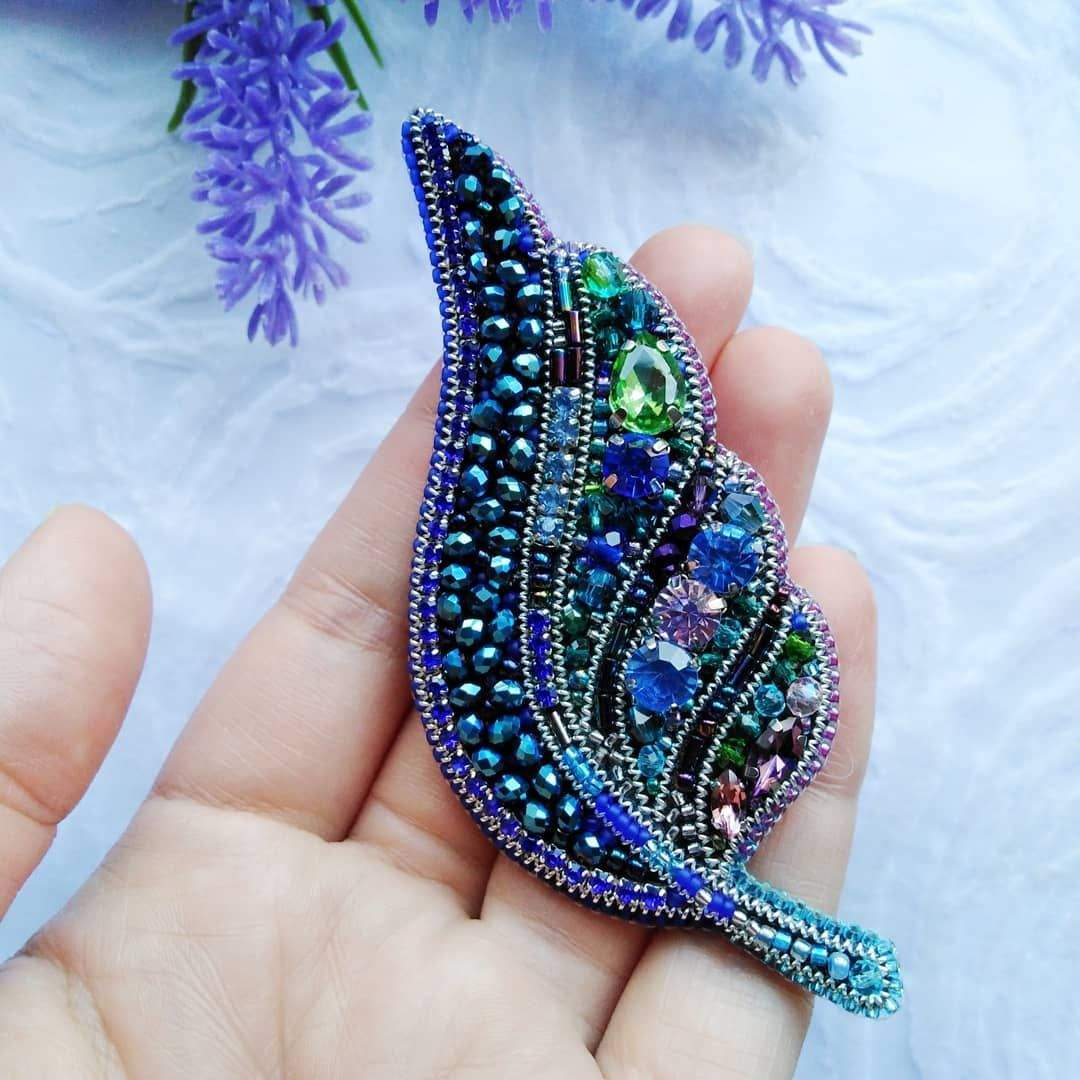
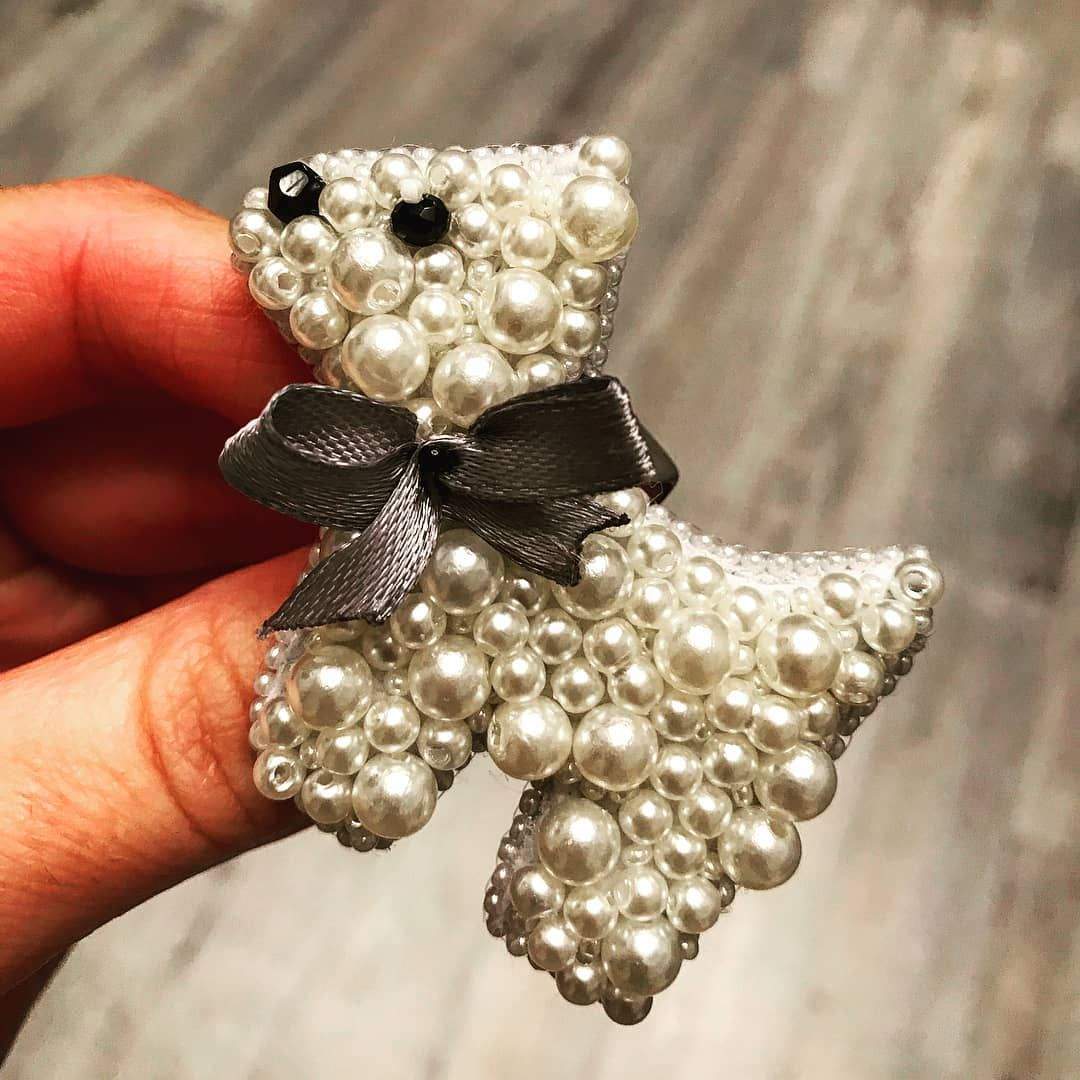
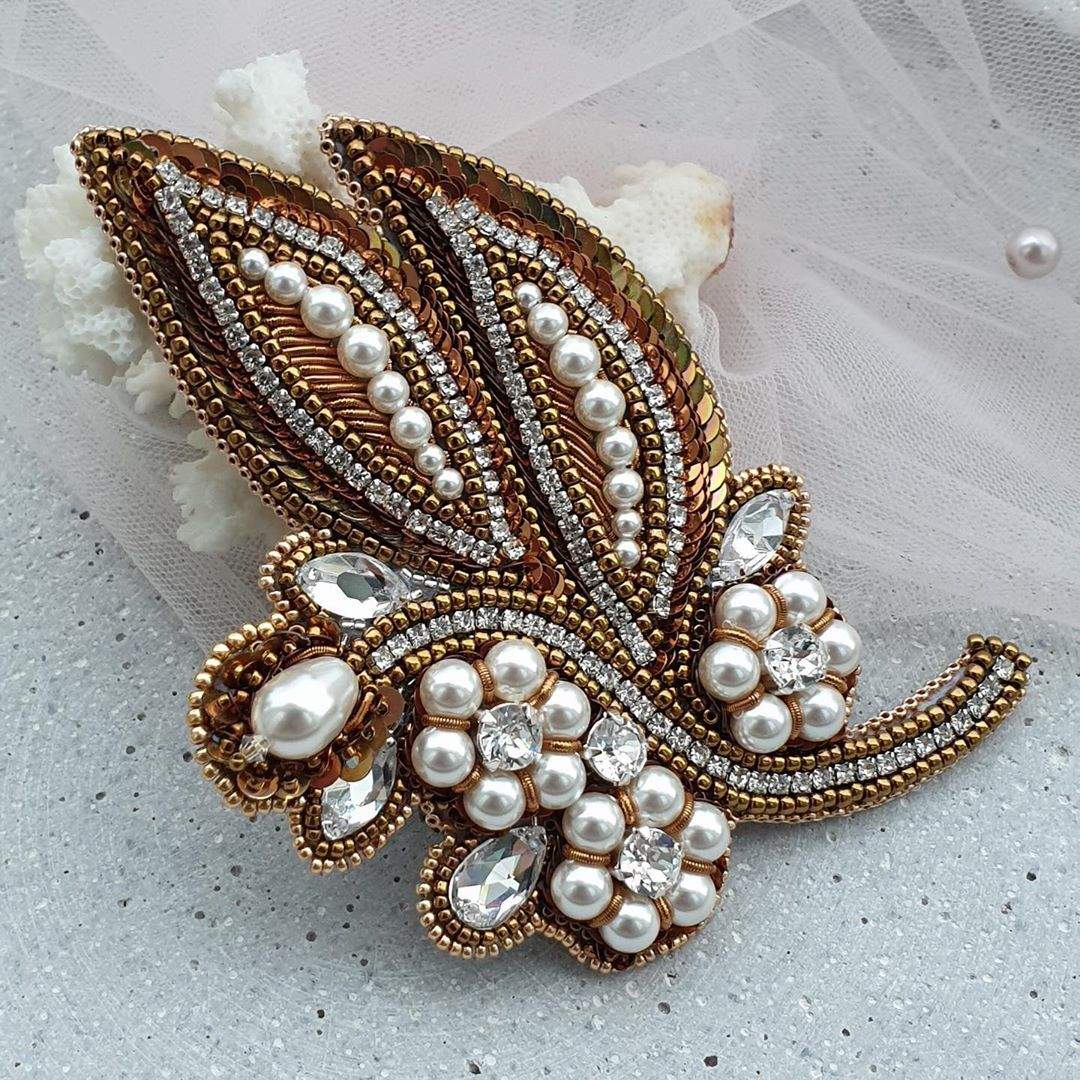
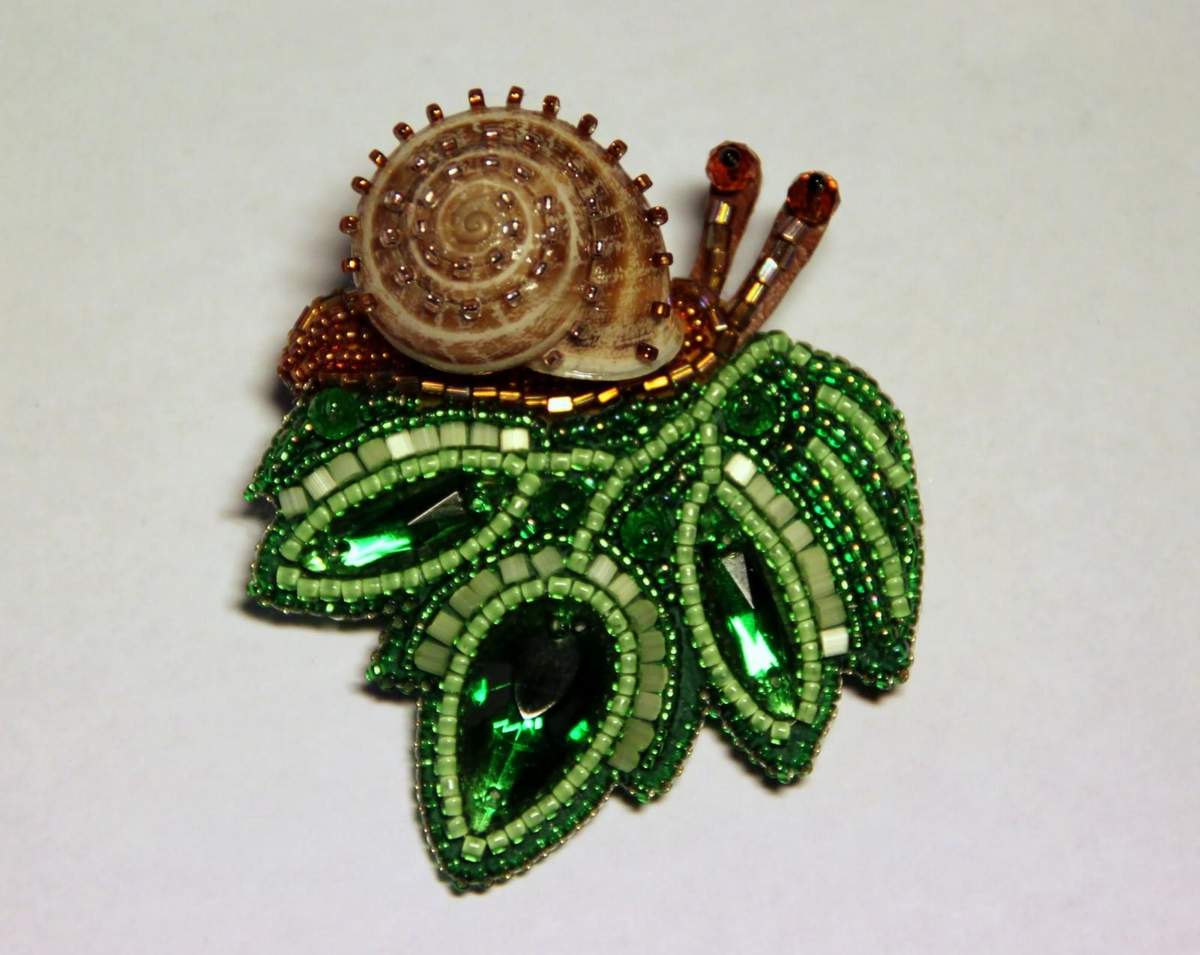
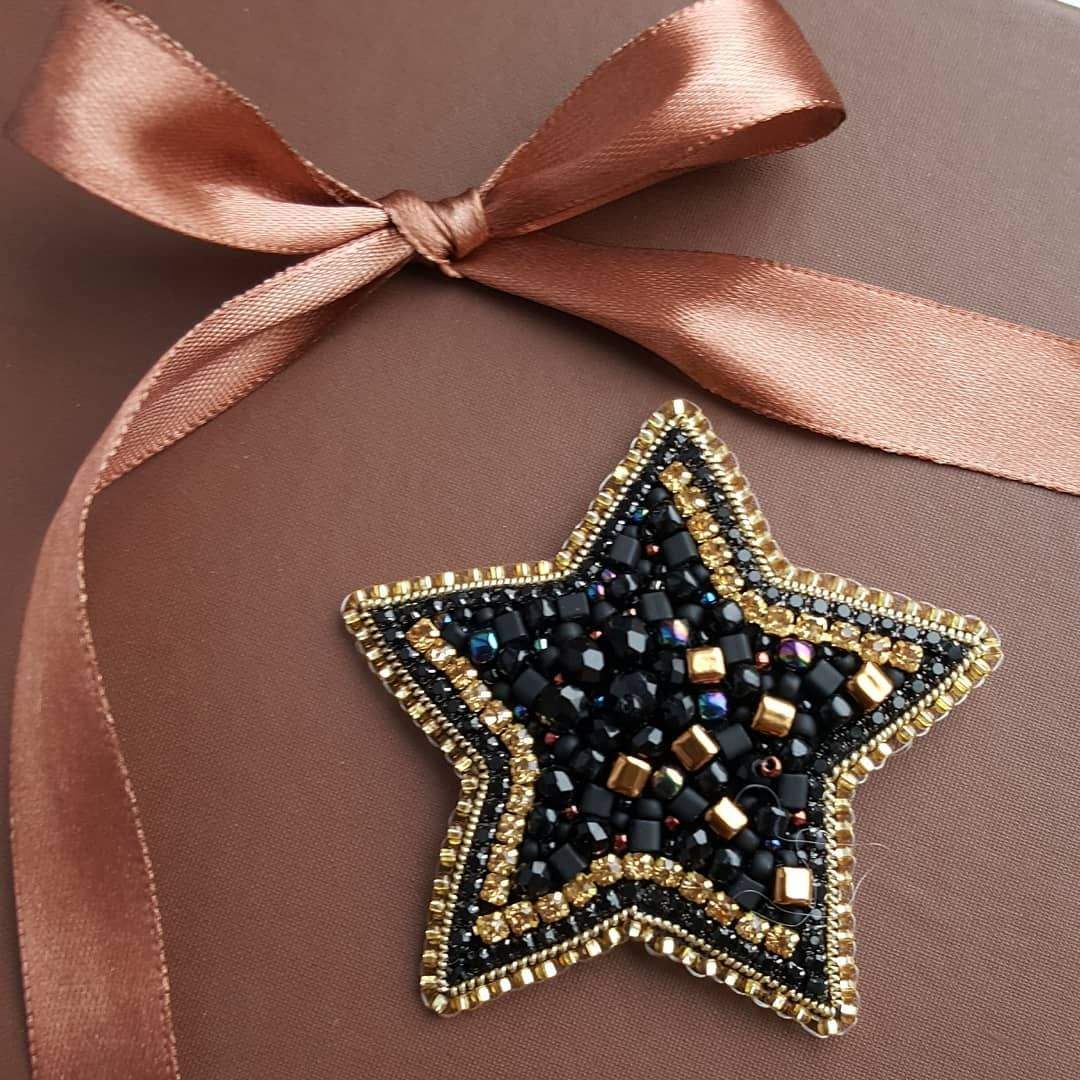
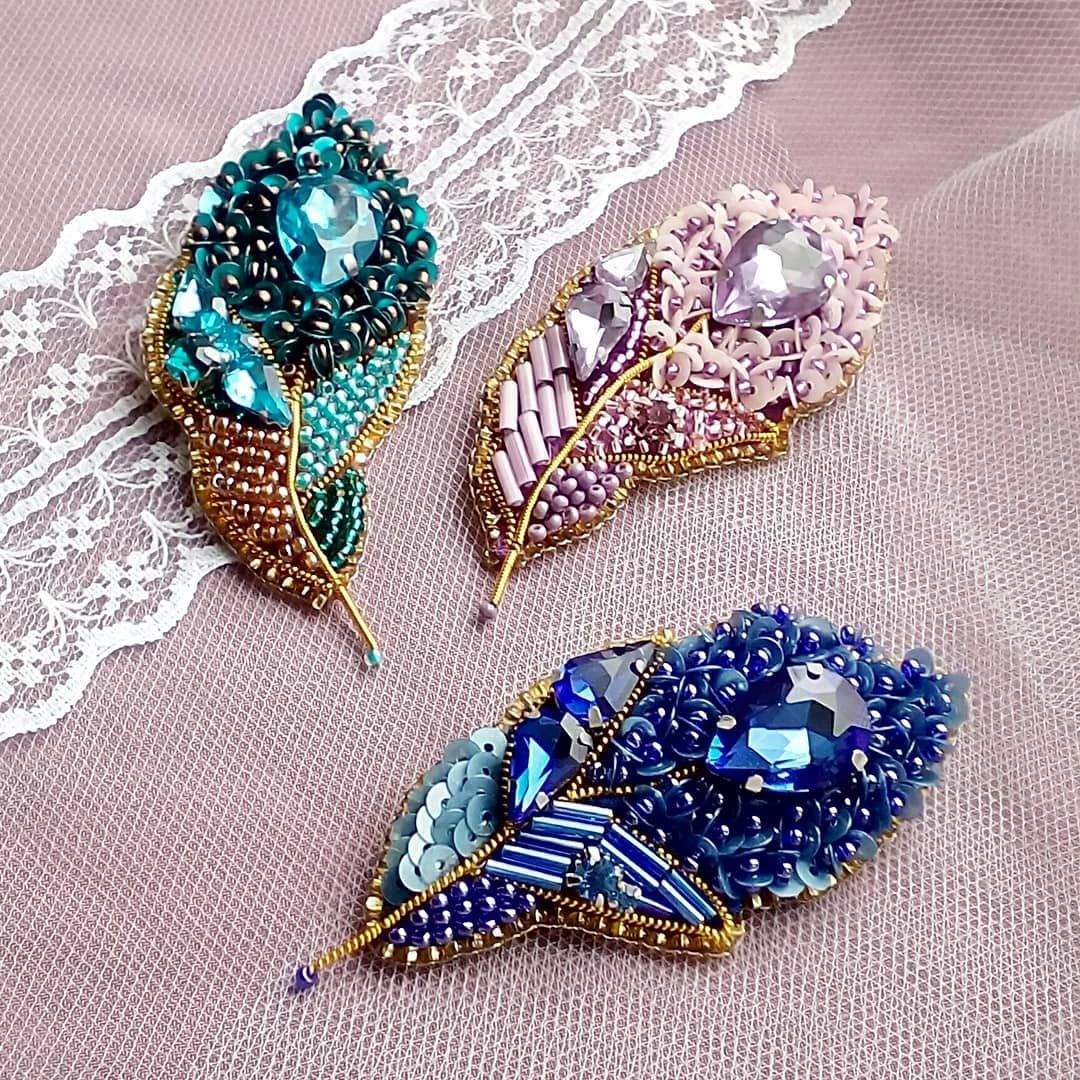
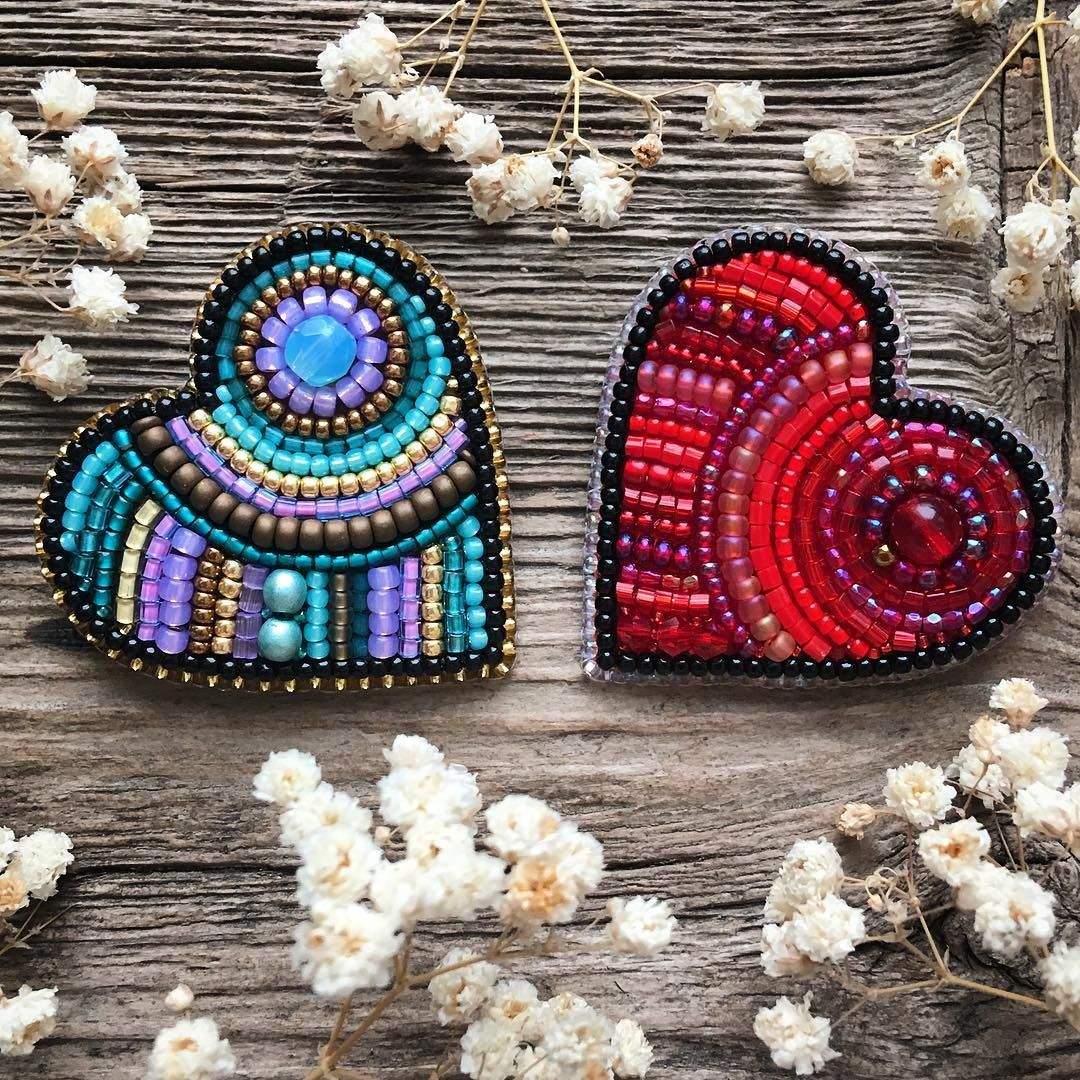
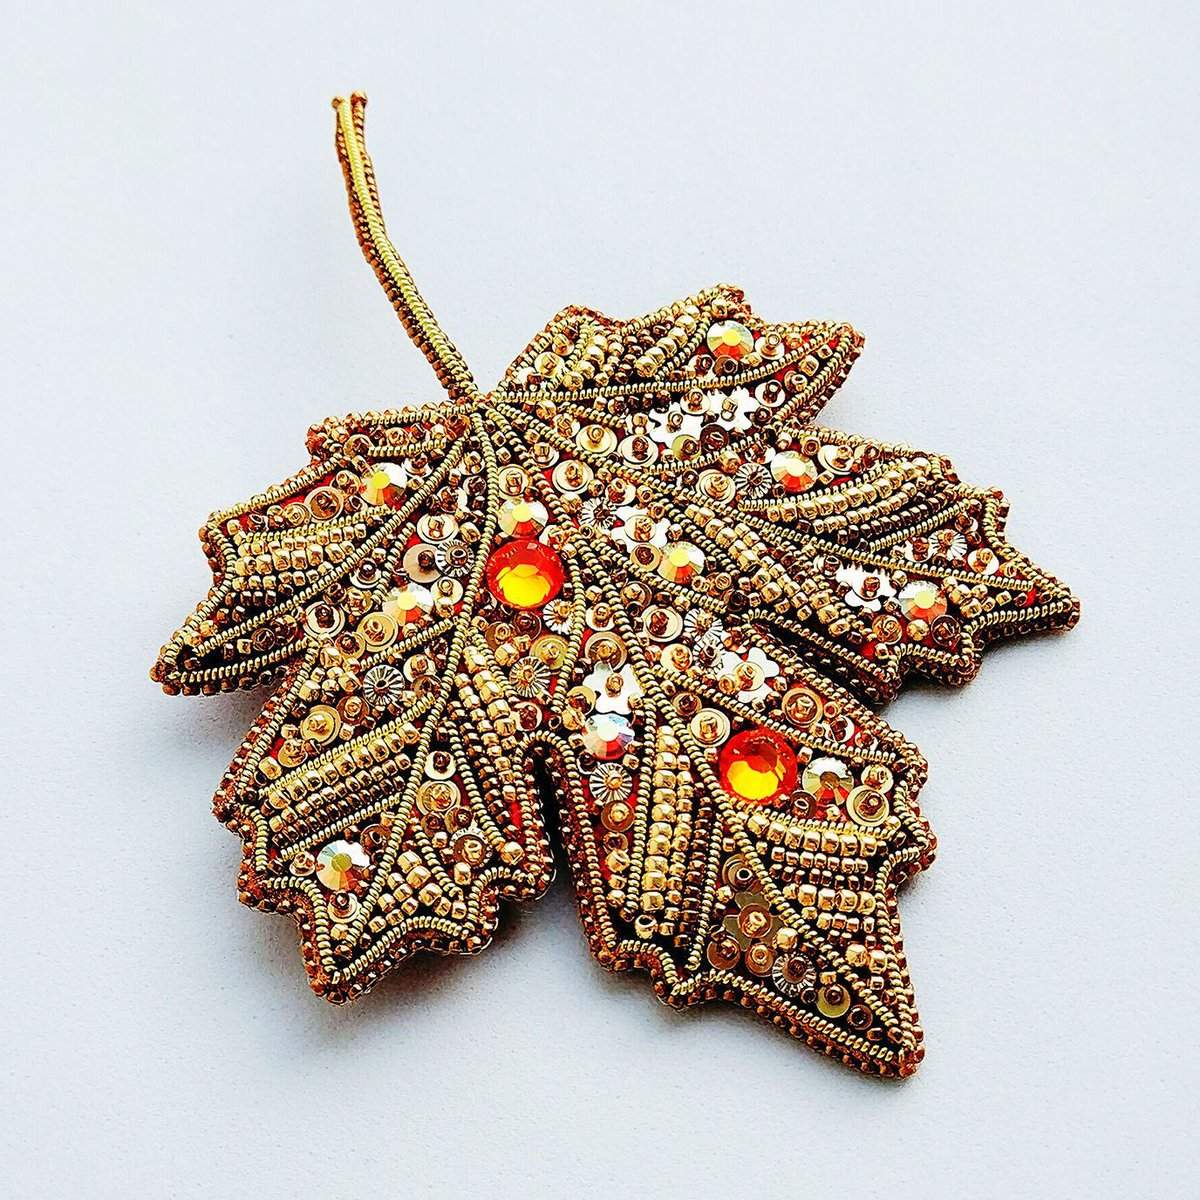
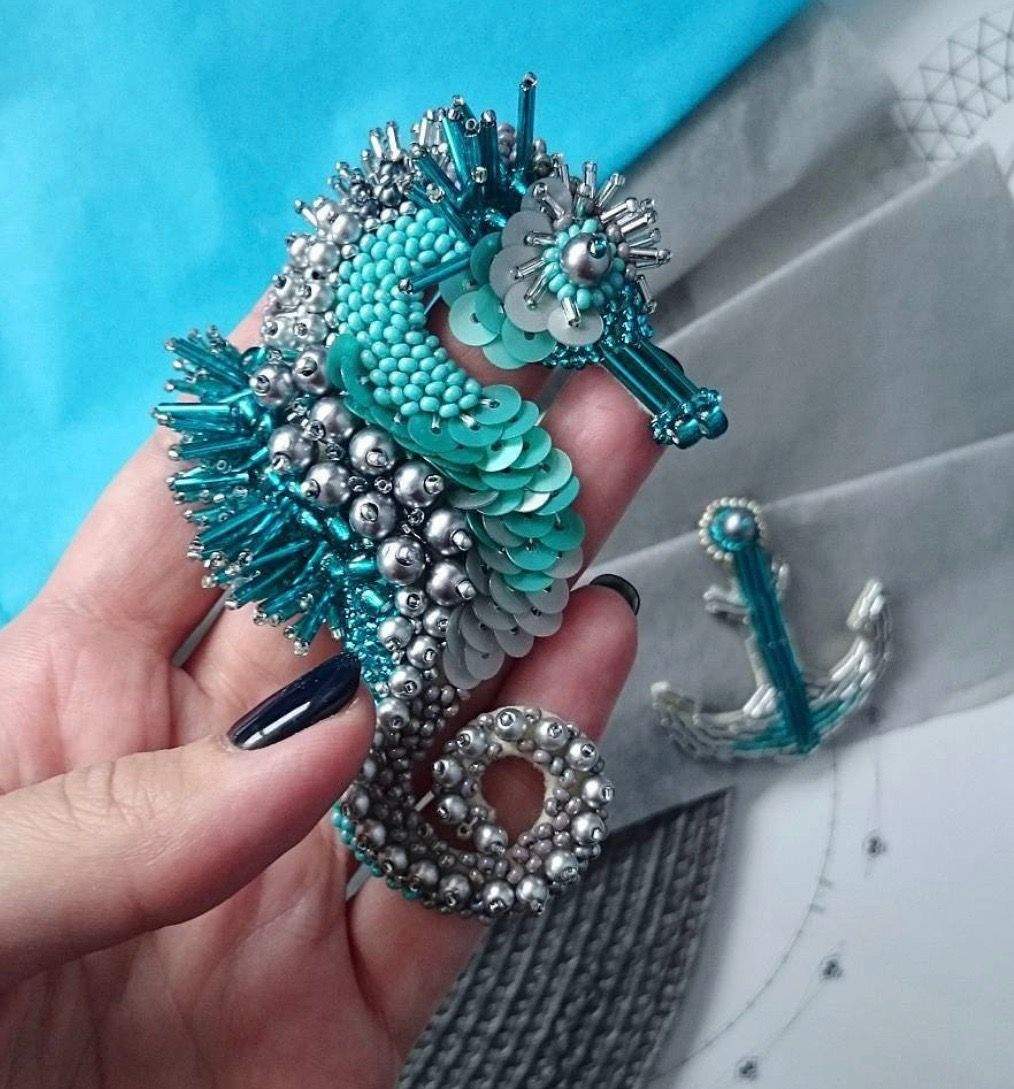
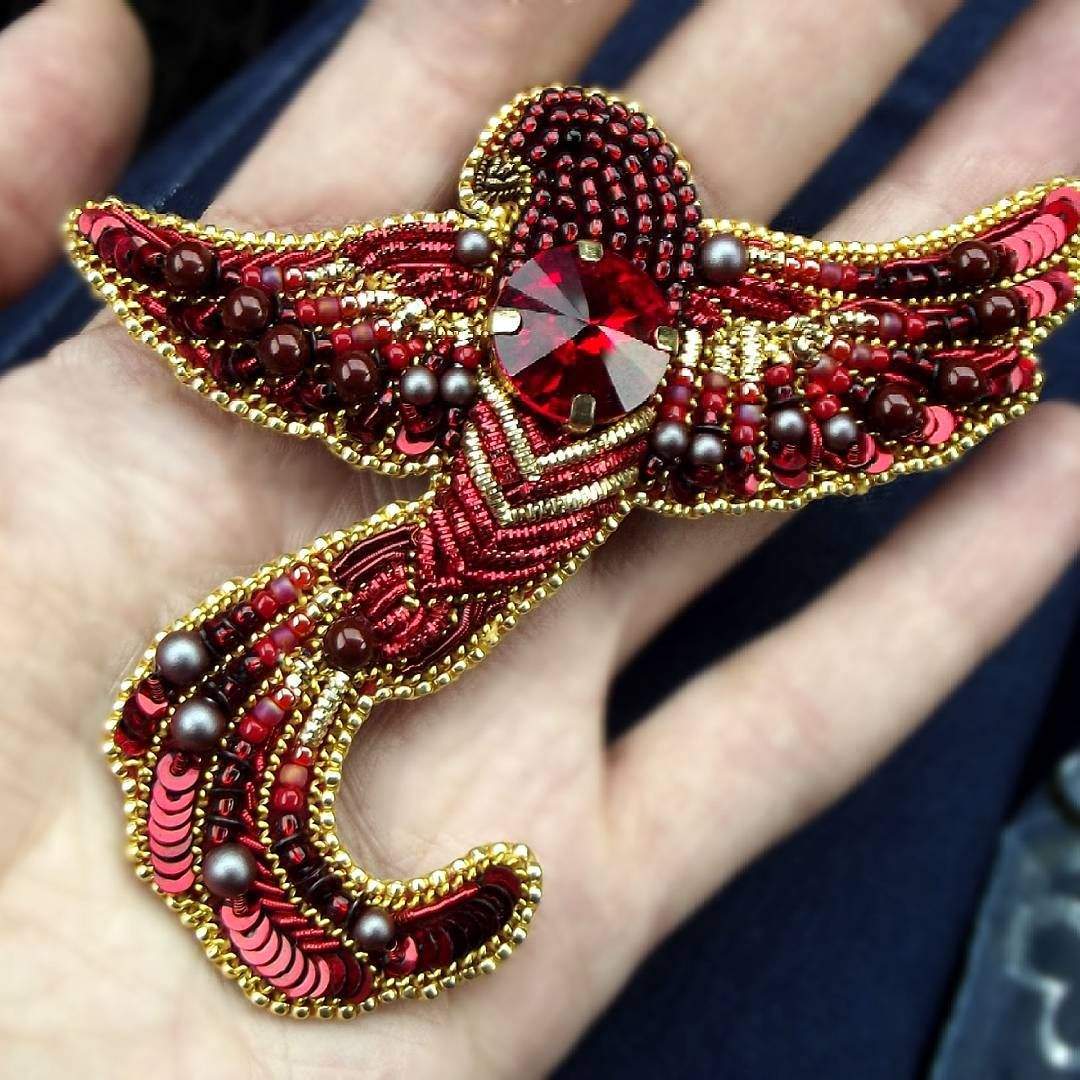
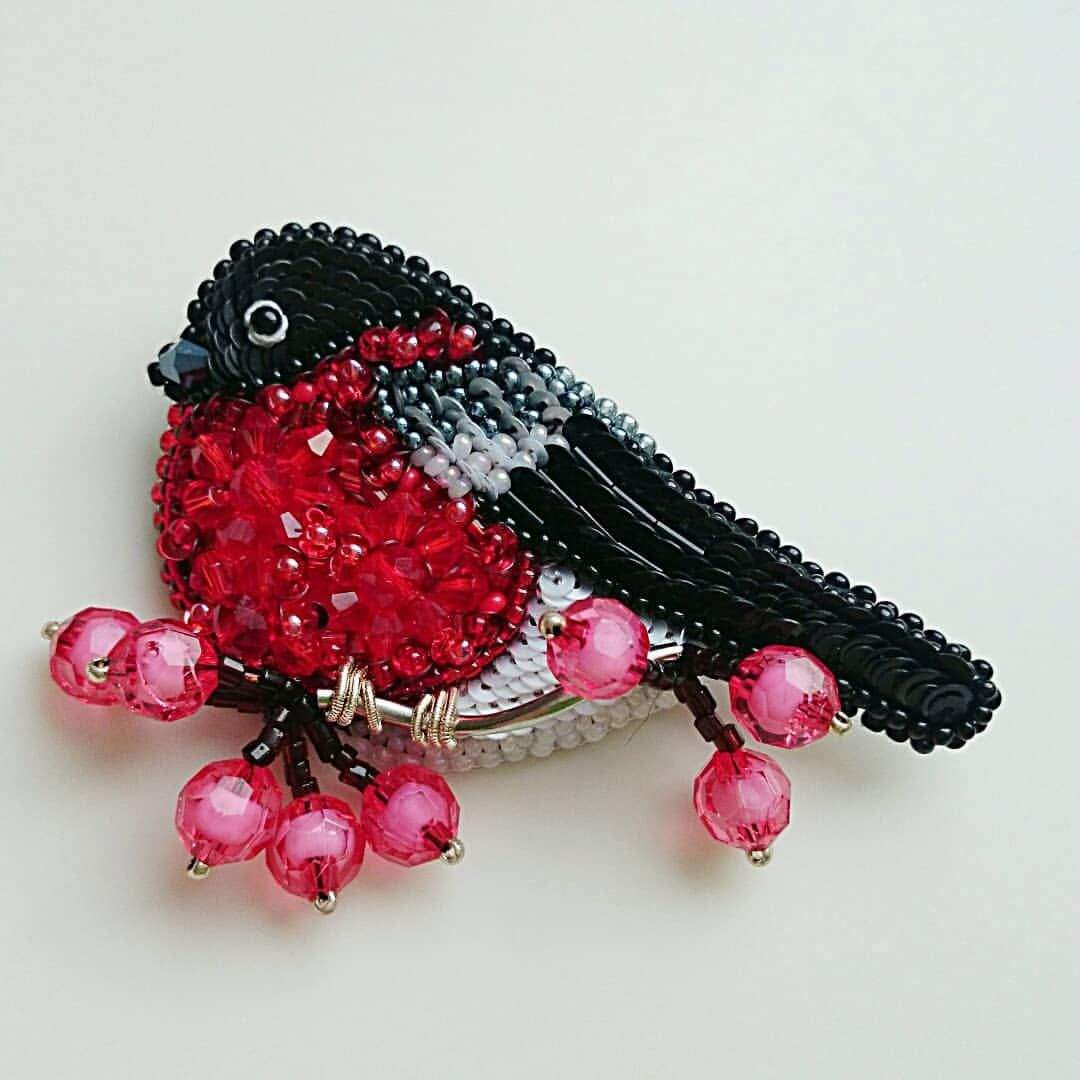
Photo of beautiful beaded brooches with your own hands