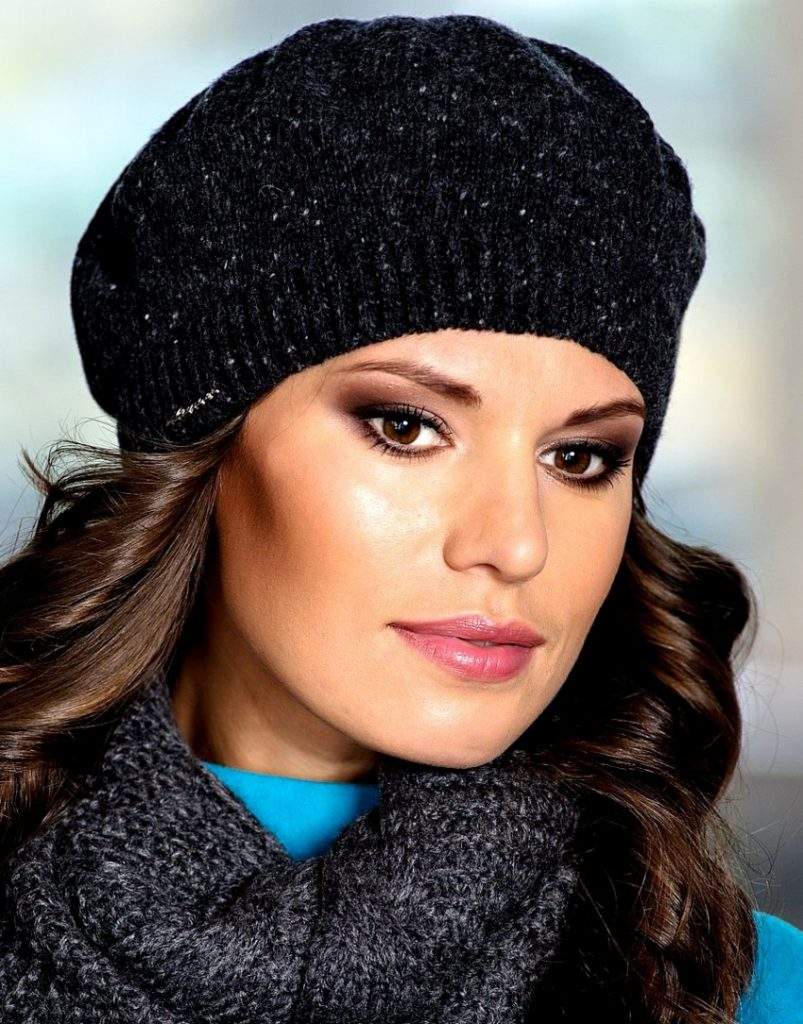
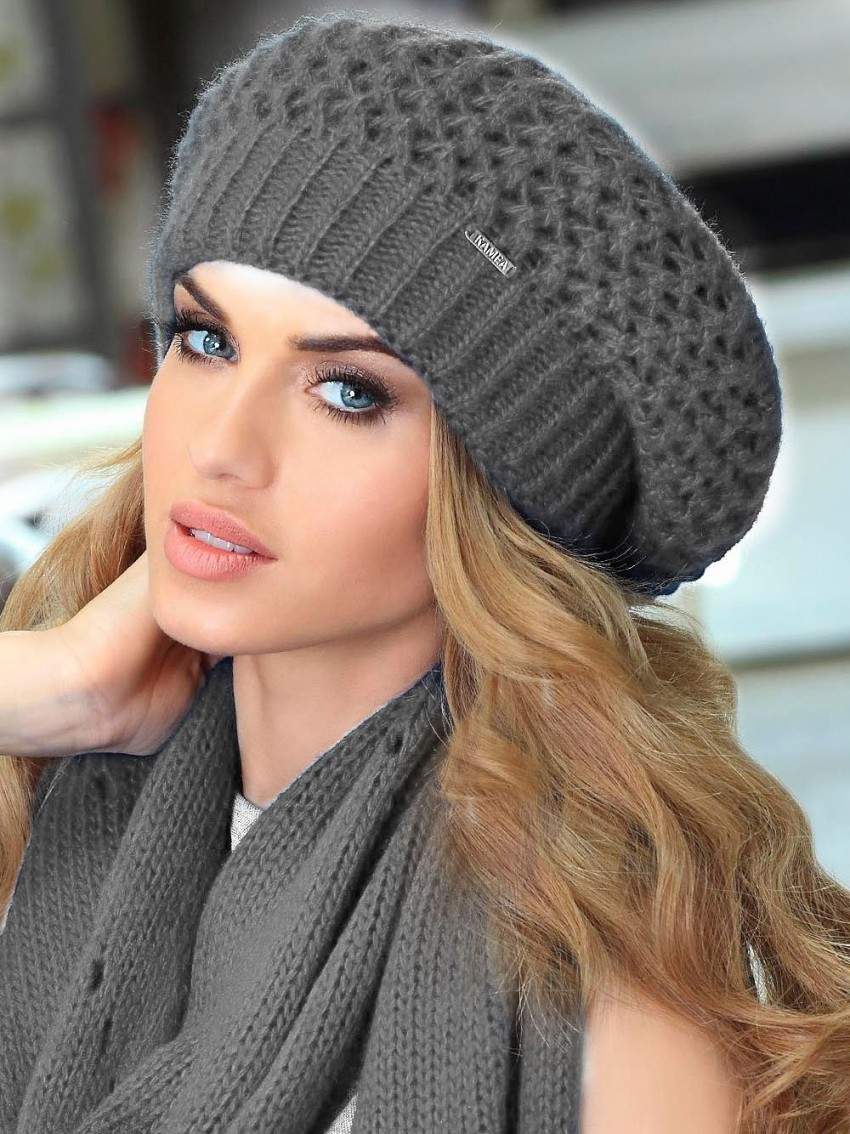
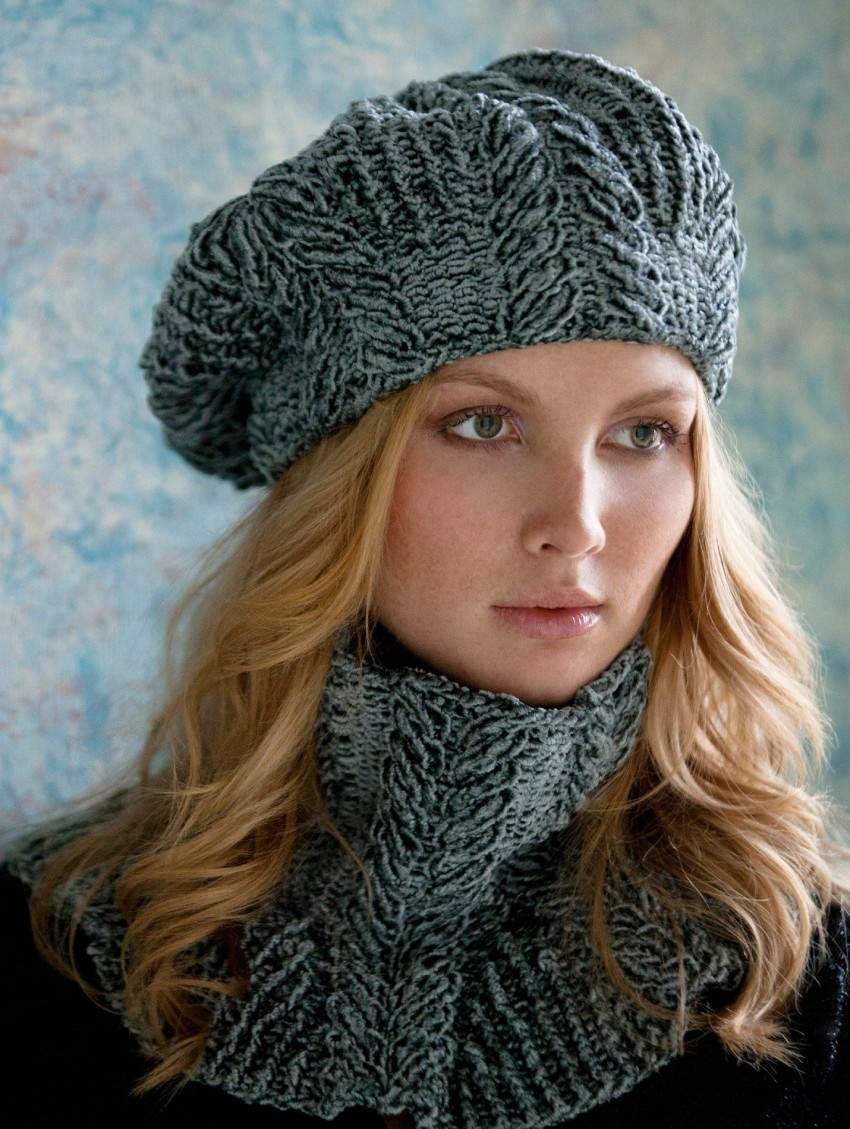
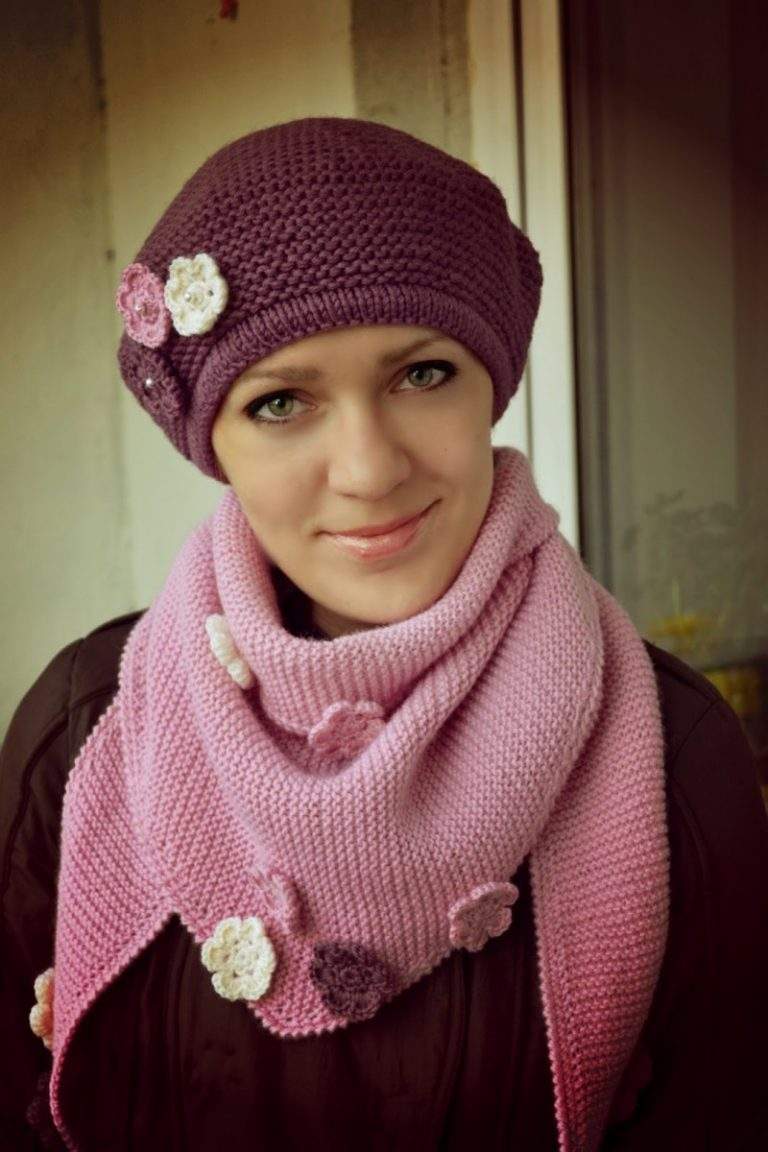
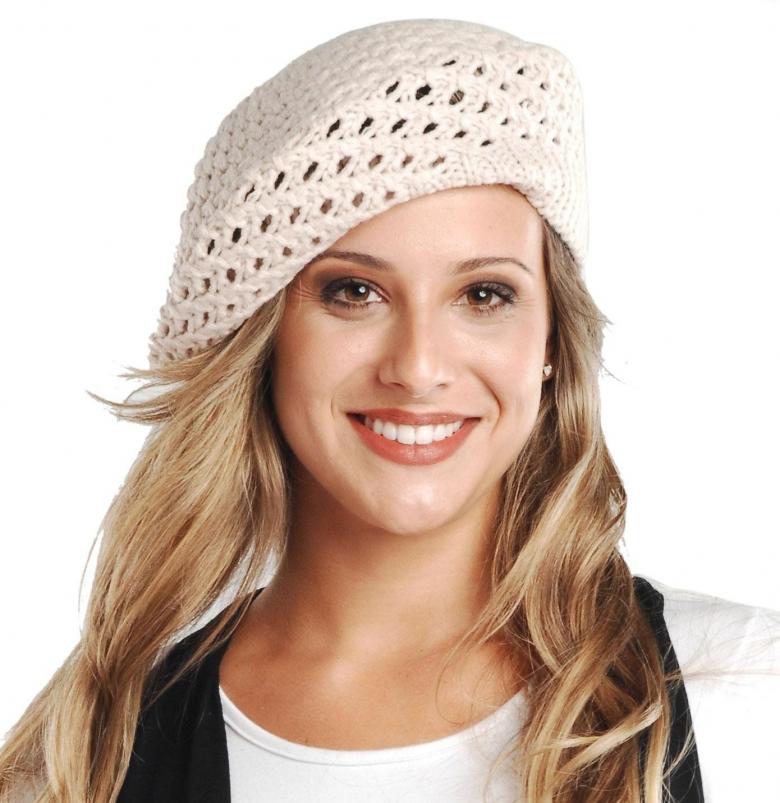
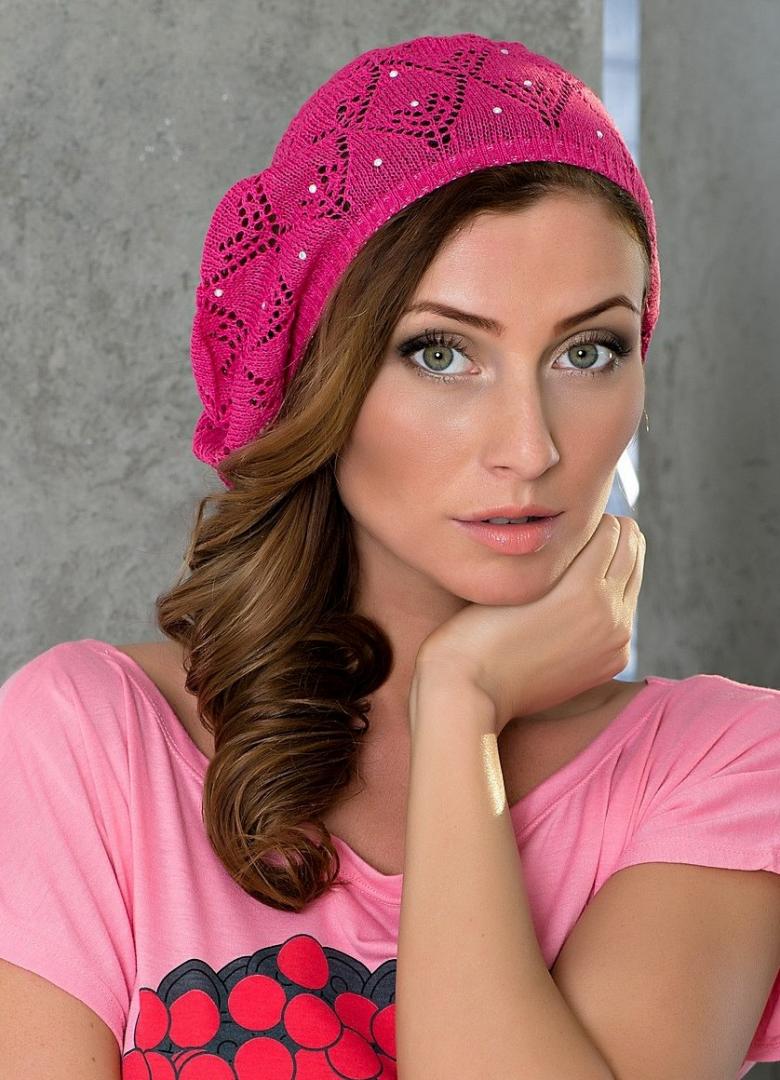
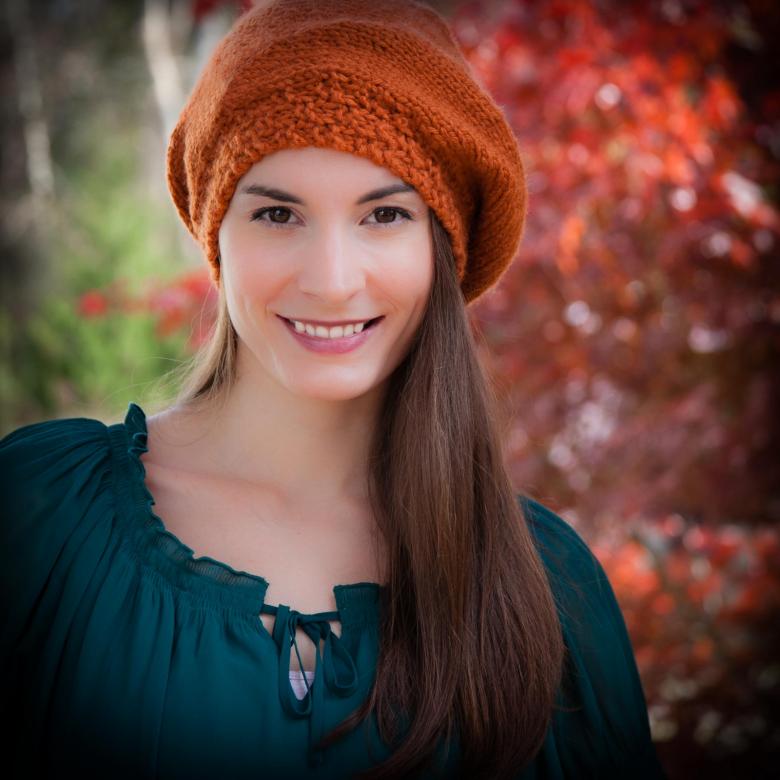
How to knit a beret with needles and crochet - detailed descriptions of the scheme with photo examples
Autumn justifiably can be recognized as the most stylish time of the year! Among the various gloves, hats, scarves, knitted ponchos and stoles of different colors and styles, a very long time ago and has firmly taken its place, this fashion accessory as a beret. This closet item is popular among fashionable women of all ages. It will equally decorate the outfit as a young mother and her baby daughter.
Particularly loved headgear and ladies of advanced age. More often berets are worn in the autumn-spring period. However, depending on the density of the product and the material from which it is made, there are summer and winter models too.
Existing models of berets
There are a great many models of berets, but among them you can highlight a few basic ones:
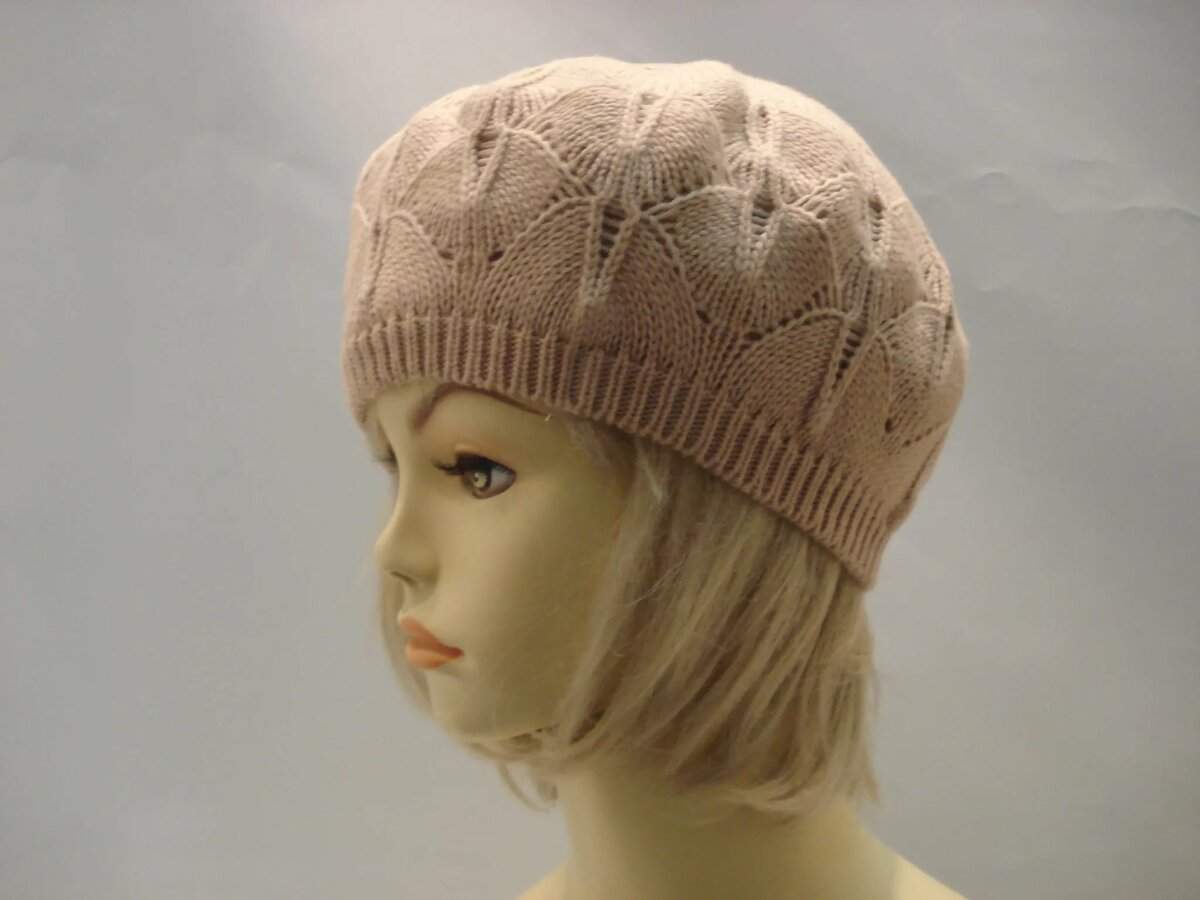
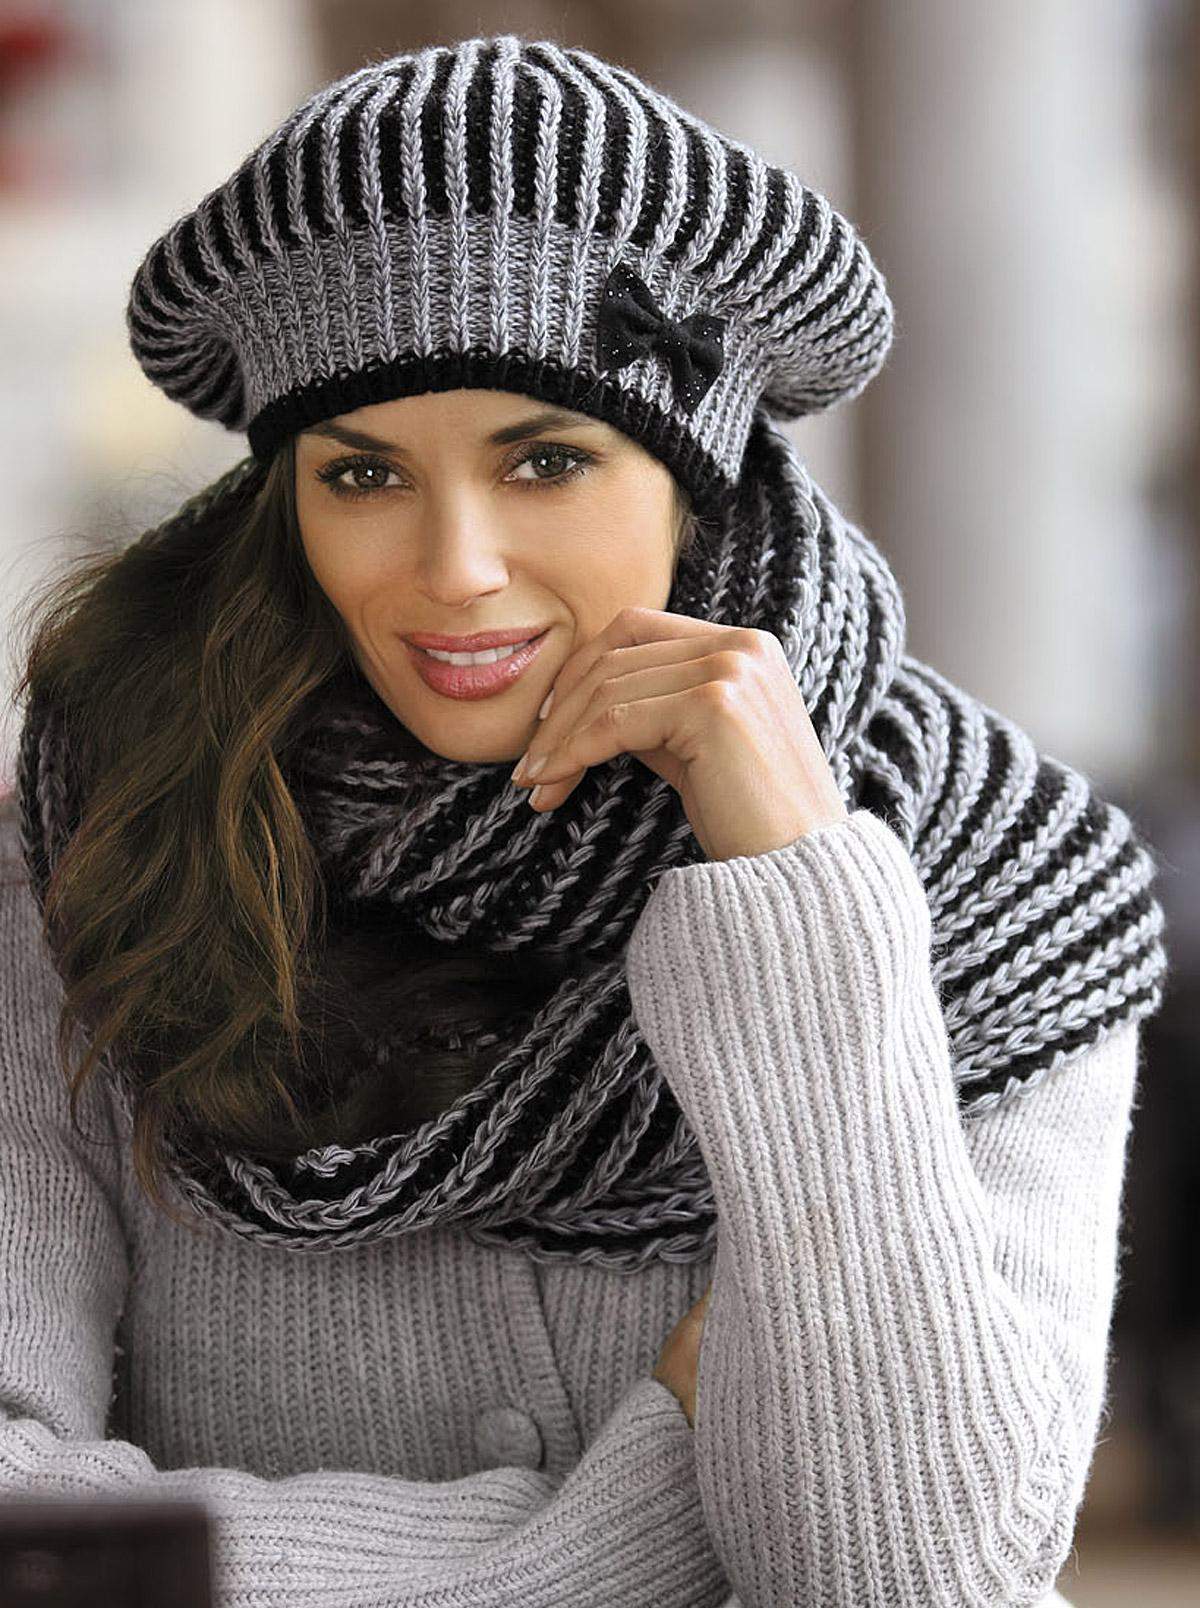
- The classic smooth-knit beret.
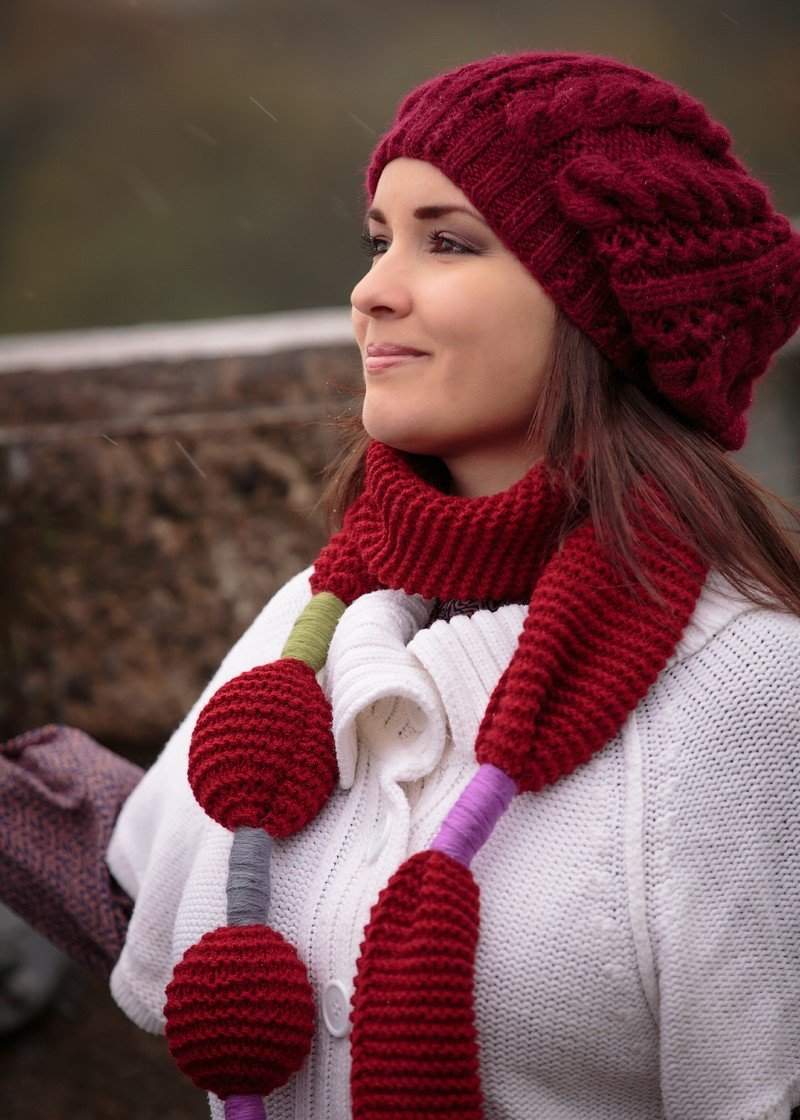
- Textured, puffed products, with the concentration of the main volume in the back of the head.
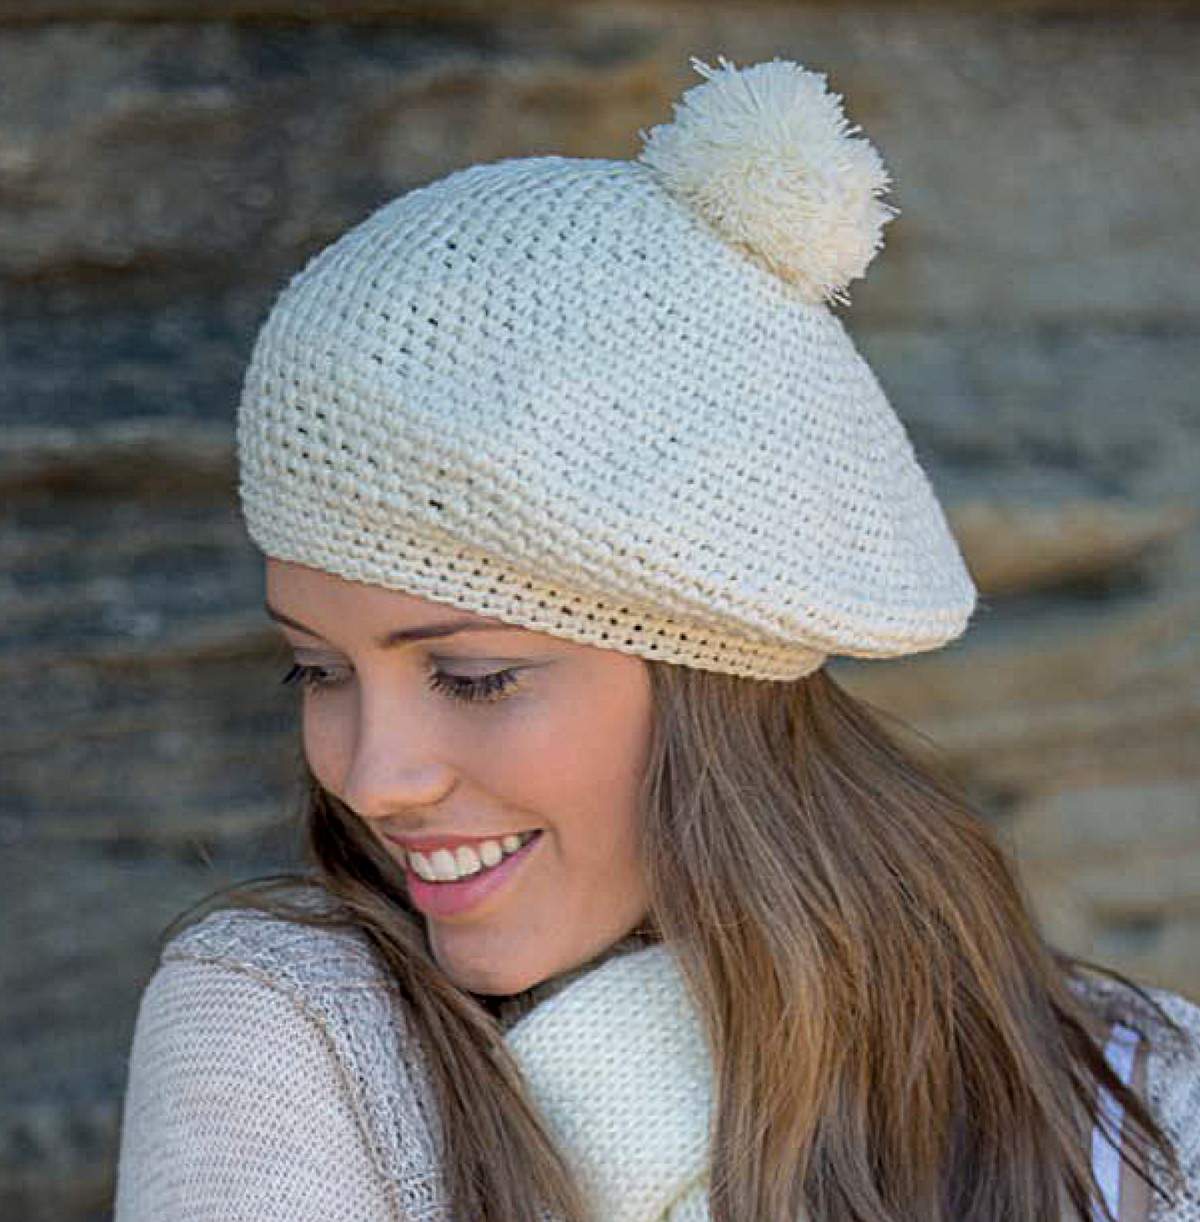
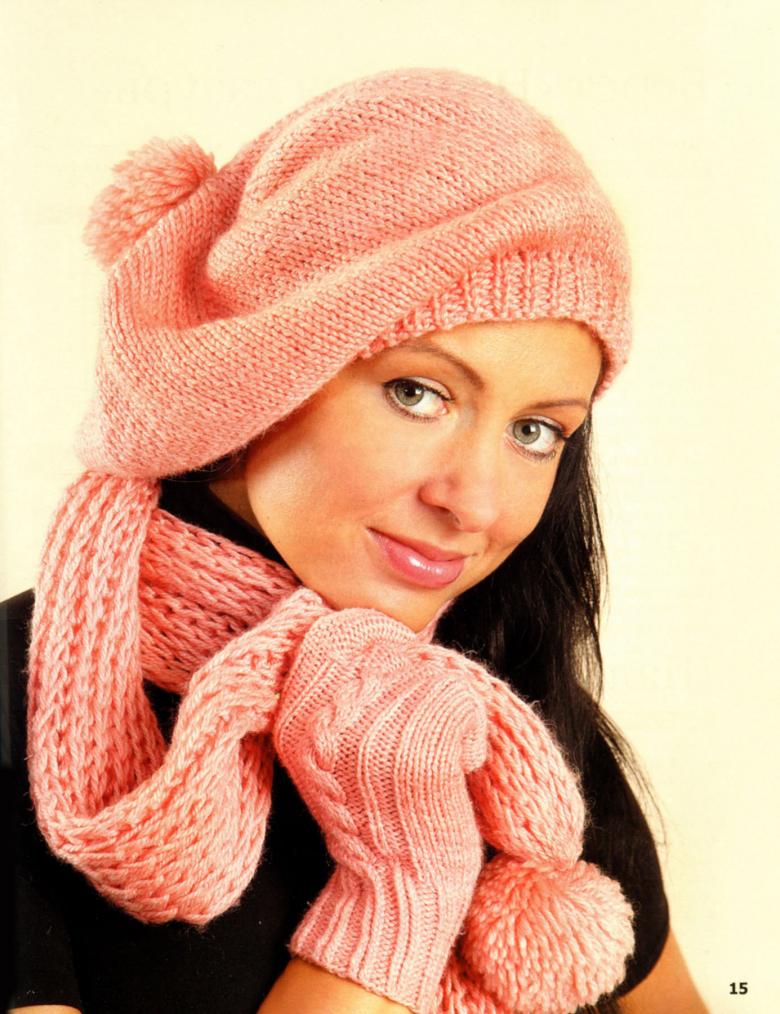
- Berets with pompoms.
- Berets on the elastic band.
- With a visor, like a cap or capi.
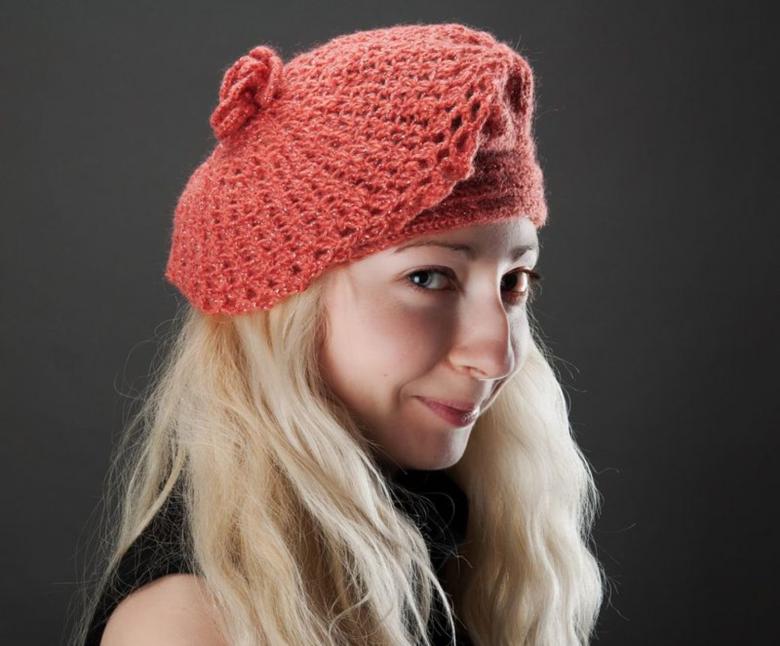
- Summer openwork models.
The choice of any of the presented models will give your image a romantic touch, making it more complete and helping to stand out from the crowd. It is possible to be the owner of an absolutely exclusive headdress, making it yourself. In this case, the product will have a cut, design and decorative elements, fully expressing the inner individuality of its creator.
Choosing the yarn
Yarn is a yarn consisting of fibers of natural or artificial origin. On the composition and quality of the yarn depend on the properties and appearance of the finished product.
Consider its main types:
- Wool: for its production are used fibers of wool of different animals. Traditionally it can be a sheep, goat, dog, rabbit and others. Products made of wool are very warm, hold shape, do not crumple. But they have a serious disadvantage in the form of formation of lint when worn. Therefore, it is often necessary to mix them with synthetic threads in order to prolong the life of things.
- Angora: there is a breed of rabbits called angora. They have an incredibly fluffy and long wool, which is used to produce yarn with a characteristic gentle pile. Products from this yarn are very soft and attractive appearance. At the same time for them detrimental effect of moisture. Therefore, it is recommended to refrain from wearing such clothes in wet weather.
- Cashmere: Cashmere yarns are made from mountain goat's wool, which is combed out in spring, during the natural molting period. Cashmere products are therefore always very expensive. Cashmere fabric is smooth and very warm.
- Mohair: a yarn composed of wool from Angora goats. Like angora rabbits, goats are highly valued for their soft and fluffy wool.
- Alpaca: yarn made from wool of alpaca animal is stiff, for this reason it is blended with other types of yarn. Articles made of this yarn are highly valued for their ability to thermoregulate.
- Acrylic: it is a synthetic fiber. This yarn is very popular due to its low cost and high quality characteristics. It does not crumple, holds its shape well, does not roll. Often you can hear that acrylic is called artificial wool.
- Iris: the yarn is perfect for thin, openwork summer berets. Products made of this yarn do not shrink when washed.
- Bamboo: eco-friendly yarn made of plant fibers. Soft and smooth in appearance. Perfect for knitting summer berets
- Silk: A natural yarn, produced from the fibers of silk cocoons of butterflies. Silk yarn is not deformed, soft, pleasant to the touch.
Such a variety of source material can satisfy the tastes and needs of even the most skilled masters.
If you cook about hand-knitting berets, in this case use a needle or crochet. To get a quality result, it is necessary to use special schemes corresponding to this or that model.
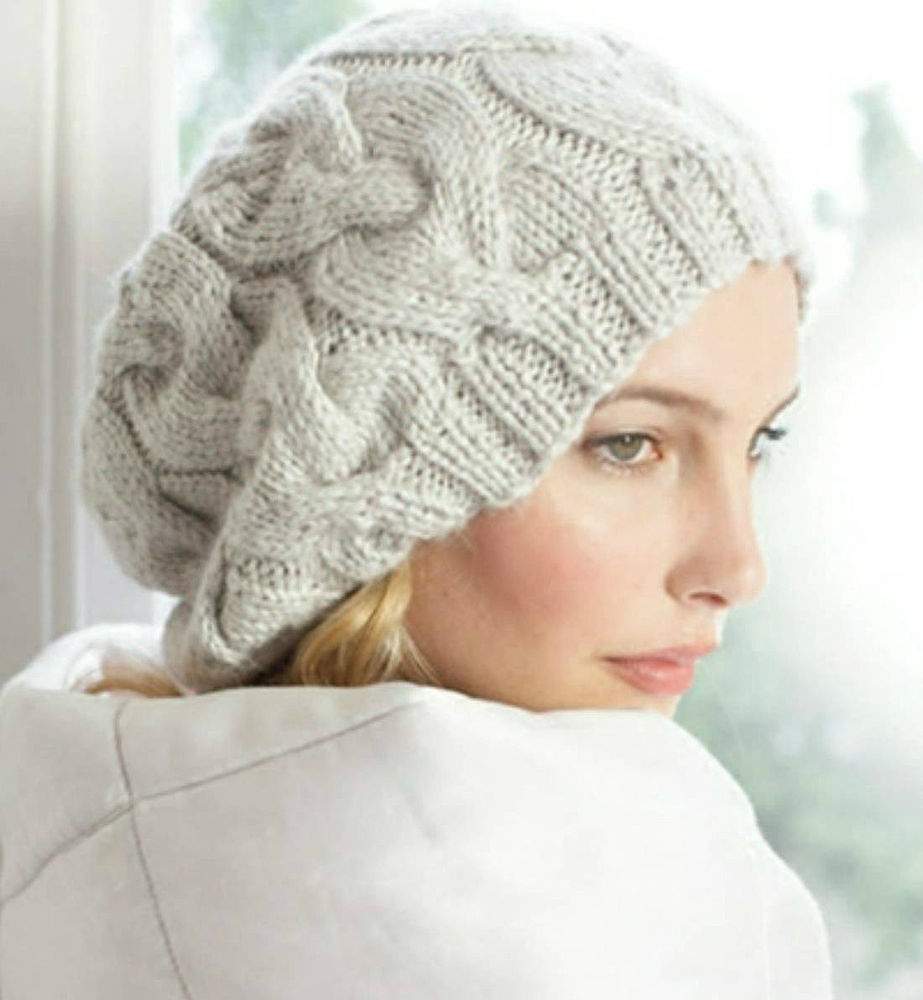
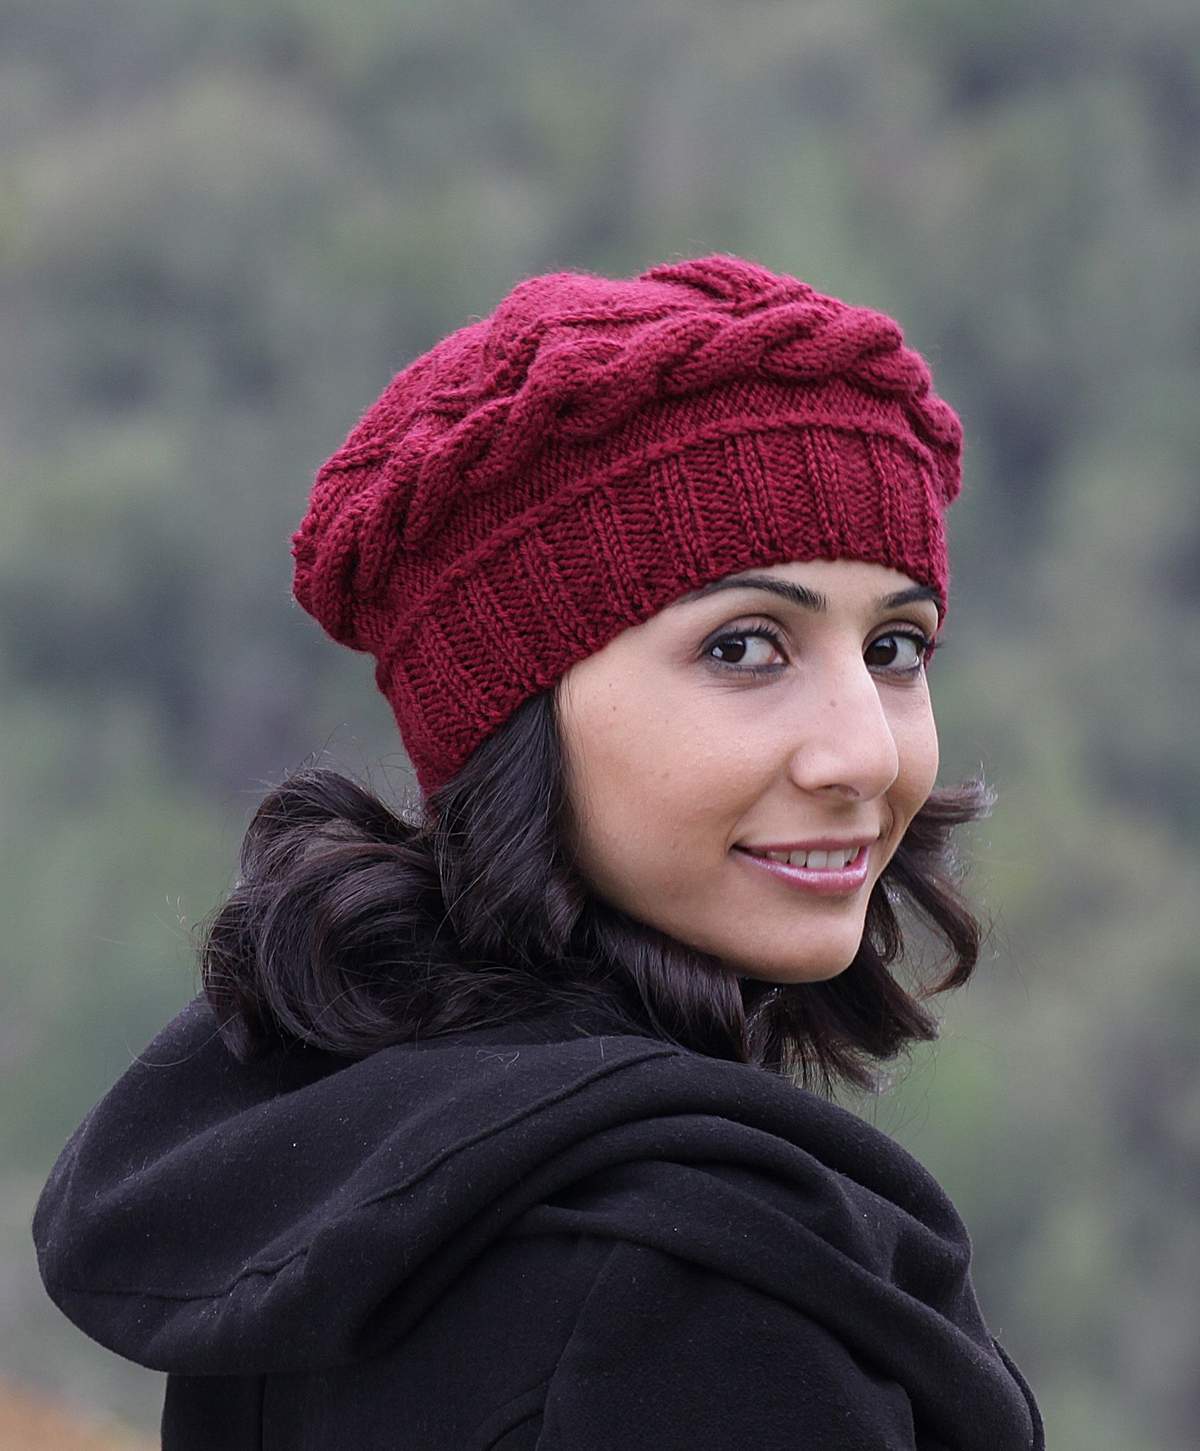
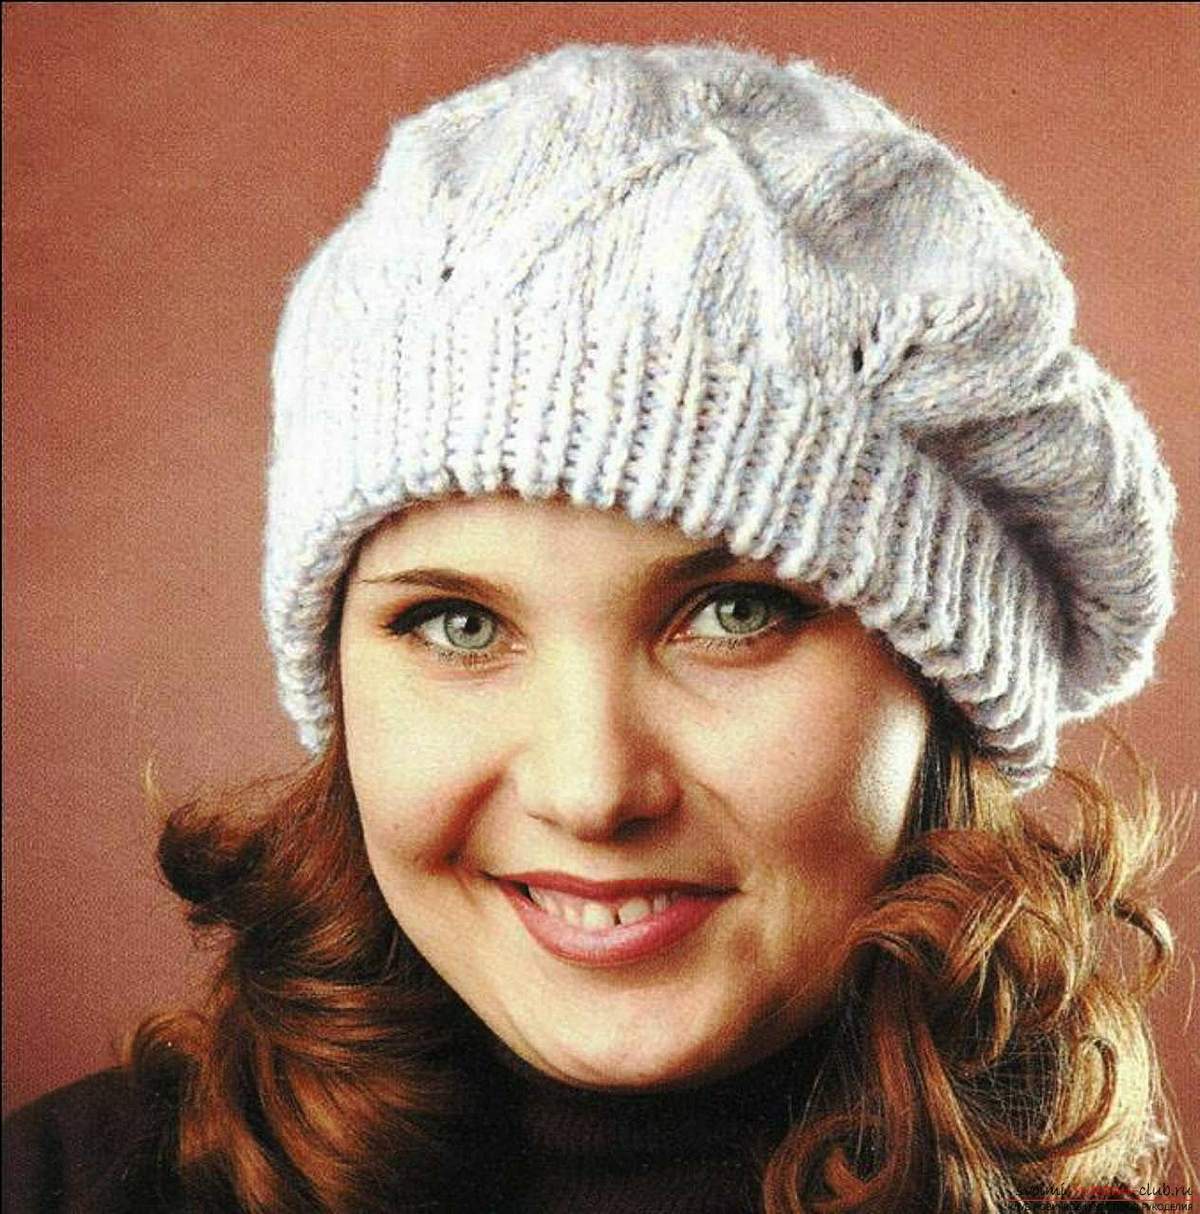
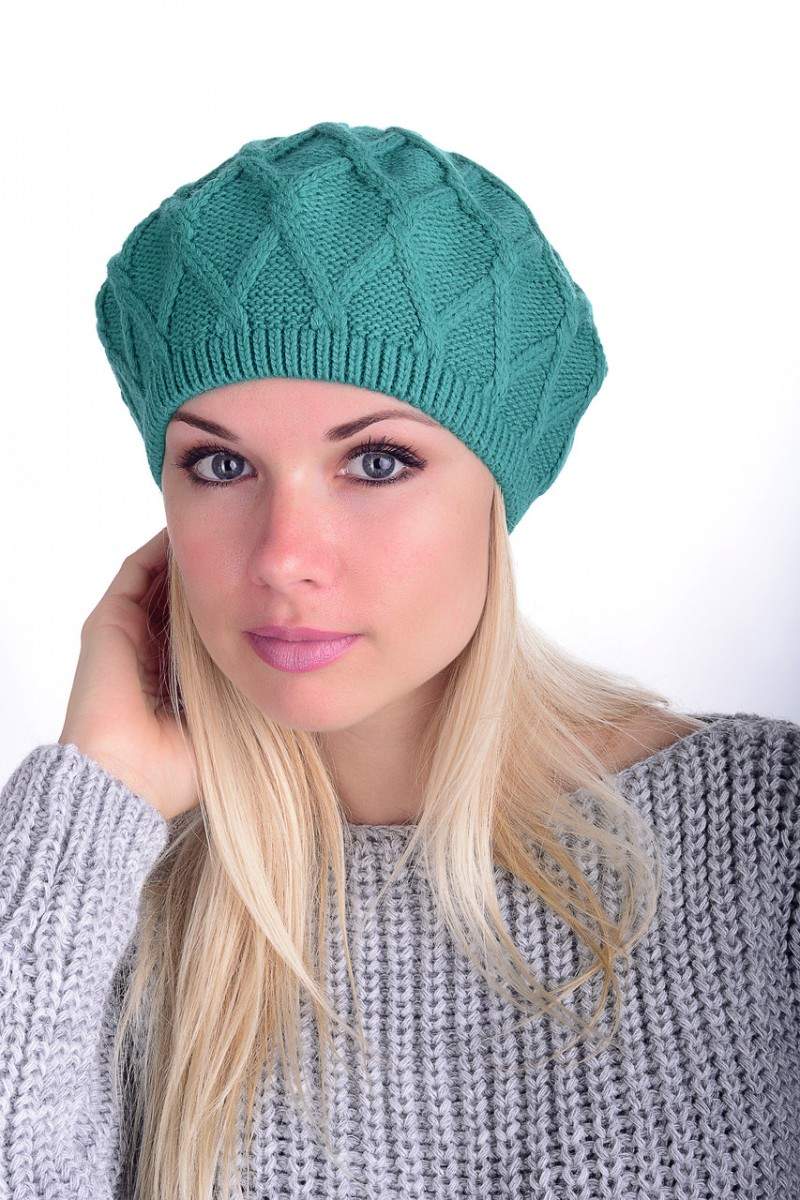
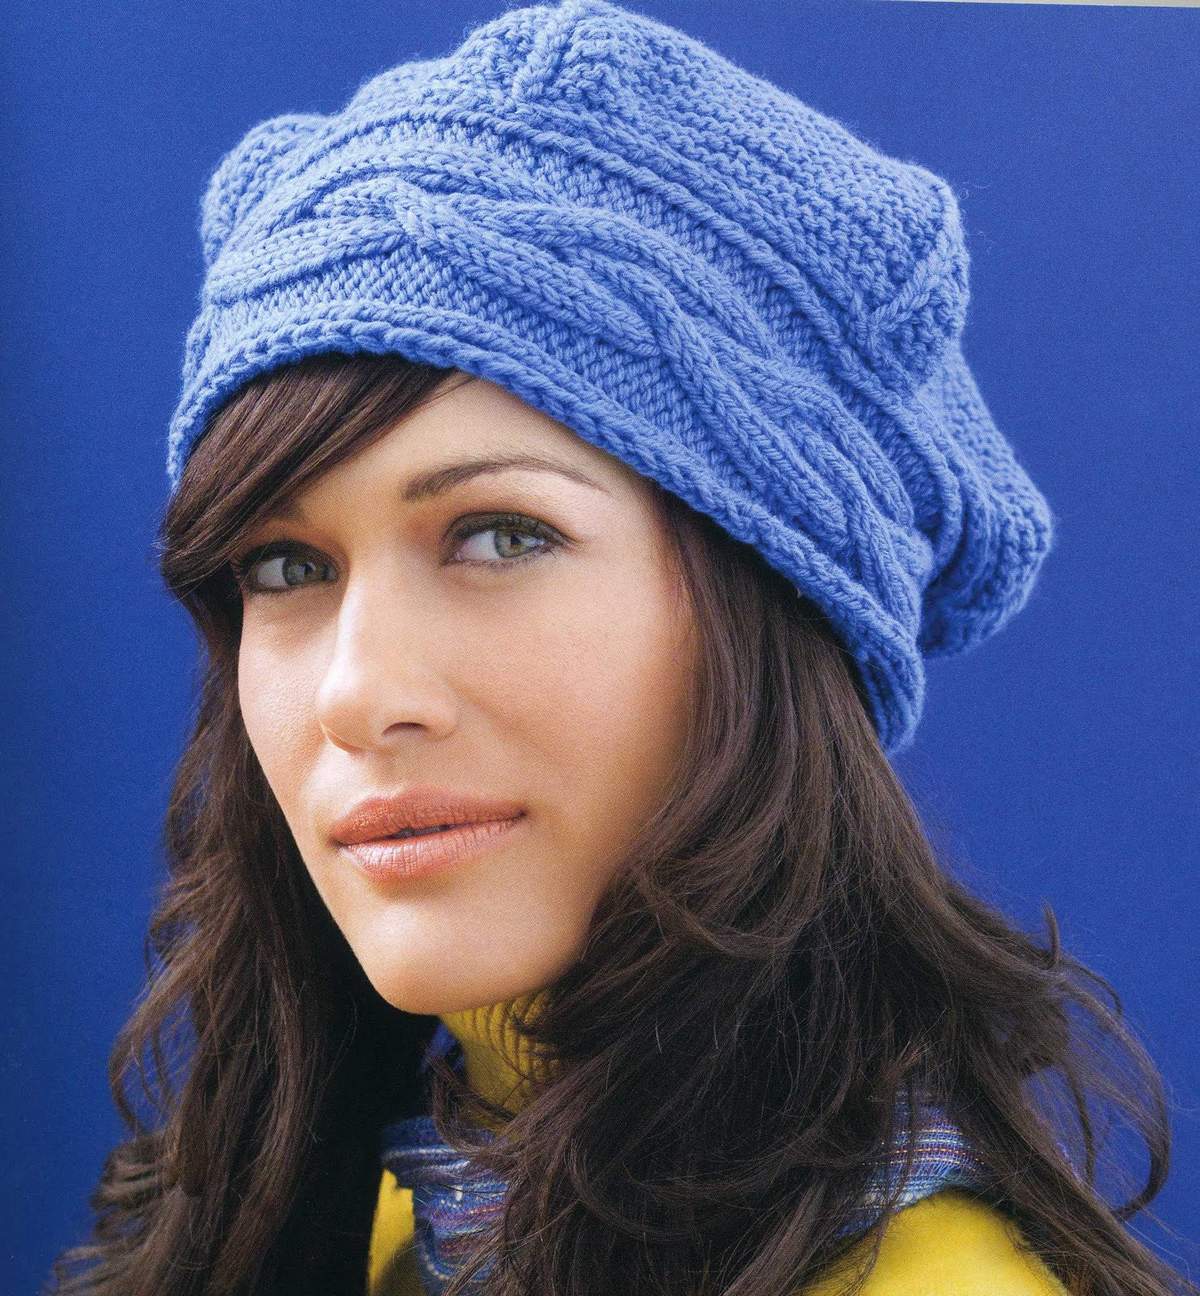
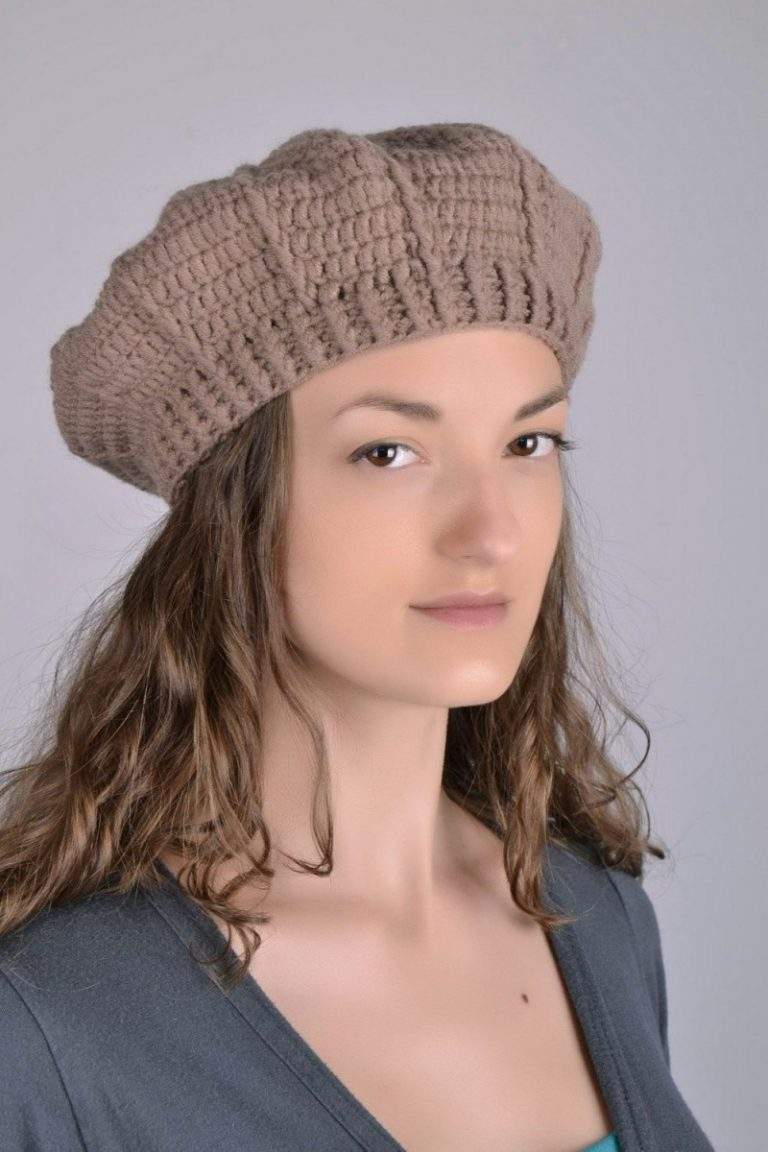
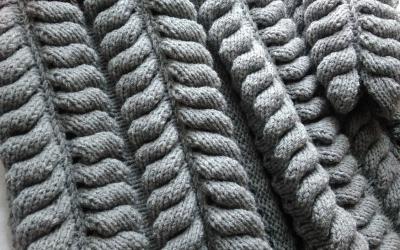
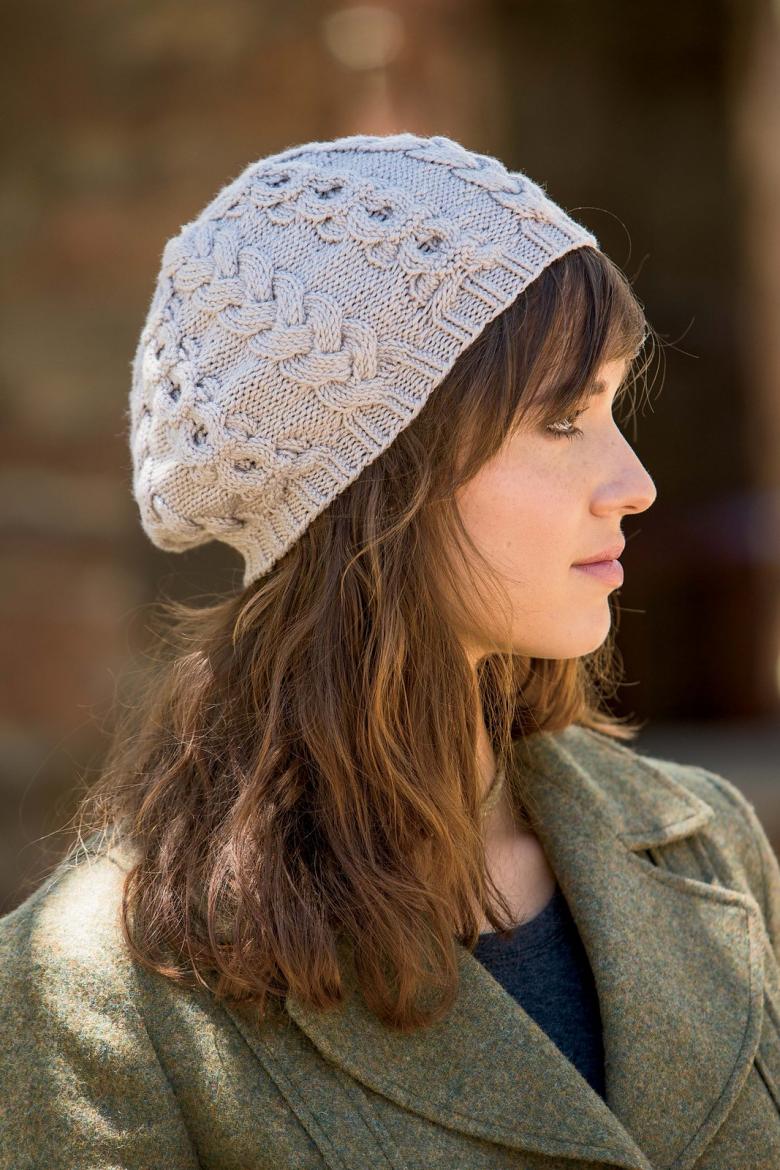
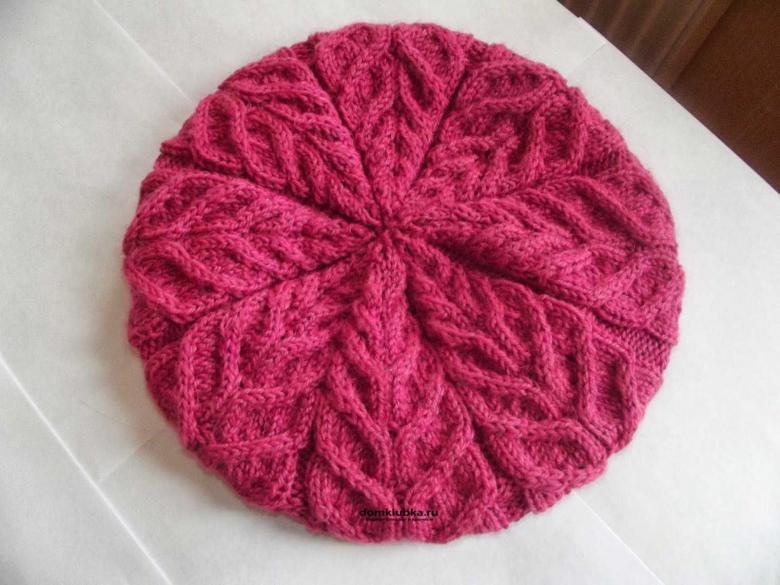
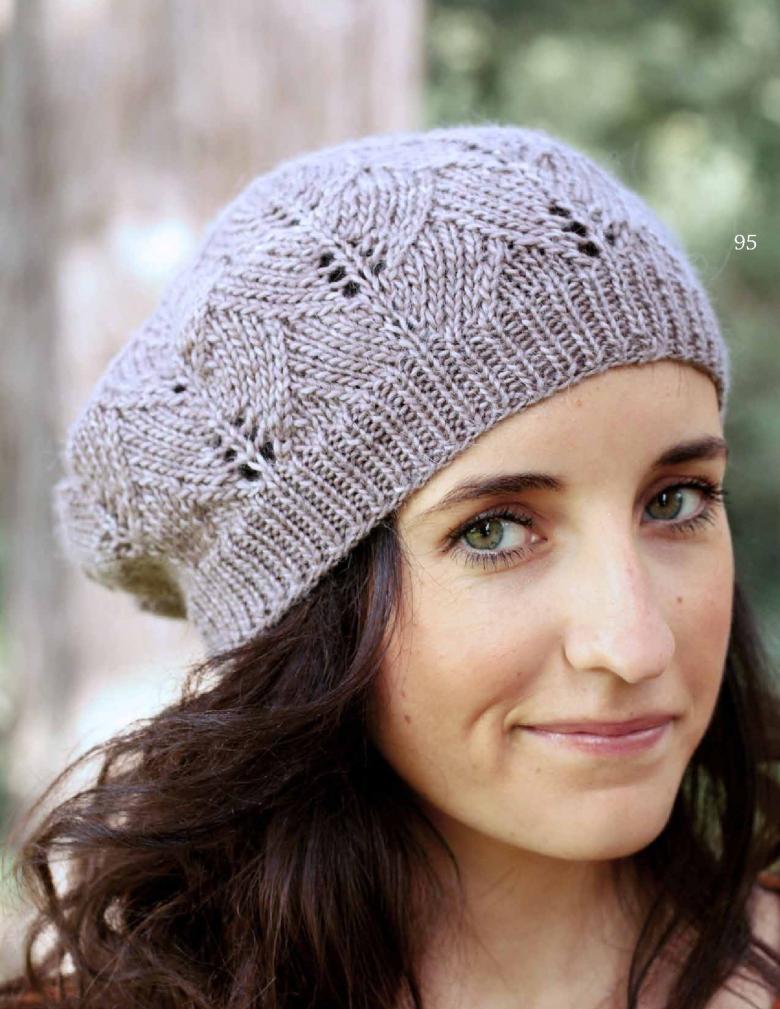
Volumetric beret for beginners
Very beautiful, effective and textured looks beret, the fabric of which is connected with plaits. To avoid excessive volume, choose a yarn with a short pile. You can make plaits in any way you like. The step between them should be 4 loops, connected with the wrong side. Such a move will give additional relief.
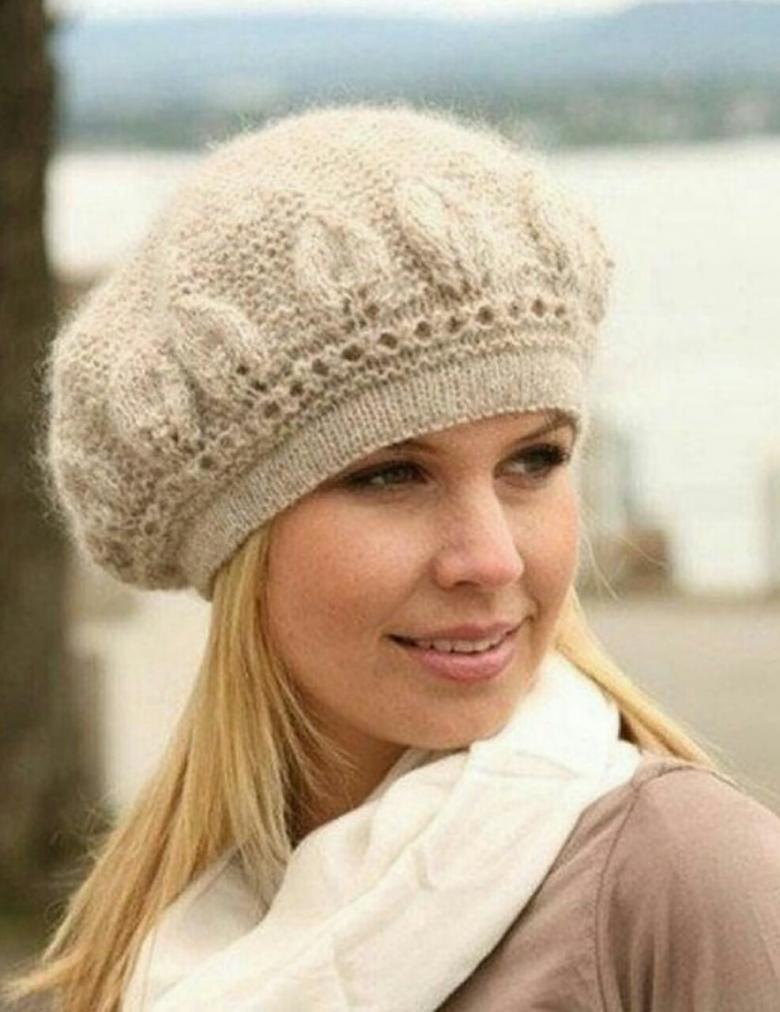
It is allowed to cross the loops at any interval, keeping it parallel or creating asymmetry. If you want to give the model an extra extravagance, then start knitting the braids already on the elastic band. When the elastic band is ready, the volume should be increased by using the back loops in the intervals between the braids and the loops connected from the right side of the elastic band. Thus it is necessary to achieve the length of the cloth of 23 centimeters. Then we proceed to the final stage. Reduce evenly the number of the seamless stitches, and the two outermost rows on the right side.
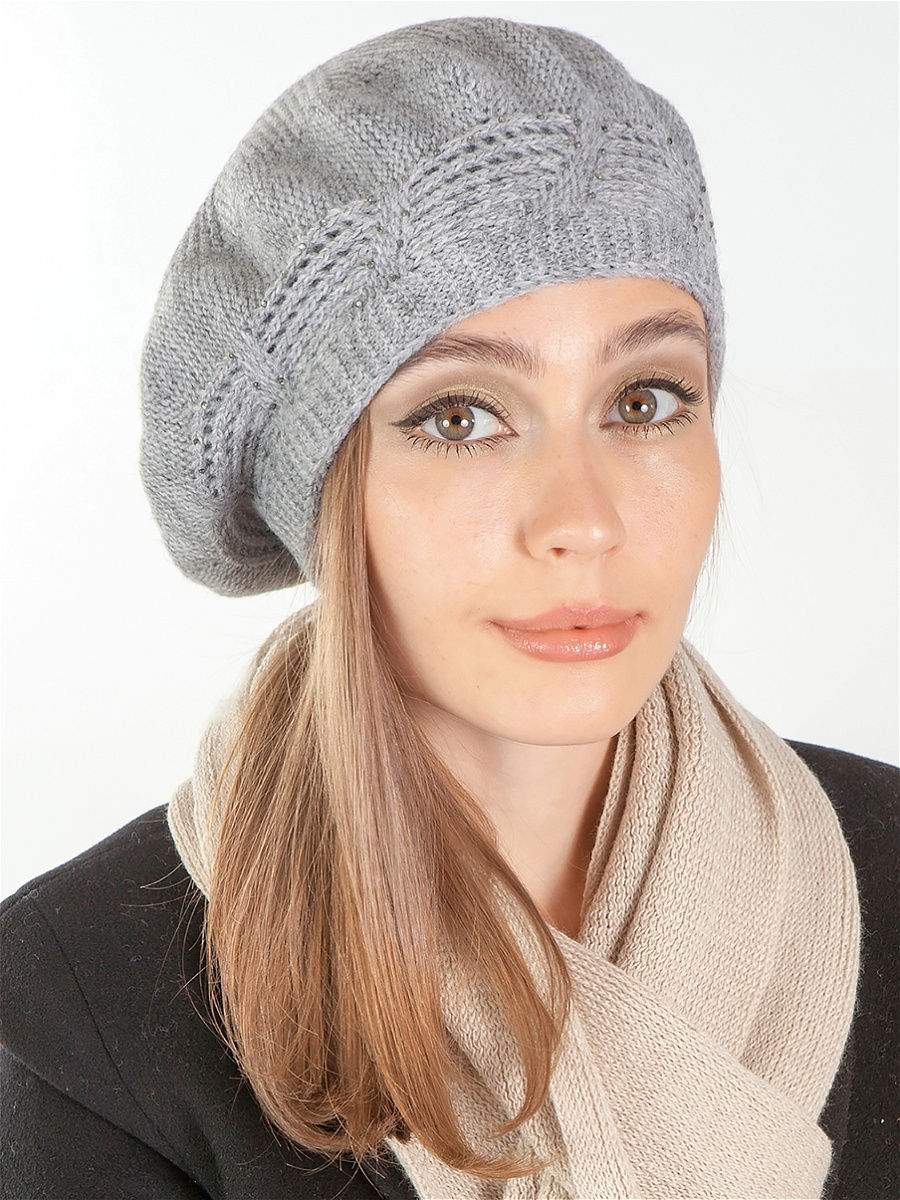
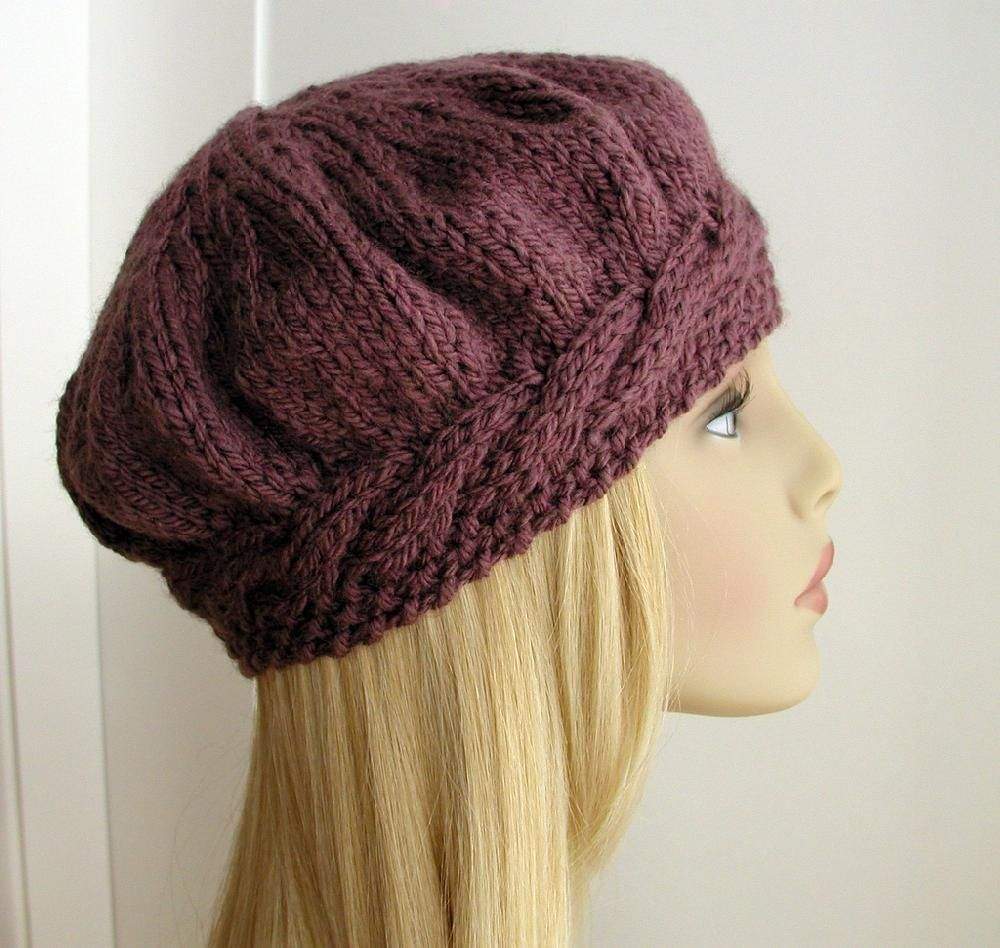
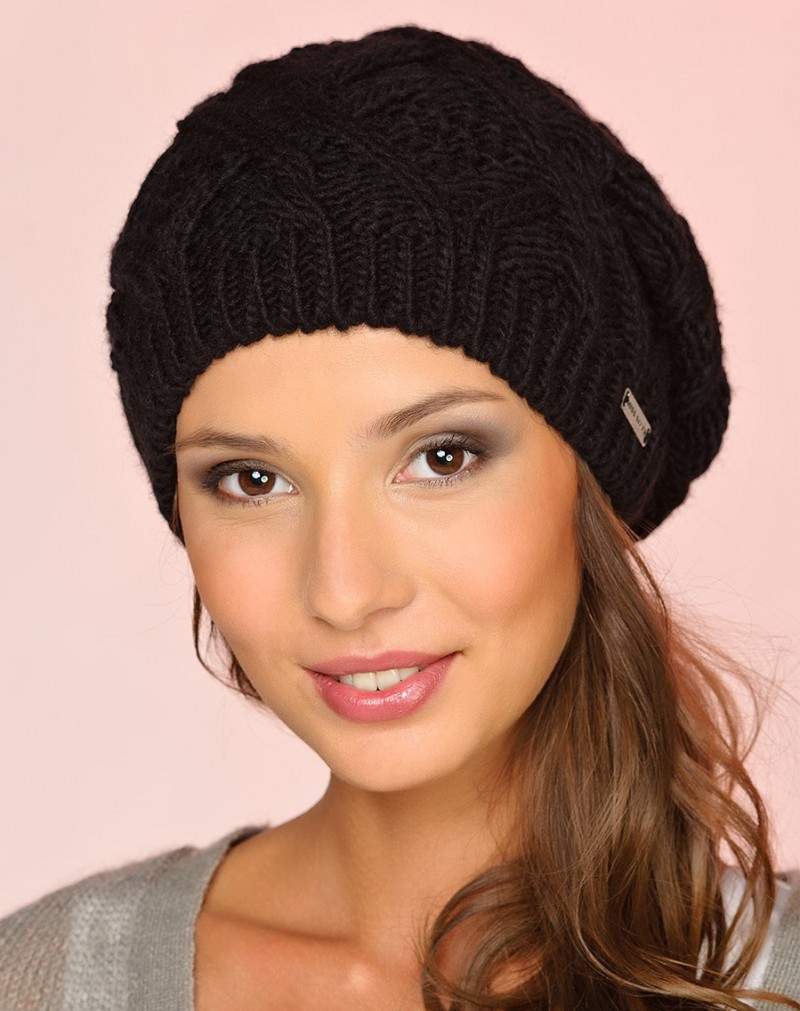
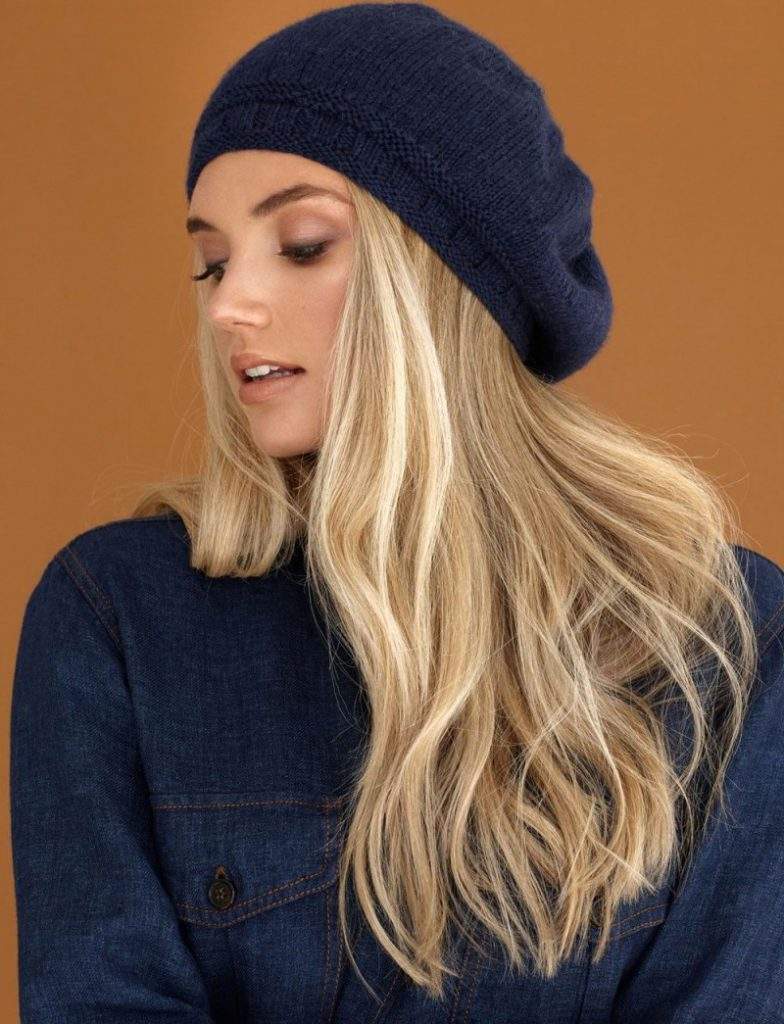
Classic beret
The classic model of the beret implies that the product will be smooth, fairly compact to sit on the head and have a neat ponytail. This model will be considered basic and will fit perfectly into the closet of every fashionista. Also with the knitting of classic berets should begin to hone their skills for those who are new to the craft. To create such a beret we will need:
- Yarn 100 grams
- Hosiery needles of different numbers (No3 for the elastic band and No3.5 for the main fabric)
- Scissors
- Pins
- Hook
- Measuring tape
A classic plain beret is made in the technique of seaming. We start knitting from the elastic band, which at medium width is 3-4 centimeters. Next, an extension is made. We add one stitch in rows after another. The place where the added stitch was marked with a pin. Thus we create wedges. The height of this gap of about 6 centimeters. After that we knit the intermediate part without adding loops.
On its height depends on the degree of roundness beret. The average value is 2-4 centimeters. Followed by the final phase, which is knit through the reduction of the loops in the places marked with a pin, every row. The height of this part should be about 8 centimeters. When there are two loops left in each wedge, they are gathered on the thread and pulled through with a hook. Leaving the edge of the thread on the wrong side of the product. With this way of knitting the total height will be 21-23 centimeters.
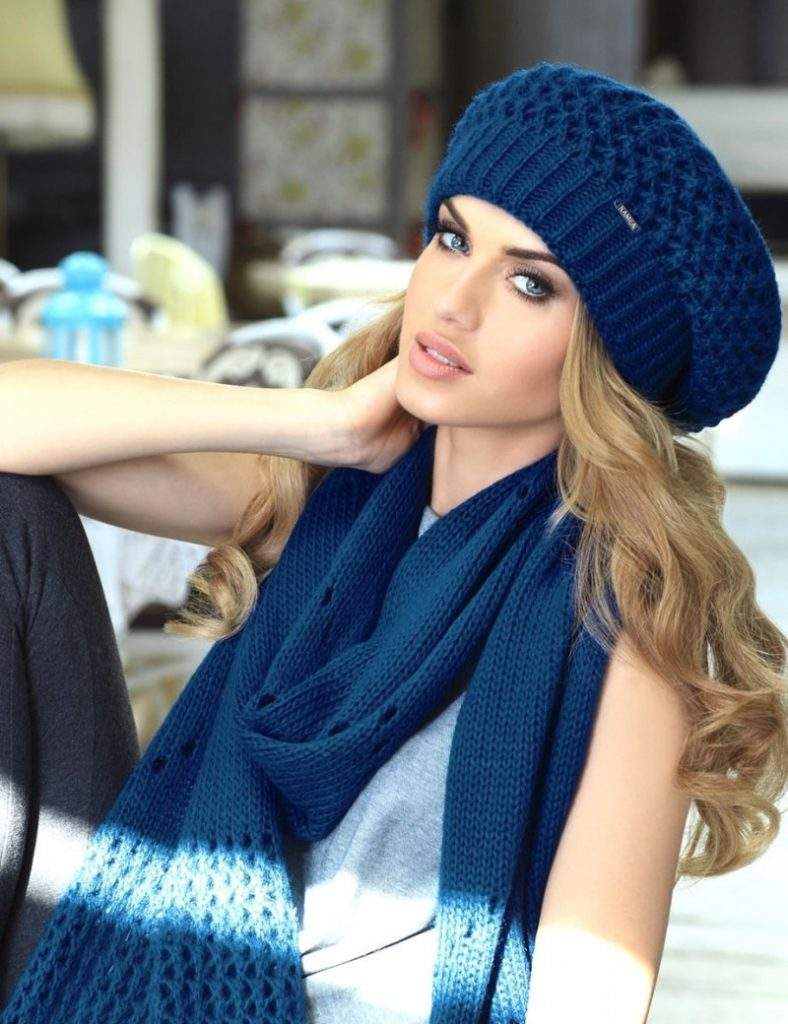
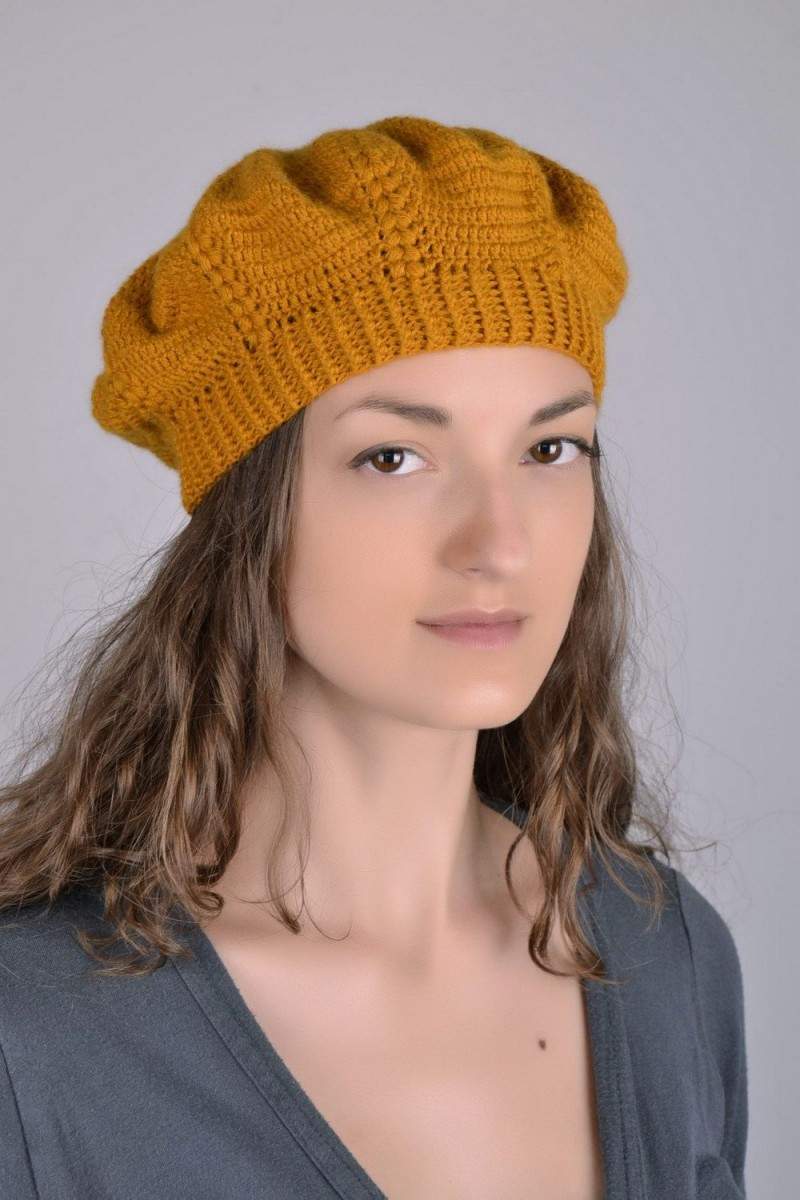
Knit beret "English elastic band"
Beret is quite simple in its performance, but it looks no less worthy than its more intricate competitors.To knit a headdress, we will need:
- Yarn 100 grams
- Different diameter needles #3 for the elastic band and #4 for the main fabric
- Measuring tape
We begin knitting the beret with an elastic band in accordance with the scheme 1 stitch - 1 loop on the right. The knitting must be tight, because when you wear it in this place the product is greatly stretched and can deform. The width of the rubber band should be 3-4 centimeters. Then change the knitting needles for a larger diameter, which will add more puffiness to the pattern. Let's start making an English elastic. For this, the first row continue to knit according to the 1x1 scheme. The second row is performed with a hook on the right side and the skip of the wrong stitch. When the row is complete, turn the cloth around and in the same sequence repeat the next row, making a hook on those loops that were wrong in the previous row. And those loops that were the right ones are skipped.
So alternately turning knitting increase the length of the product by 12-15 centimeters. Next English rhythm turns into a regular rhythm and is knit with the same scheme as at the beginning. At the same time the number of loops in the rows is evenly reduced. When there will be 12 loops, they must be gathered on the thread and neatly gathered with a knitting needle, hiding the edge of the thread on the wrong side.
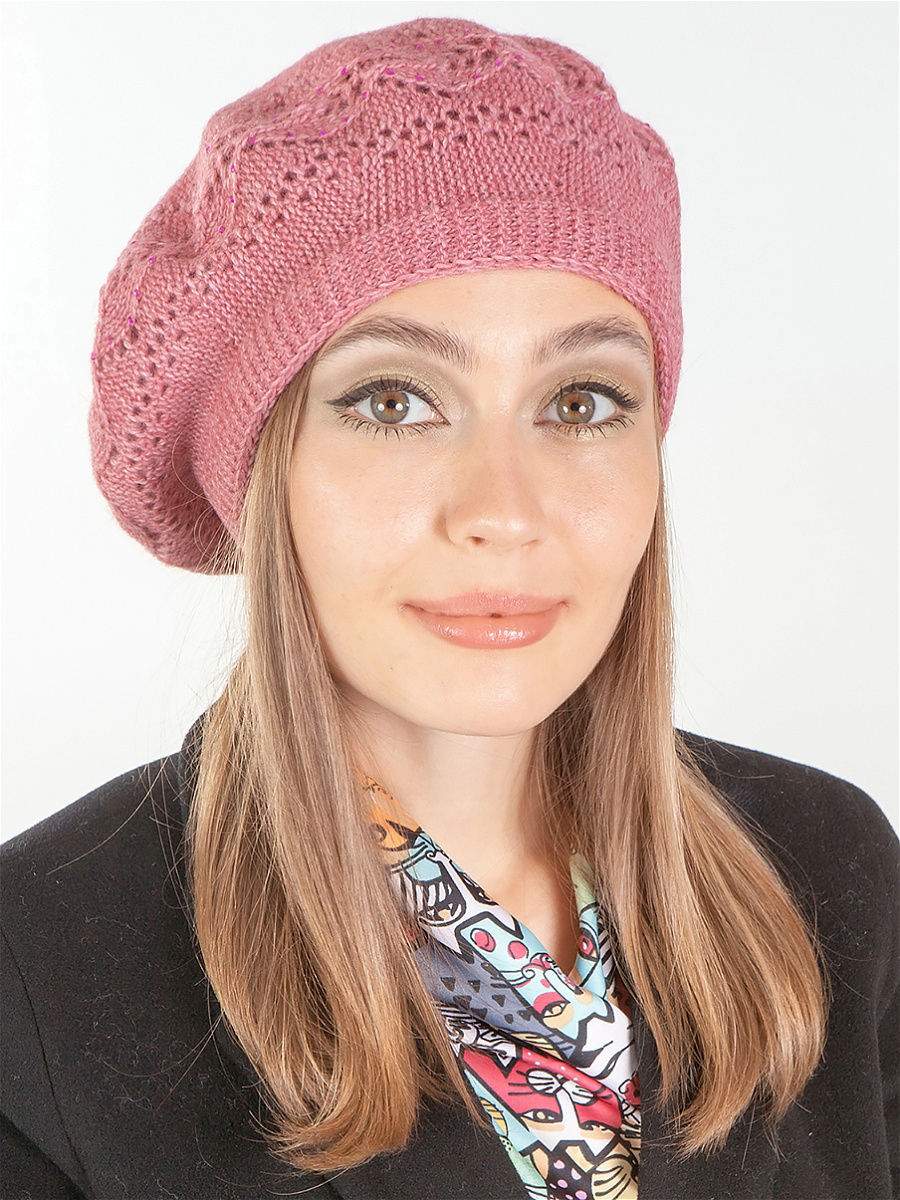
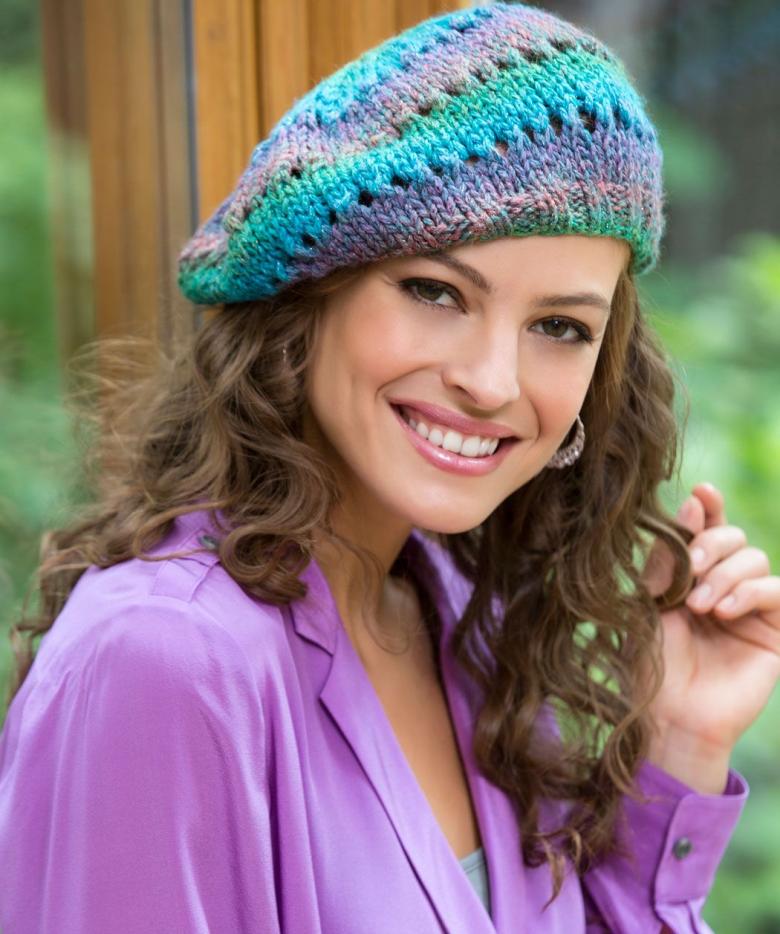
Openwork summer beret
To create such a beret, cotton or silk yarn is more often used. It will perfectly protect the head from direct sunlight, will give sophistication and tenderness to any summer image.
The knitting process begins with an elastic band, we do it in a simple 2x2 pattern (two left and two right stitches). The height of the rubber band is 3 centimeters. Next, the canvas will consist of a pattern, which is 8 wedges. All eight are given one scheme.
The first row: we'll start with 4 loops of the right side, 8 loops of the left side, 4 loops of the right side and so on till the end of the row.
The second row: begin to form the petals, to do this we do 3 to the left, two to the right - a slope to the right, 3 left, two nacks. Next, 3 lefts - two united, a slope to the left; 3 wrongs.
The formation of the tip of the petal: the first stitched in the previous row, we slip the first loop to the right; and the second one we knit behind the back of the product.
Repeat the pattern 5 times. At the same time, from 3 times decreases the number of the wrong stitches, 2 stitches each. On the fifth approach we stop doing stitches. Finish the knitting of the petals with the usual right-hand stitches. At the same time the number of stitches is evenly reduced. Complete the product by tying the last 16 loops on the thread.
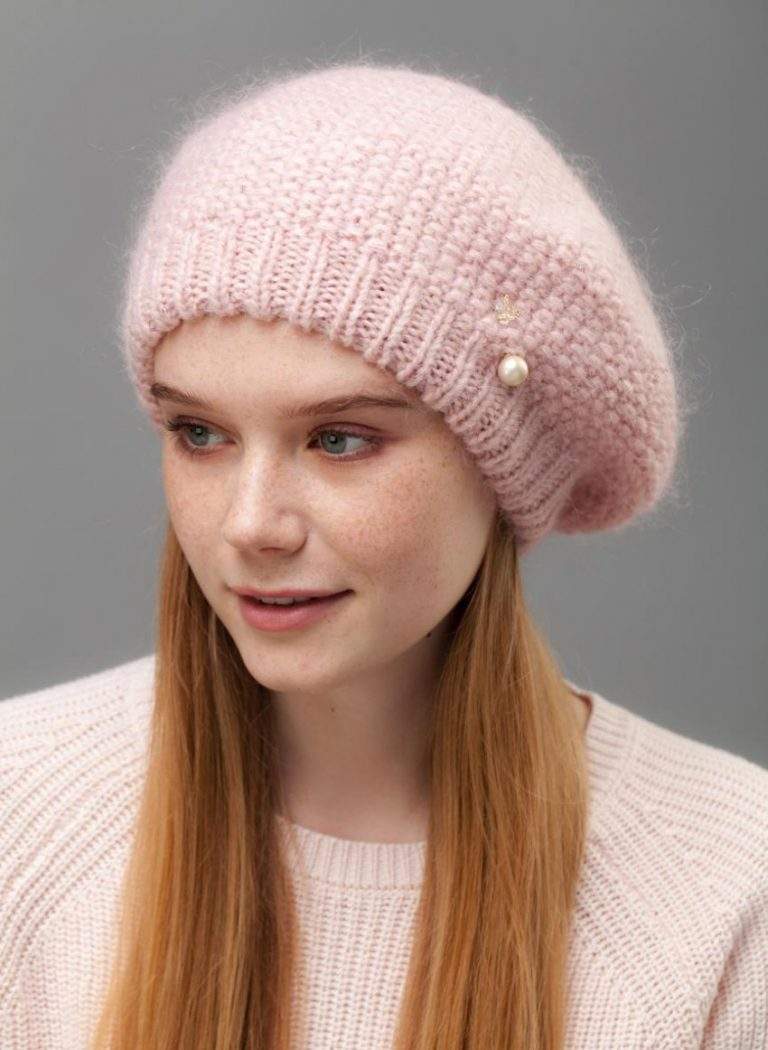
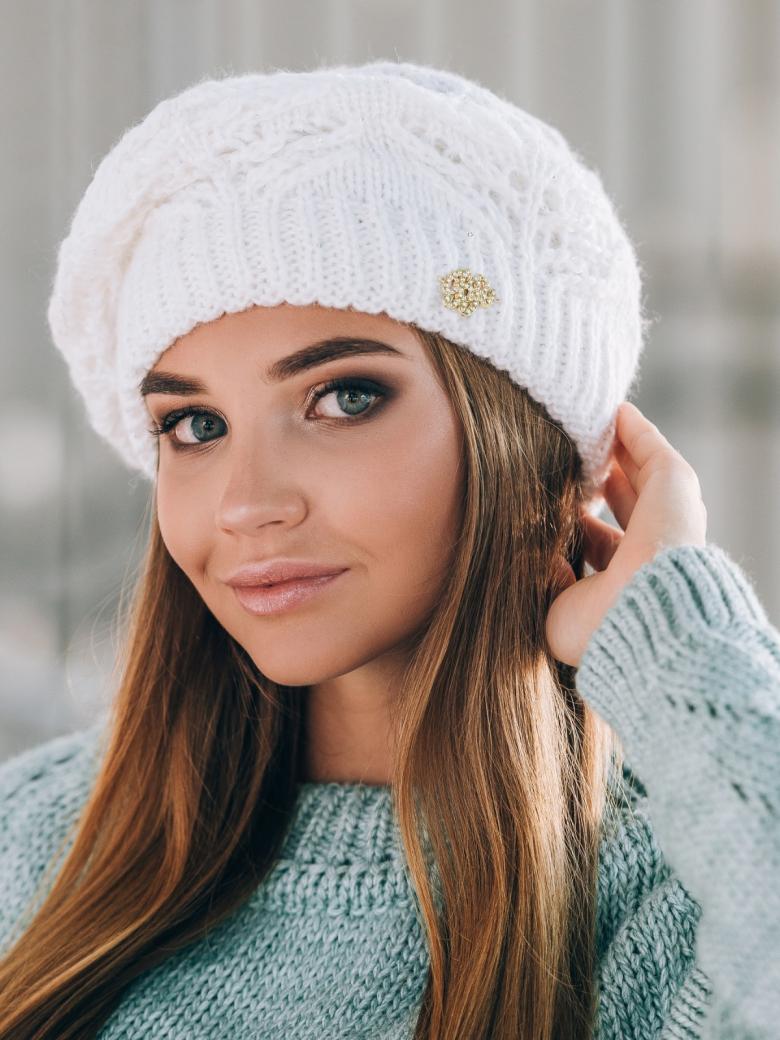
Additional decoration
Using yarn and two rings cut out of cardboard, make a pompom. To do this, fold the rings and wrap them with yarn until the inner space of the rings is almost filled. Cut the threads along the outer edge. You need to remove the rings, pull the pompon by the edges of the thread and strongly fluff up.
Very stylish will look beret, decorated with a visor. To do this, according to the shape of the plastic frame, a pattern is made. According to it you must knit two parts, put the visor between them and connect the parts with a hook. Also with the help of a hook, the decorative element is attached to the headgear itself.
Tip 1. When choosing a yarn, pay attention to the quality of the yarn, it must be tight, with even thickness over its entire length. The yarn should not have knots and lint. This determines how even the fabric will be.
Tip 2: After you finish working on the product, you should soak the finished beret in water. Stretch it on a dish of appropriate diameter or carefully spread out on a flat surface and leave to dry naturally. Thanks to this, the product will get the most correct shape.
At first glance it may seem that this hobby can suit only very meticulous young ladies. However, this kind of activity relaxes, helps to relieve stress and has a similar psychological effect to meditation. As a nice bonus, you get as a result a beautiful and unique thing.
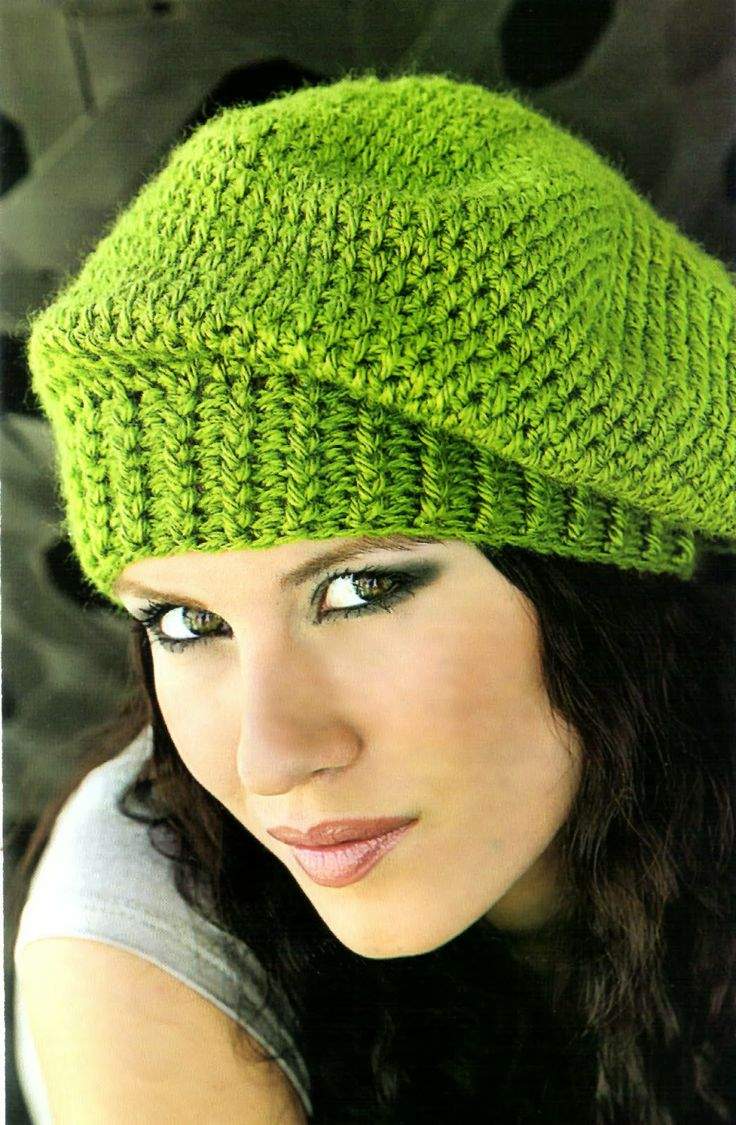
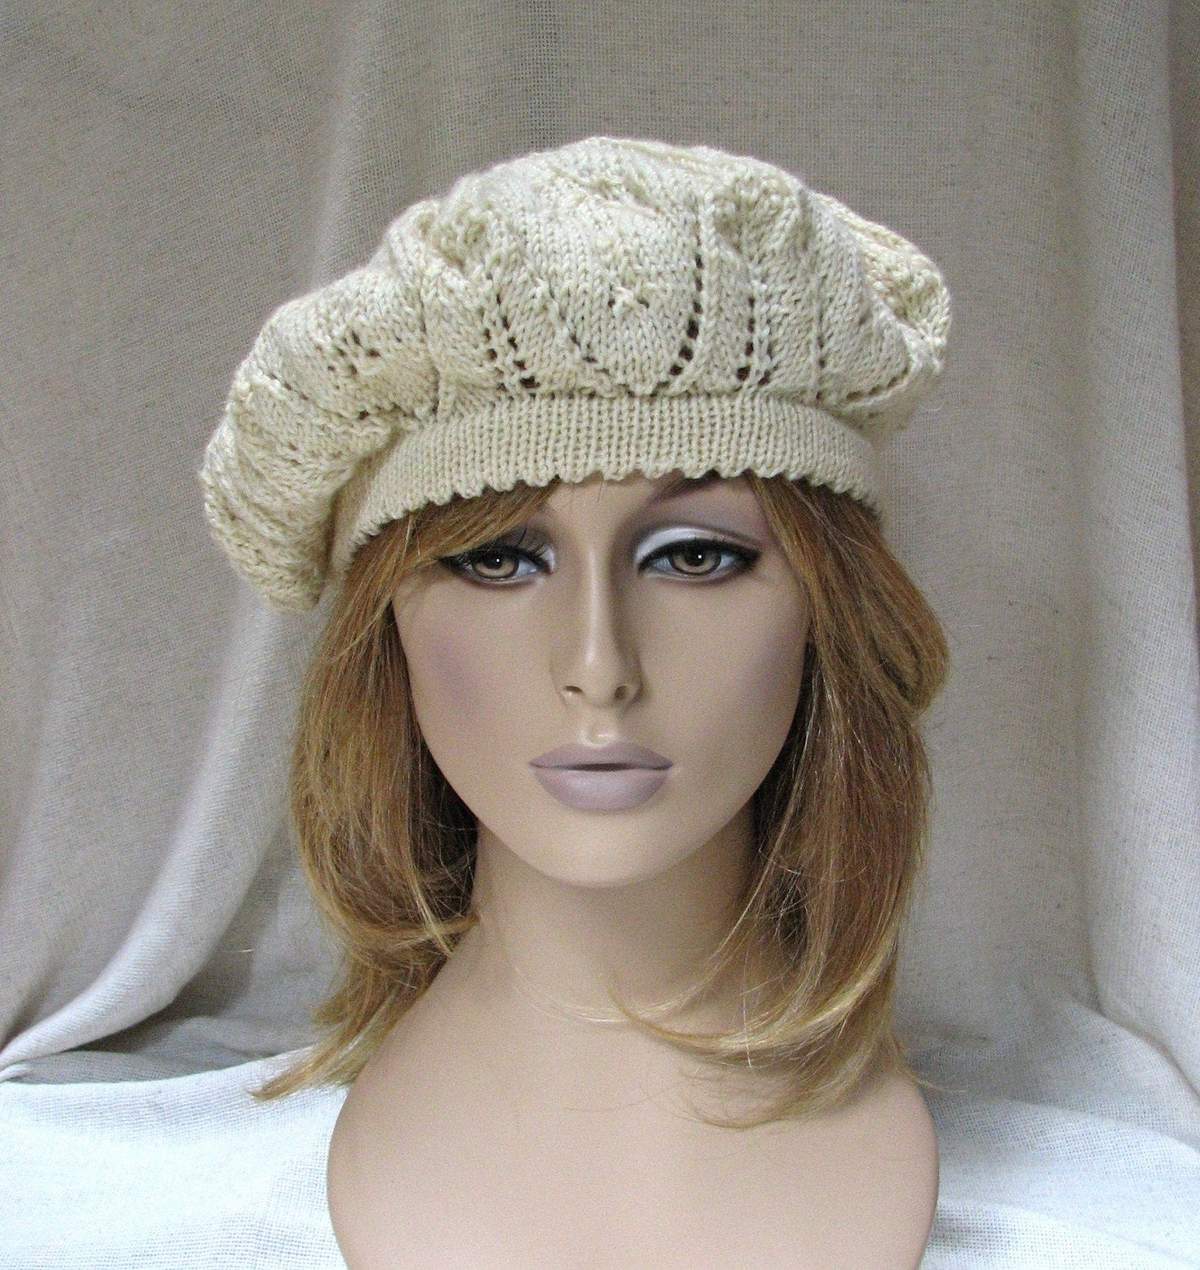
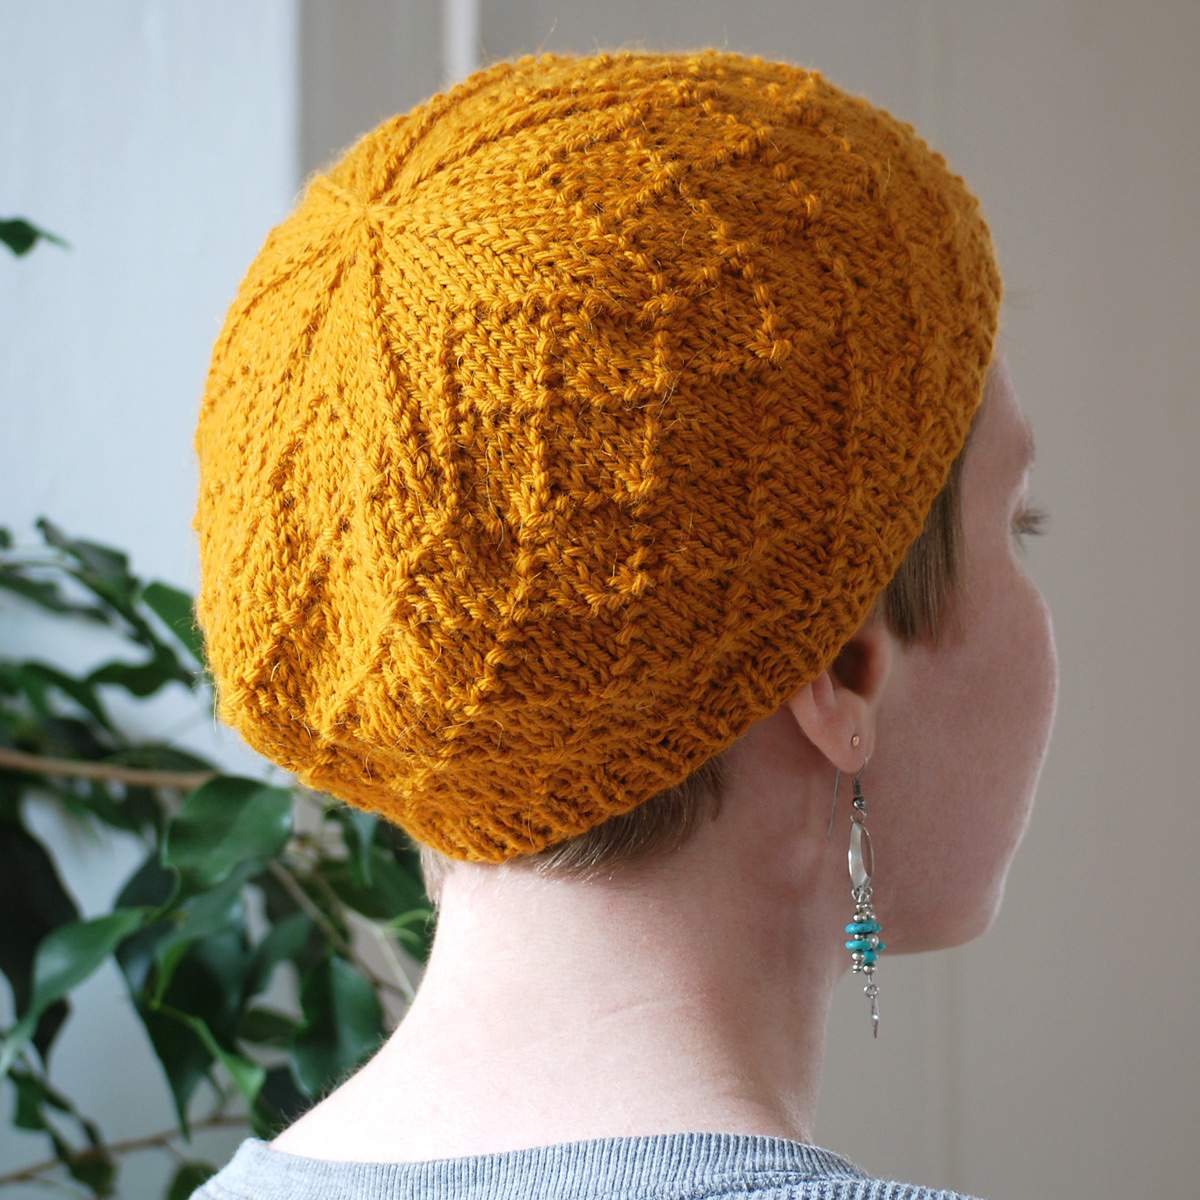
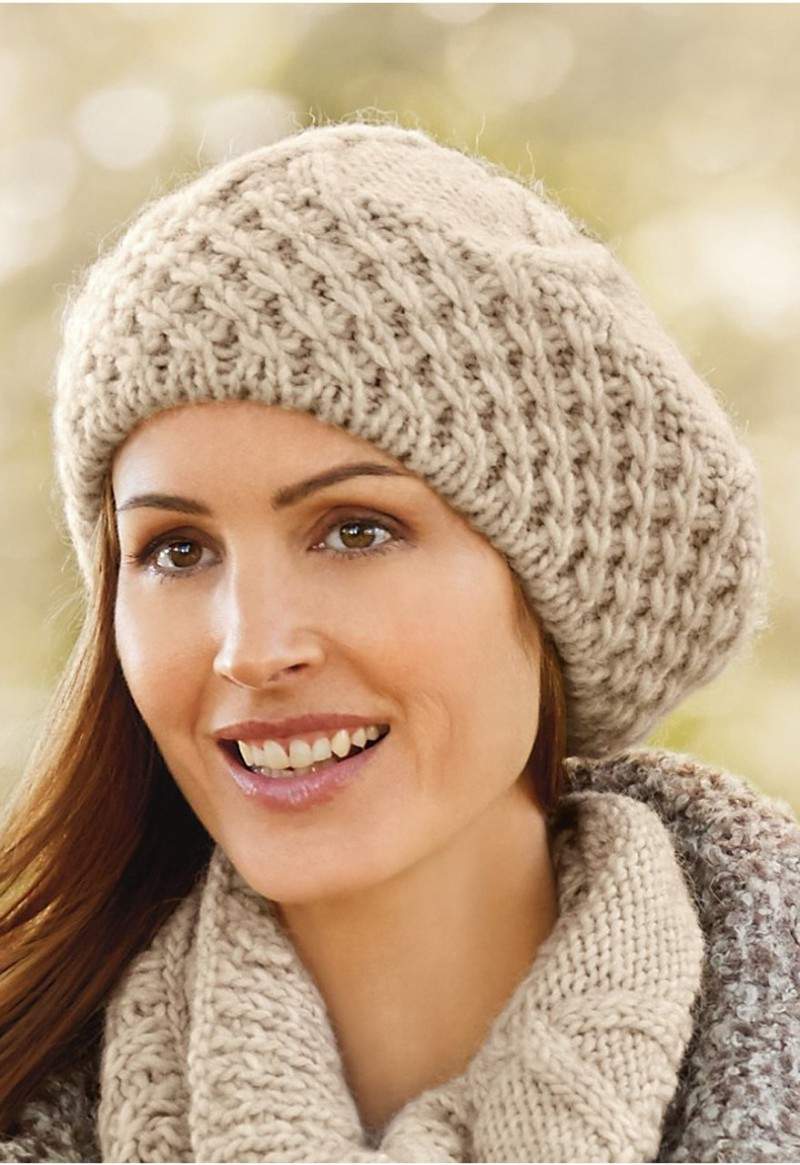
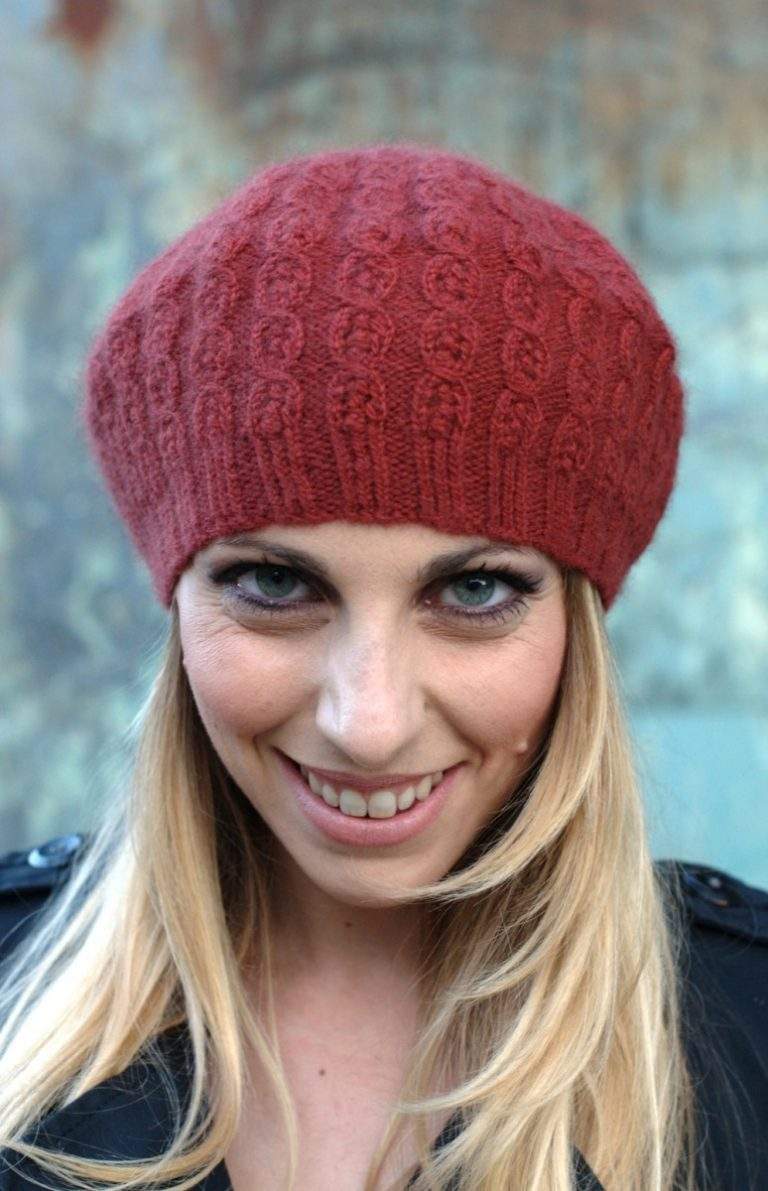
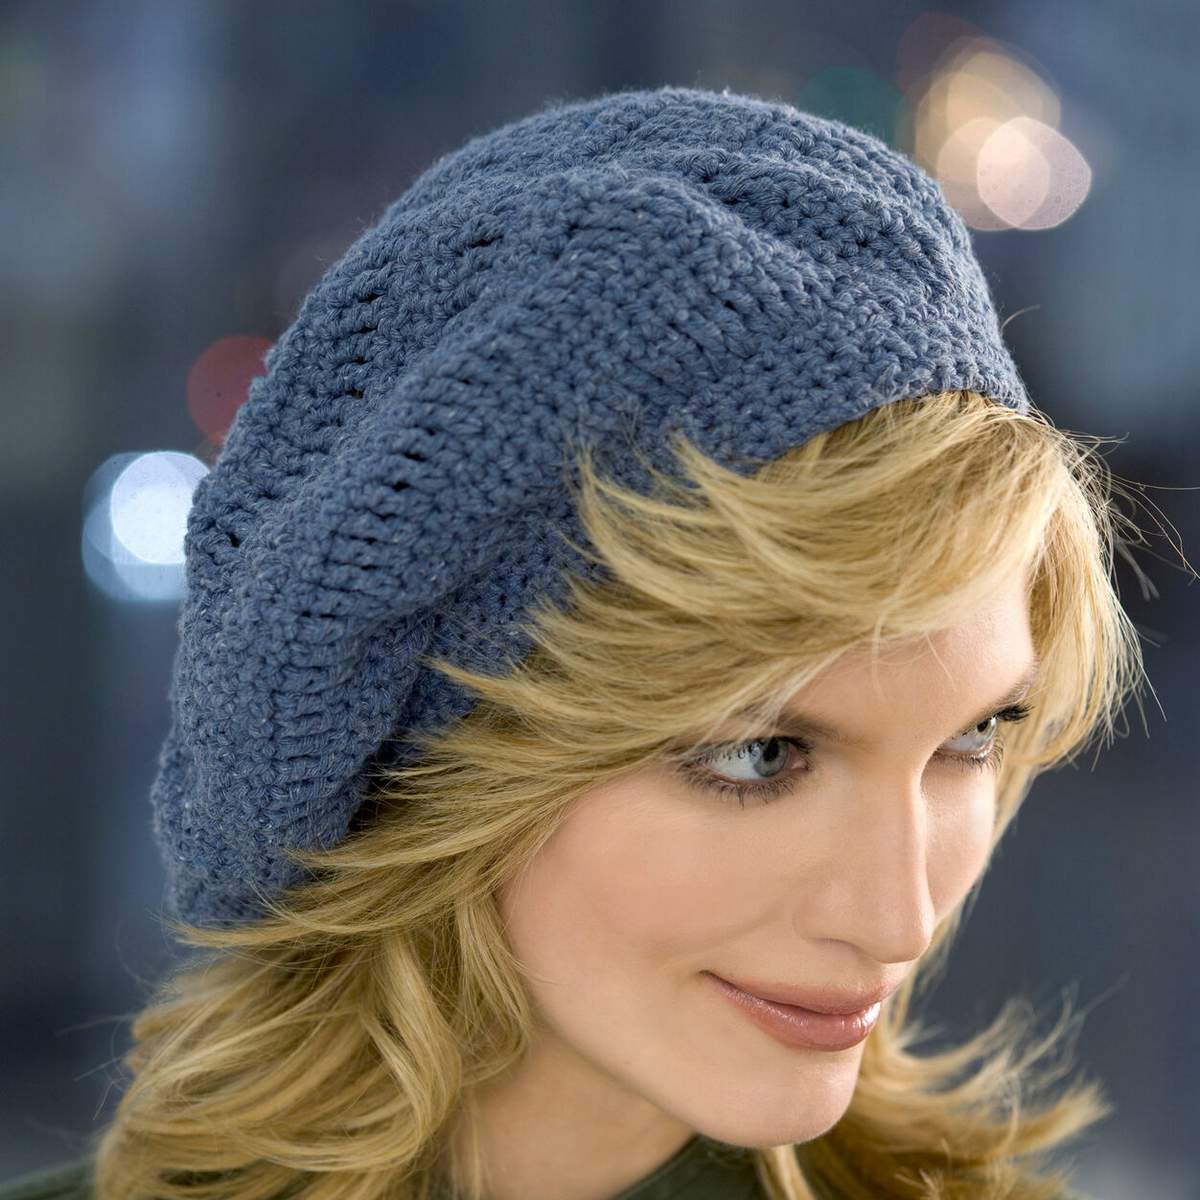
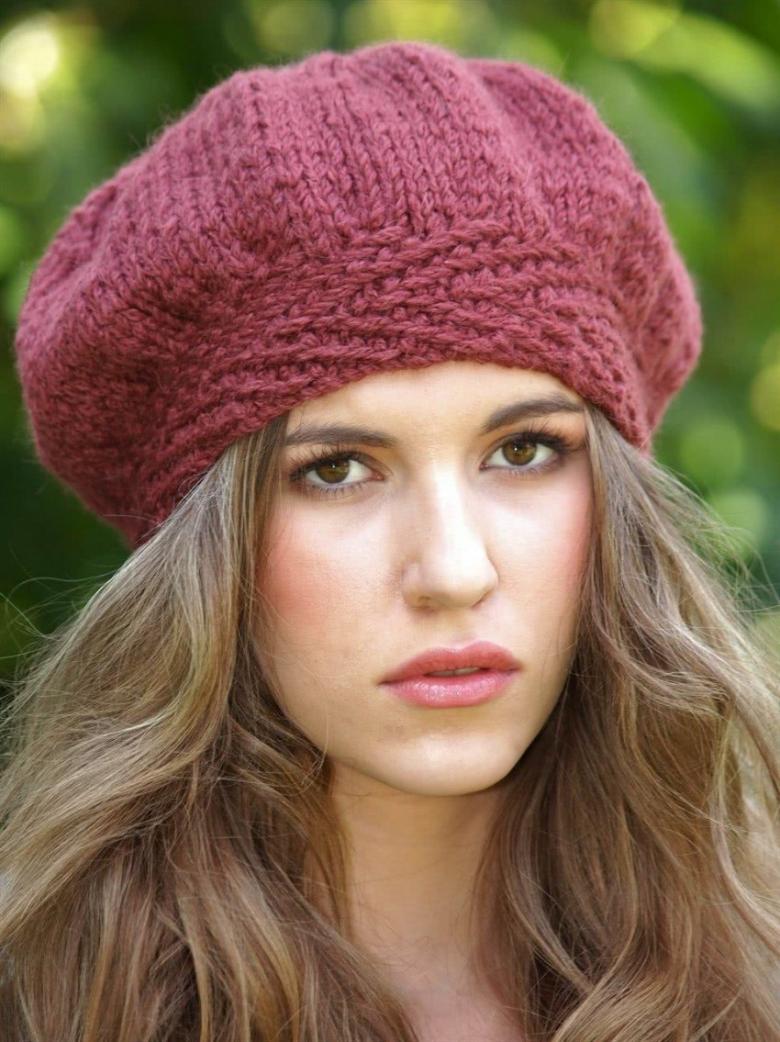
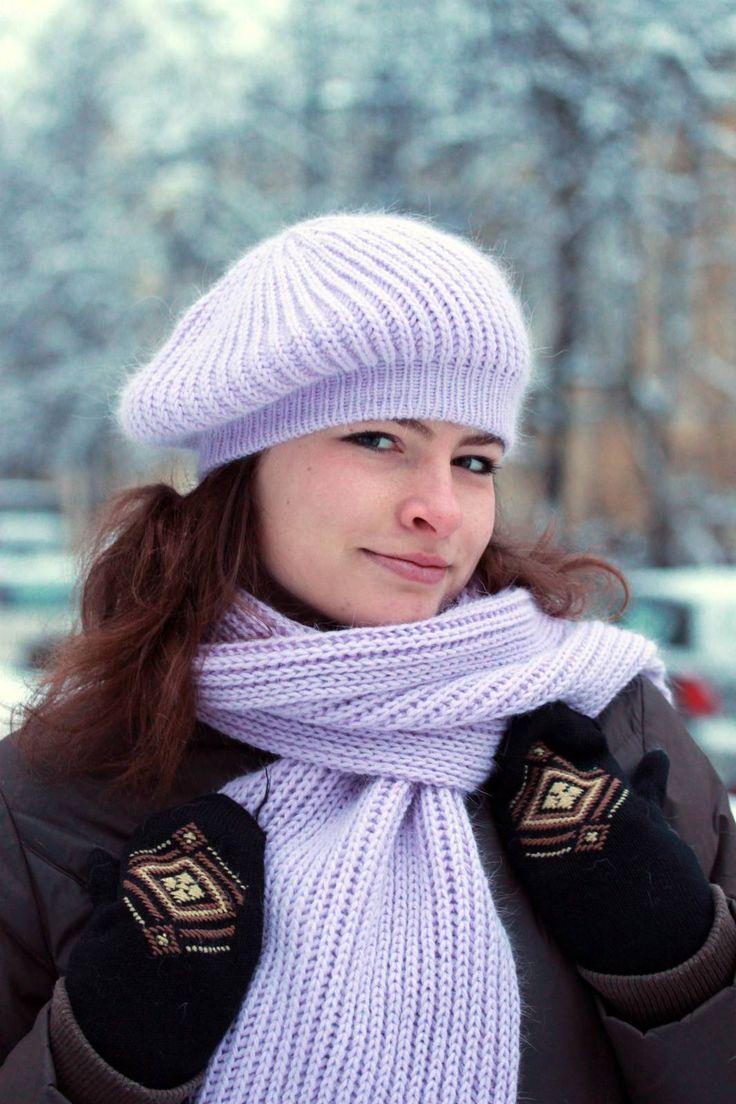
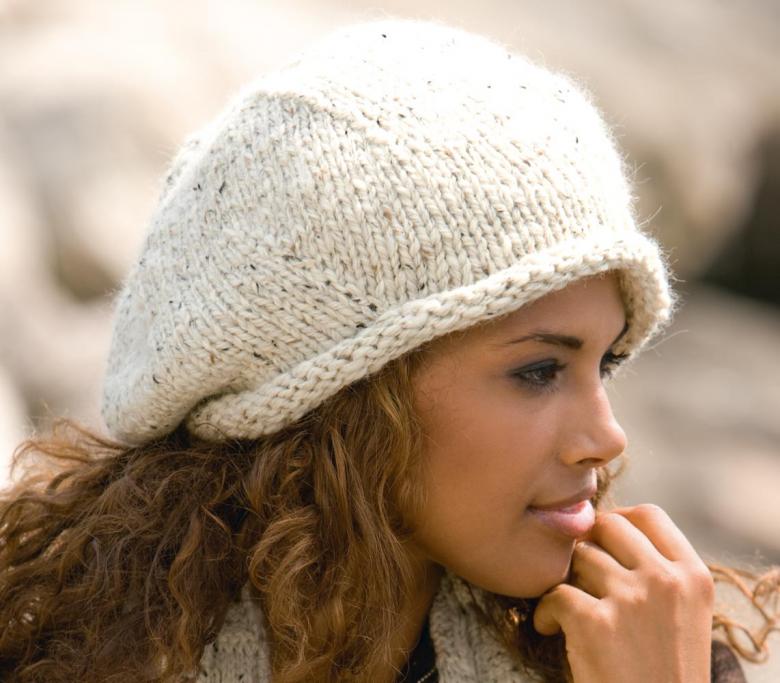
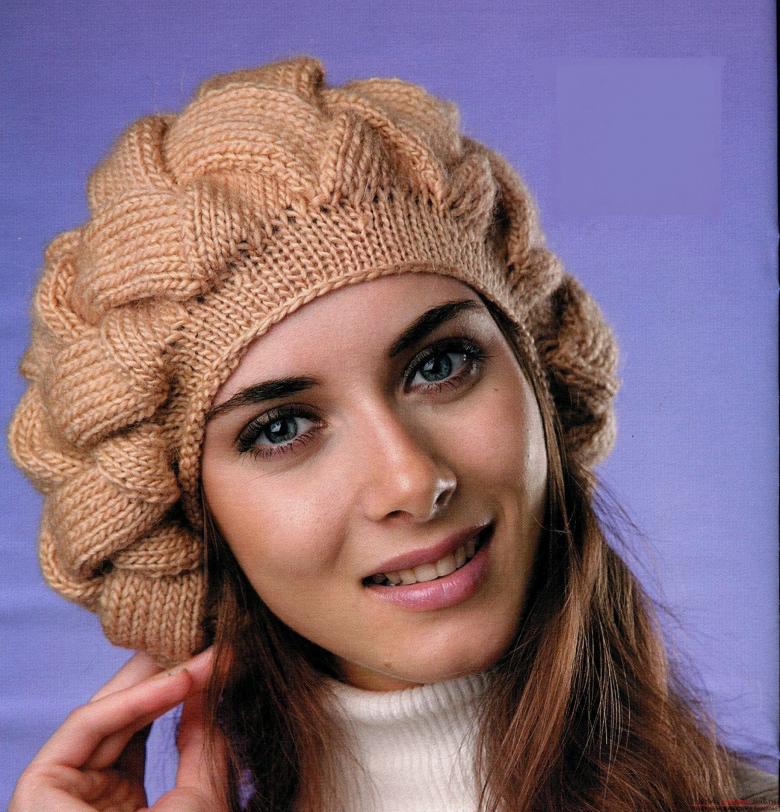
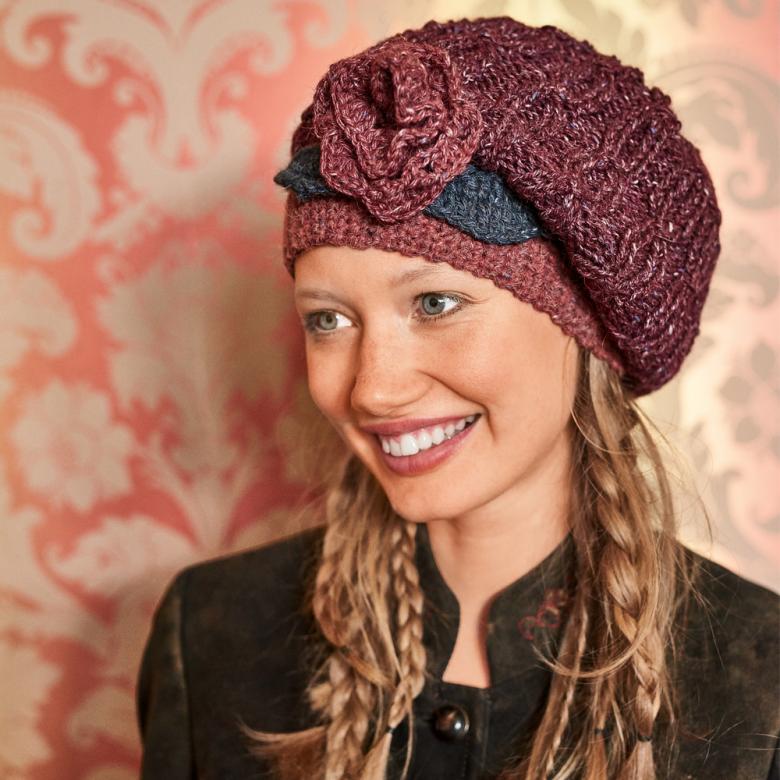
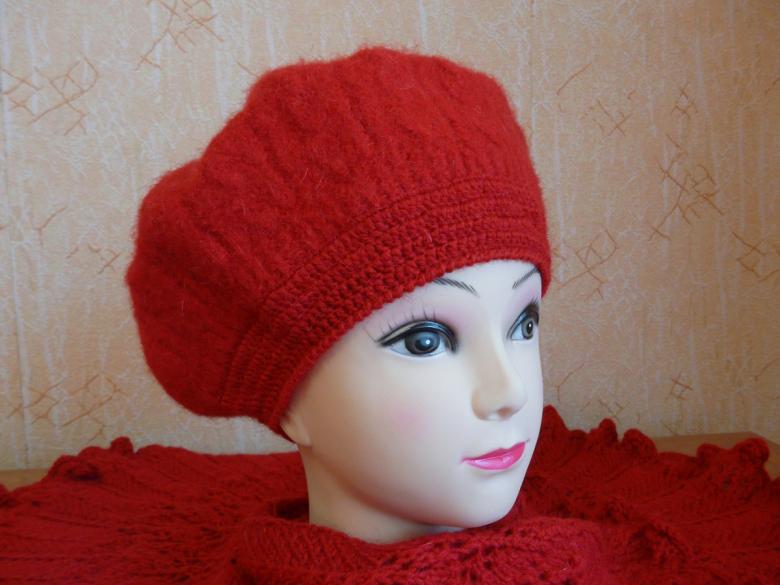
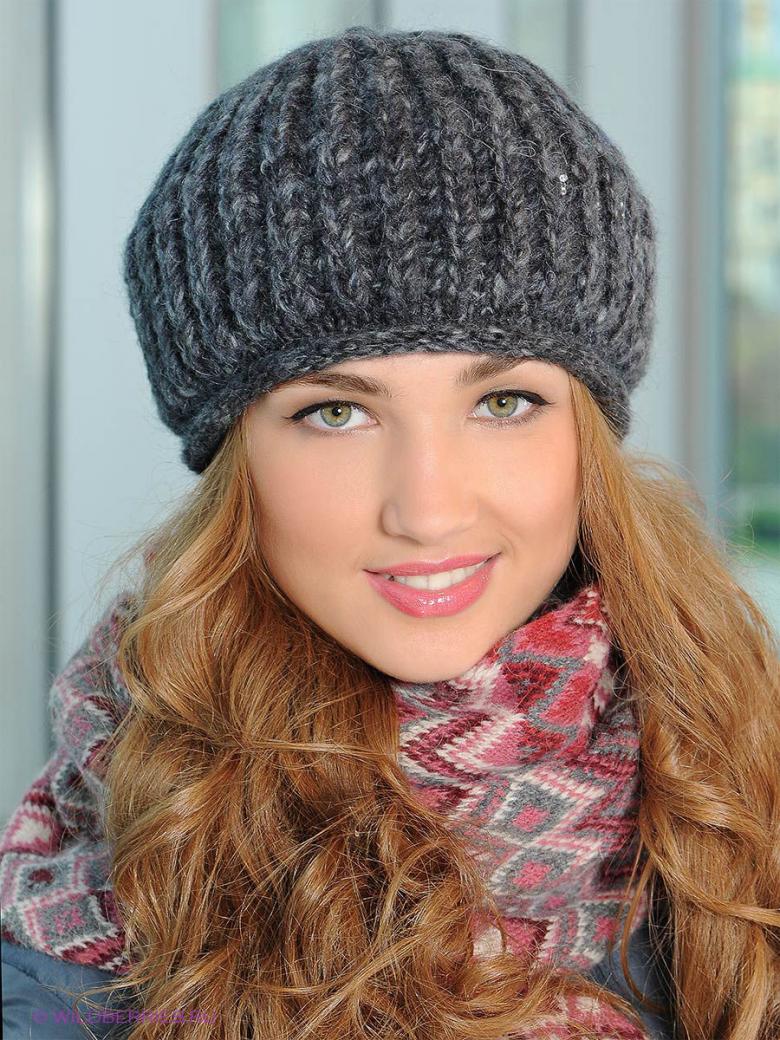
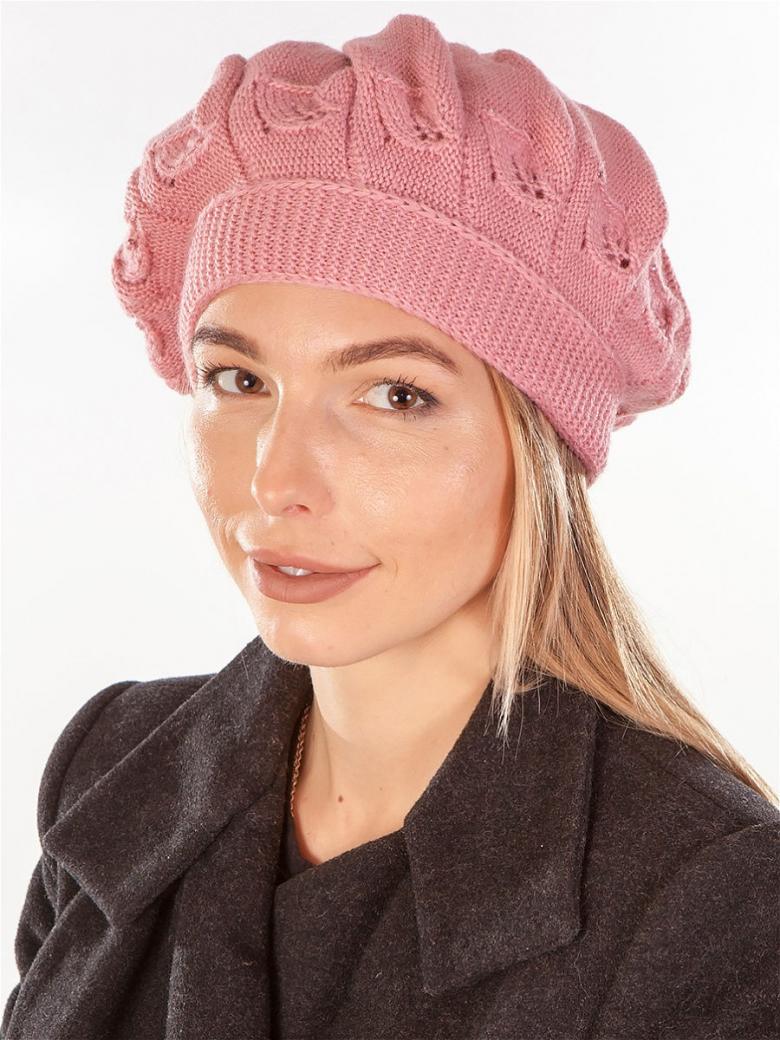
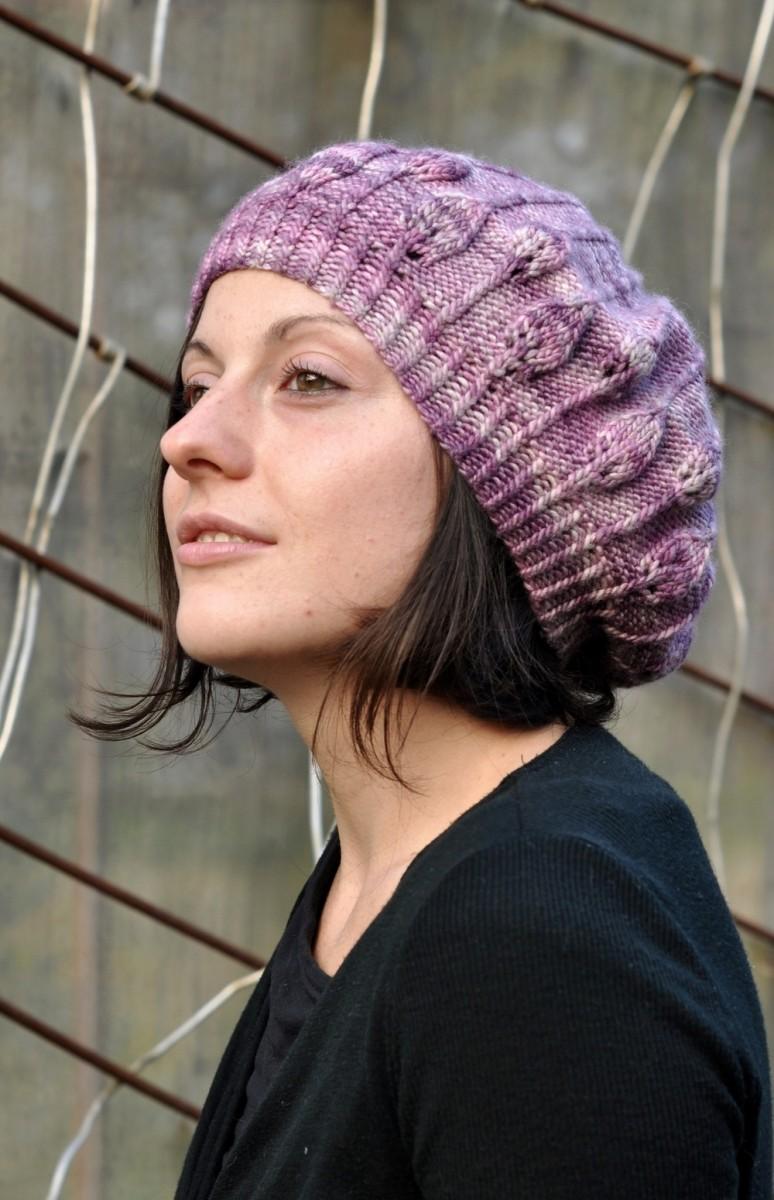
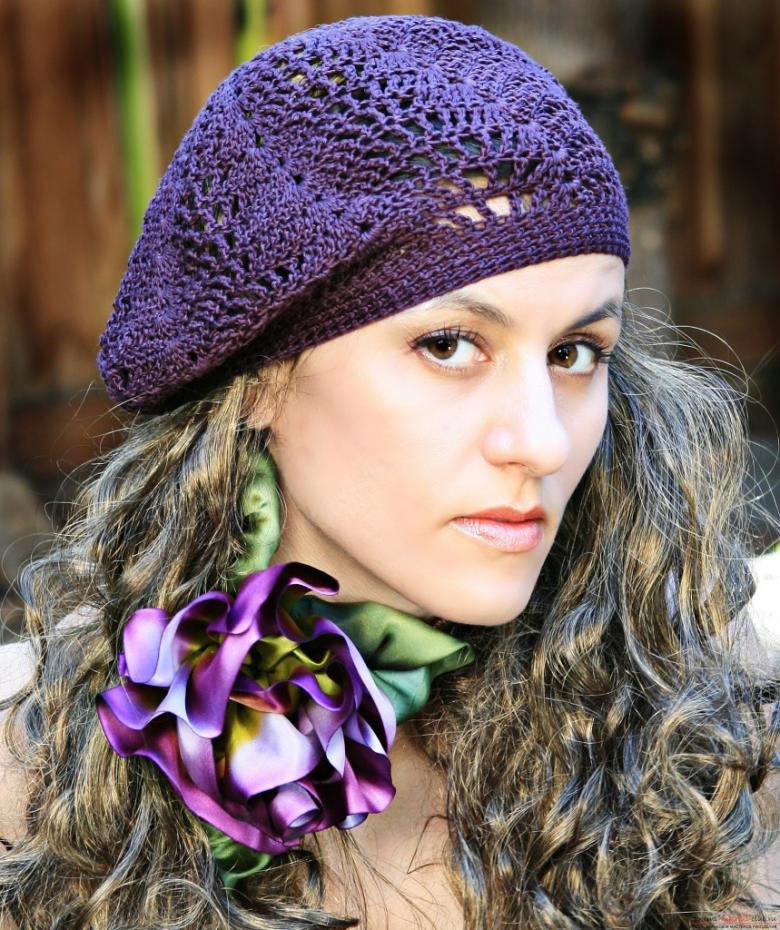
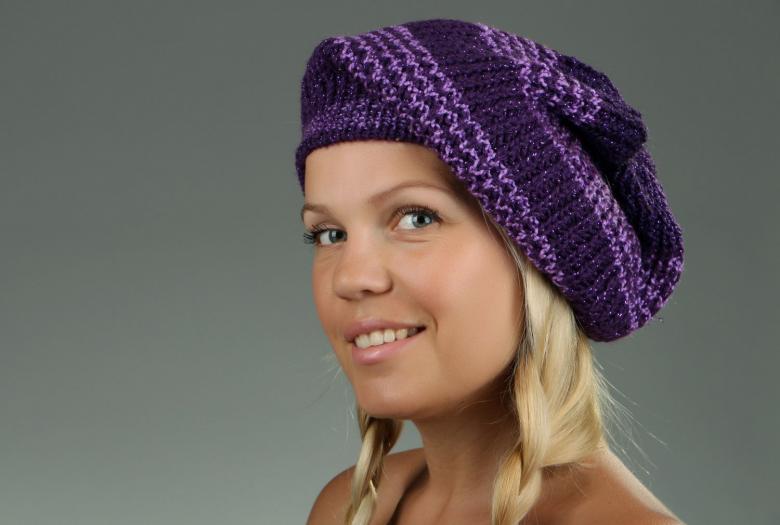
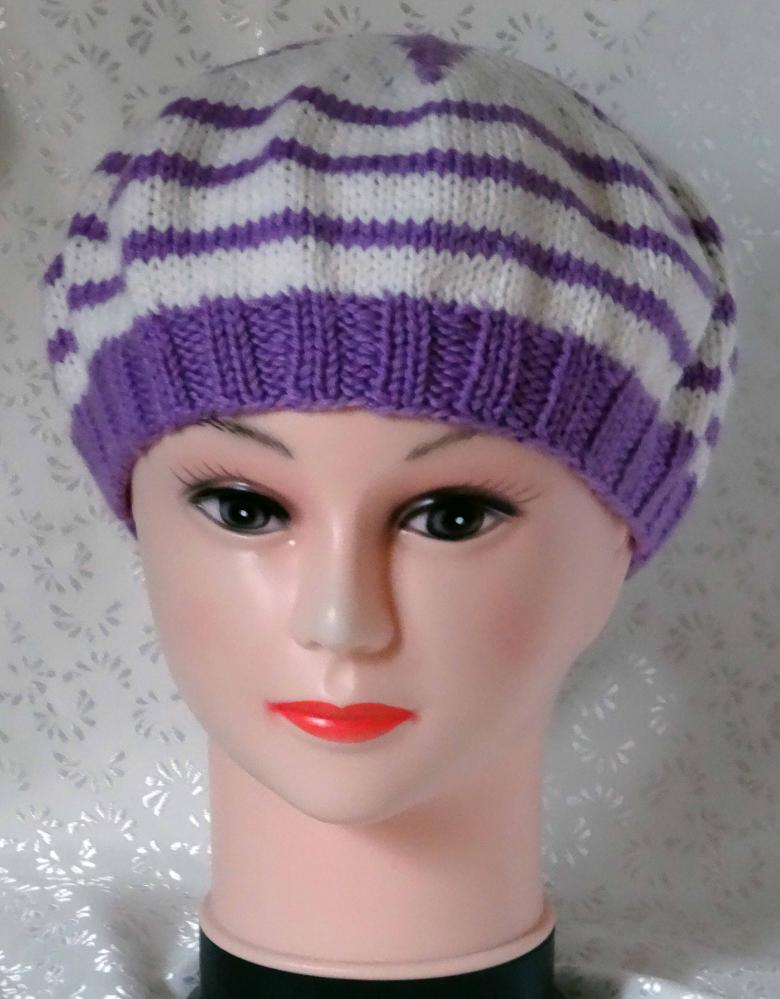
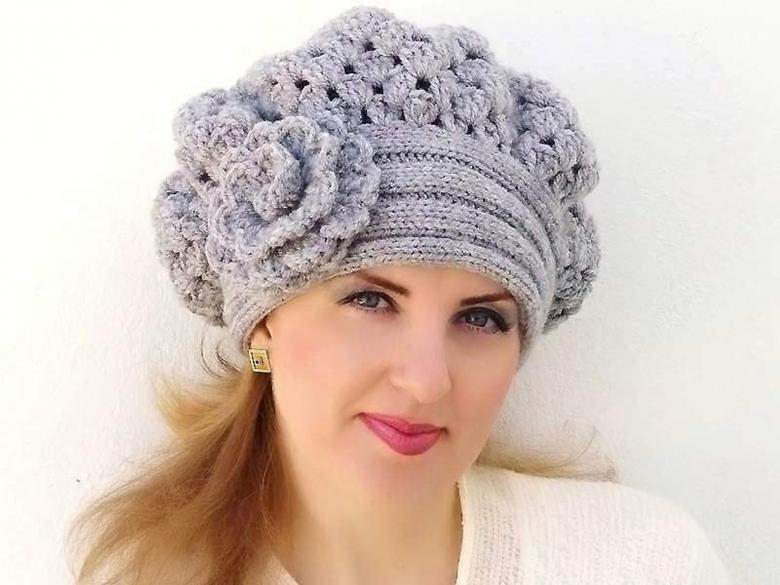
Photo ideas of homemade knitted berets