How to crochet a blouse - a selection of stylish master classes
Amazing cardigans and openwork summer tops, thin blouses-breaks and original jackets - any of these models can be tied your own hands. It is only necessary to approach to the creation of accessories creatively, but also, of course, you need skills to work with knitting accessories.
Today we will get acquainted with the basic techniques of knitting a blouse with the help of a crochet hook.
What models we will look at today
Different models are relevant in all seasons and seasons of the year. We have selected a list of the most original products for your attention:
- Summer top.
- Long cardigan.
- Jacket with a modular principle of assembly.
- Children's sweater for school.
Our work plan for today:
- We will learn the rules of working with patterns and the size range.
- We will consider the sequence of creating parts for our products.
- We will get acquainted with the ways of joining parts.
- We will learn to follow the step-by-step schemes for beginners.
Masterclasses with step-by-step instructions
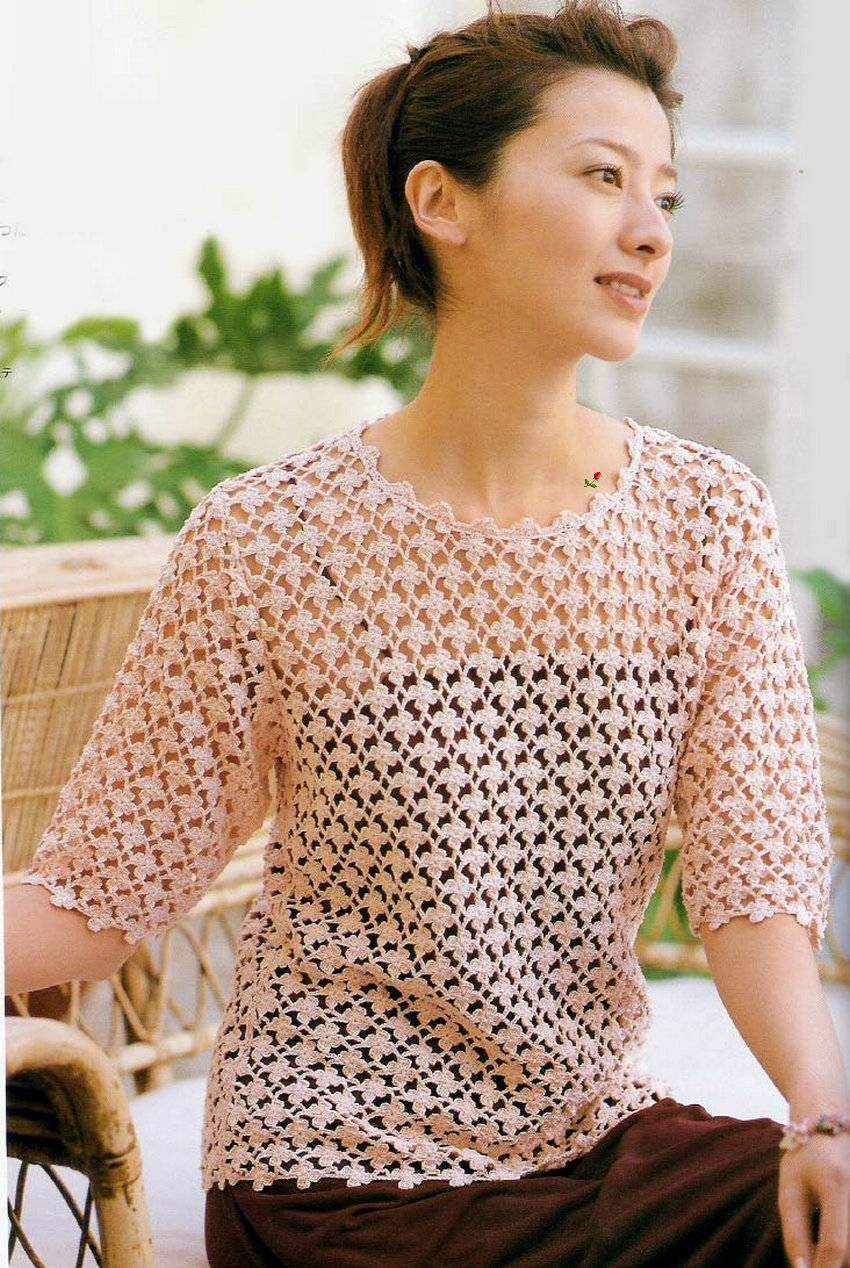
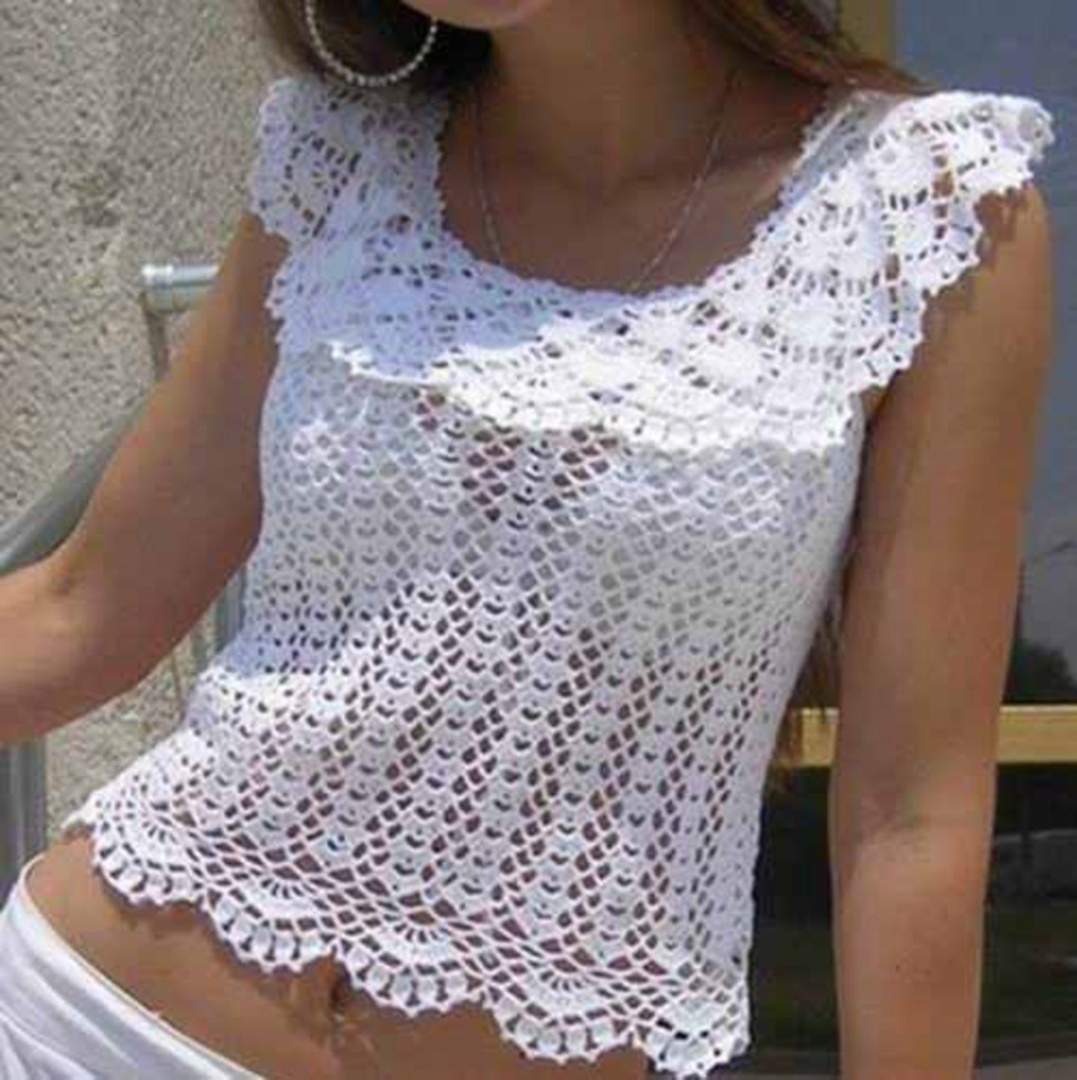
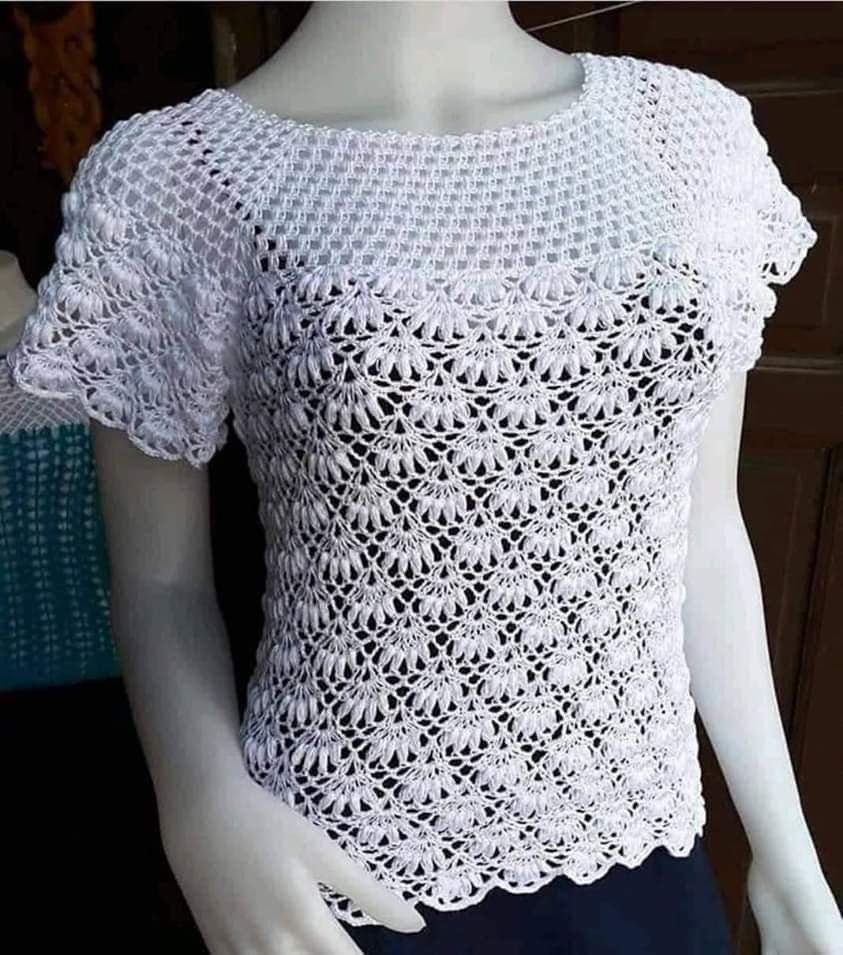
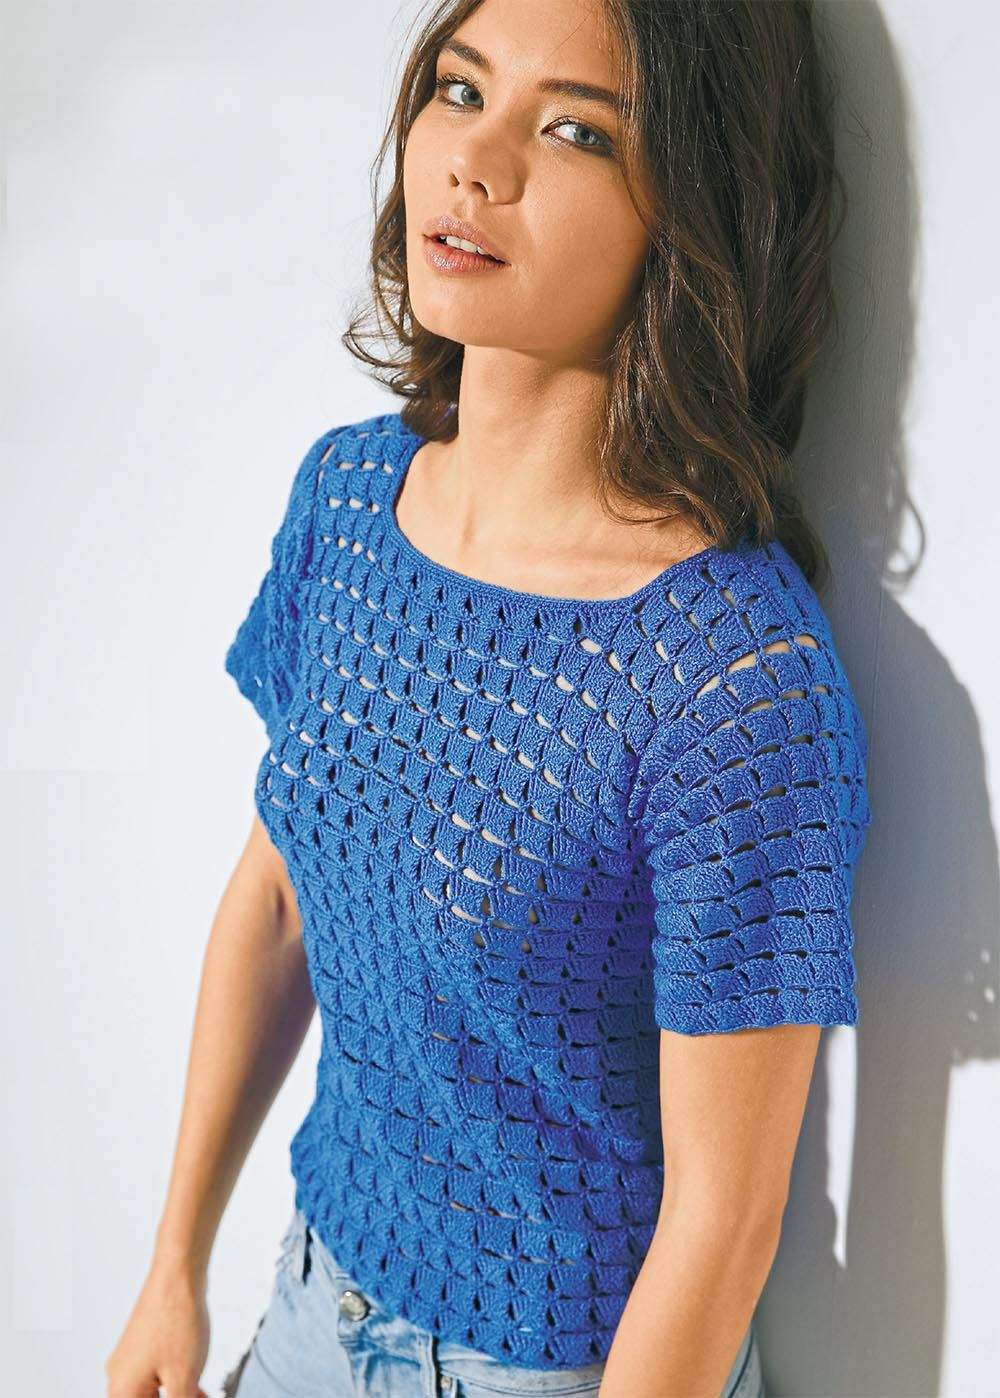
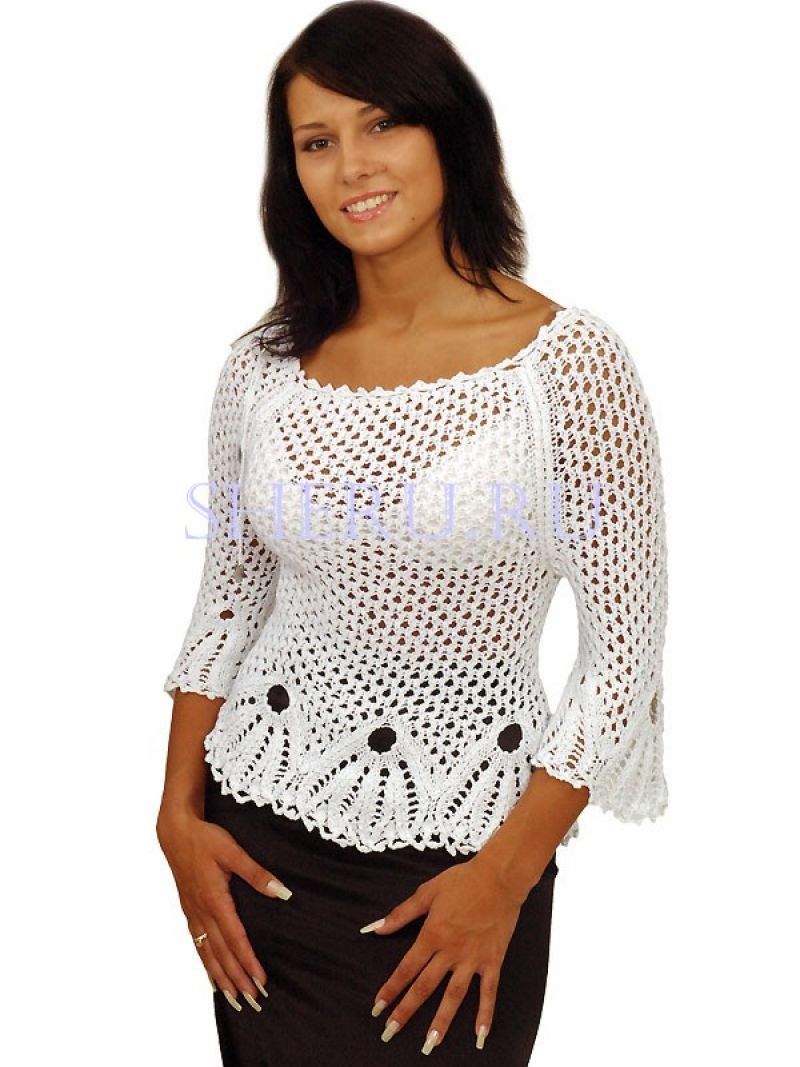
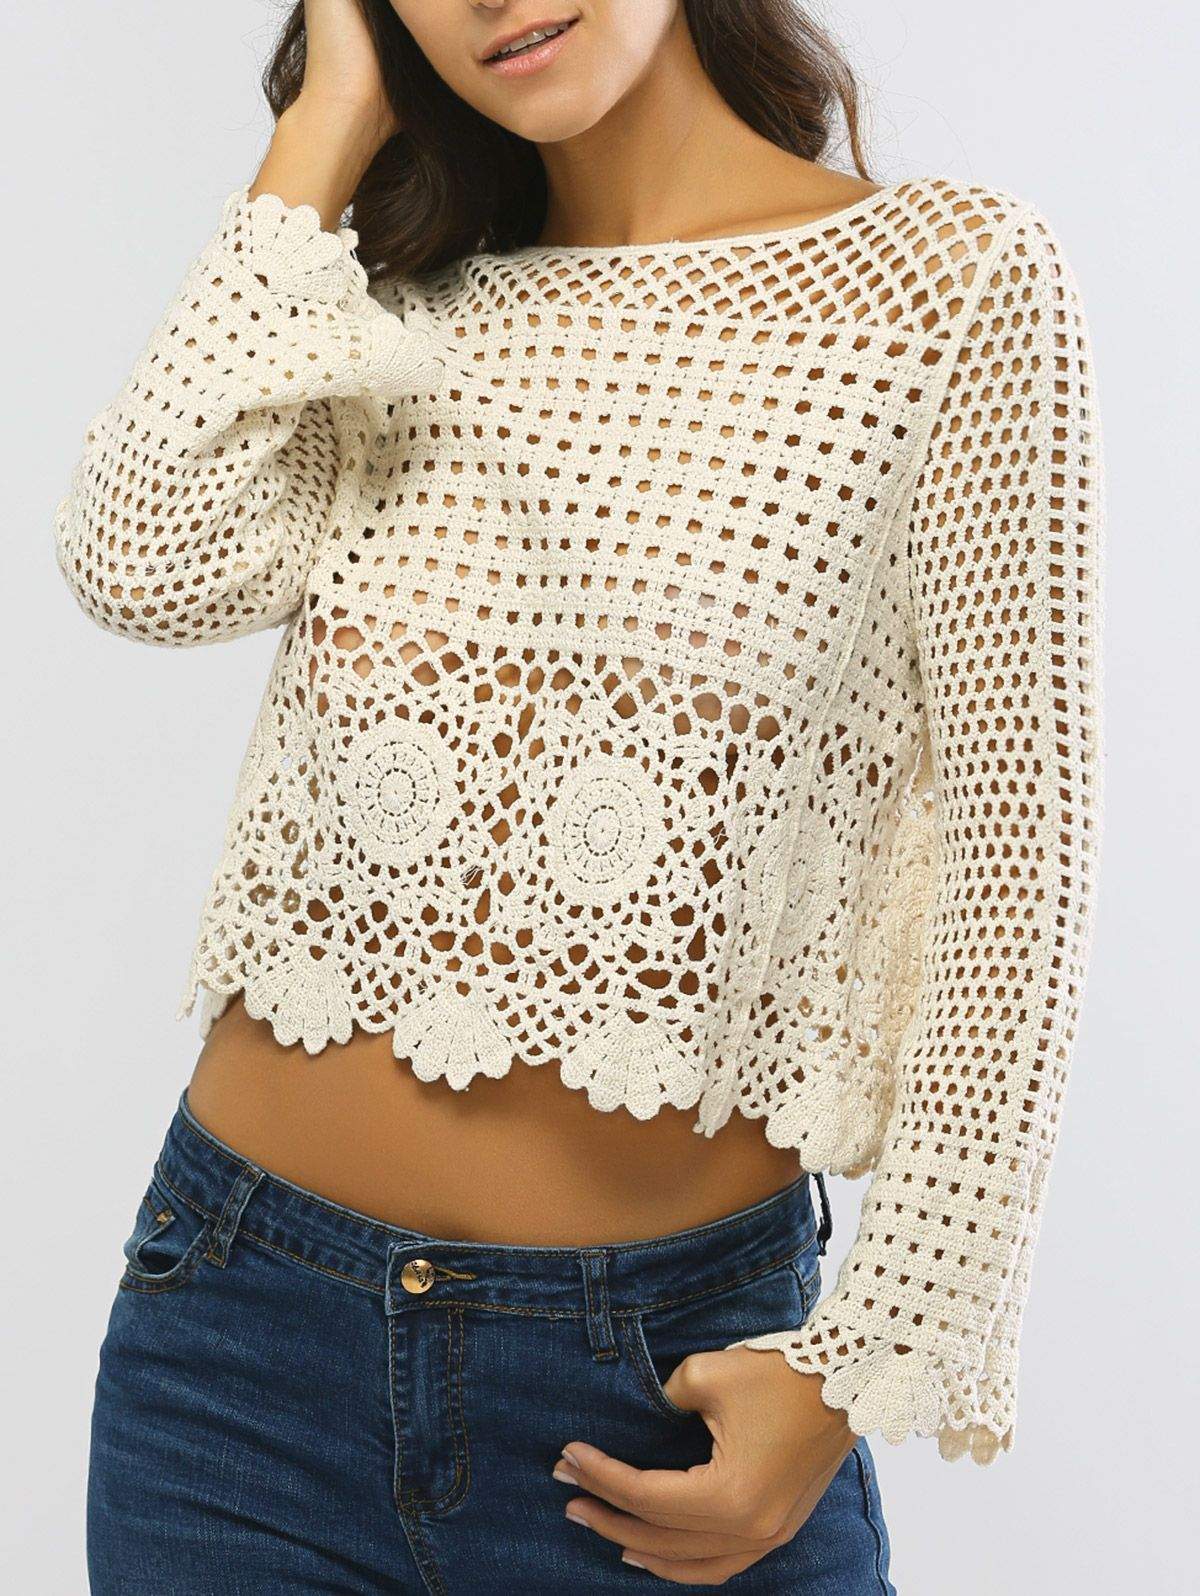
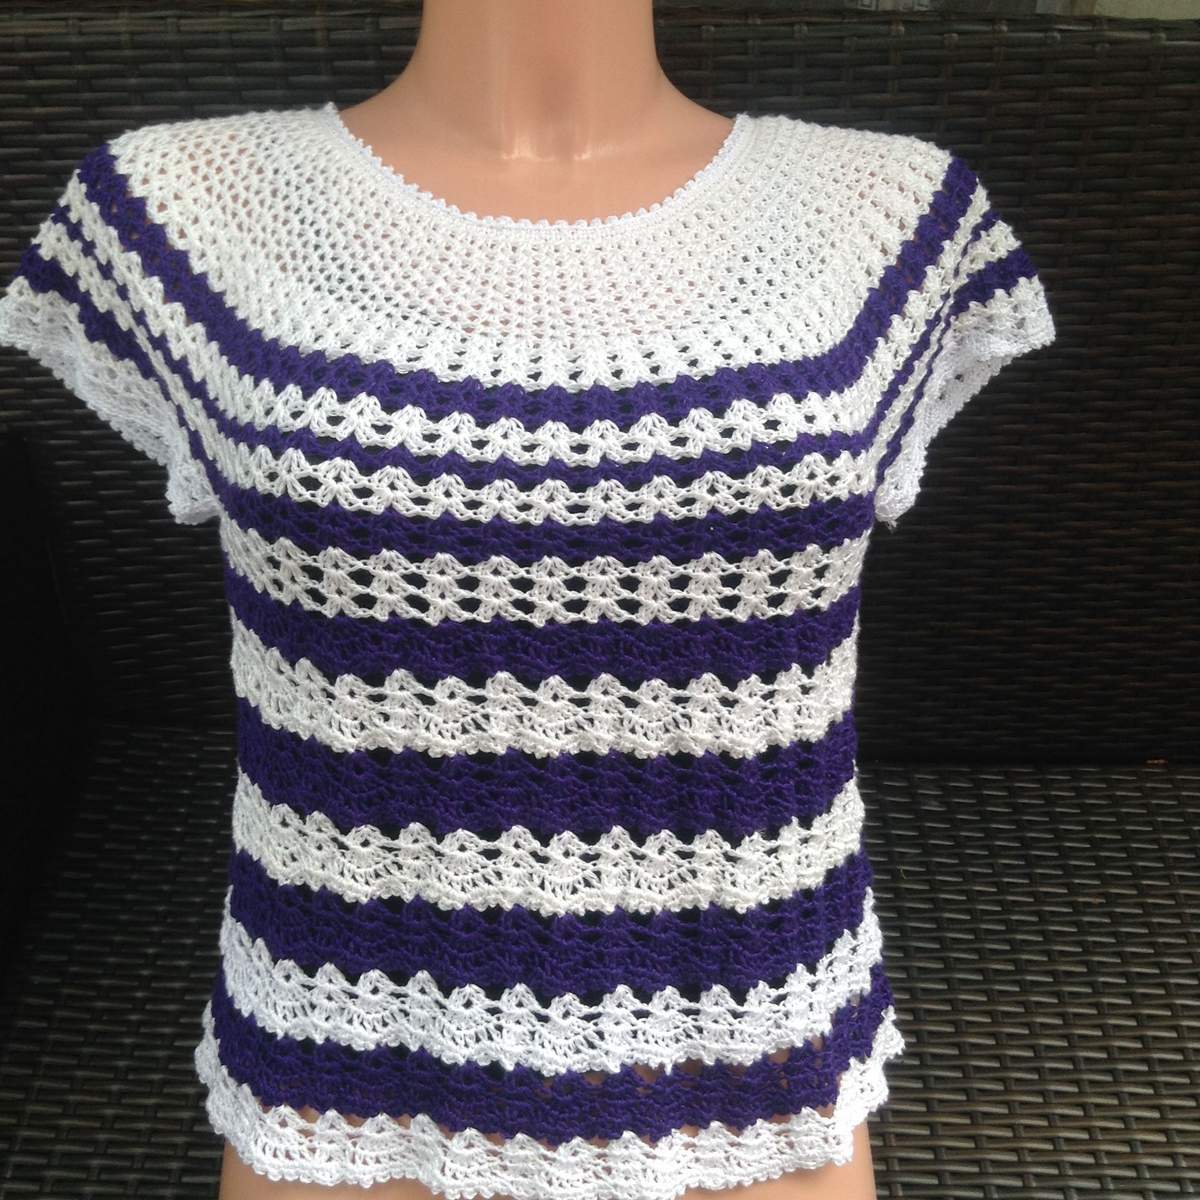
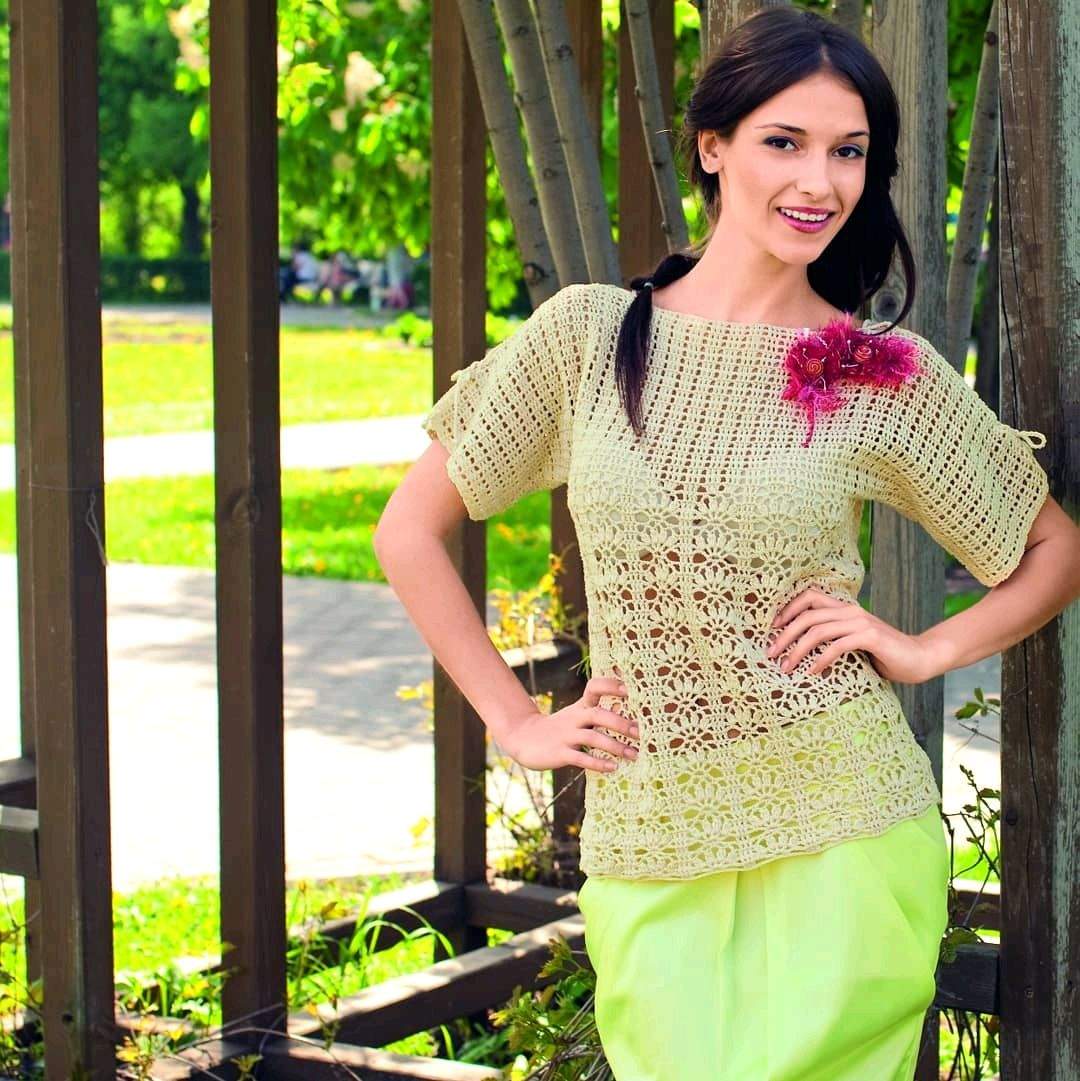
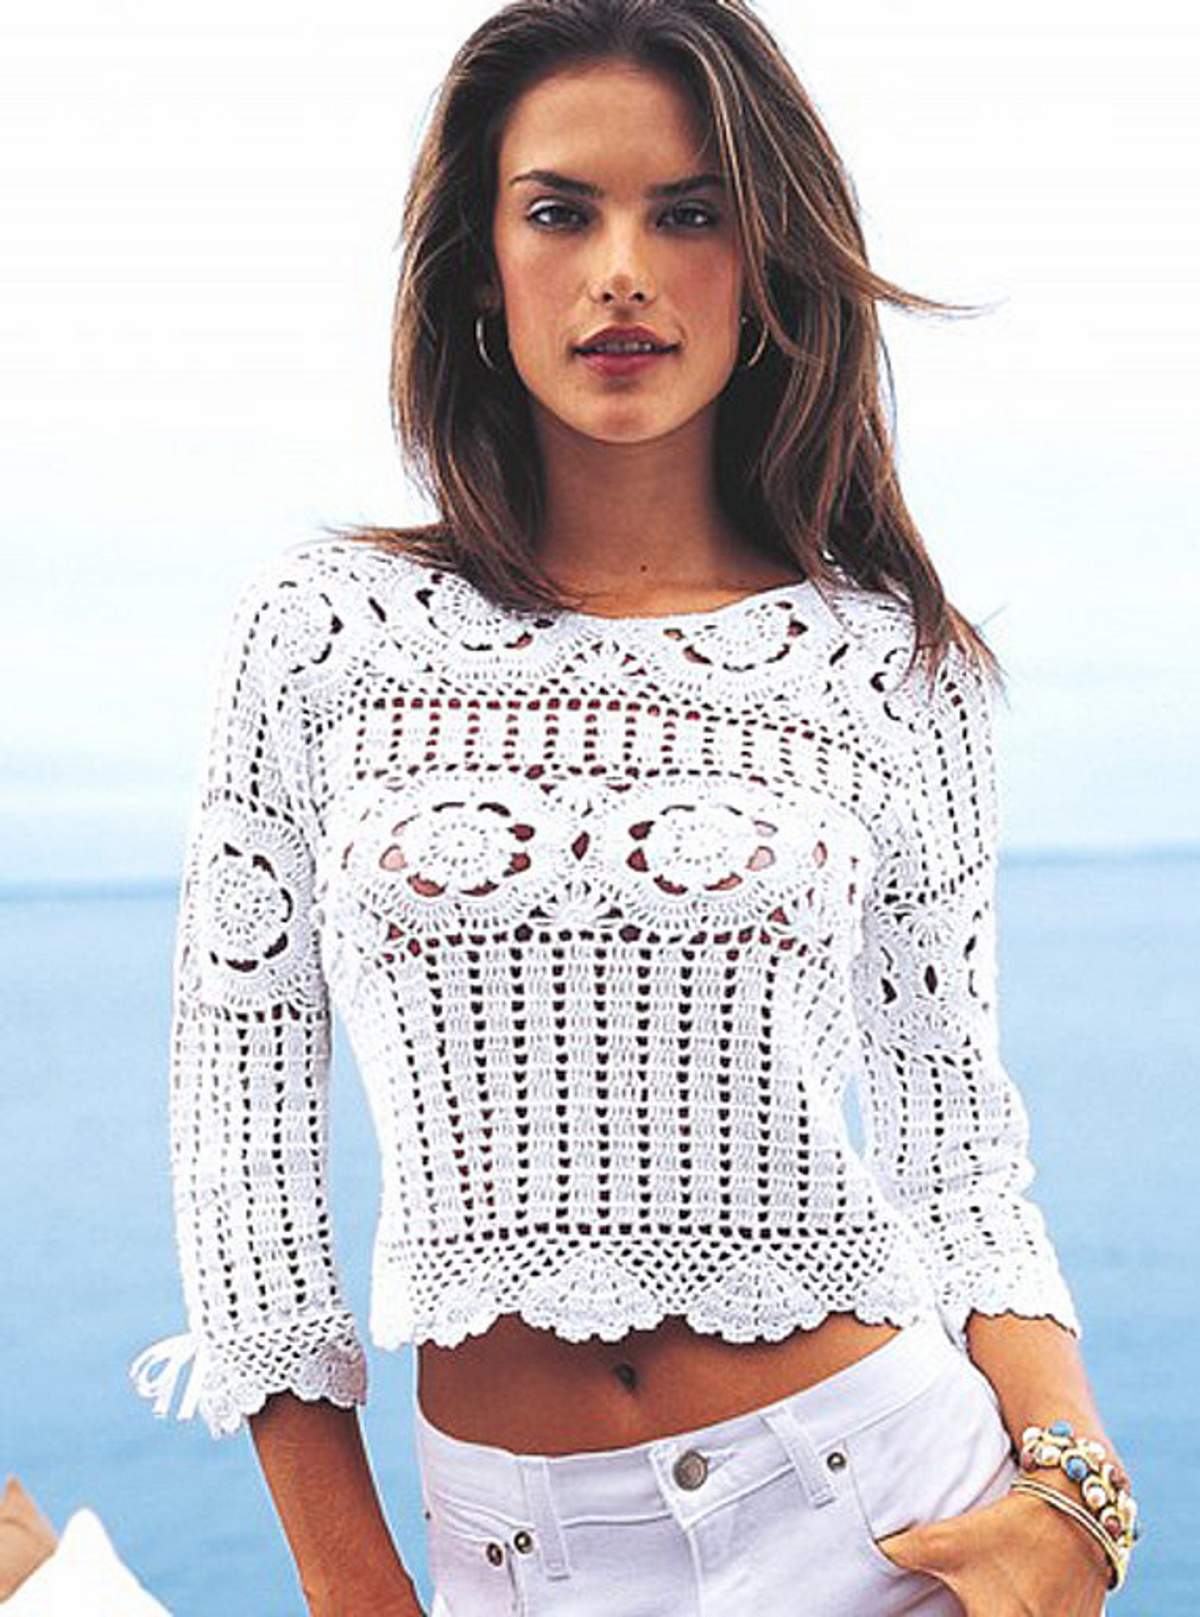
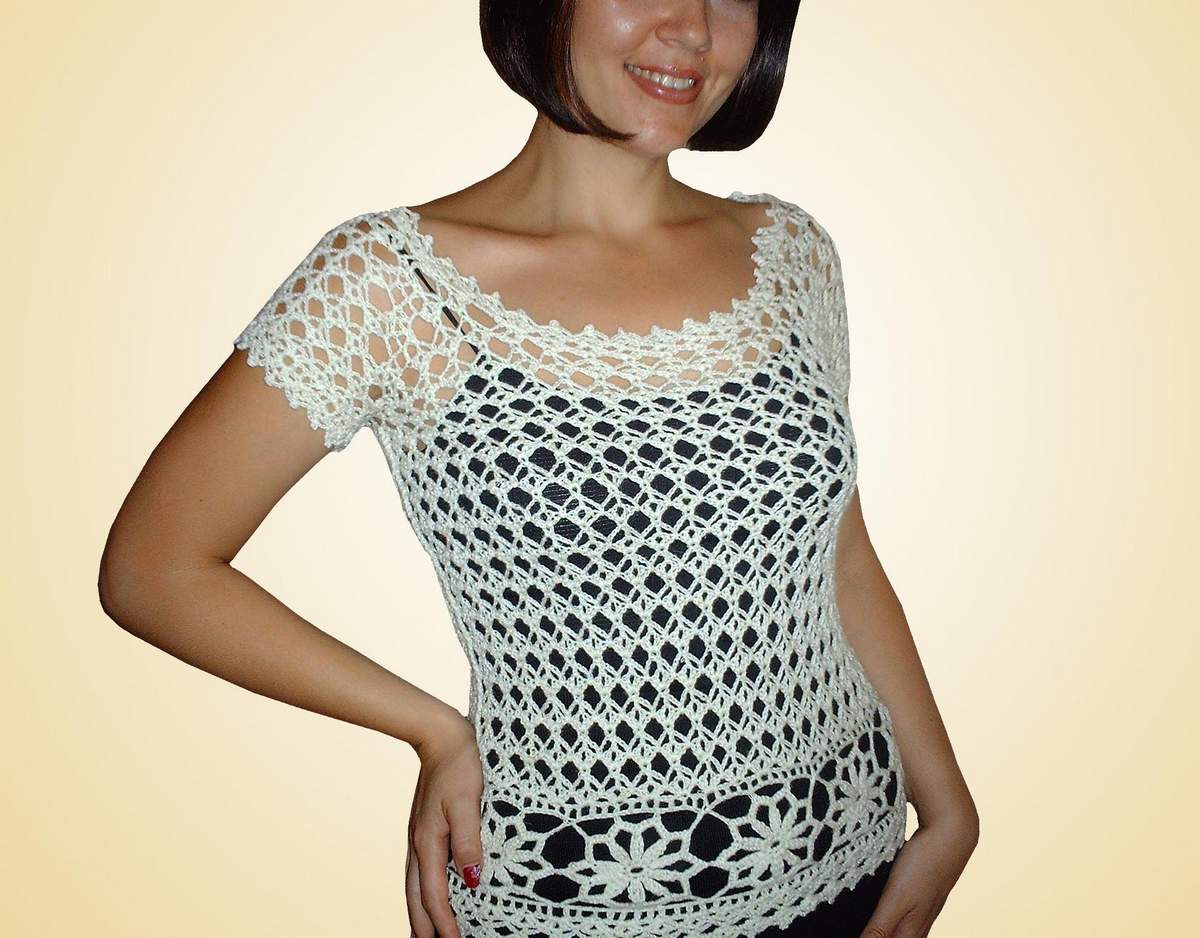
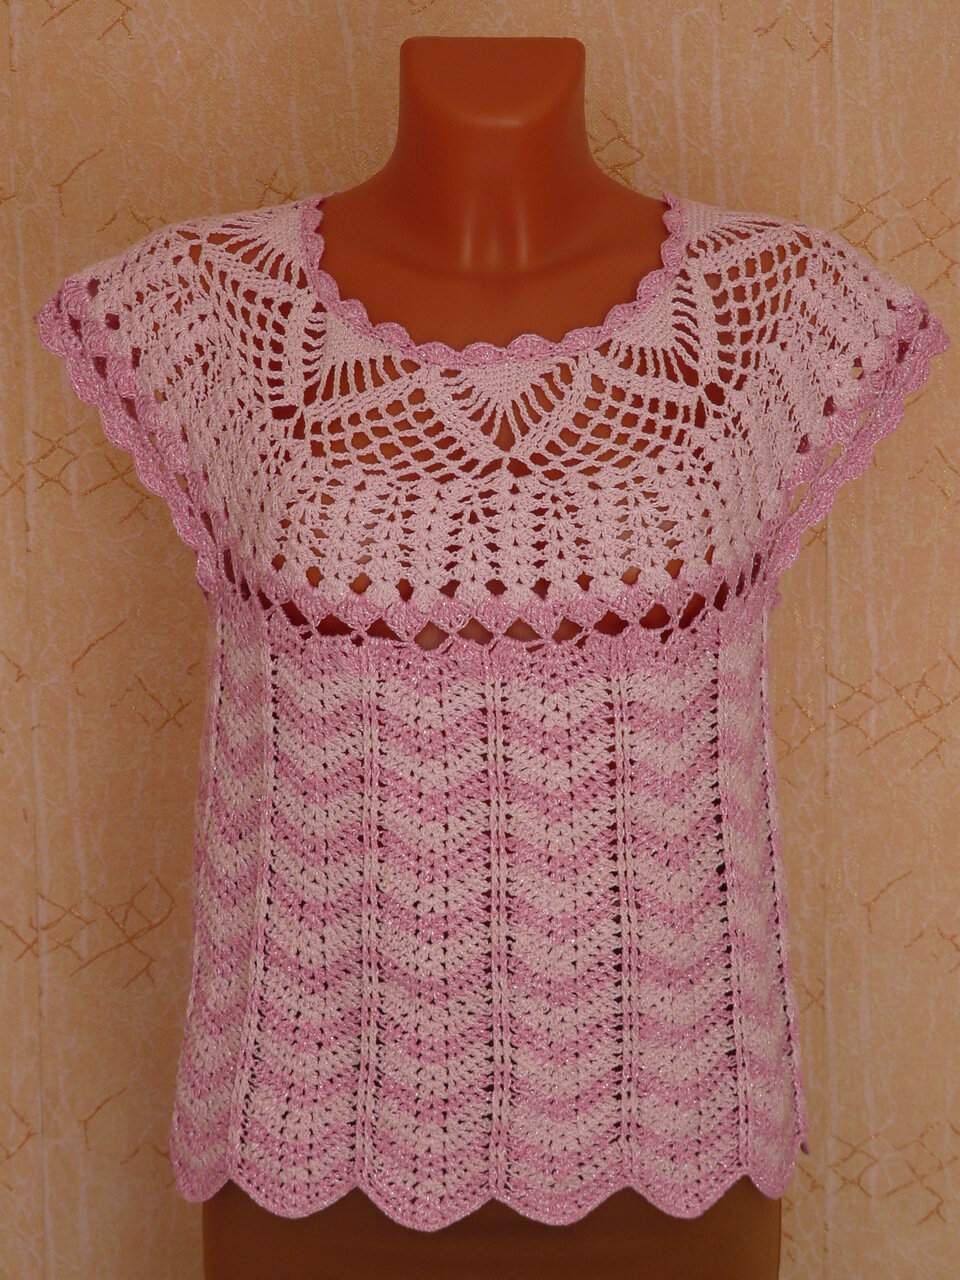
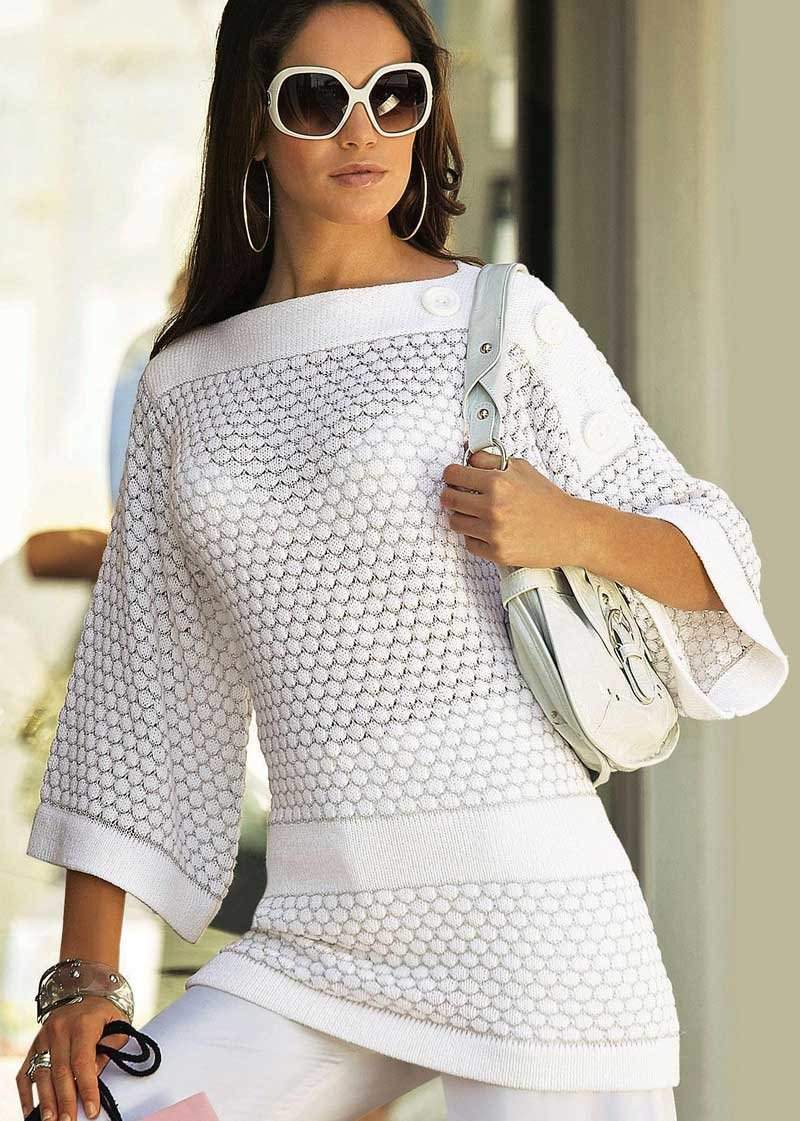
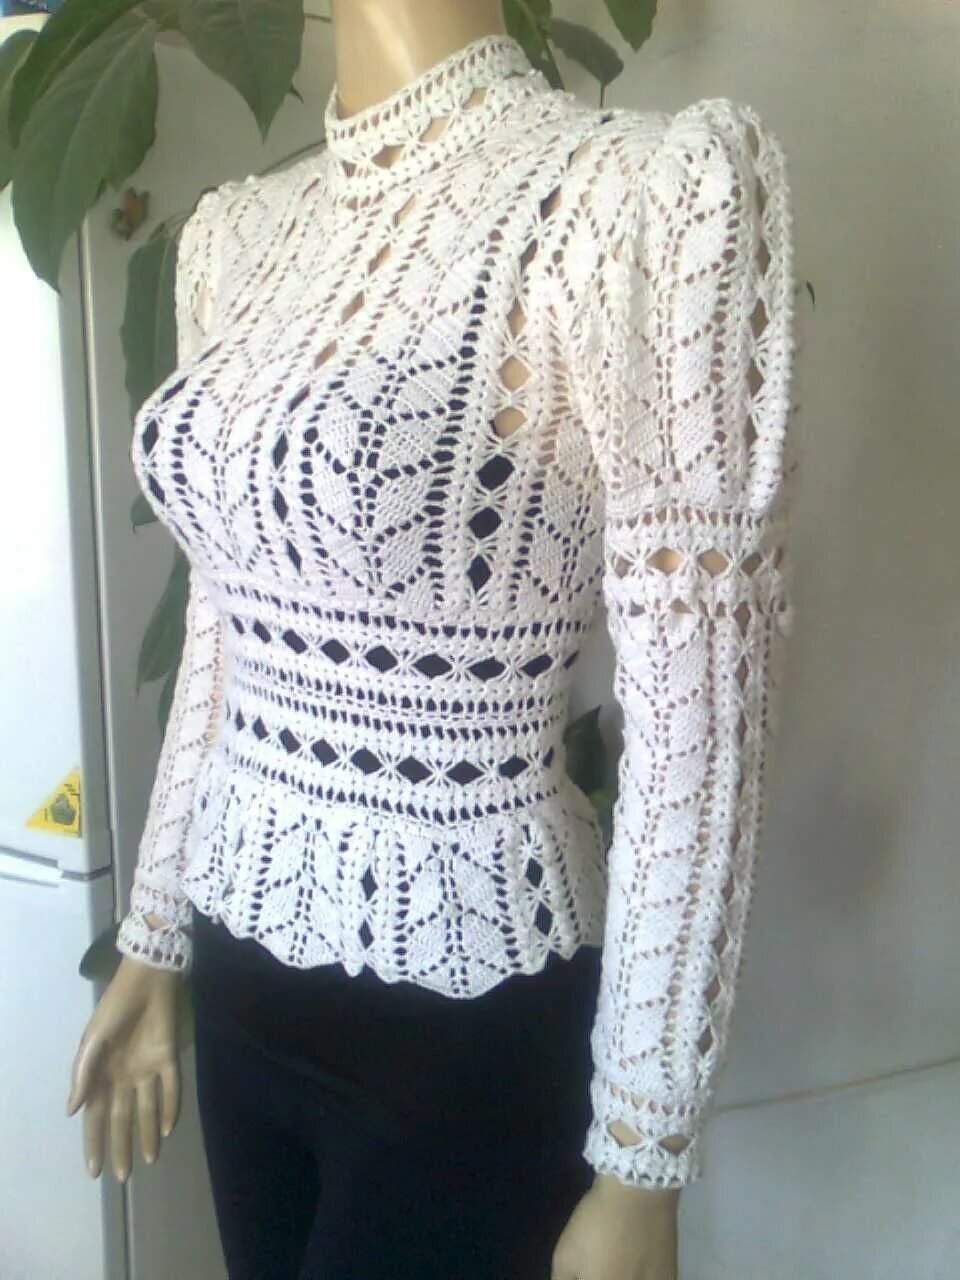
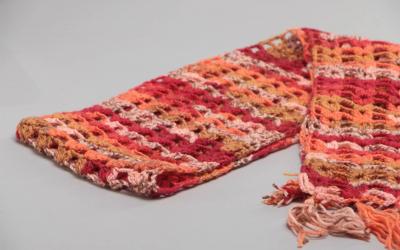
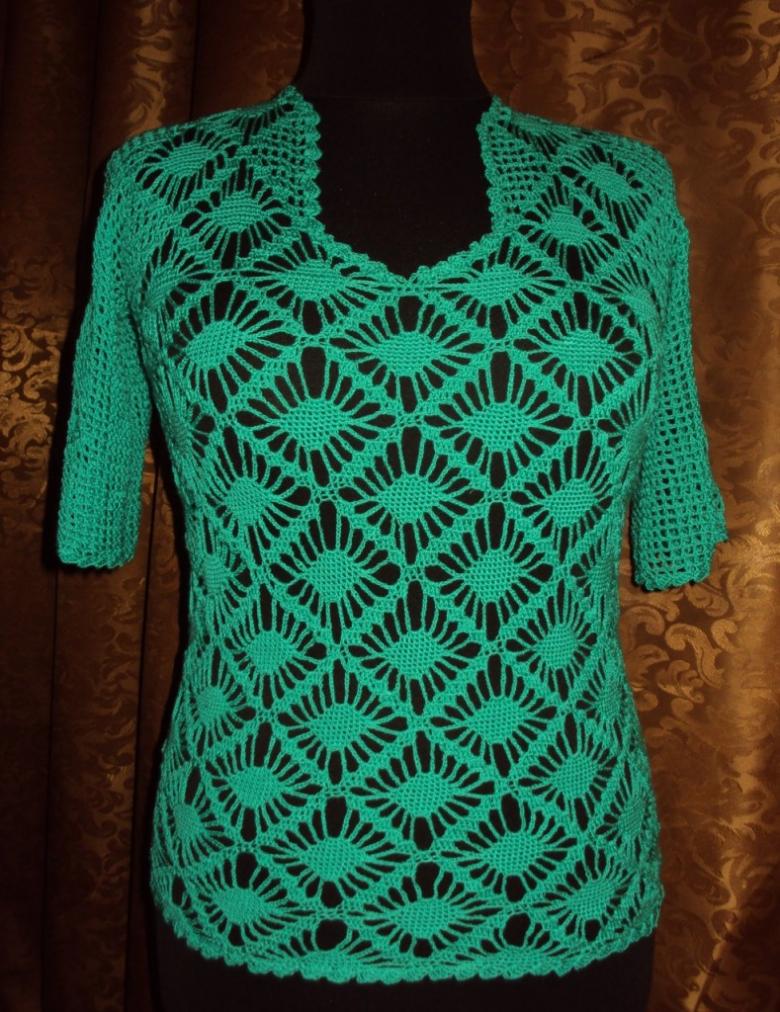
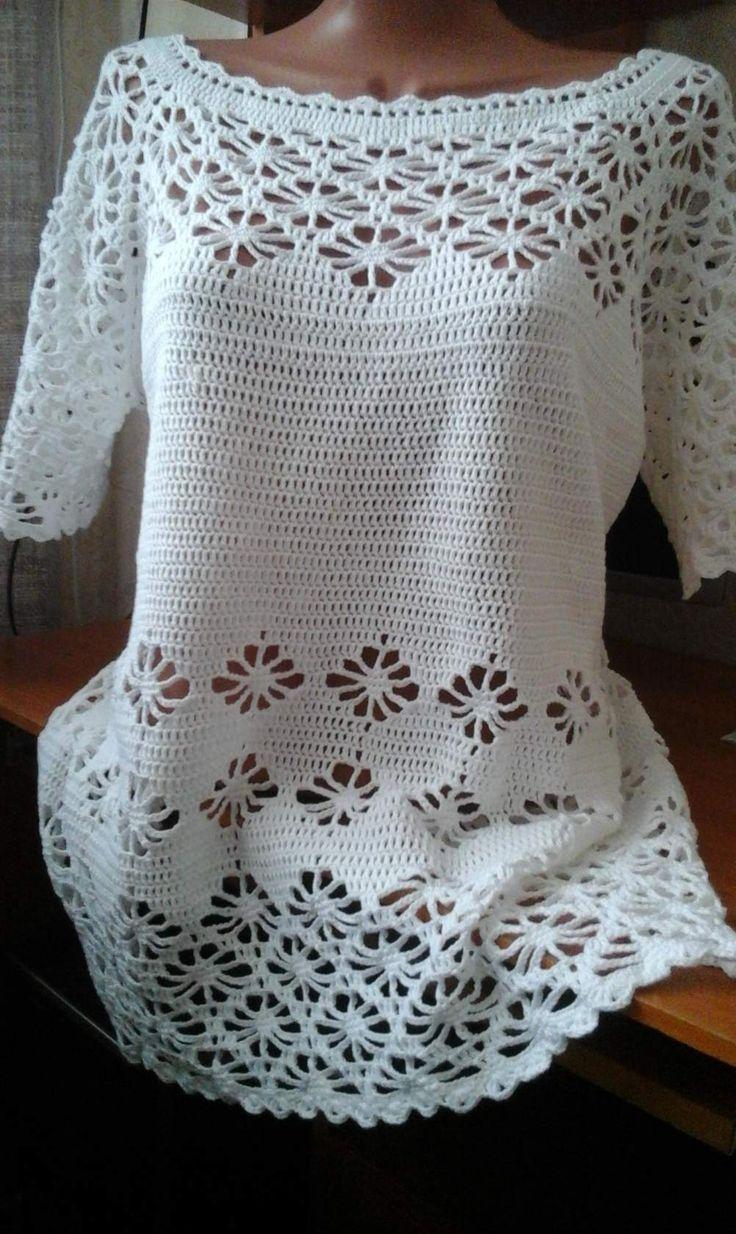
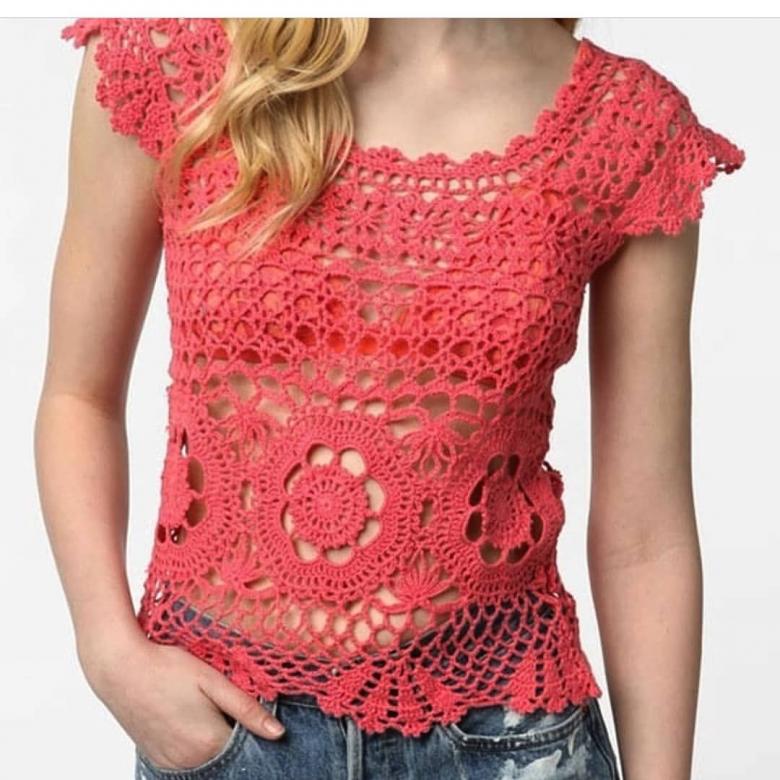
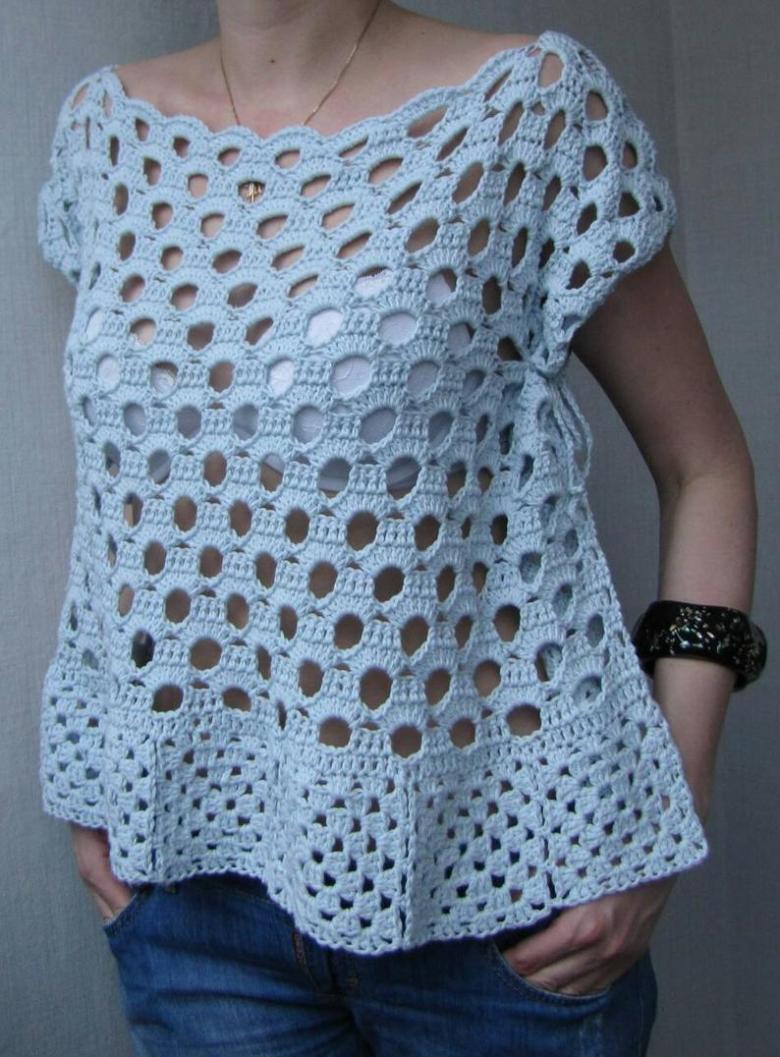
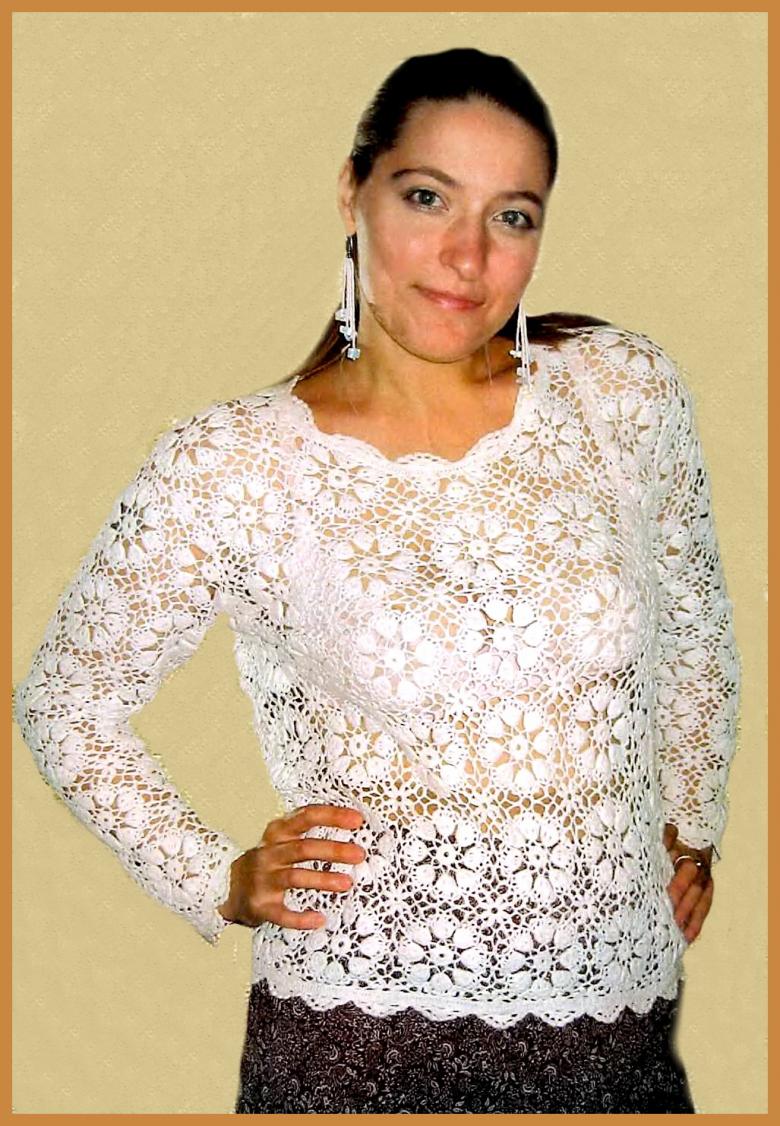
Knit a summer net top
To work we will need:
- Crochet.
- Yarn with synthetic fibers.
- Patterns or centimeter tape.
Step-by-step schematic instructions for the master:
- Measure the following dimensions: chest circumference, height of the intended product.
- Make patterns according to these measurements.
- Dial the required number of air loops with a hook (be guided by the patterns), close the chain into a ring.
- Then we will knit the fabric around the circumference up to the upper chest line.
- Mesh pattern: alternation of one stitch and two air loops.
- A summer top should be a bright and original accessory. So prepare two or three kinds of yarn of different colors. Use them alternately to make the top striped.
- Crochet the top and bottom edge of the product to create a decorative border.
- Now we need to knit the straps. Measure the proper shoulder height, multiply by two and add four centimeters for the transition from the back to the front of the product.
- Calculate the number of loops you need and start a chain. Knit also according to the "fishnet" pattern.
- Sew the details of the top using a knitting needle.
The summer top on the simplest scheme is ready. You can open the hot season with original accessories.
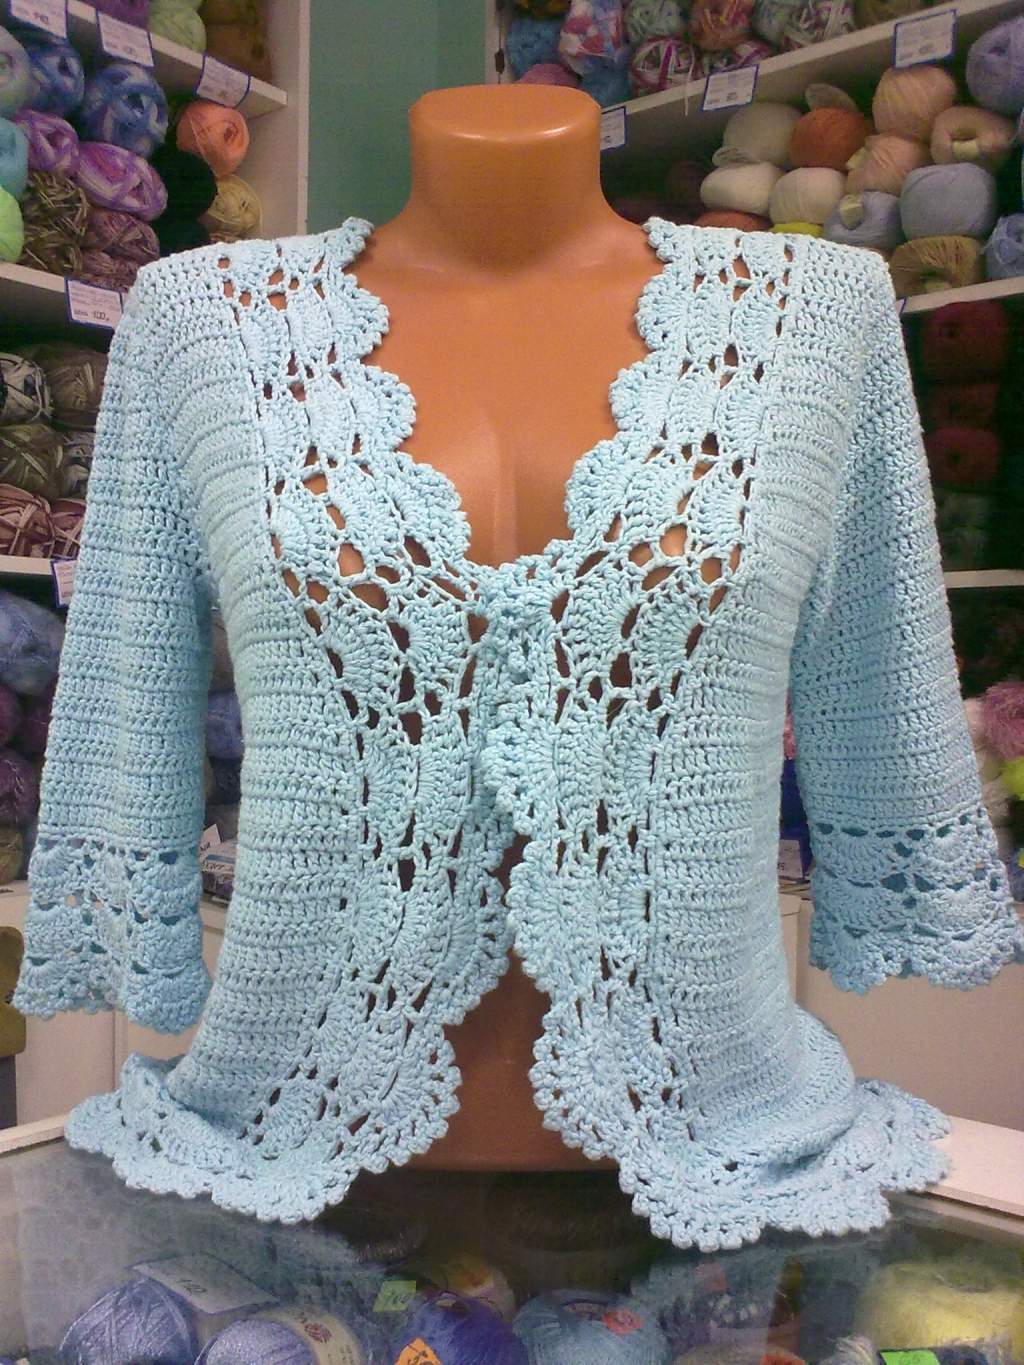
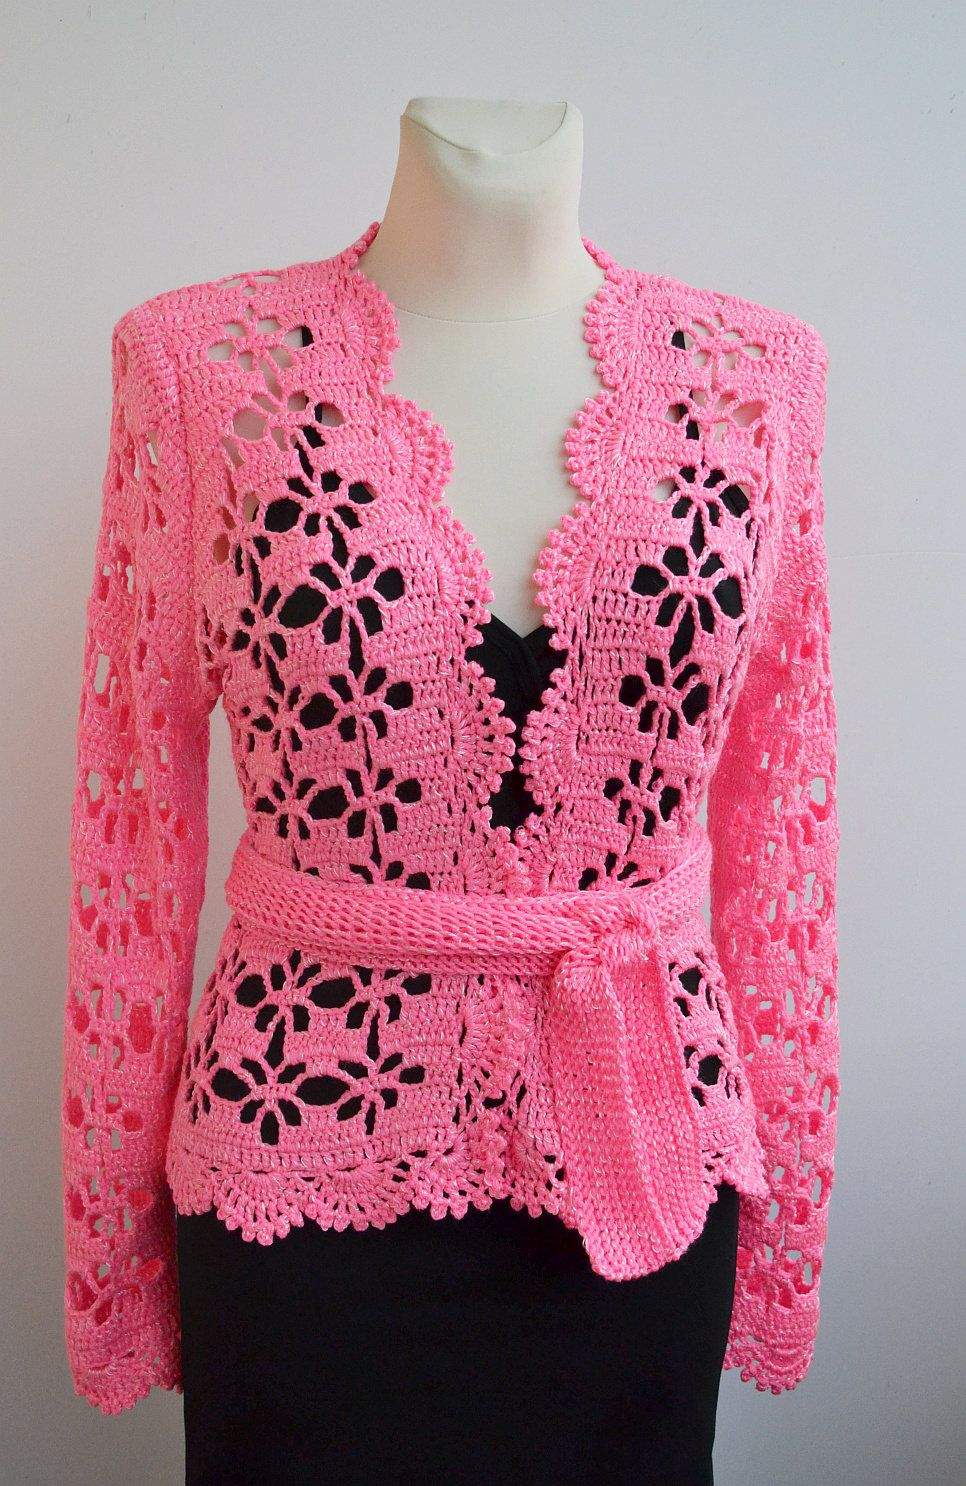
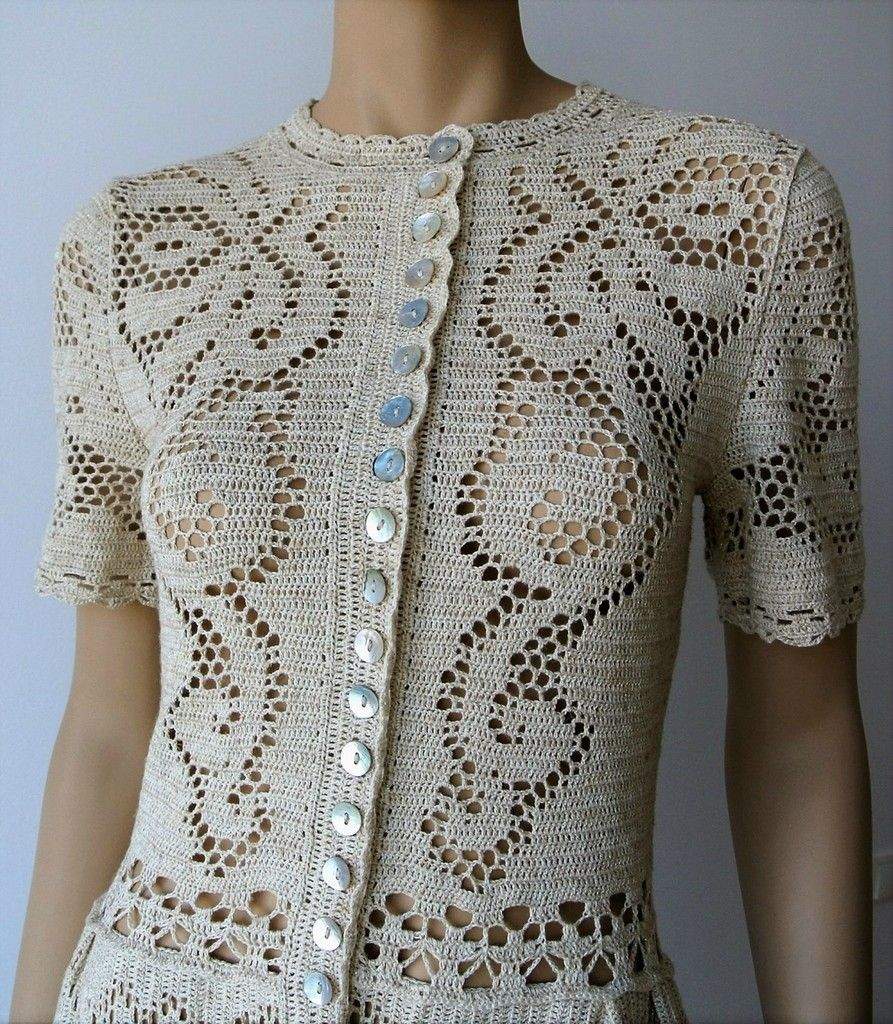
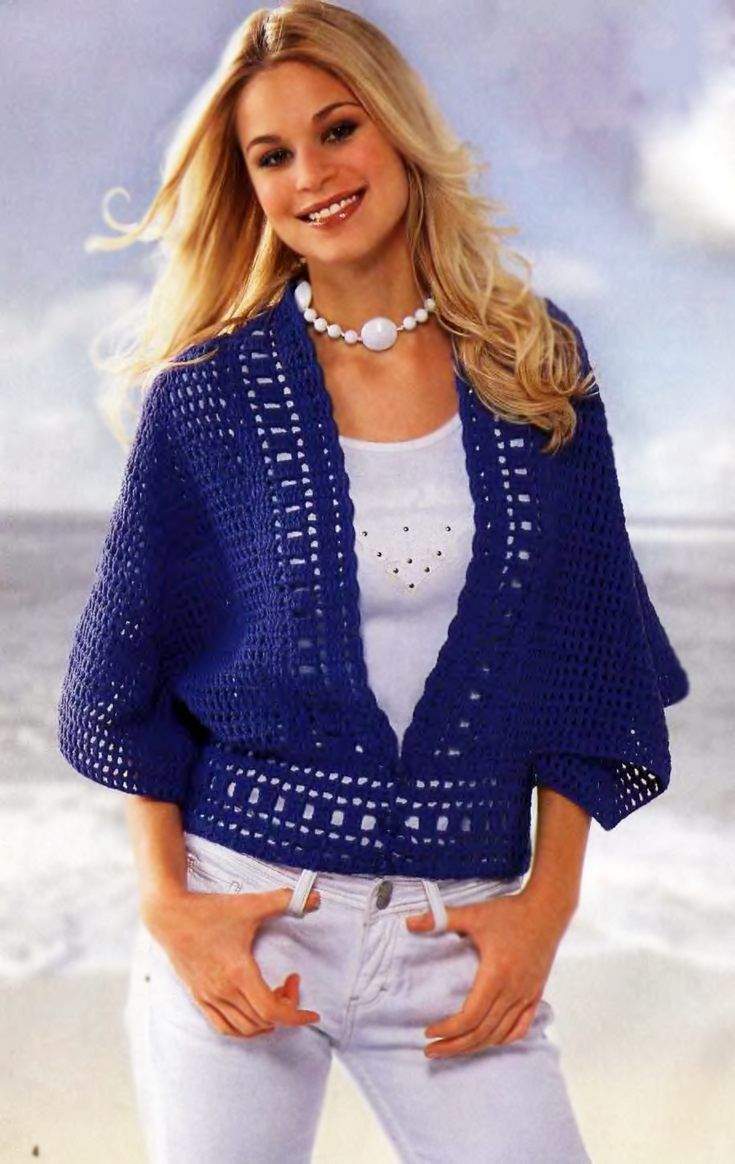
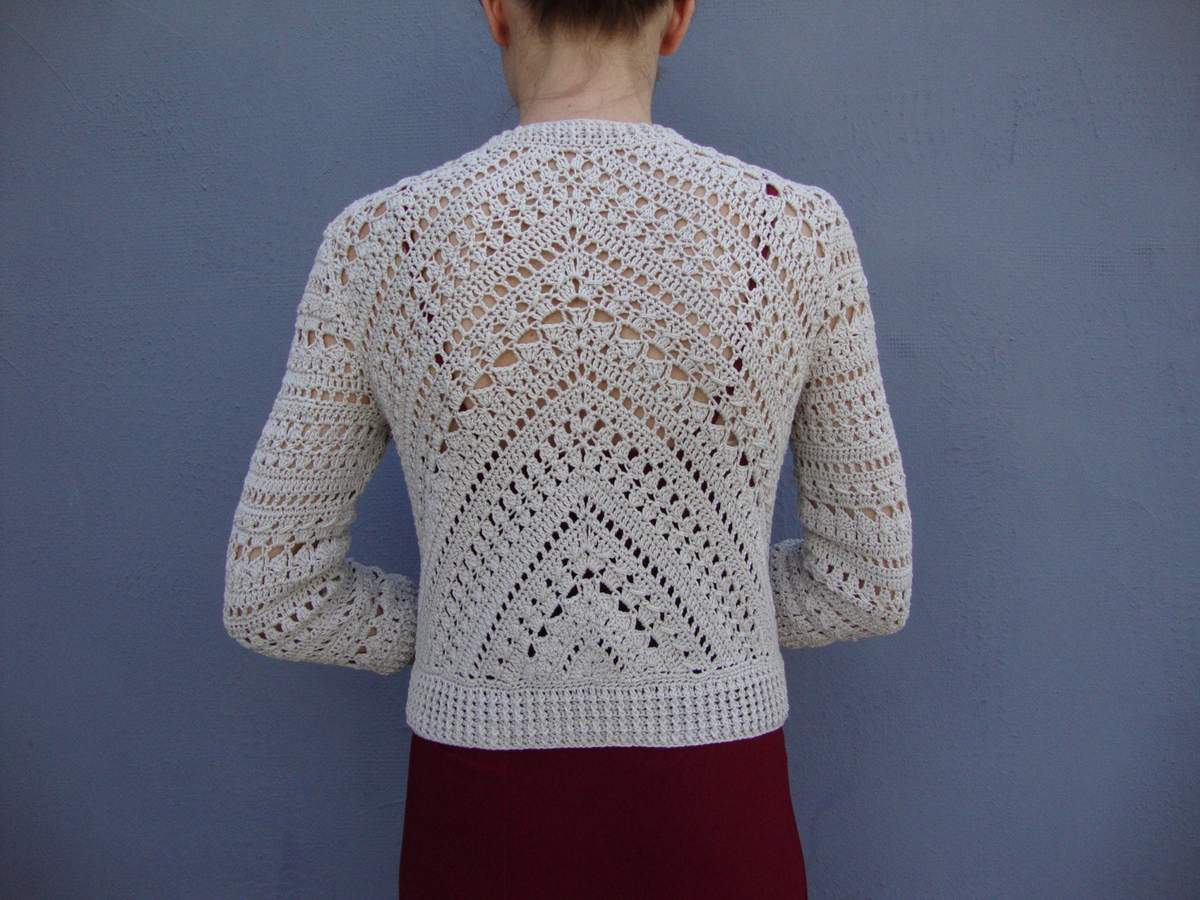
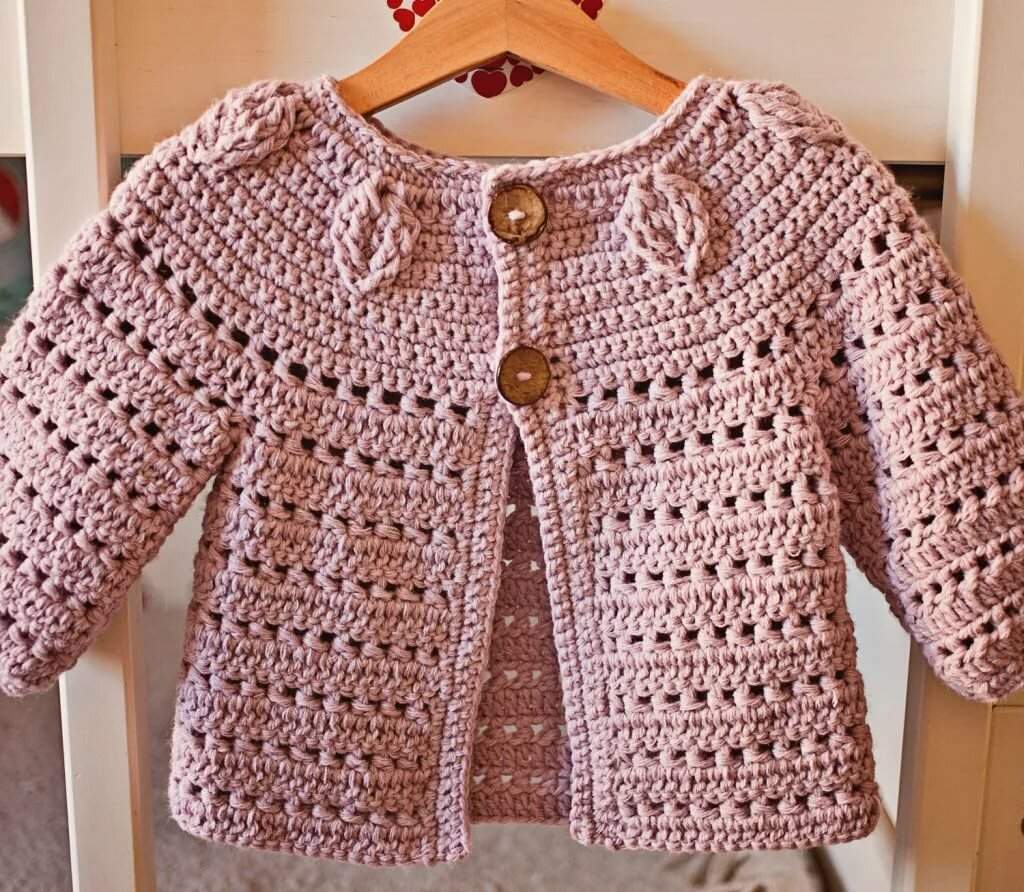
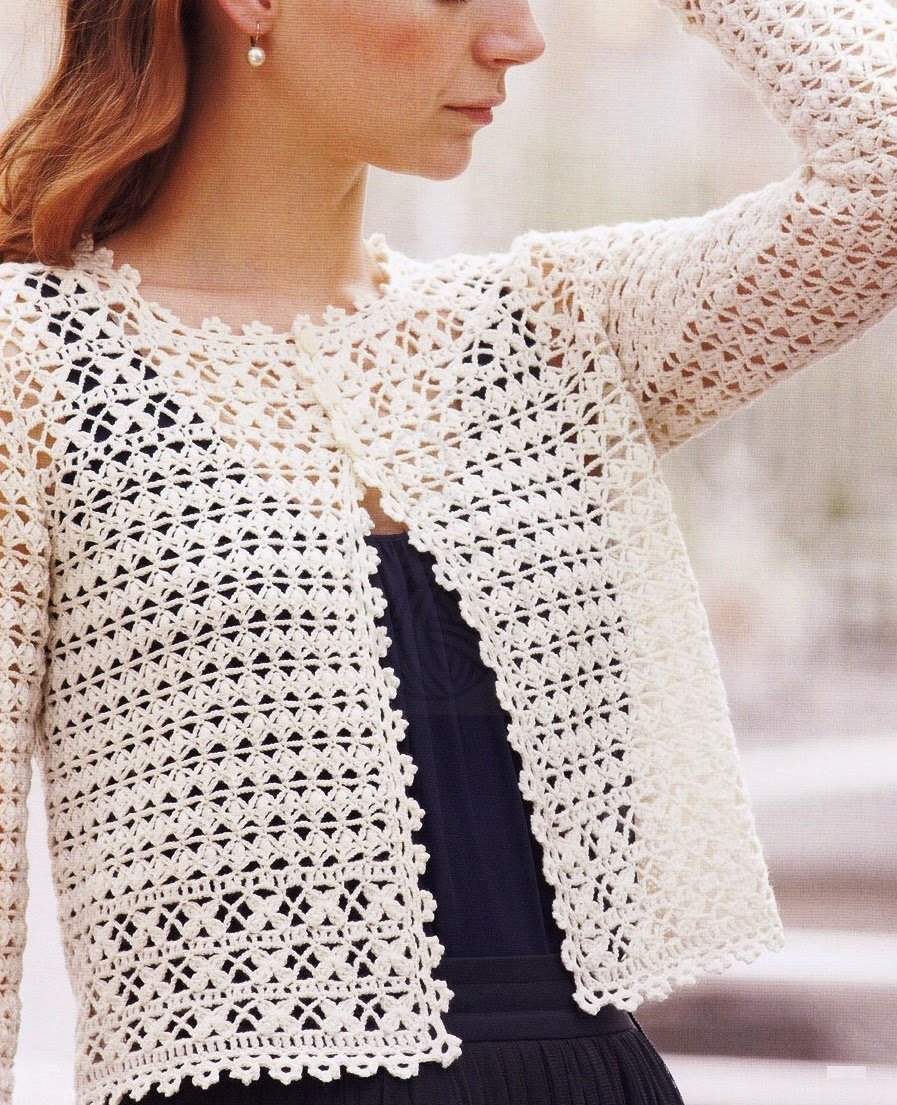
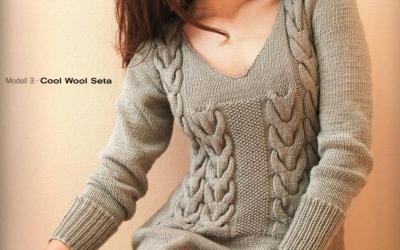
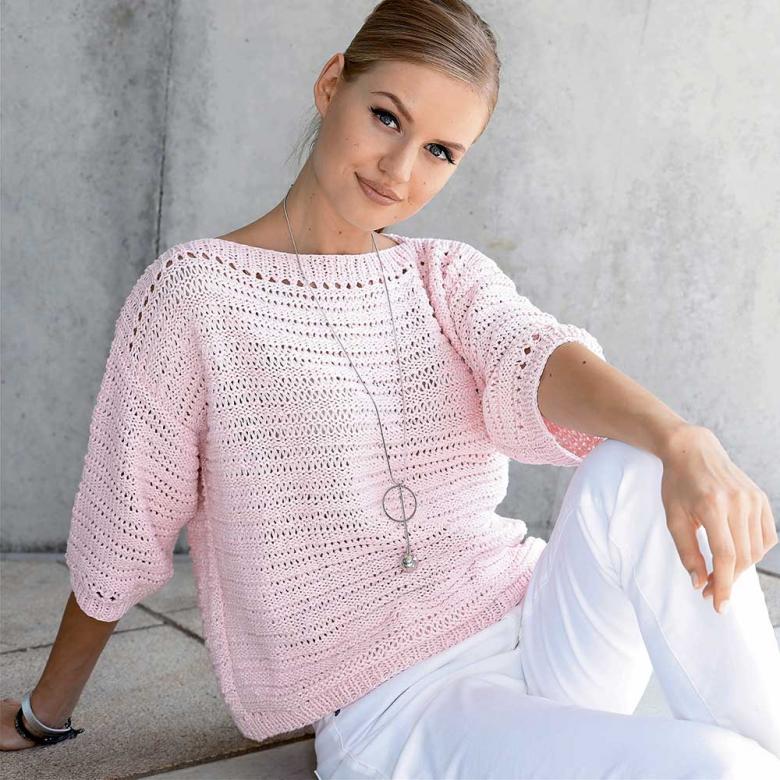
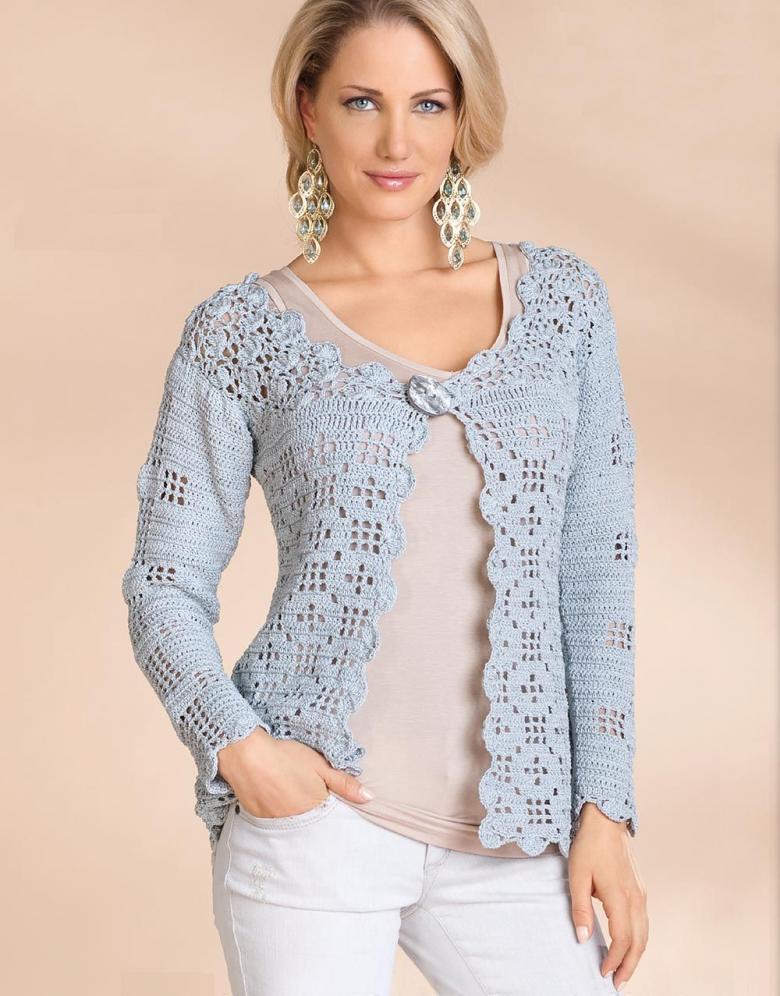
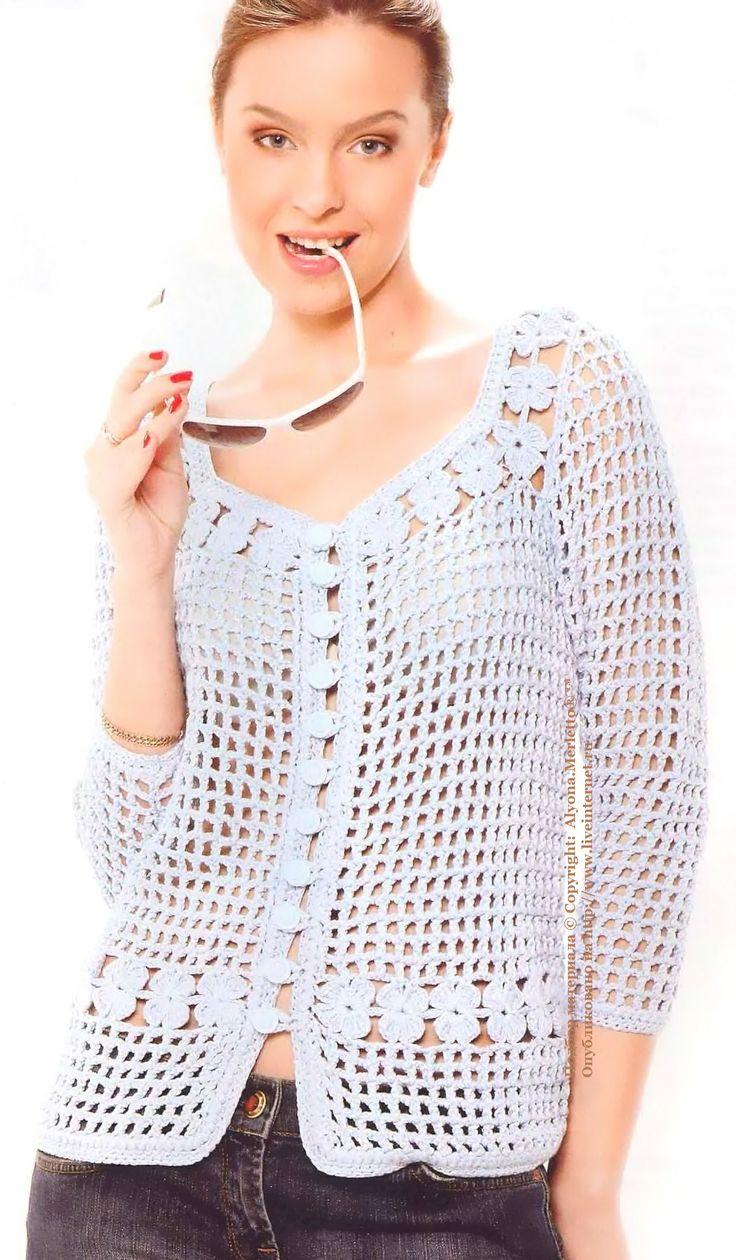
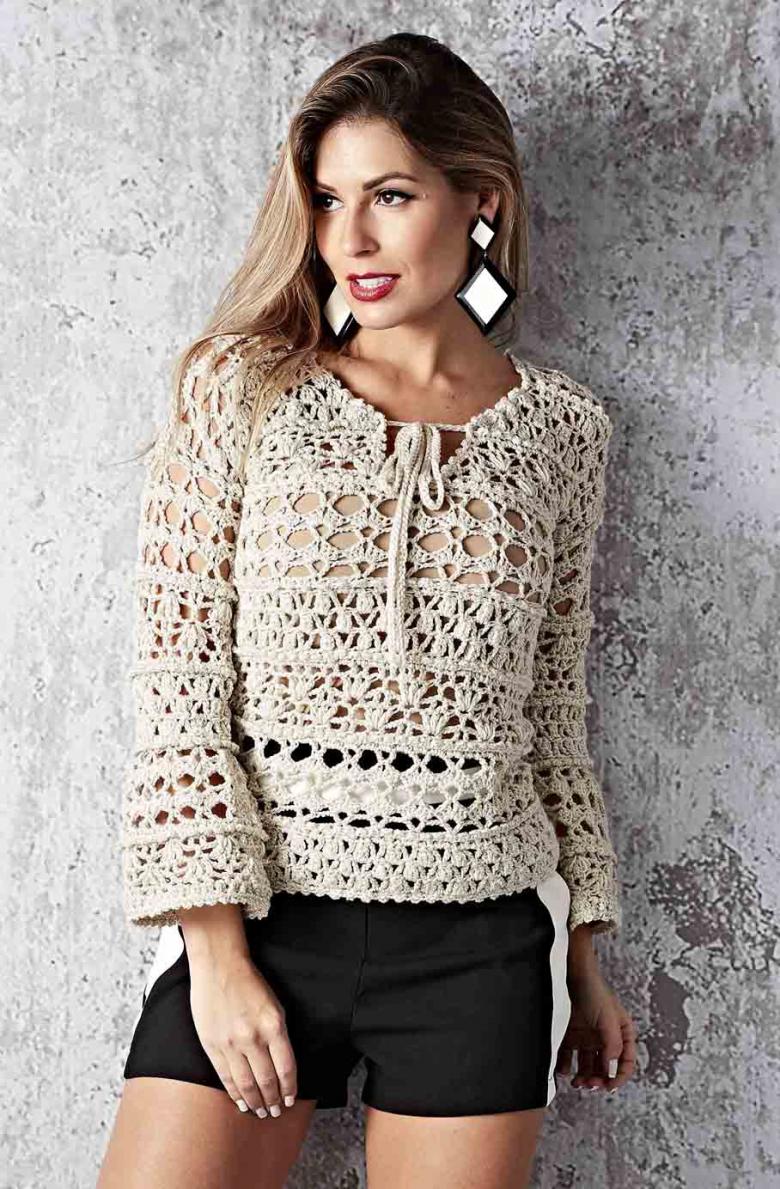
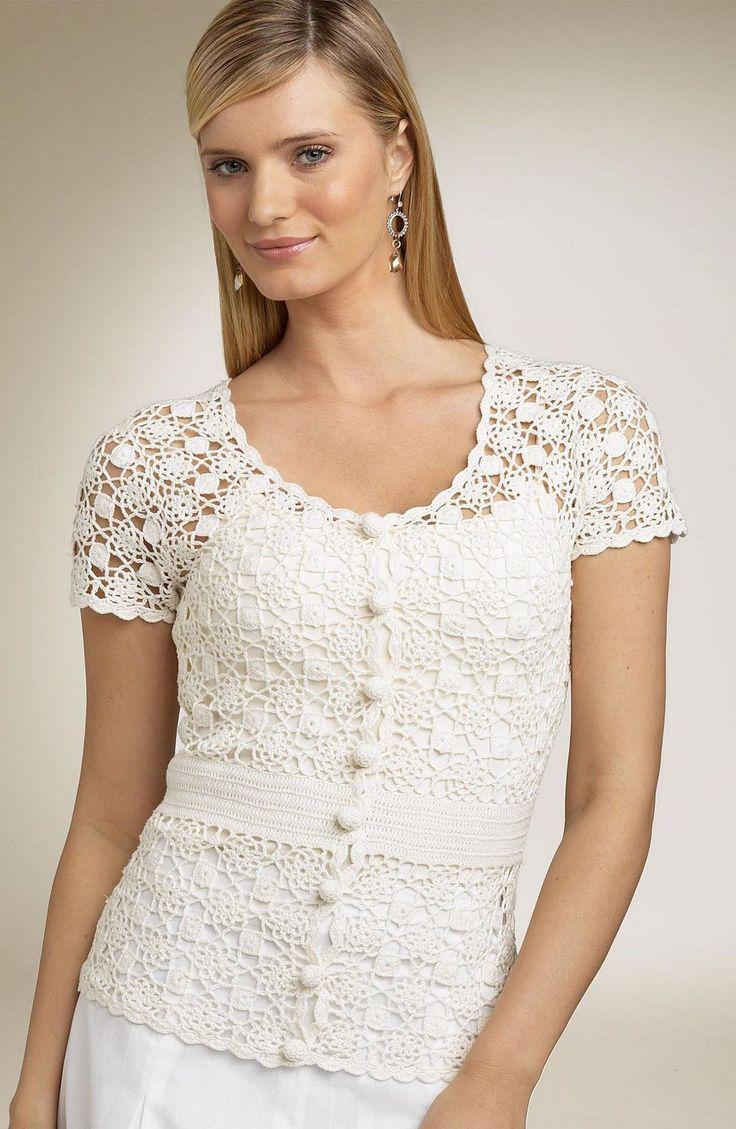
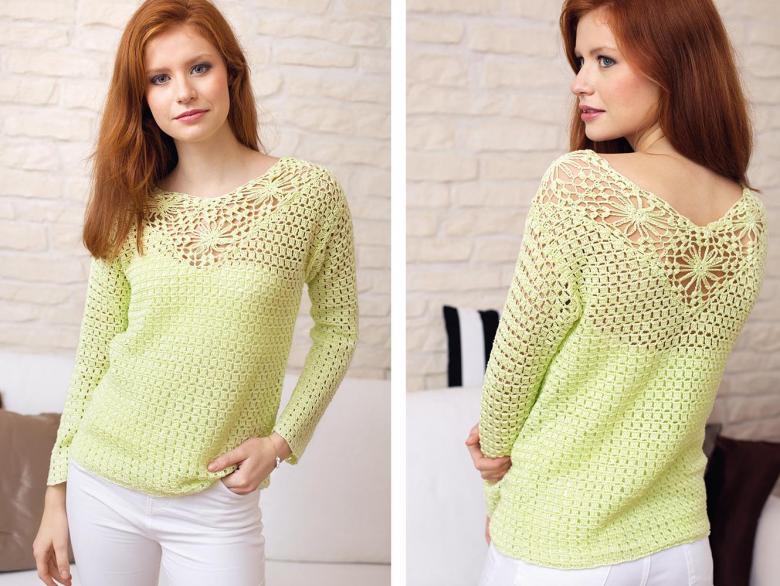
Long cardigan with buttons
Comfortable detail of clothes for cool autumn evenings. Buttons can play the role of decorative decoration, and in the presence of decorated slits will help to smell the cardigan floors, protecting from the wind.
For the work we will need:
- Patterns, pencil, measuring tape.
- Yarn with semi-synthetic fibers (choose yarns with a sufficient content of both wool and acrylic). Such a choice is not accidental: it is very comfortable to work with yarn, and the wool fibers in the threads increase the level of thermal insulation of the product.
- Hooks of different sizes.
- Buttons.
- Thread and needles for the design of the slots.
- Scheme of the preferred pattern (print it out for yourself to work).
Step-by-step schematic instructions for the master:
- Prepare the patterns. You can take measurements of the main dimensions, or you can find a model that suits you and print ready-made templates. The advantage of this approach is that these patterns are already marked features of the size range.
- Lay out the details of the cardigan in front of you. You should have five of them: one-piece back of the product, two parts of the front, two sleeves.
- It's up to you which part to start knitting with.
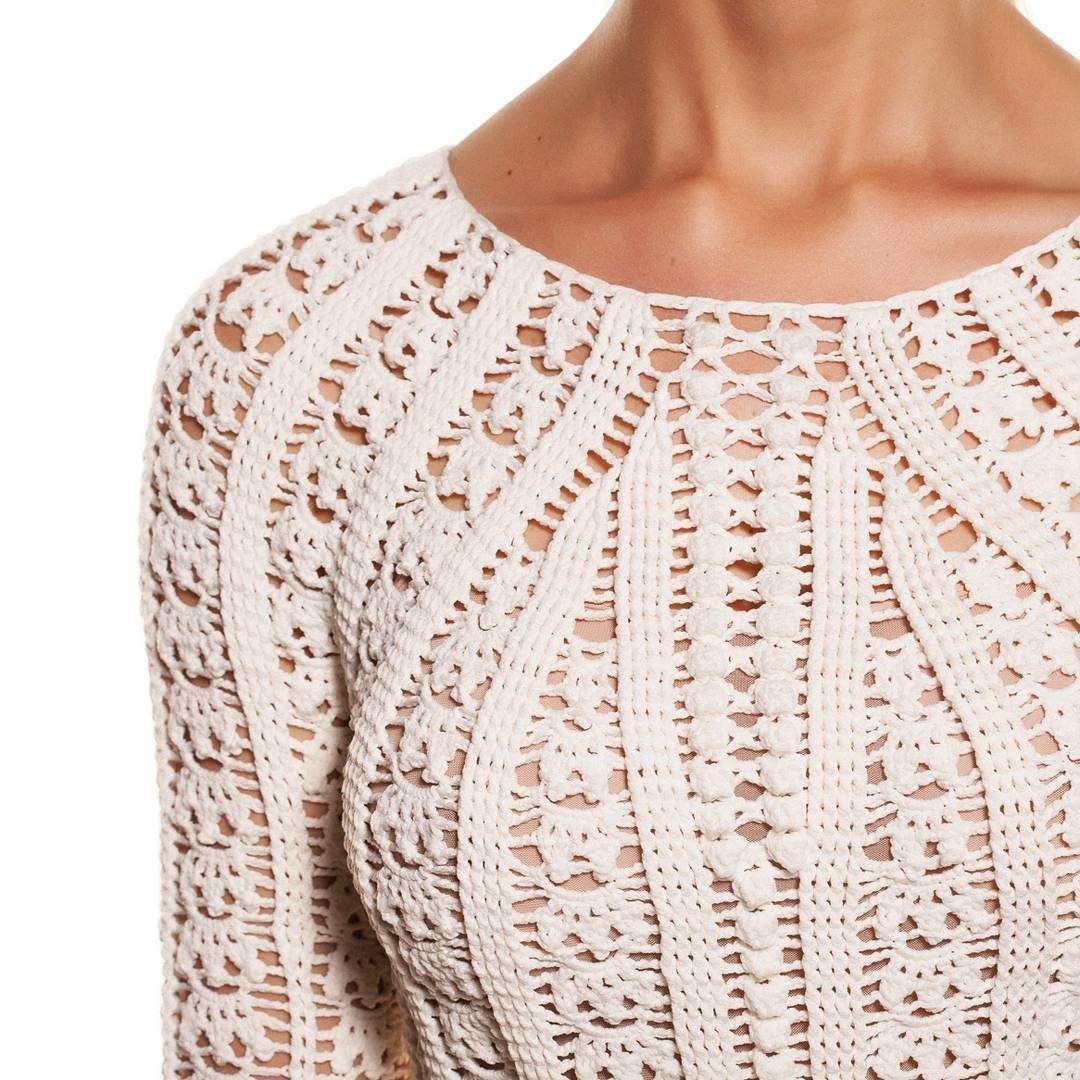
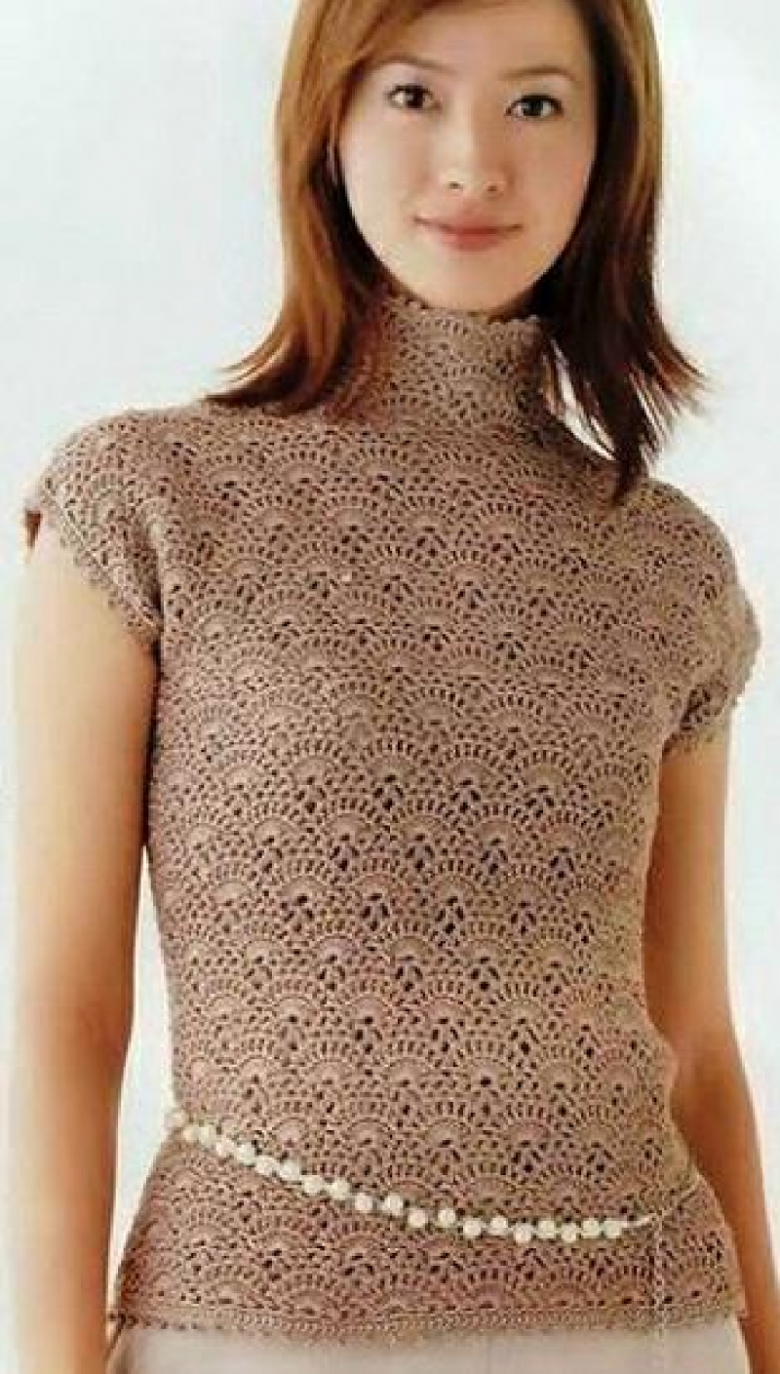
- We suggest you look at the "butterfly" pattern. It consists of an alternation of three columns with hooks and an air loop. The pattern is easy enough to do.
- Knit the necessary length of the back, make a border at the top and bottom.
- For the sleeves, calculate the size of the armhole and the depth of the bend. These figures depend not so much on the size range, but on the cardigan model you have chosen.
- Knit the sleeves with circular knitting, observing the direction of the ornament.
- Knit the front parts of our product slightly at an angle - the floors of the cardigan should be made with a smell.
- Join the ready parts with the help of a knitting needle.
- The edge lines of the front of our product are also subjected to processing: during knitting leave "windows" under the slits. After joining the parts, sweep the slits with tight threads with a needle to prevent the edges of the "windows" from spreading.
- It remains to sew the buttons to the edge lines of the cardigan.
Wear the cardigan for evening walks in the street, in the park or to spend time with your girlfriends. Your product will be appreciated by any girl or woman.
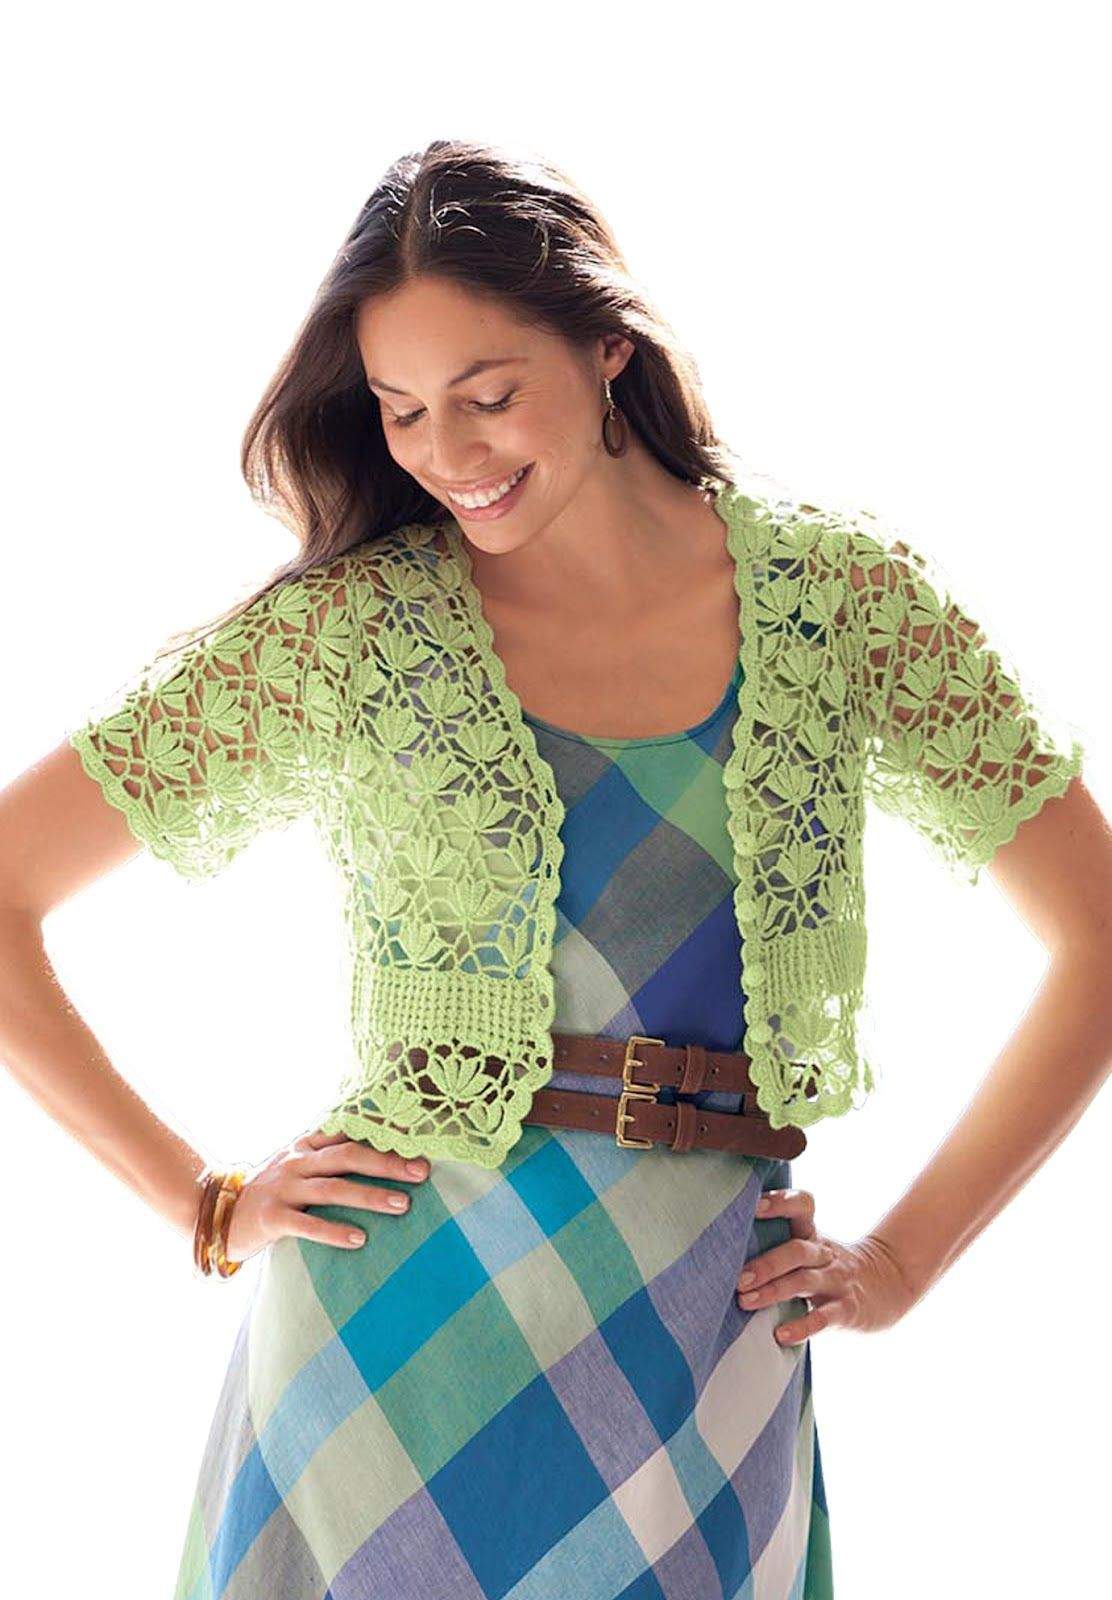
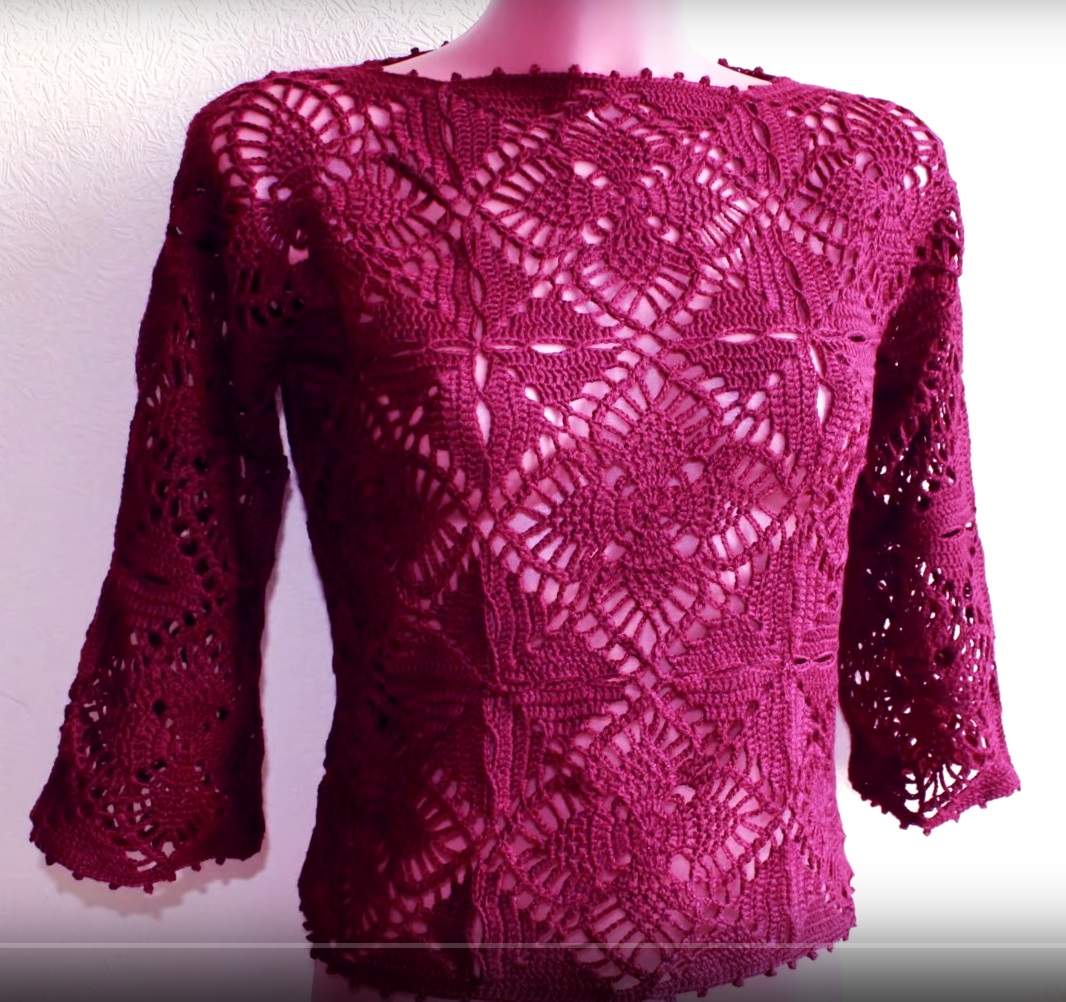
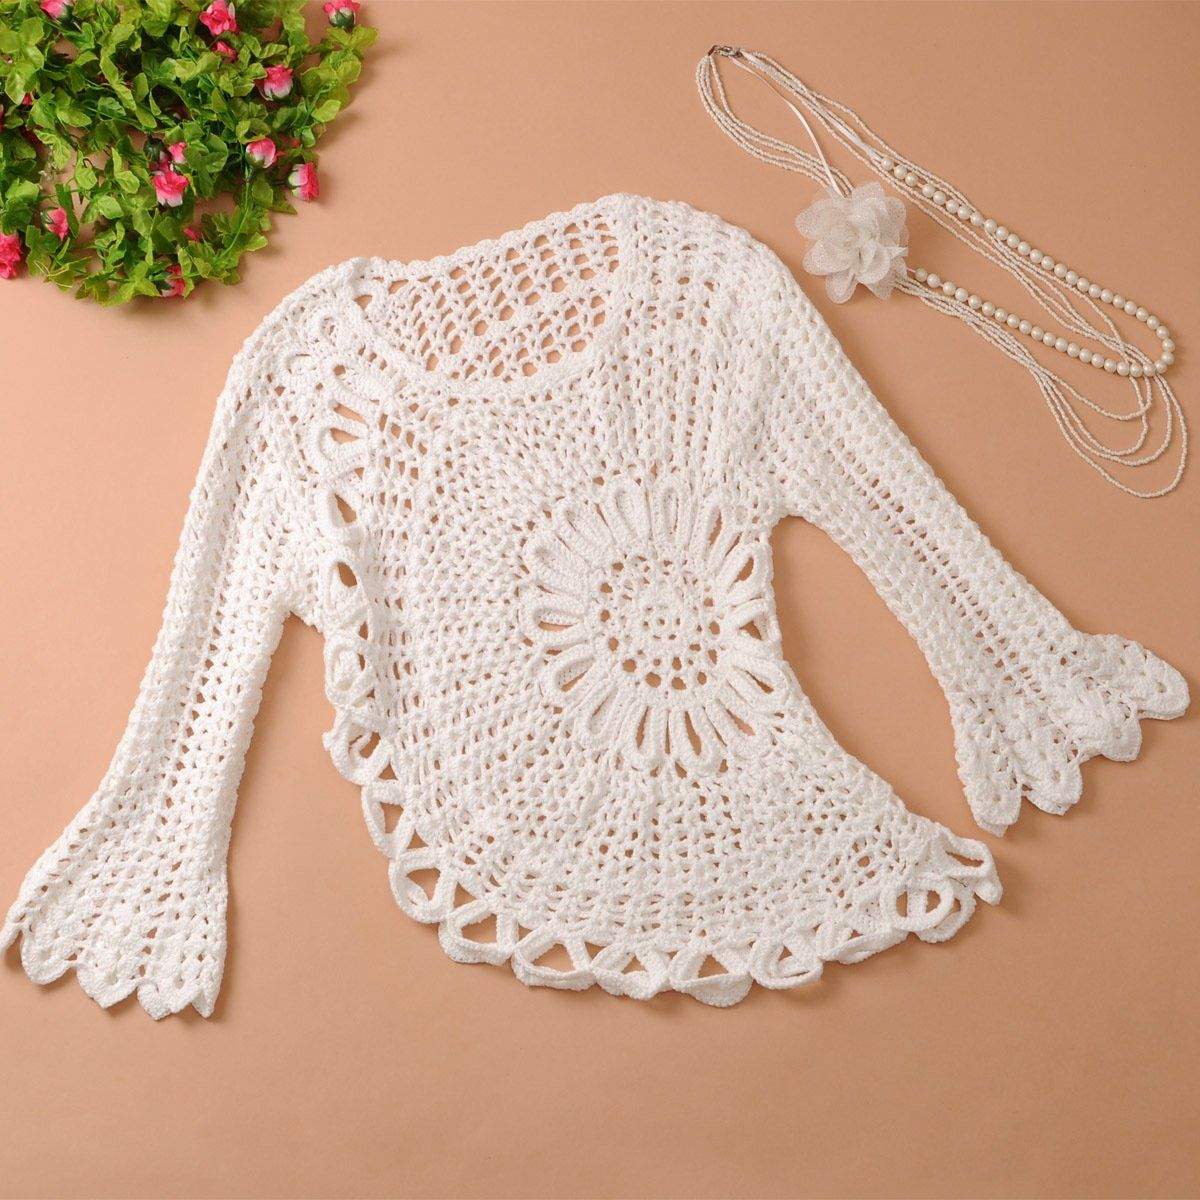
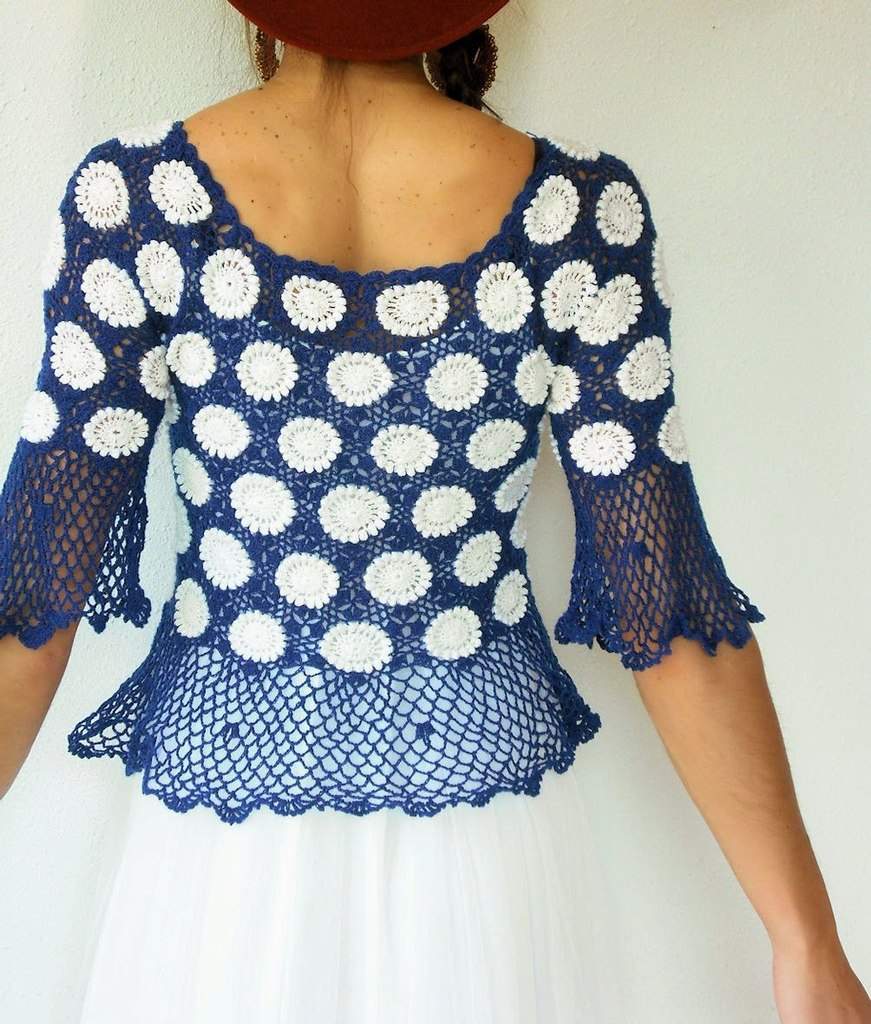
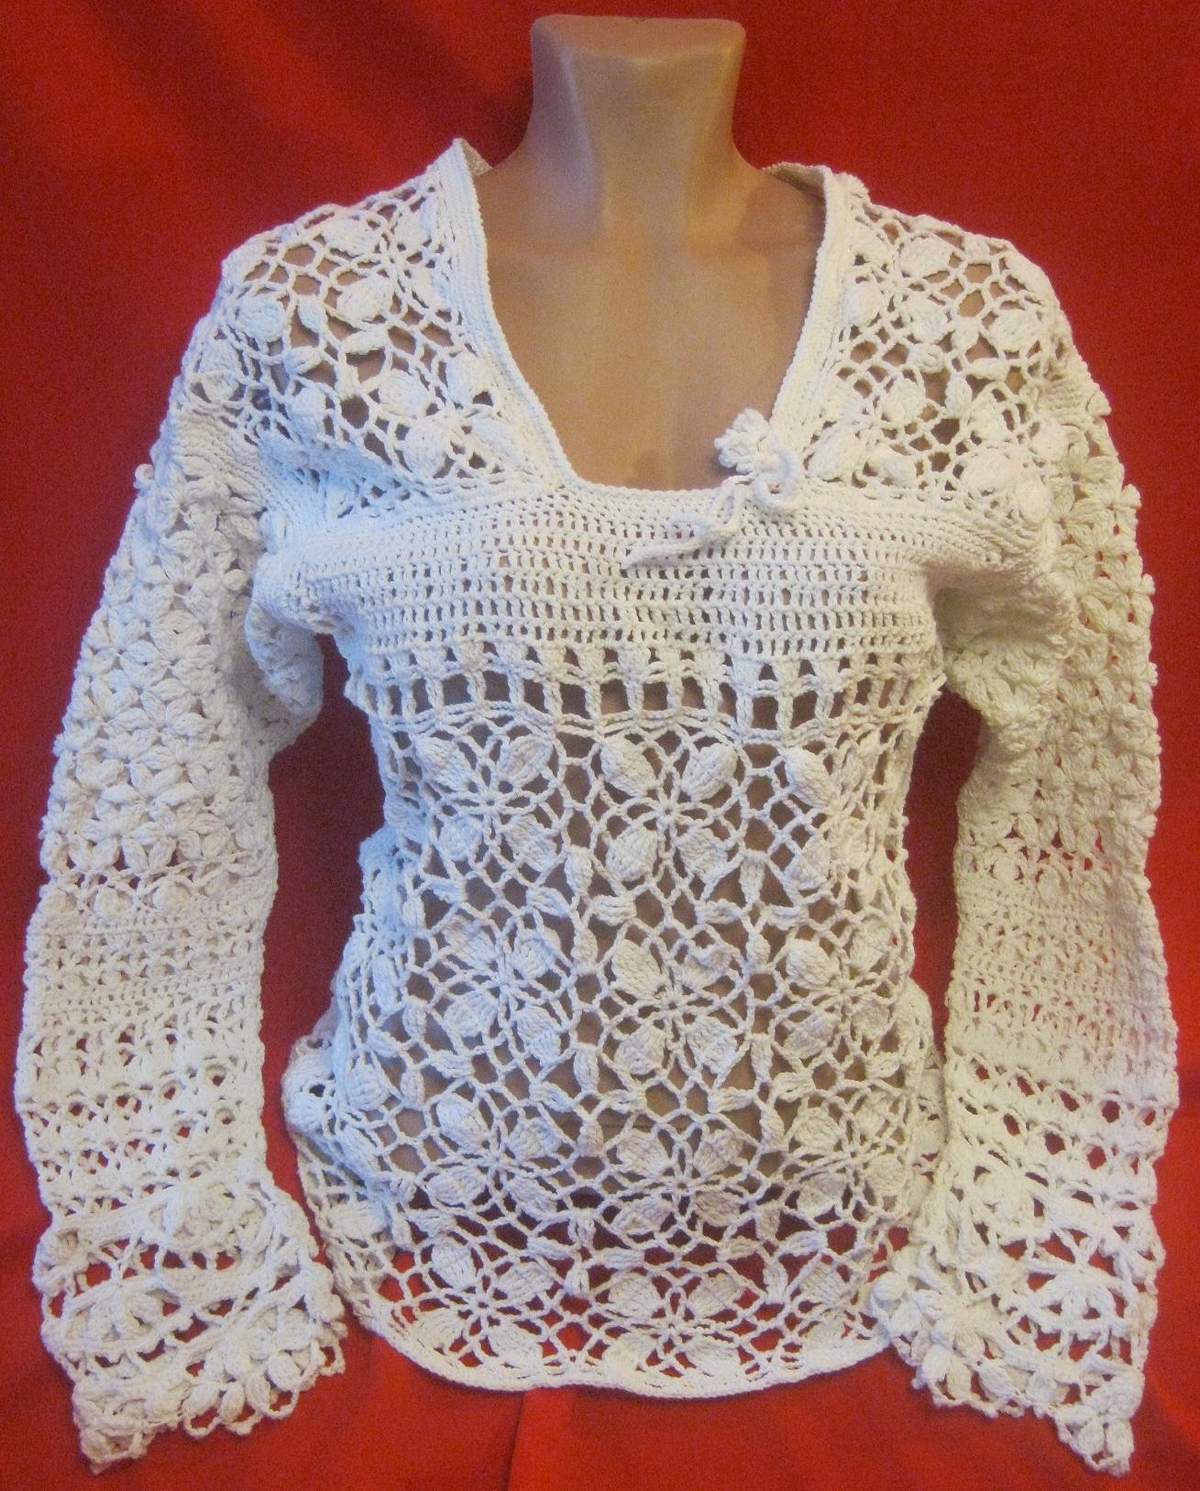
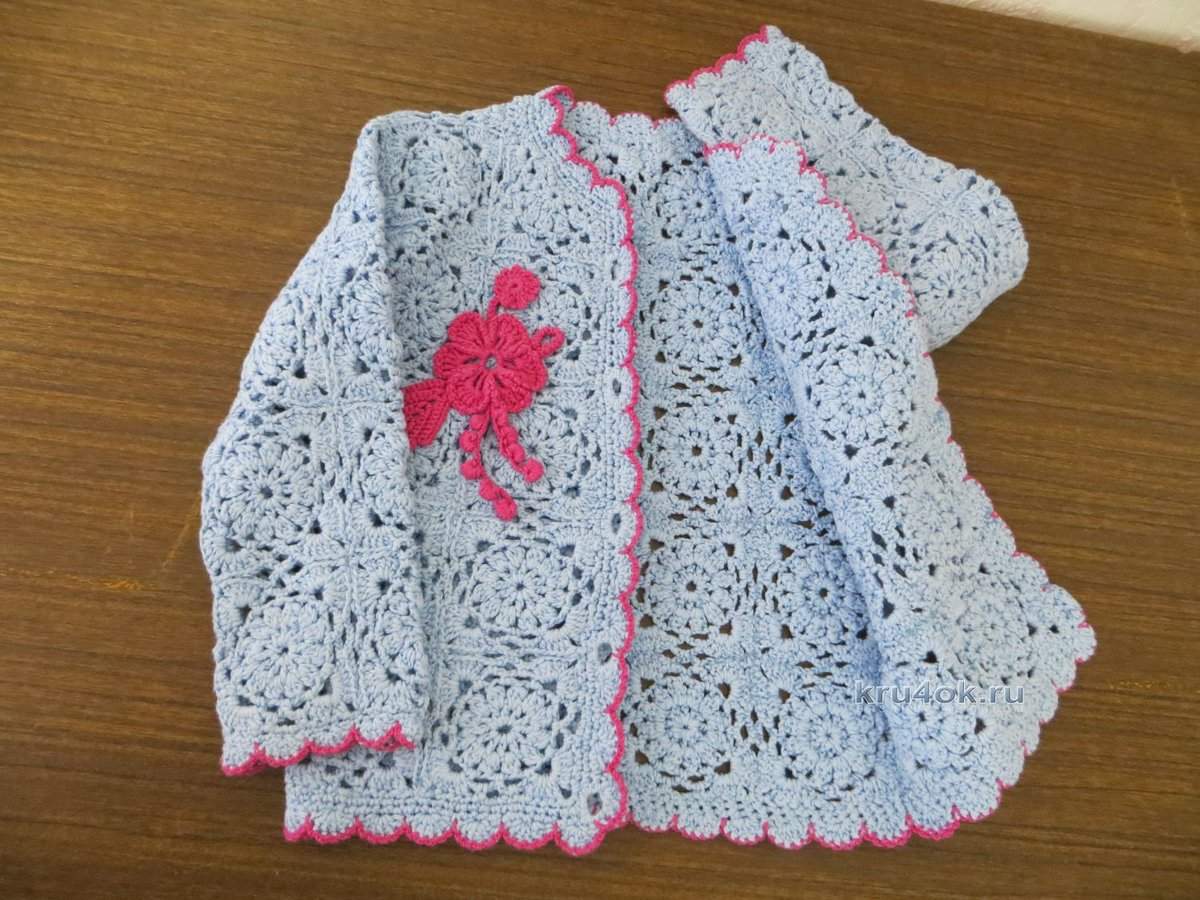
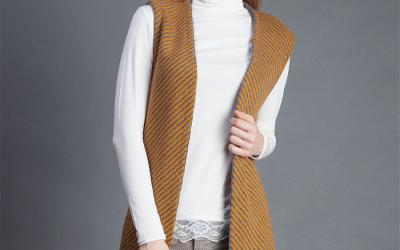
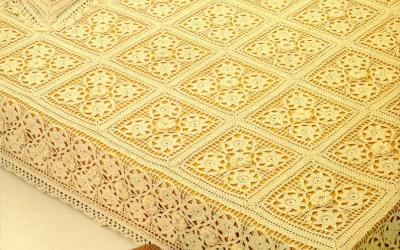
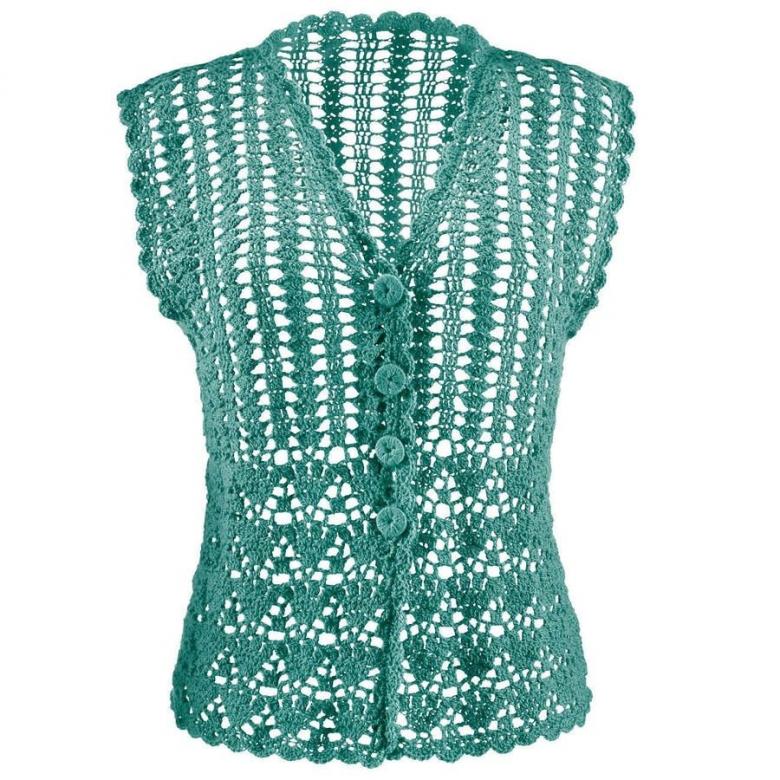
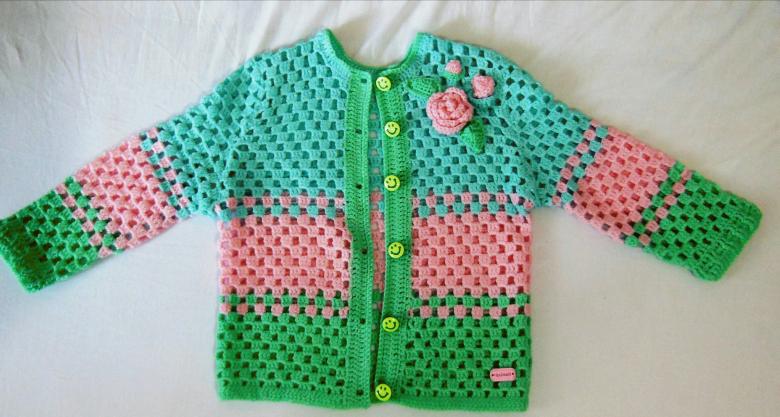
Knit an openwork jacket with modules
In fact, knitting jackets is possible and on a continuous scheme. But we agreed with you that we will consider different variants of cardigan models.
To work we will need:
- Crochet.
- Knitting needle.
- Yarn.
- A pattern for assembling the finished product.
Step by step diagram instructions for the master:
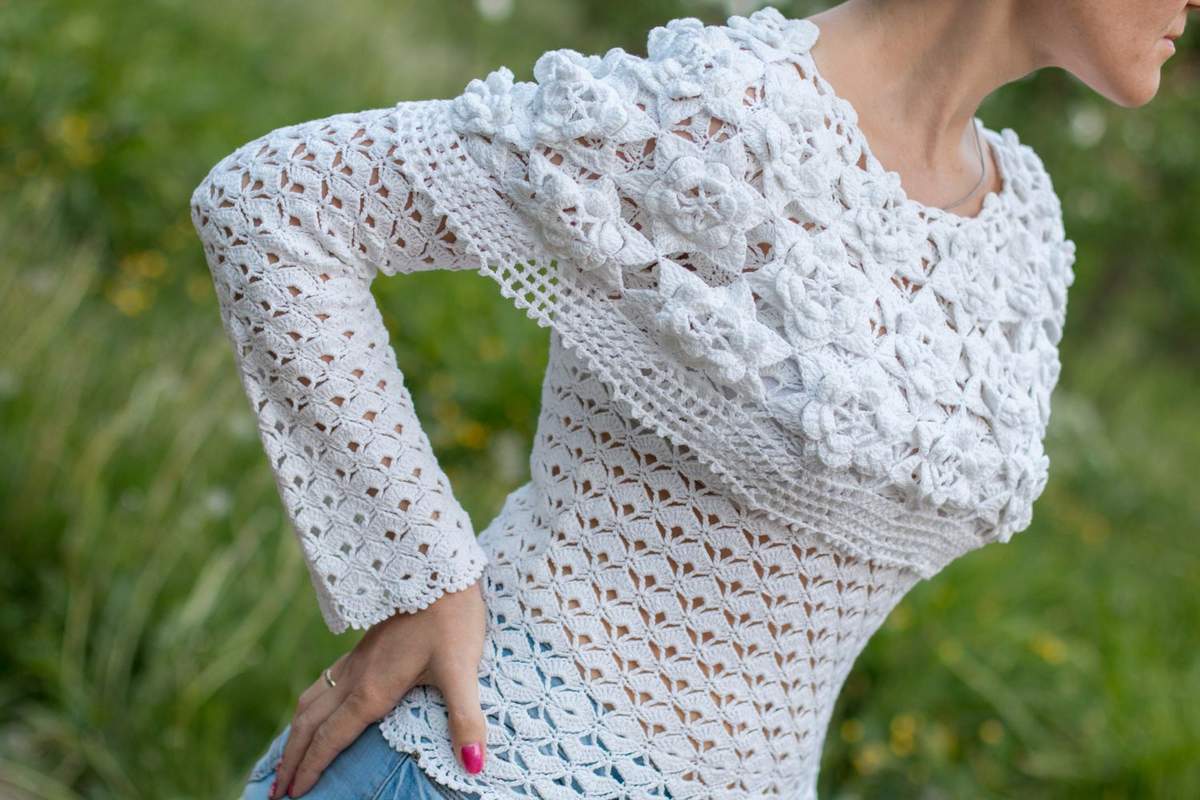
- As modules, we will use three-dimensional hexagons. Additional visual volume we get by adding stitches in each facet of the hexagon.
- We knit the module itself with a circular knit with the formation of edges between the parts of the figure-base. Watch video tutorials on online needlework resources. There are detailed step-by-step steps for creating modules.
- Counting on patterns, how many modules we need to knit. Sew together with a knitting needle sleeves, back and front.
- Finished parts are connected to each other. The edges of our jacket are framed with a border with a crochet hook.
The scheme is easy to do, but if you prefer another method of working on the jacket, choose the way for yourself. There are really a lot of them.
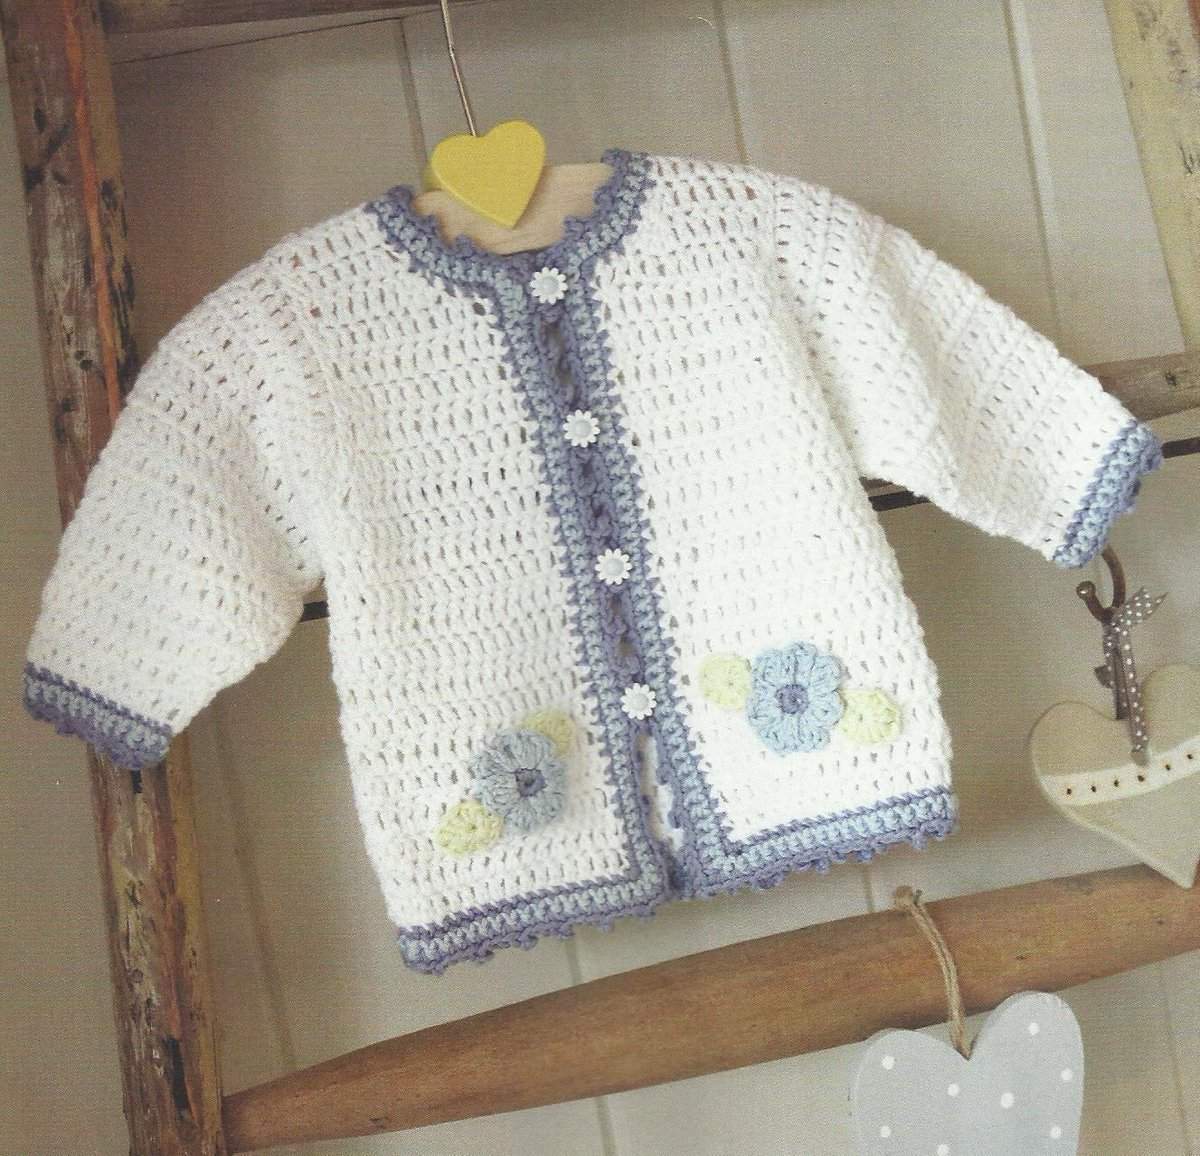
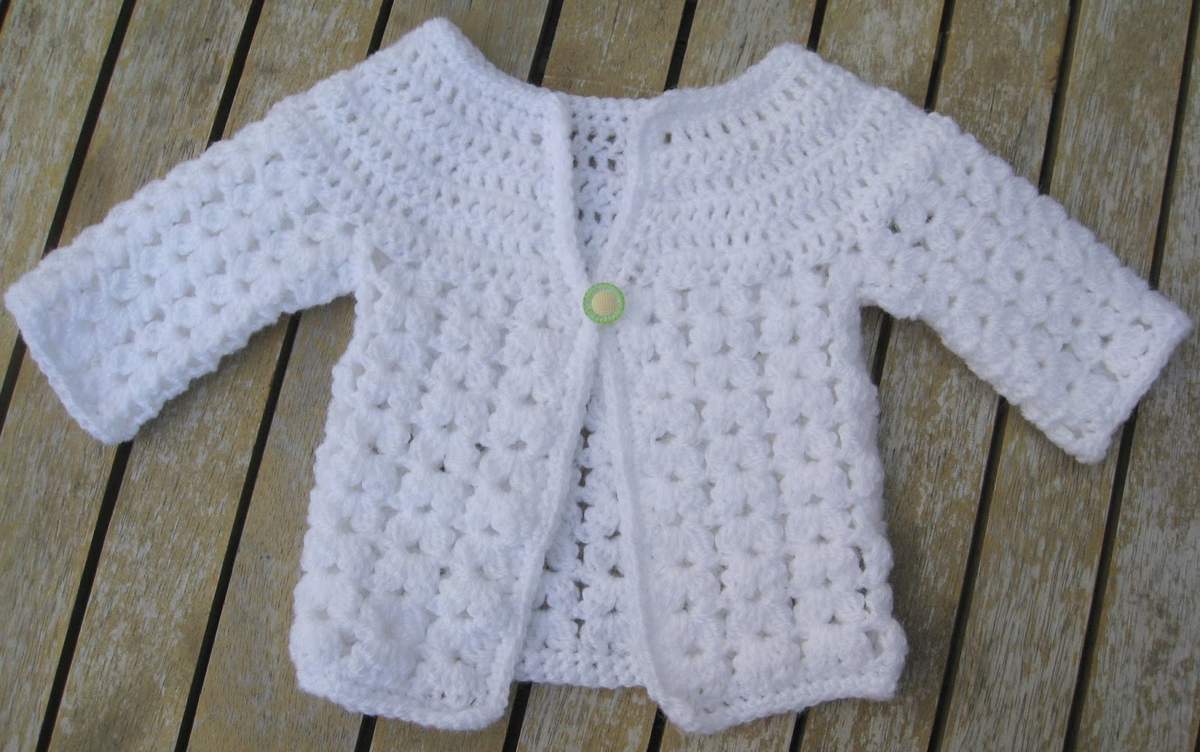
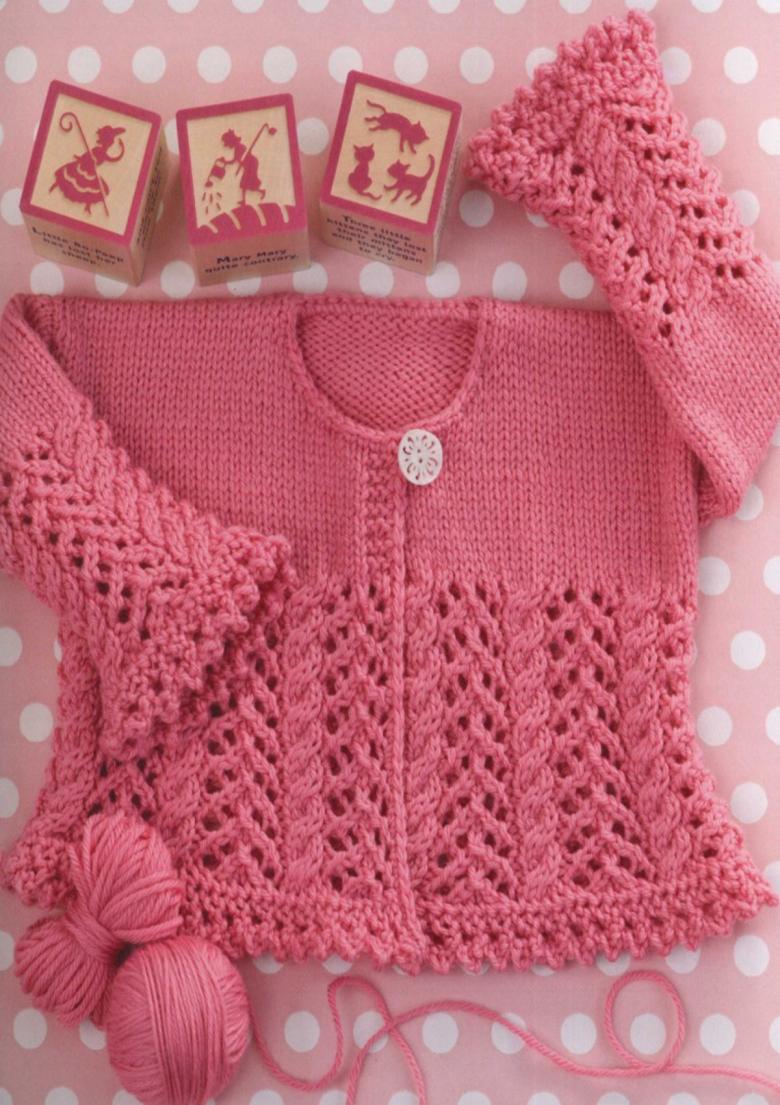
Knitting a children's sweater for school
According to school regulations, children are required to attend an educational institution only in the accepted form of clothing. But it is not necessary to send a child to class in a jacket. Add a little originality to your child's school closet - crochet a sweater yourself.
A step by step instructional scheme for the master:
- Take measurements and make patterns according to the obtained dimensions. There should be only two patterns: the back and the front. Sleeves - this attribute is optional.
- Since the school uniform requires the presence of a strict one-color scheme, we use gray, dark blue or black yarn (depending on the color of the school uniform).
- Collect the necessary (according to the pattern) number of air loops. Knit a simple pattern: alternate air loops and columns with hooks, forming a strict, but intricate pattern.
- Knit both the back and the front according to the patterns. Join the pieces with a knitted plastic needle.
- Iron our product, and send your child to school. The dark shades of our jacket-jacket perfectly set off the light motifs of the blouse and pleated skirt.
We have learned the basic options for working with blouses, cardigans, and jackets. Working on each piece is an interesting and creative activity that requires good practical skills and a dash of inspiration. Watch, learn, practice and create new original masterpieces!
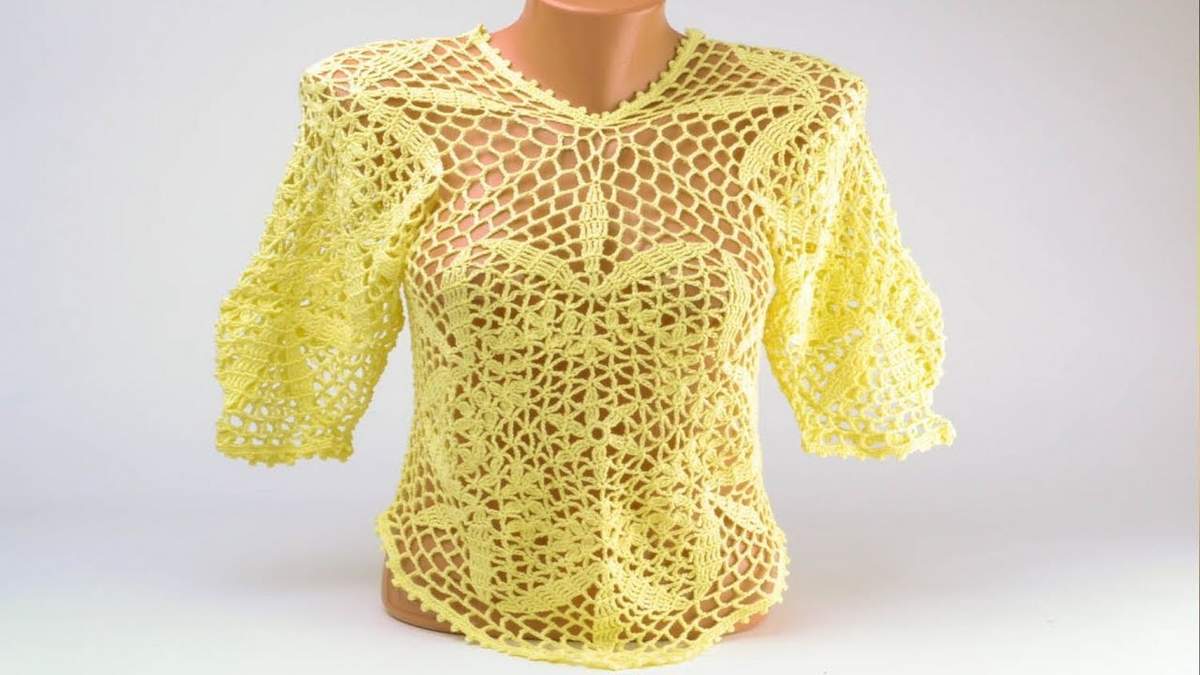
Photo ideas of stylish knitted blouses