How to knit gloves - a detailed description of the scheme of knitting and crochet
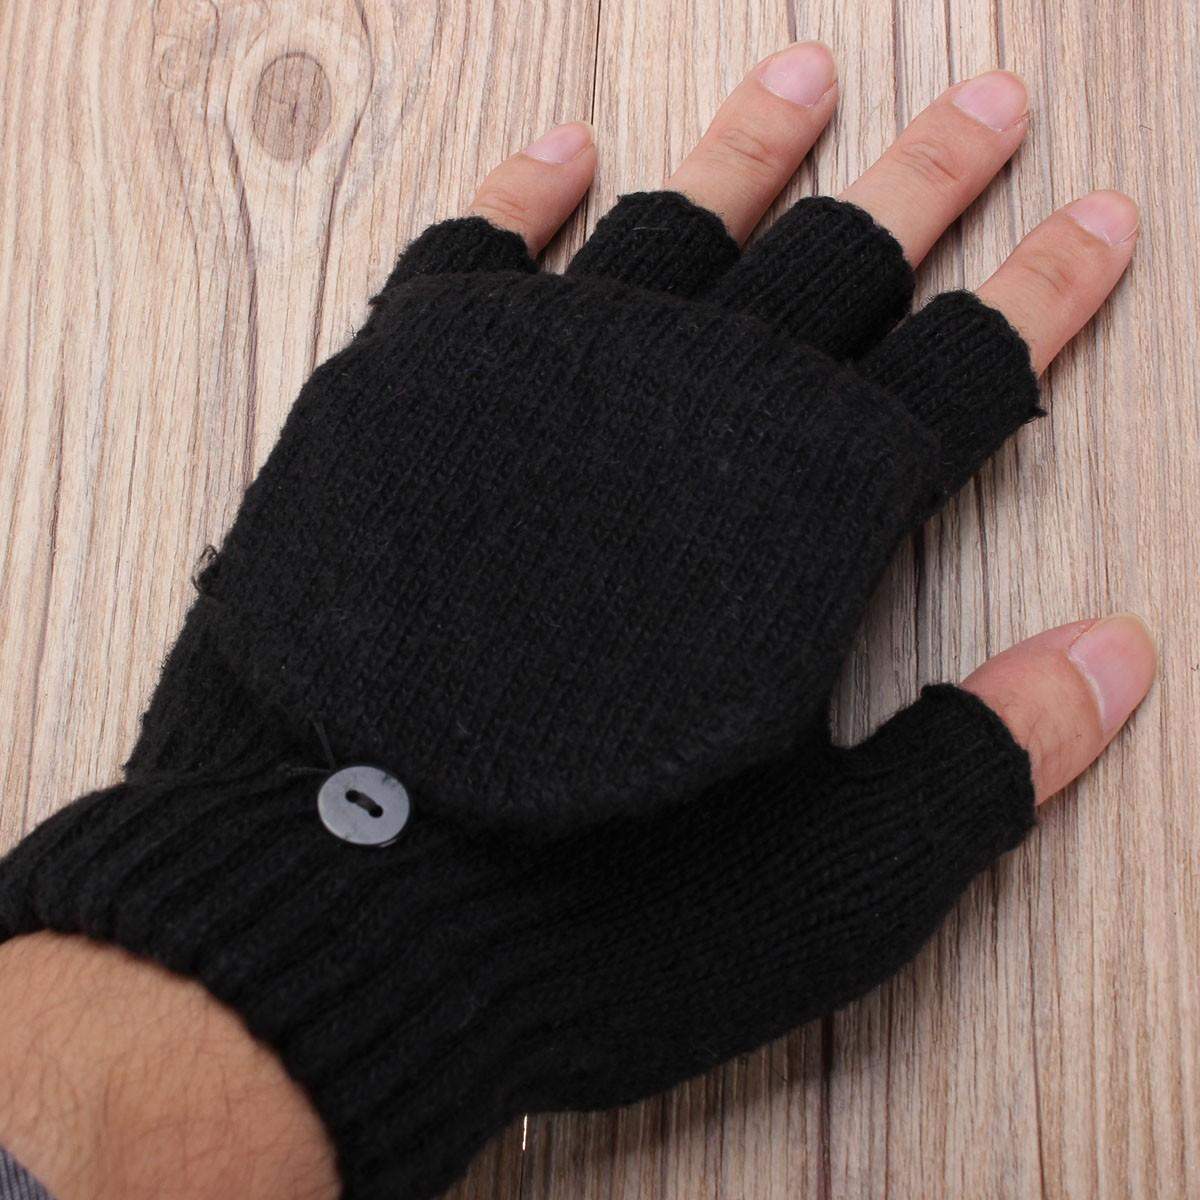
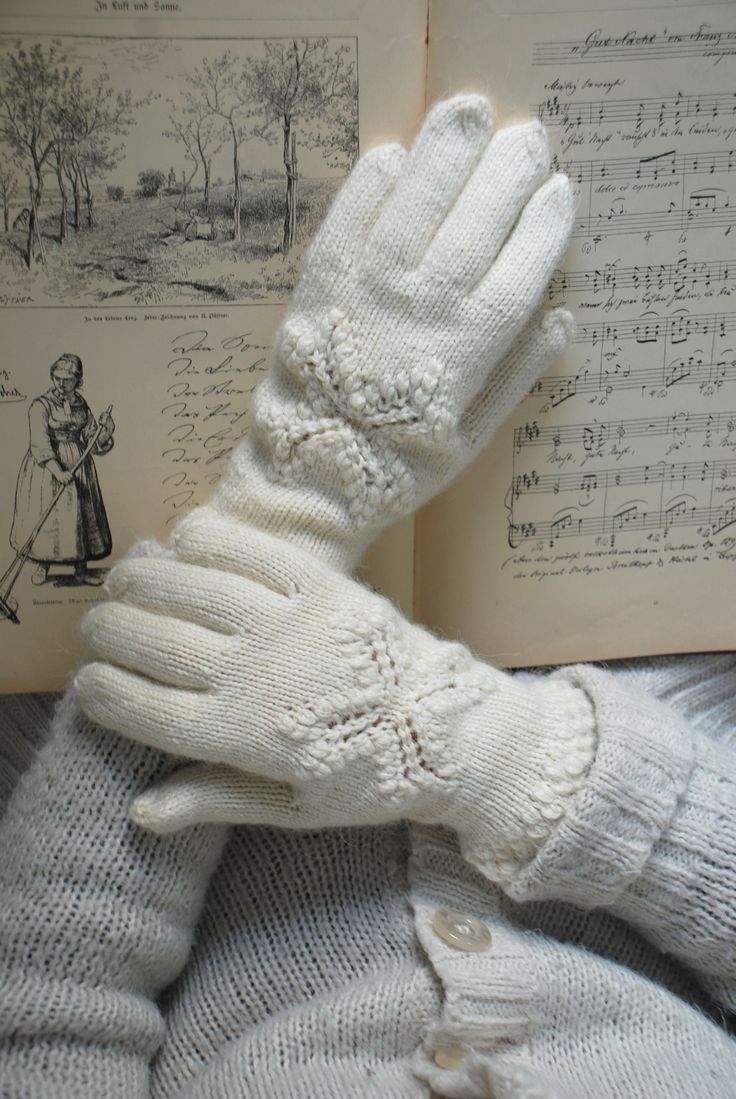
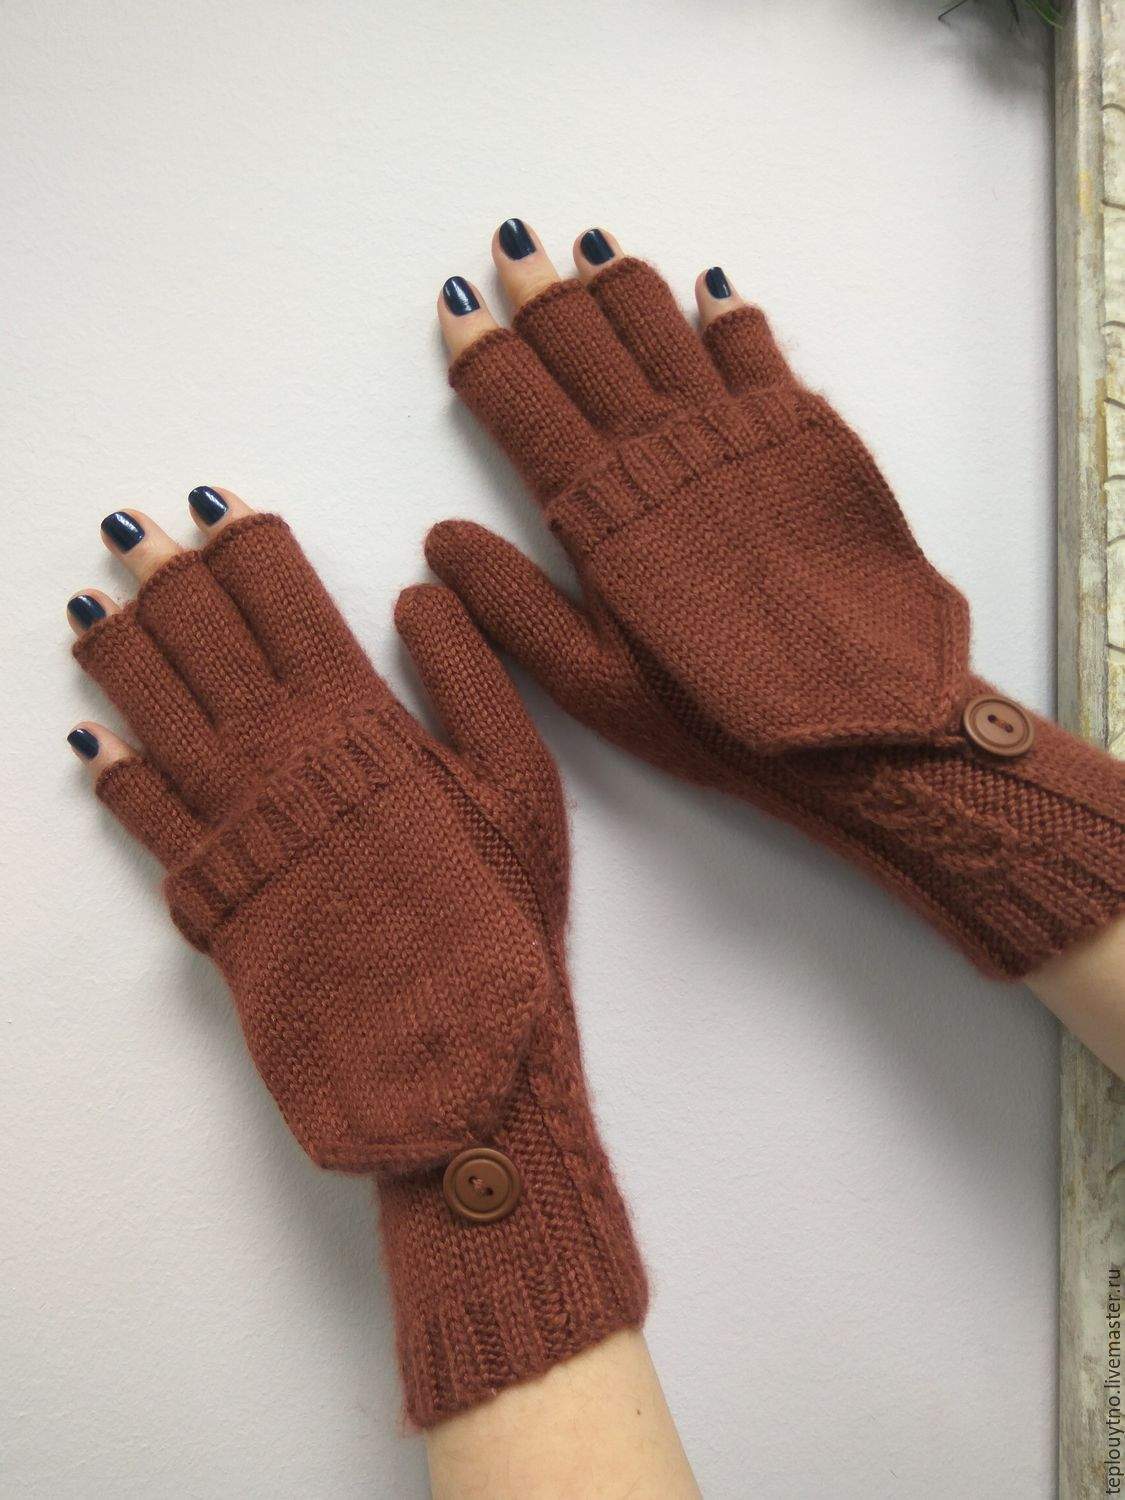
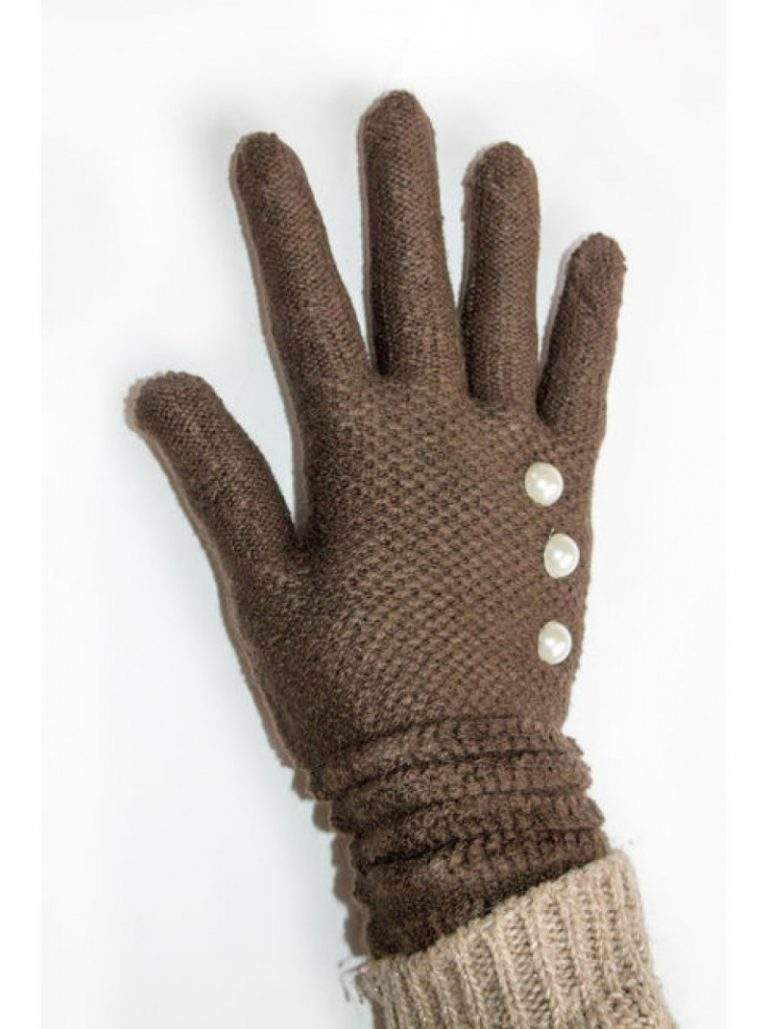
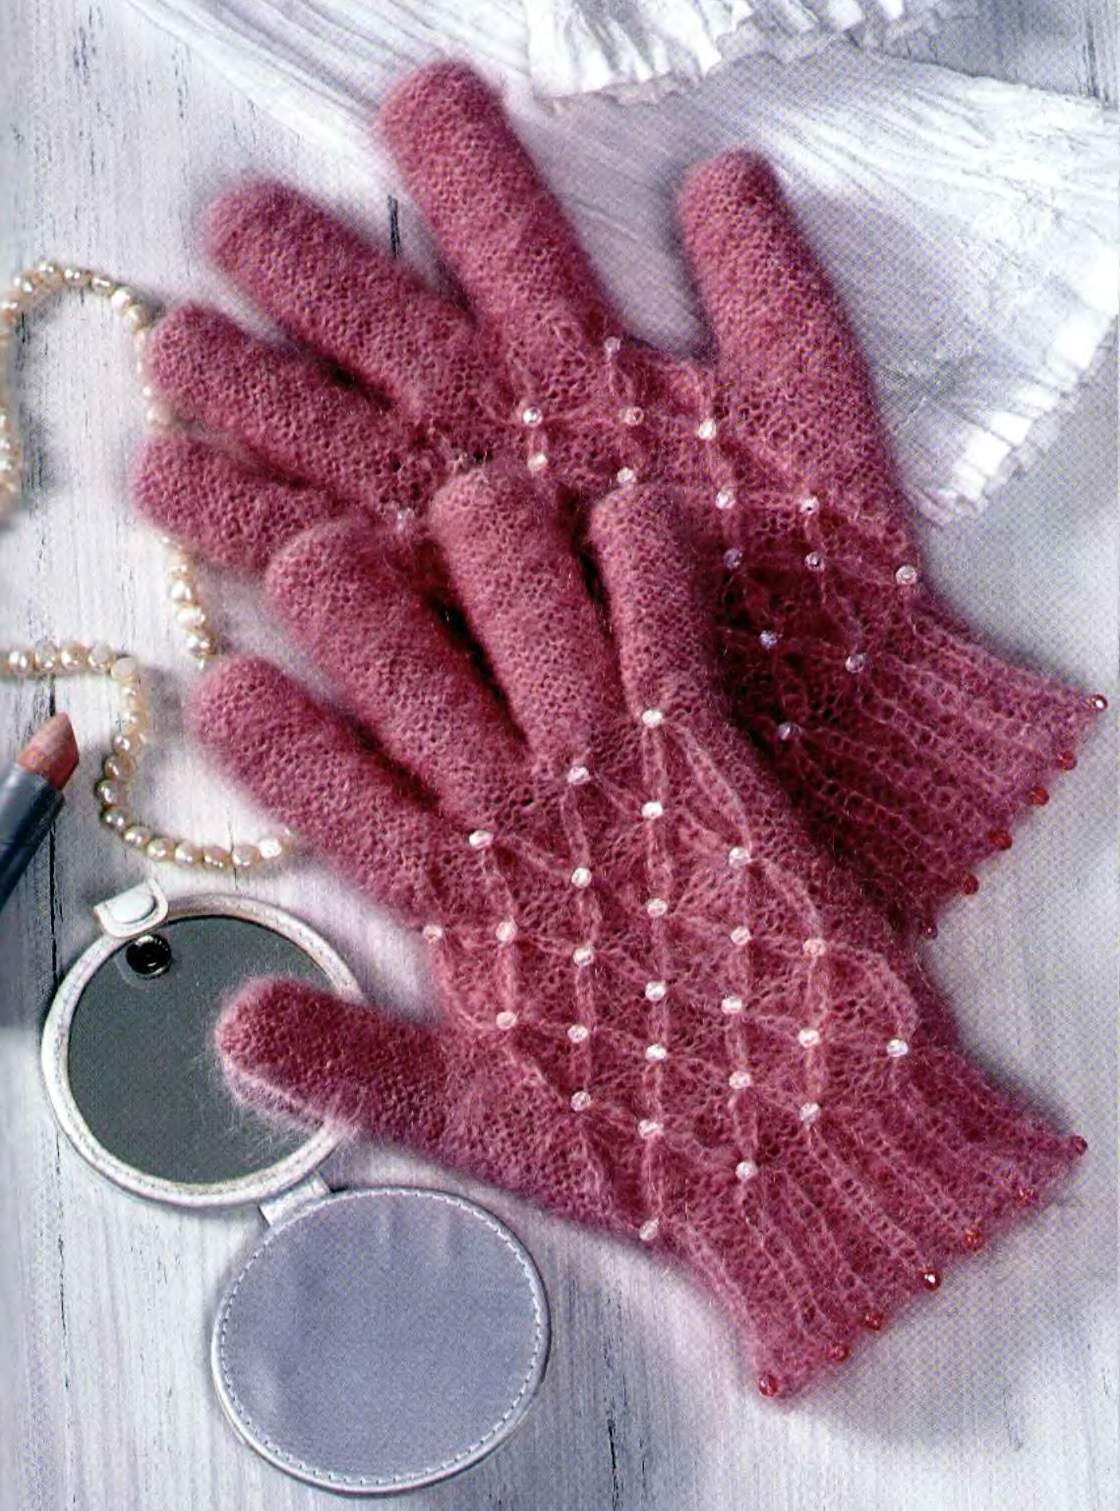
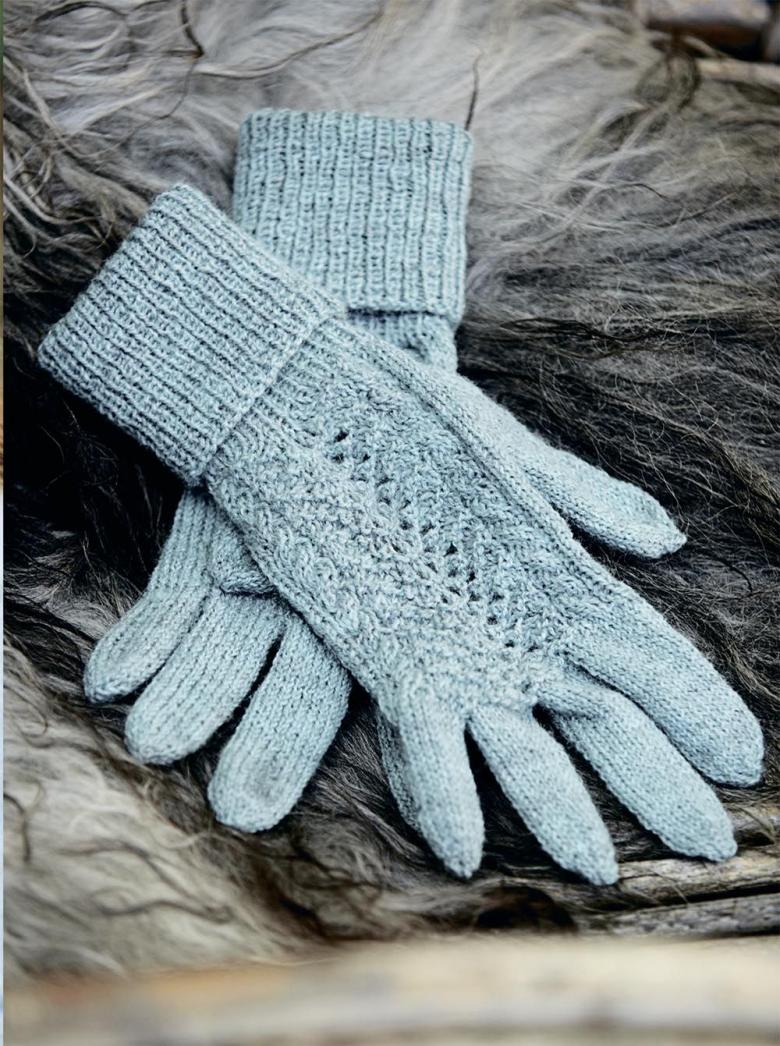
Knitted gloves - not only an element of winter closet, but often a fashion accessory. Short gloves with insulation inside, long tracery mittens and classic transformer gloves will complement your image with a unique style.
Today we'll look at both the usual ways to knit mittens and the fashion trends of the last decade.
Determine the size of the palm and select the material
To decide on the size of the future product, we arm ourselves with a measuring tape, a notebook and a pencil. We need to find four basic dimensions:
- The circumference of the palm at the level of the metacarpophalangeal joints (colloquially we call them "knuckles");
- Palm height: We tape from the wrist to the base of the thumb;
- Palm height on the little finger: measured according to the pattern with the previous size;
- Palm height on the index finger.
In addition to these sizes, be sure to take into account who you knit the gloves for: men's palm is always a little wider than women's, which will affect the number of extra loops. Children's palm, on the contrary, is narrow and short, and there is also a very thin wrist (in this case, the rubber band should be tied a little narrower).

How to determine the material for knitting the product? Gloves are a winter closet accessory, so we focus on the property of the fabric to keep warm and not let cold air in. Let's see what kinds of yarns are on the market today:
- Natural animal wool yarns: these yarns make very warm products. Unfortunately, they often stretch when worn and shed when washed.
- Semi-synthetic types: the fabric is not subject to deformation, does not shed when washed. Choosing a yarn, you should pay attention to the percentage ratio of natural fiber and artificial component: excessive content, for example, acrylic reduces the insulating properties of the product.
- Yarn from synthetic fibers: neat beautiful products that do not warm your hands at all.
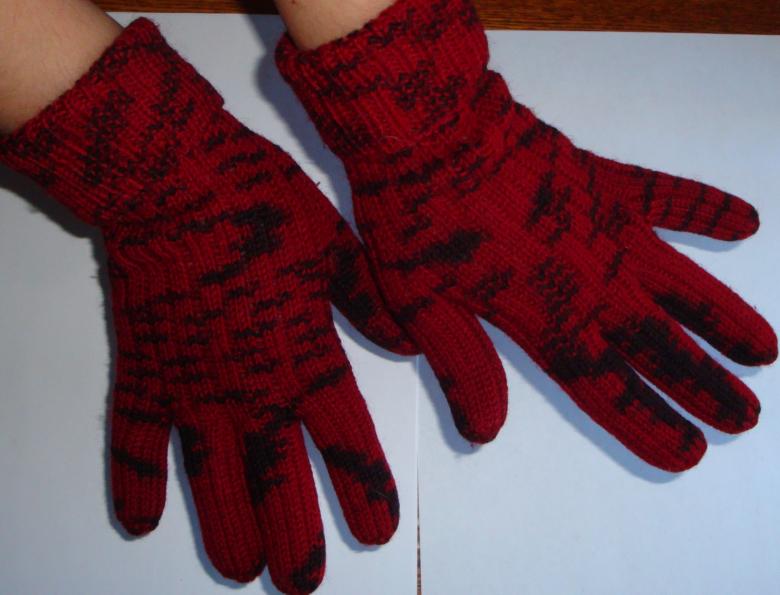
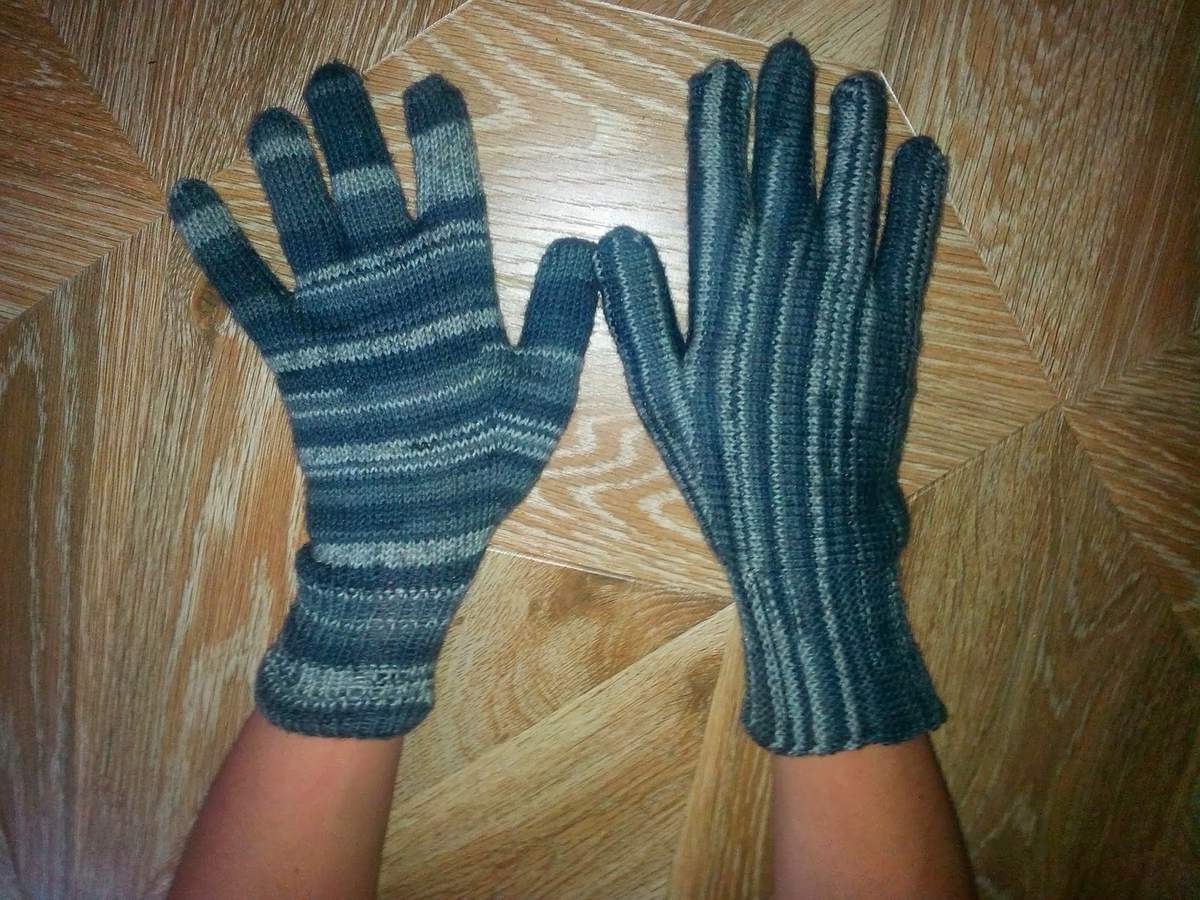
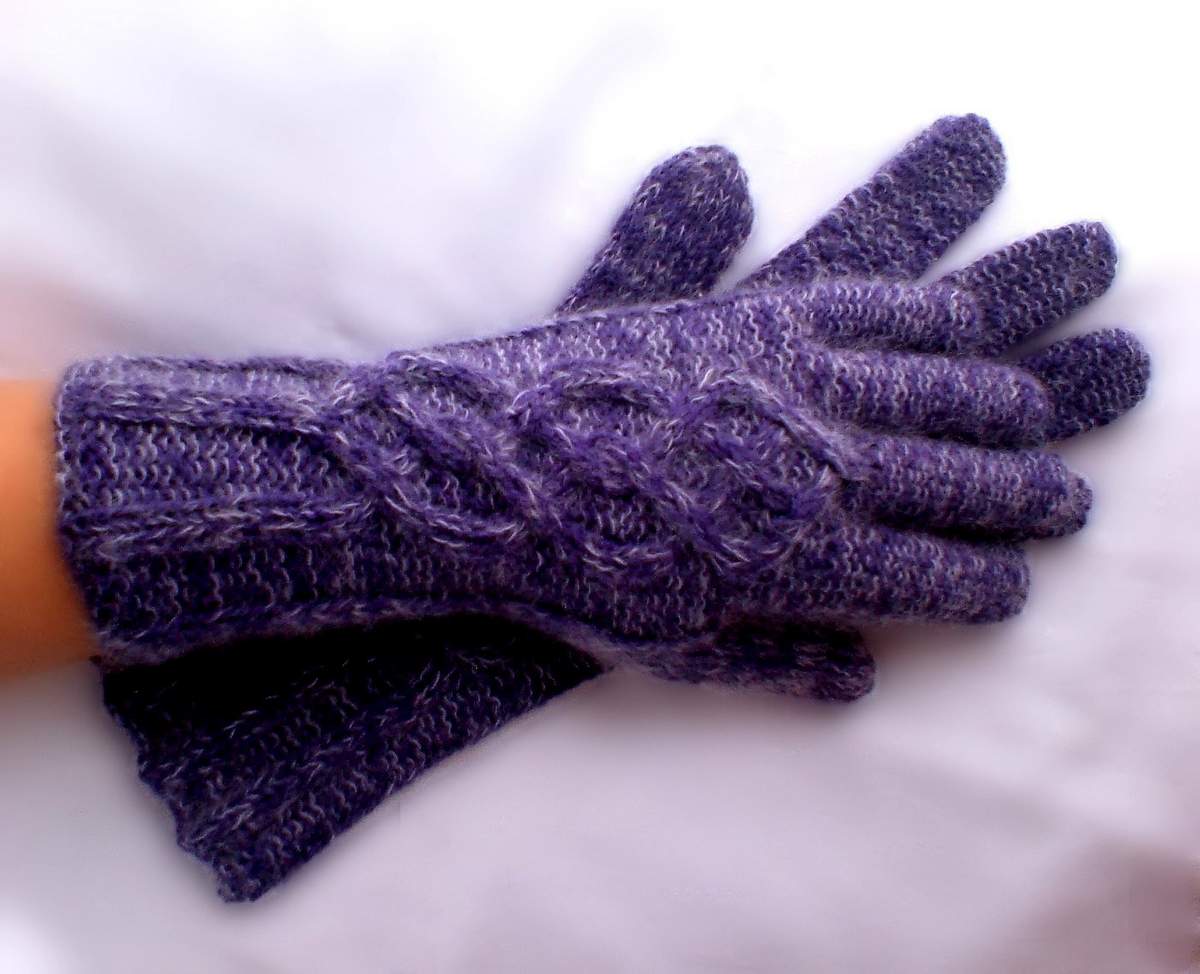
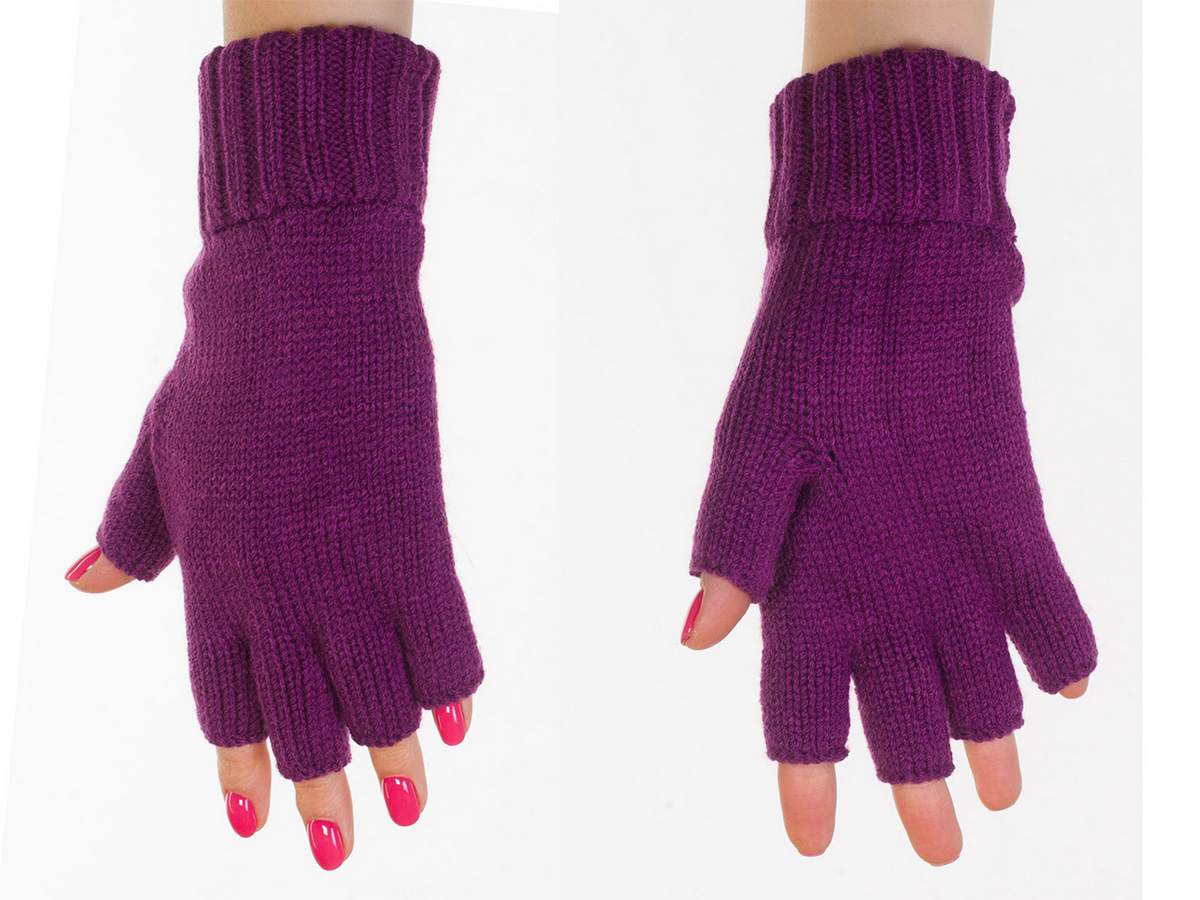
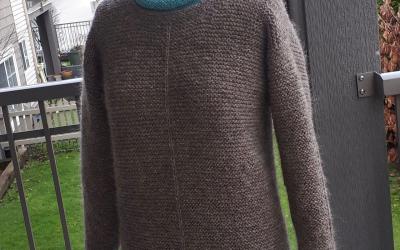
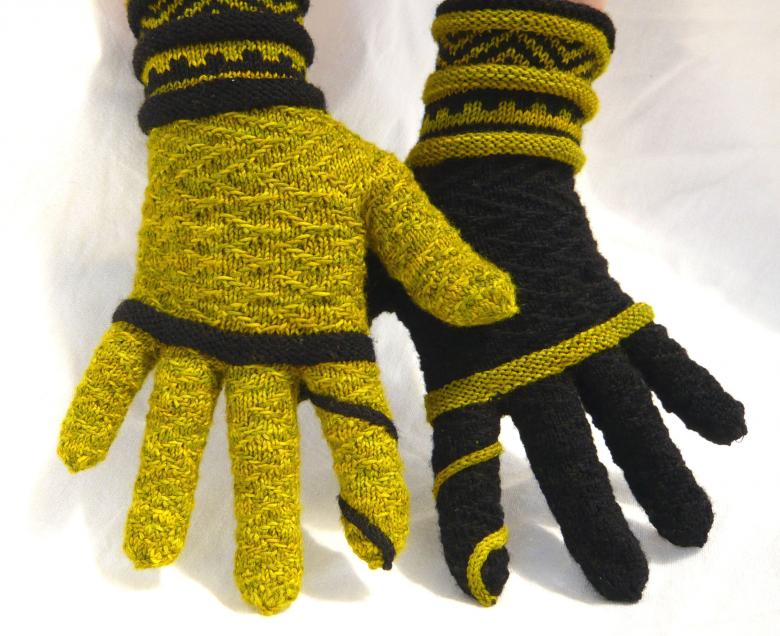
Knit gloves: The most famous models and methods
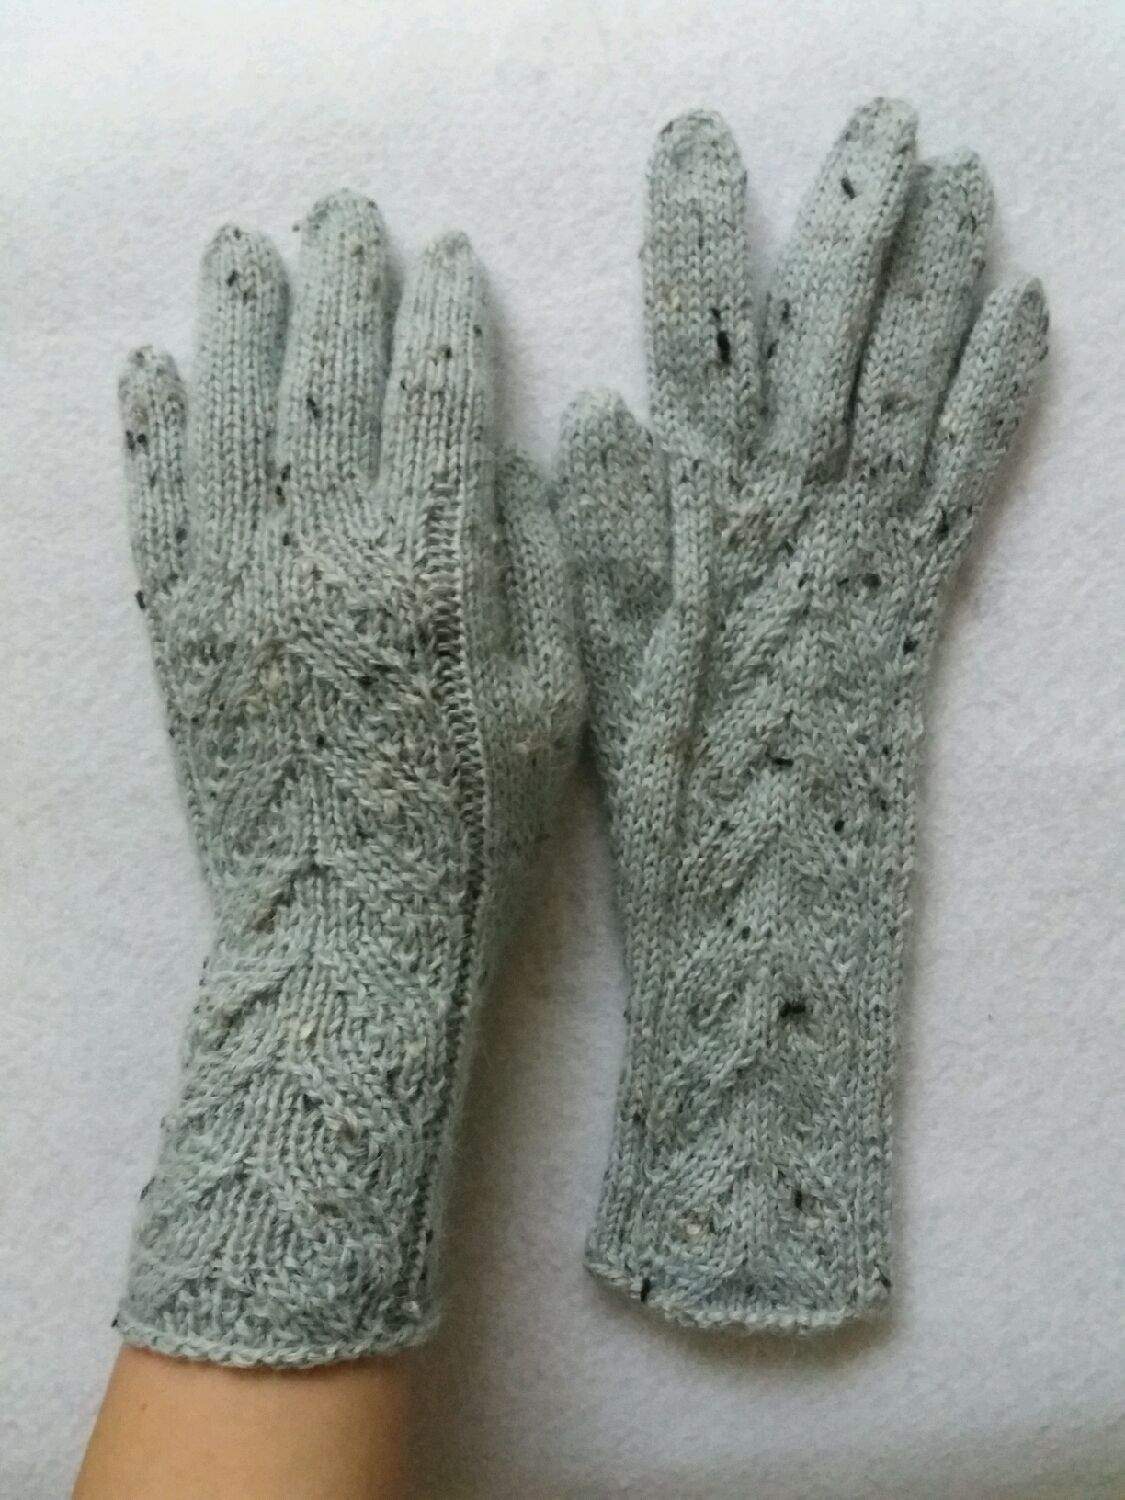
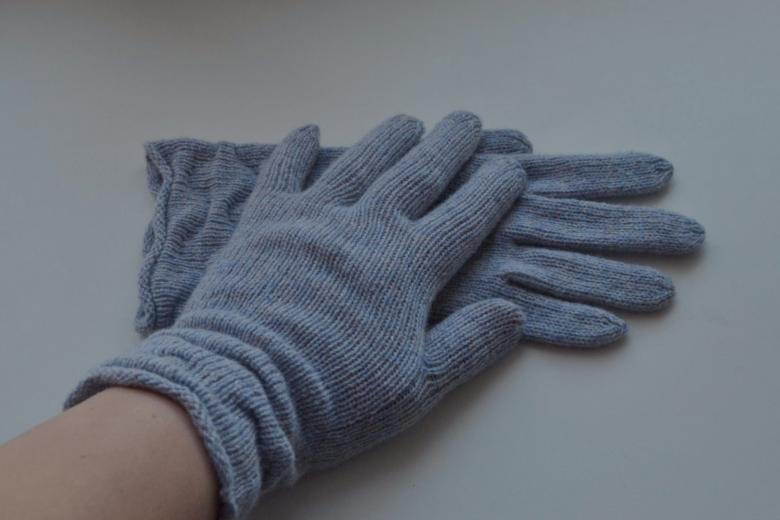
Classic knitting gloves on 5 spokes
To work we will need: a set of needles, pins and yarn.
Step by step instructions:
- On a working needle dial 52 loops and distribute them on 4 spokes.
- Ring close, pulling through the thread, and the same thread knit 5-6 loops.
- For the wrist level, we use a rubber band with the alternation of one right and one wrong stitch.
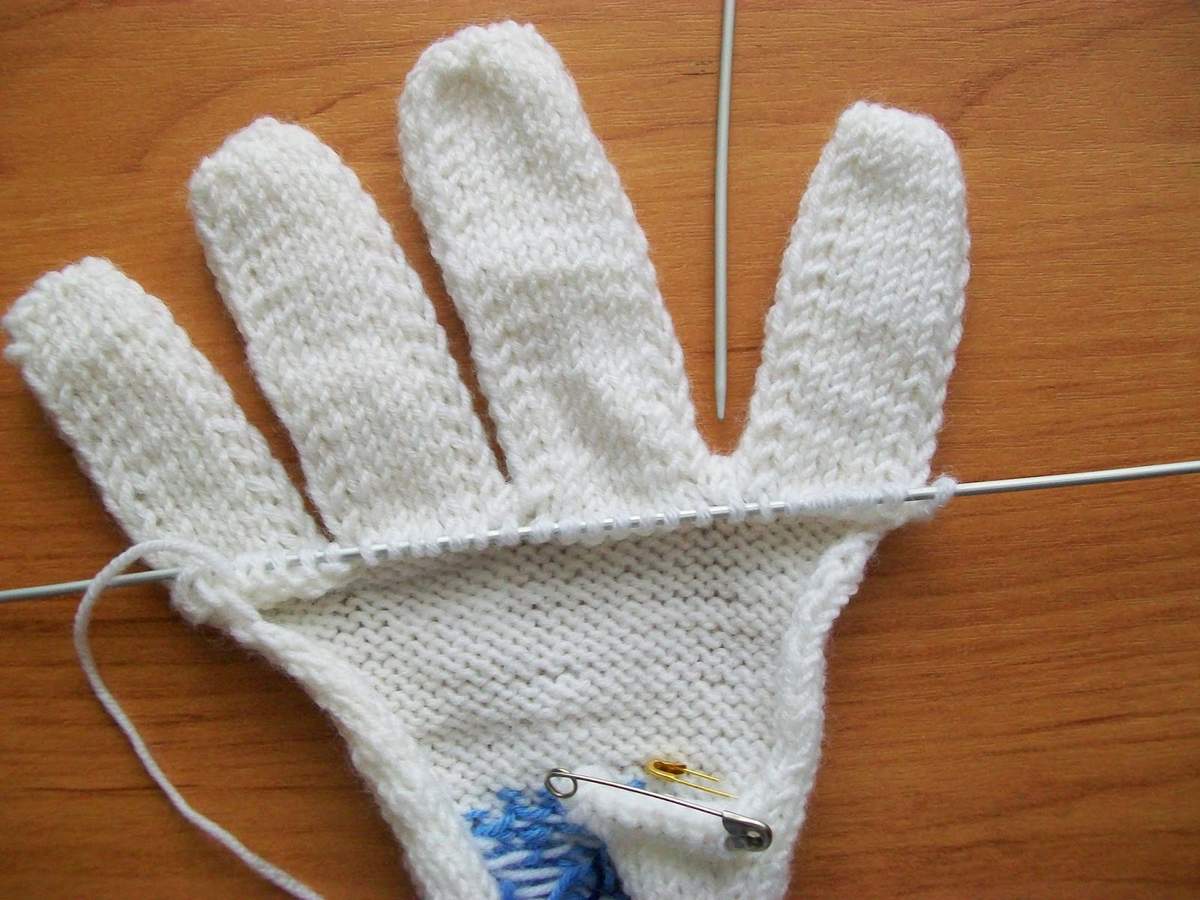
- At the level of the end of the palm we separate with pins the elements intended for knitting fingers.
- We form a wedge for the thumb: we add 1 stitch at the beginning, 1 front element and a hook. Next rows: 3 rows of normal knitting; 4th: knit, 3 stitches, knit. Then every 4th circle is with the addition of loops.
- Knit toes: we gain extra stitches, and knit a number of circles. From the next circle connect 2 loops and an additional 3 stitches between each finger.
- Alternately removing the pins, we knit each finger on 4 spokes. The number of loops decrease as we get closer to the top of the finger.
The technique is quite simple, if you want every needlewoman can print or sketch a step by step diagram of knitting products. Children and young active girls are great for bright colored motifs: use different shades of yarn.
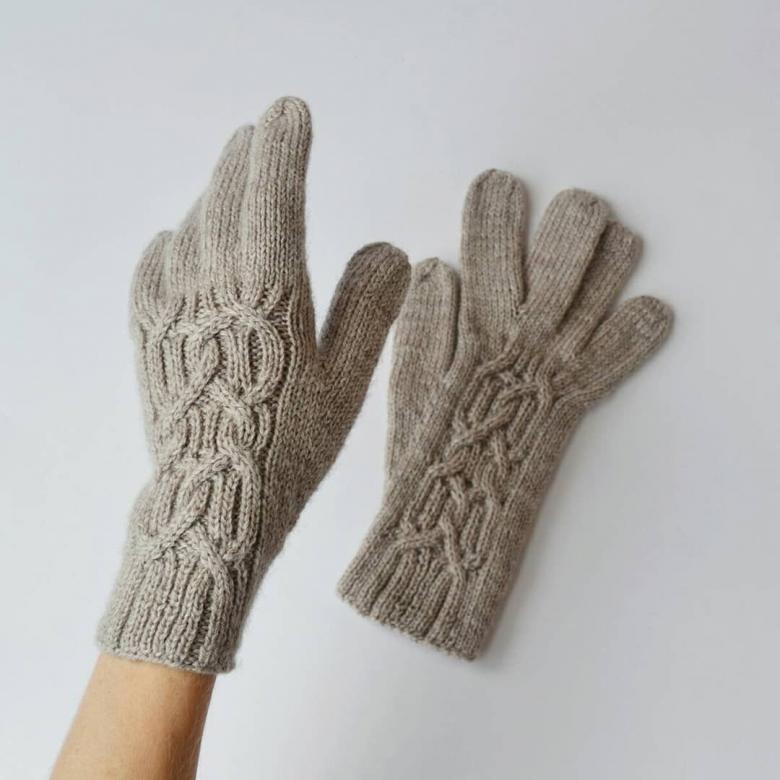
Knit gloves on 2 spokes
To work we will need the same materials as for the previous method.
Step by step knitting diagram:
- On 1 spoke we dial 29 loops.
- The basis of the palm part we knit with the wrong elements.
- Detailed work begins with the creation of the thumb: from the 28th stitch of the current row we make a front stitch, and then make another additive element.
- To get an even and neat wedge, in each row we do additions of loops. In total, we should get 10 elements per finger.
- Separate the elements of the thumb on a pin, and then knit rows, preparing sectors for the other fingers (according to the height that you determined when measuring).
- Unlike the previous method of knitting, here the top of the finger is not the end point. Once we reach the intended height, we turn the knitting around and start moving in the opposite direction.
- To create jumpers between the fingers, knit three extra loops in the intended areas, and remove them on pins. We'll use them again when we knit the back of the glove.
Working on the method of 2 spokes is a little easier than the classic method. And, in addition, using the schemes of instructions, you can create a uniquely beautiful pattern on the inside of the product.

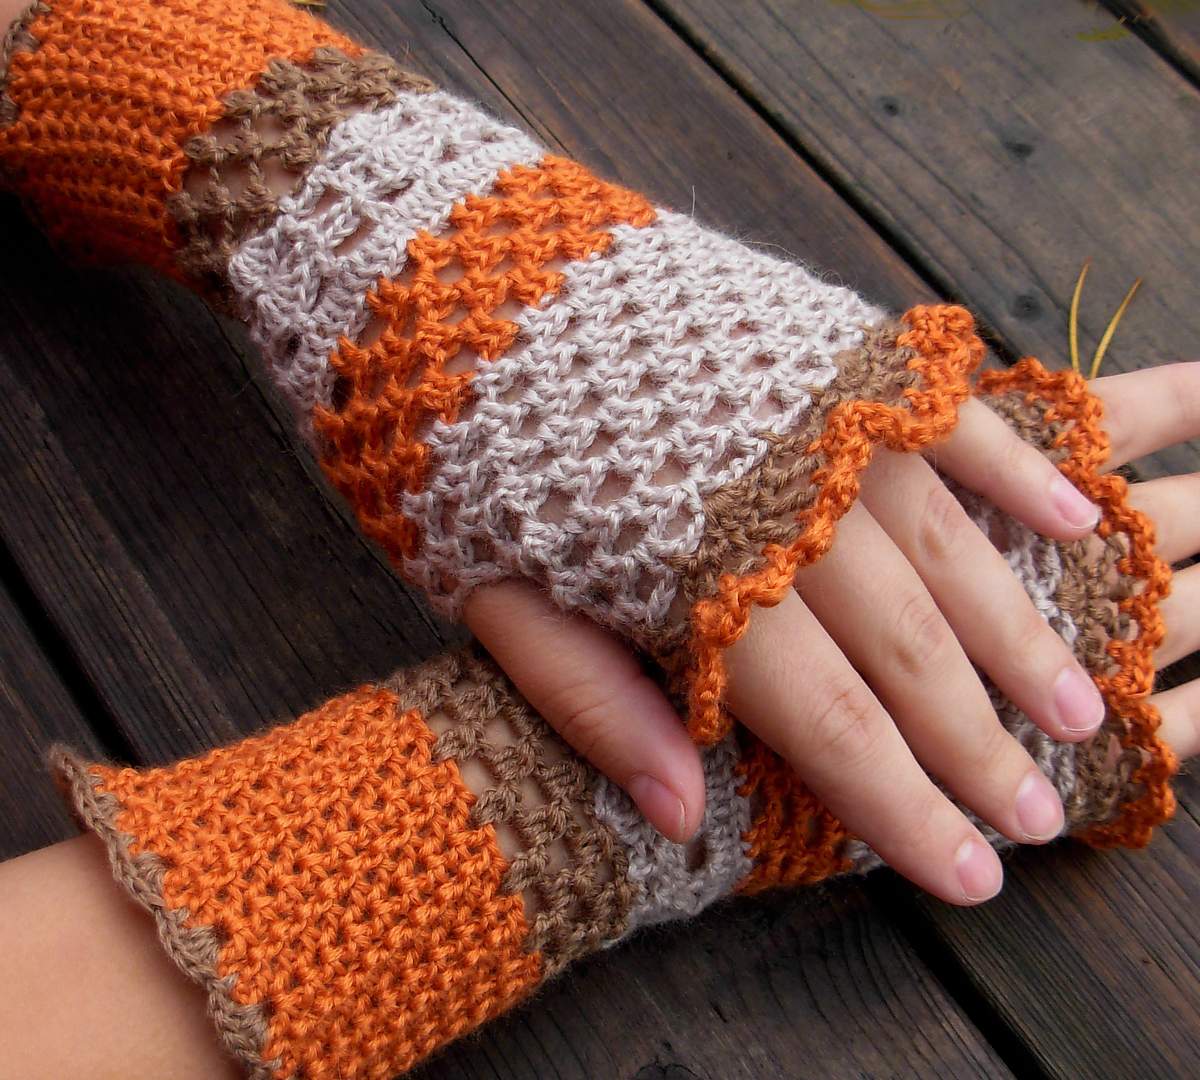
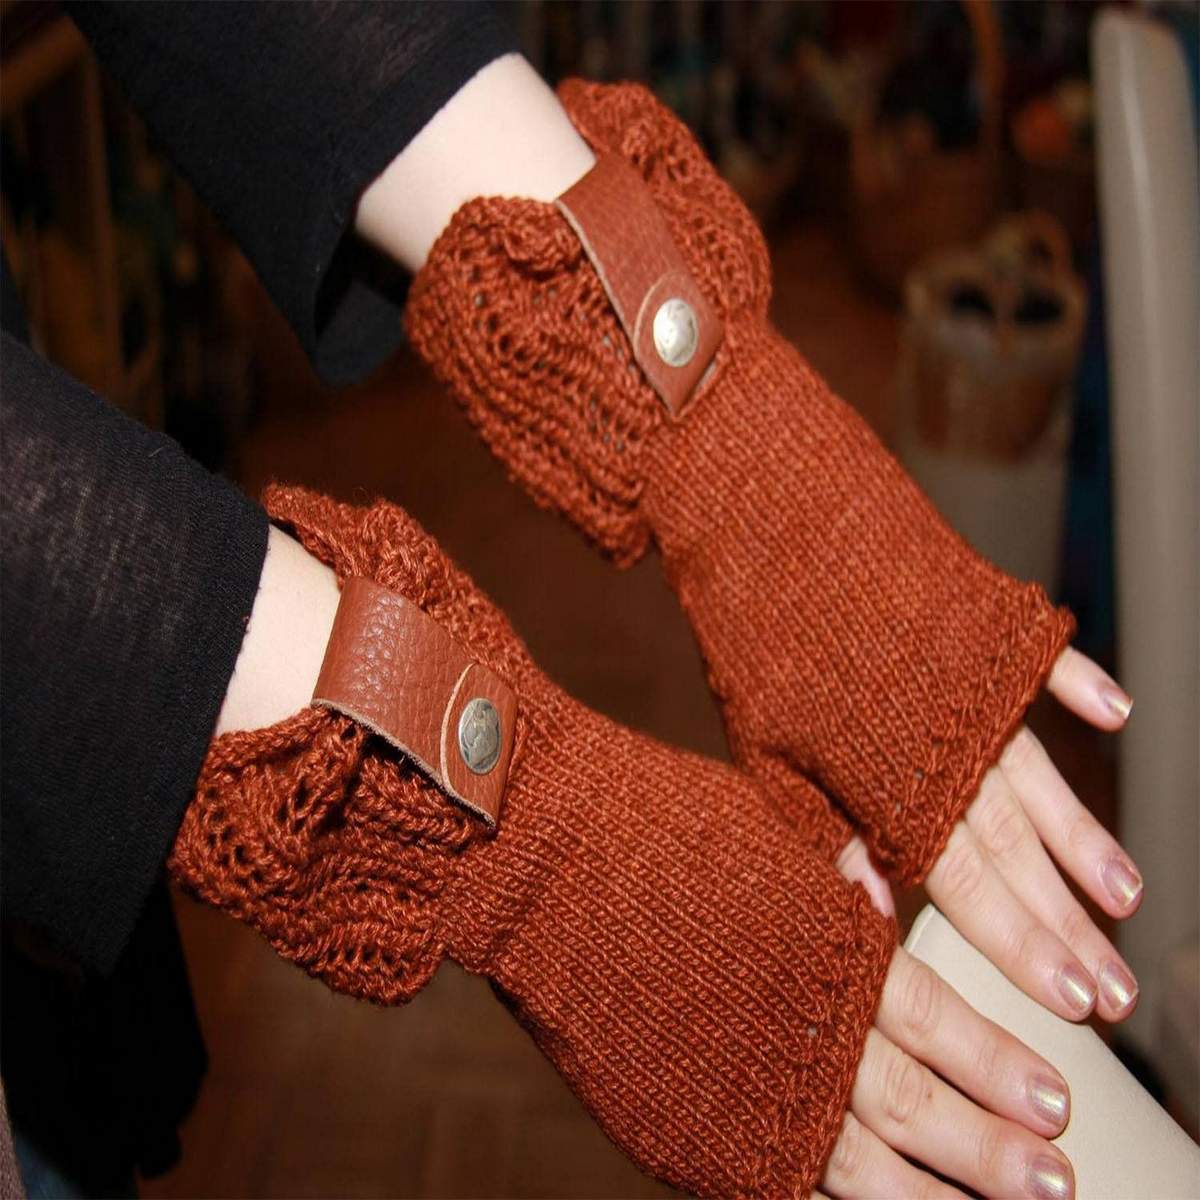
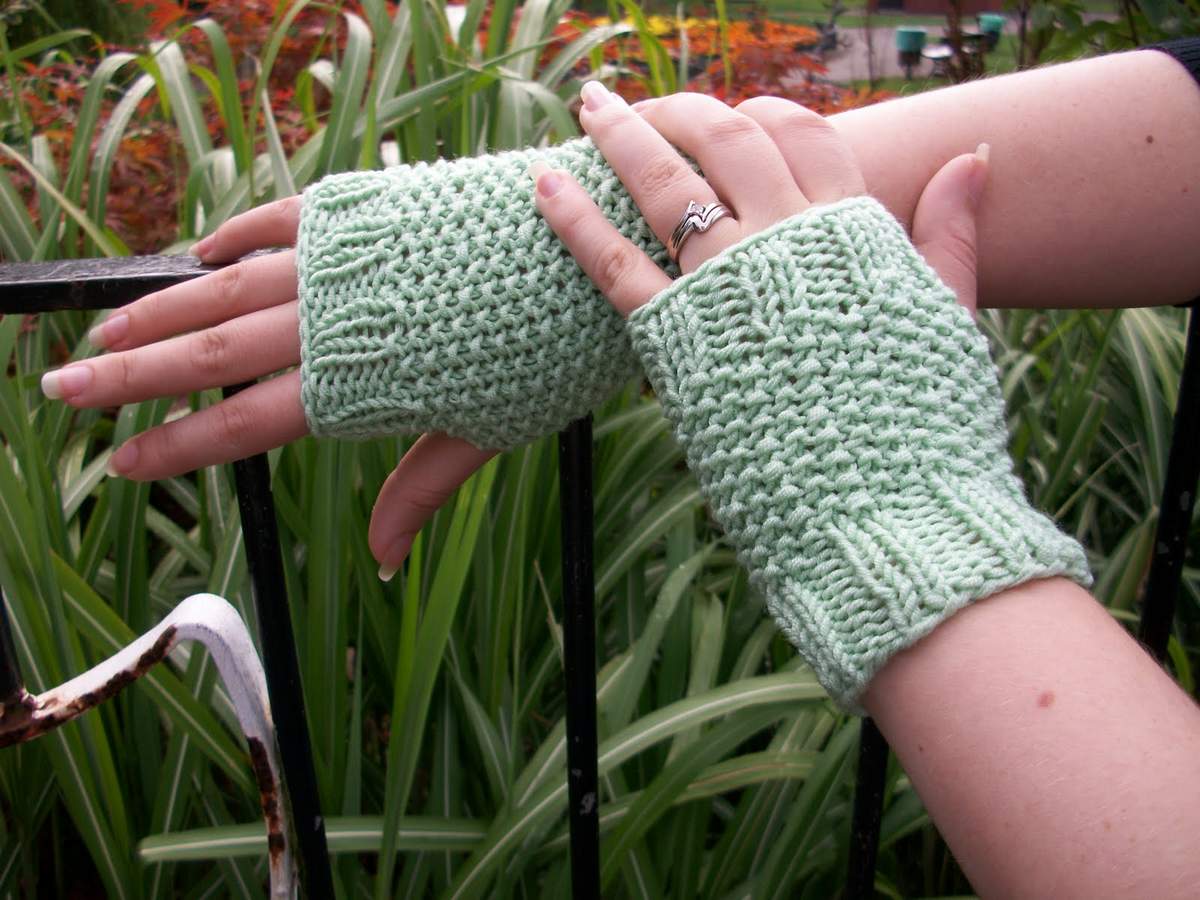
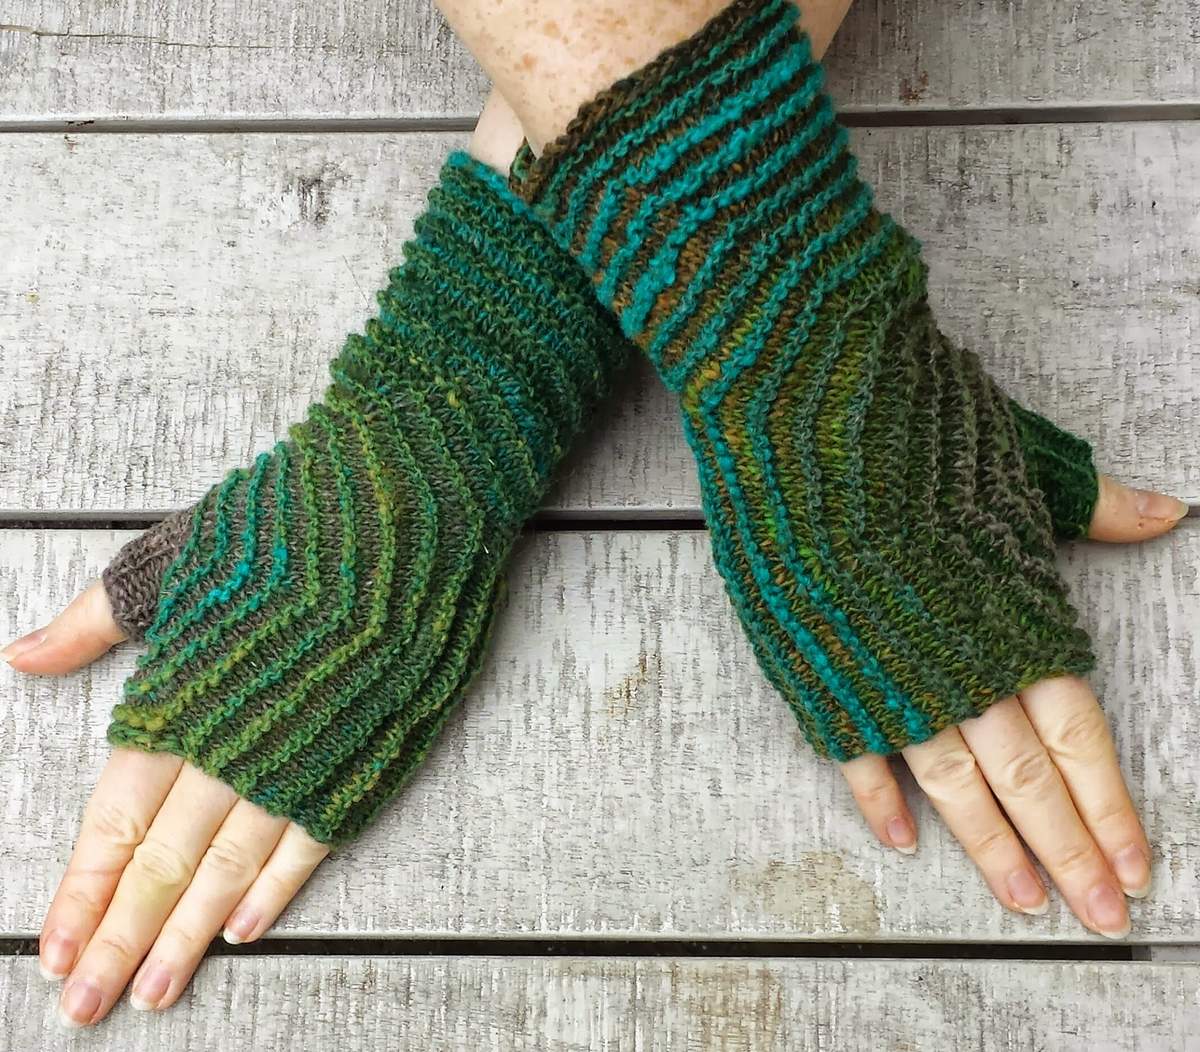
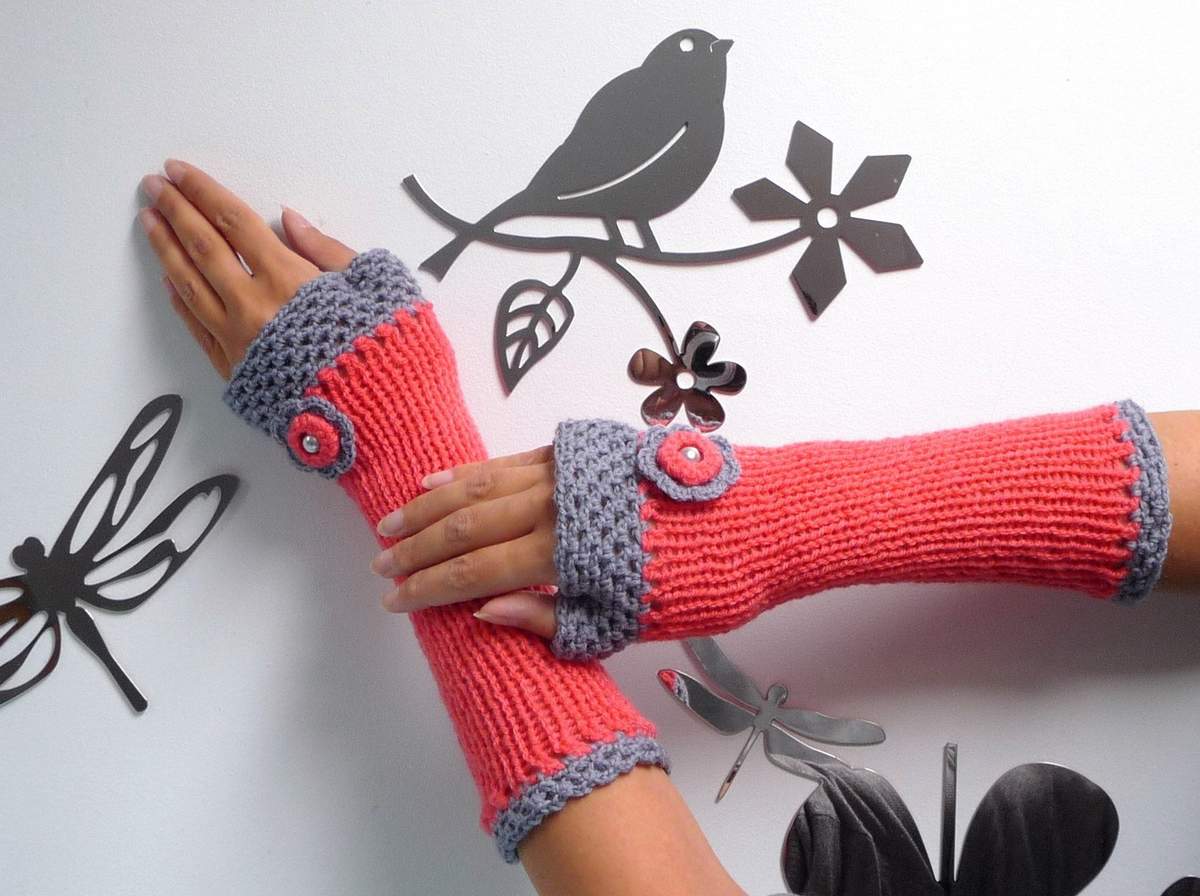
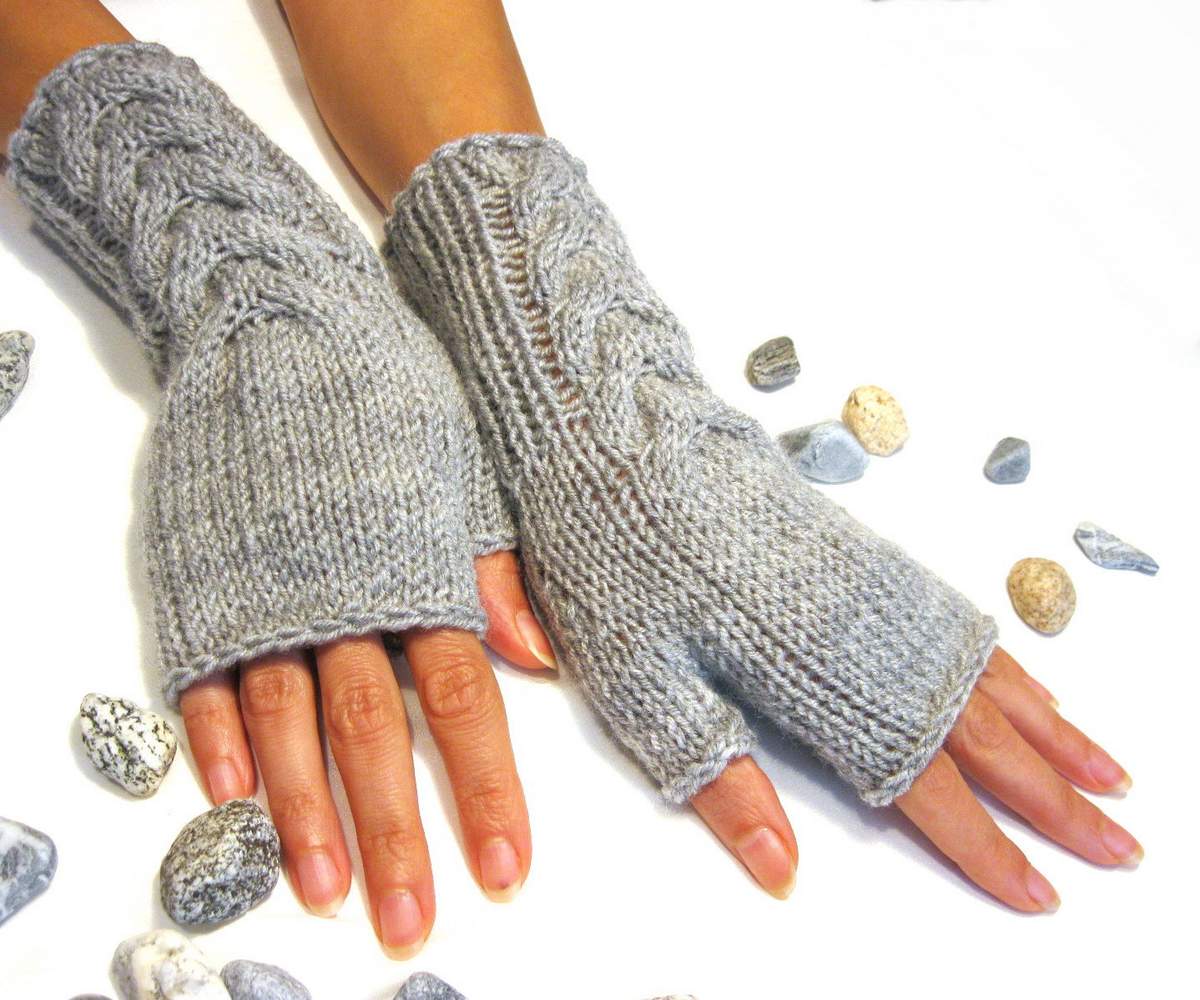
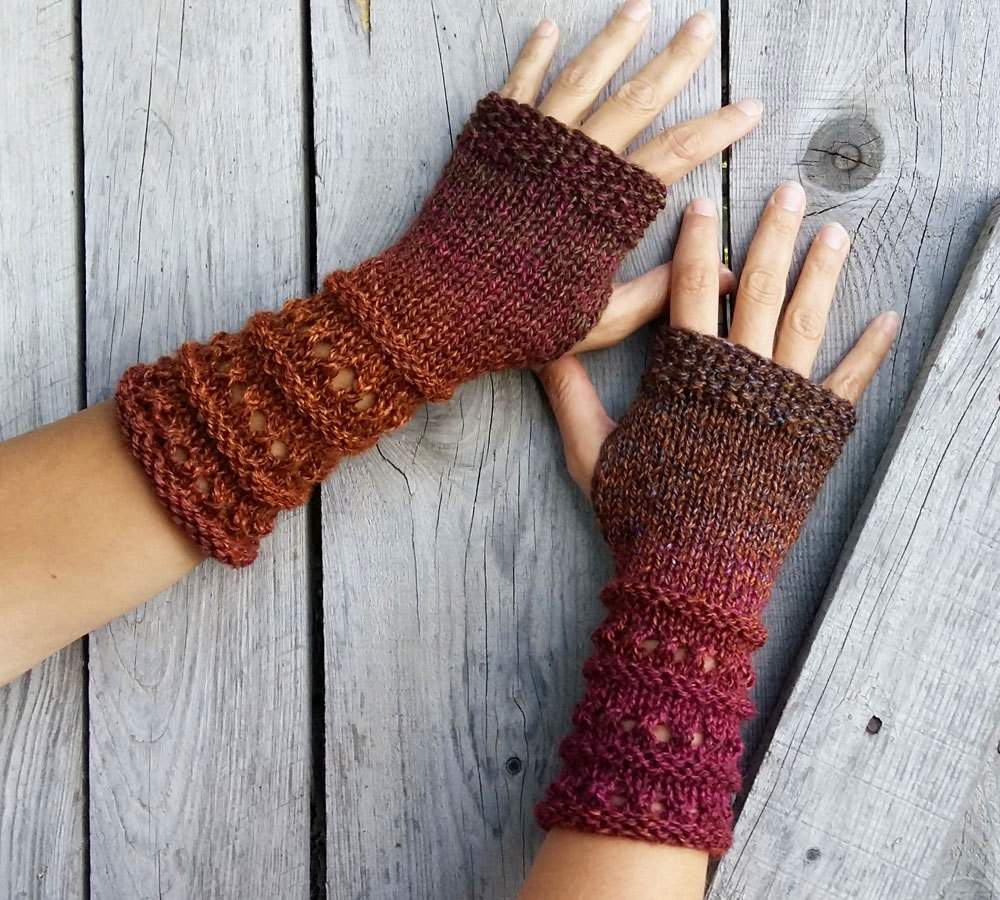
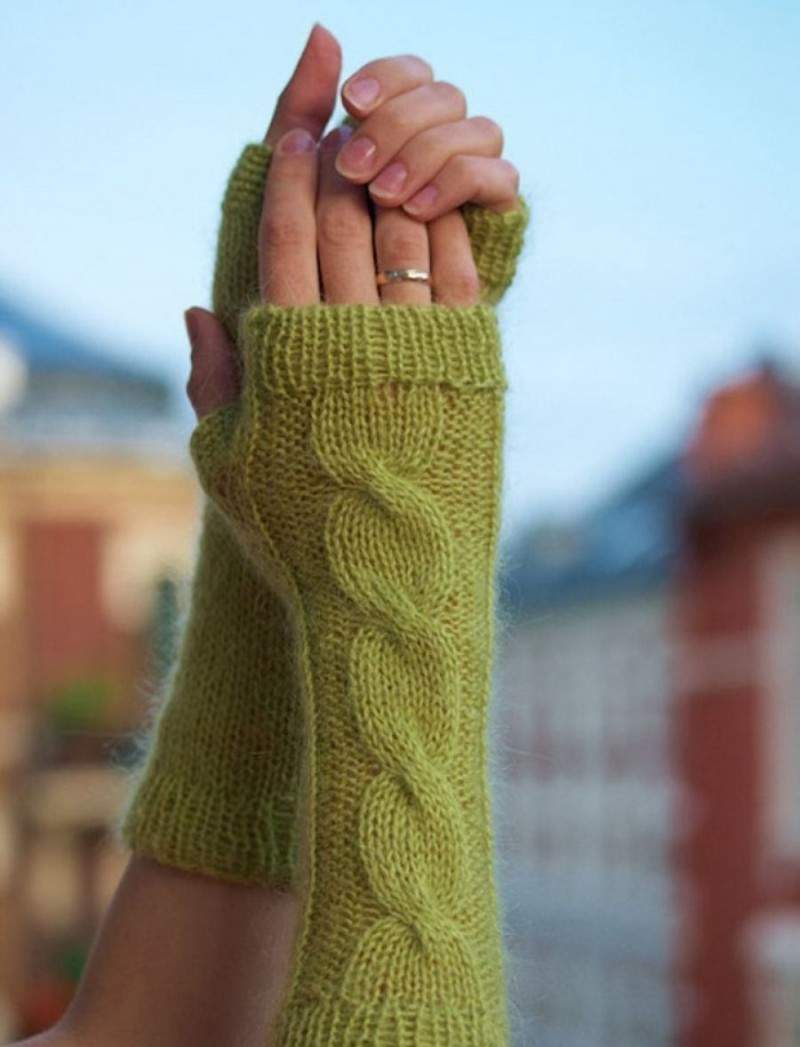
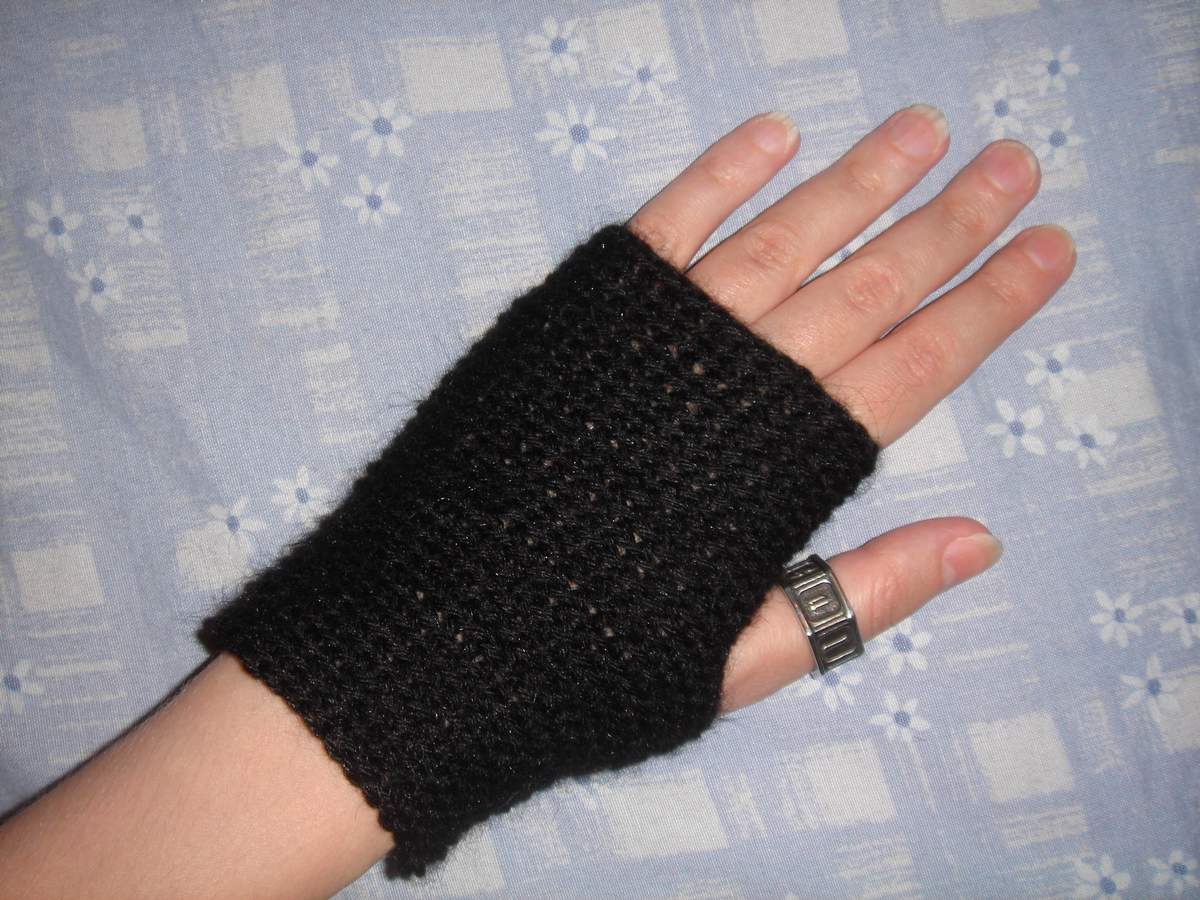
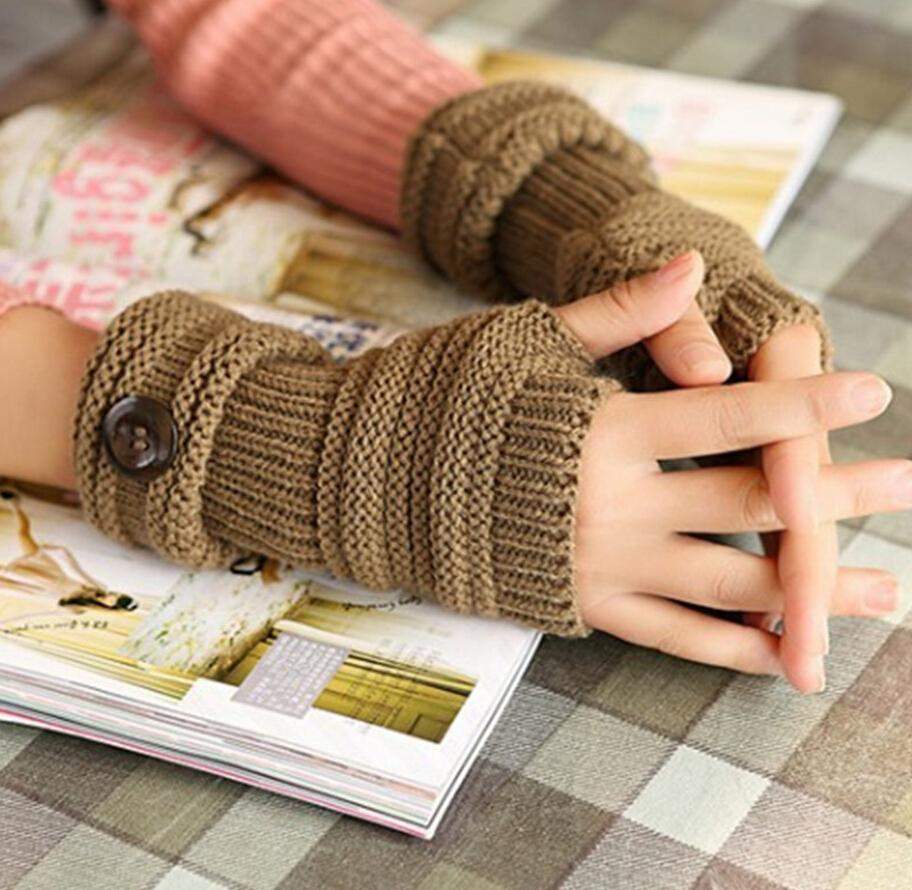
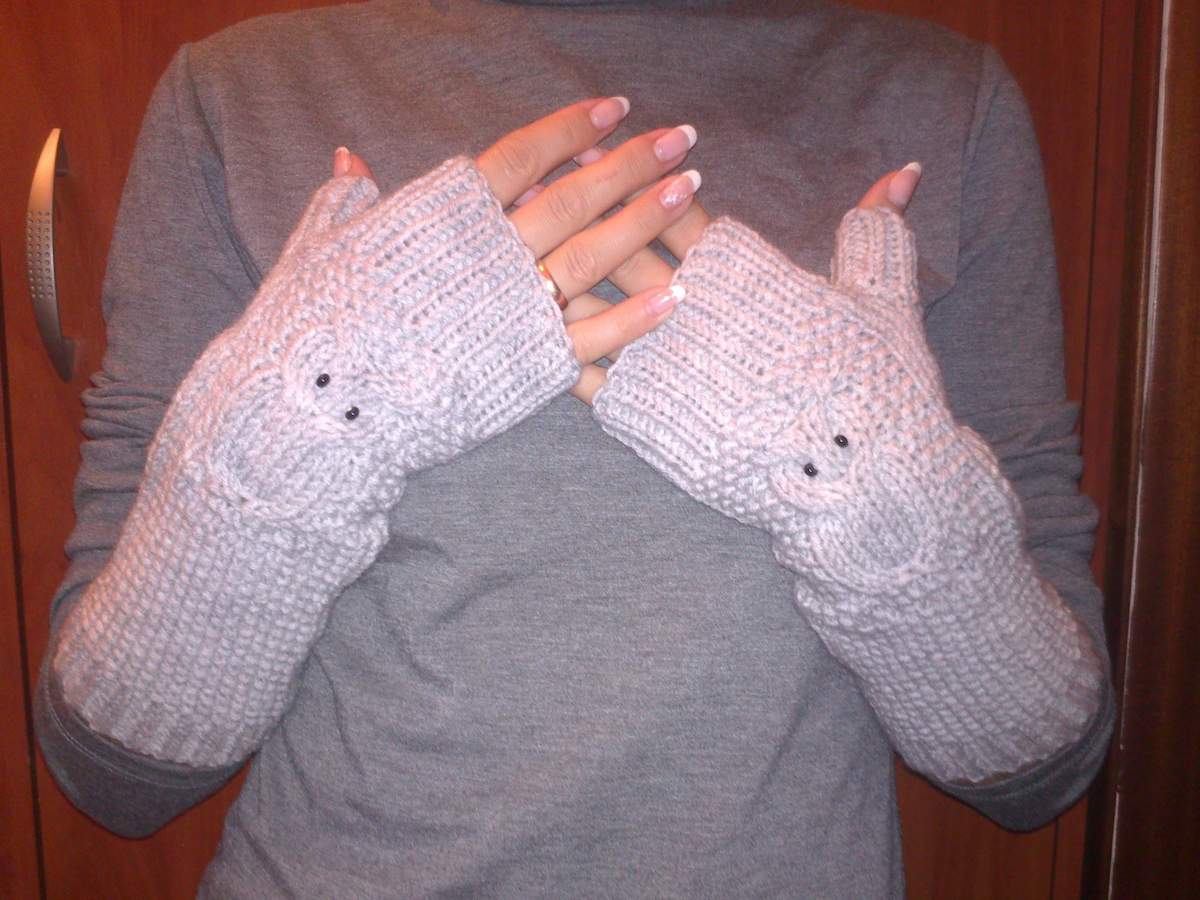
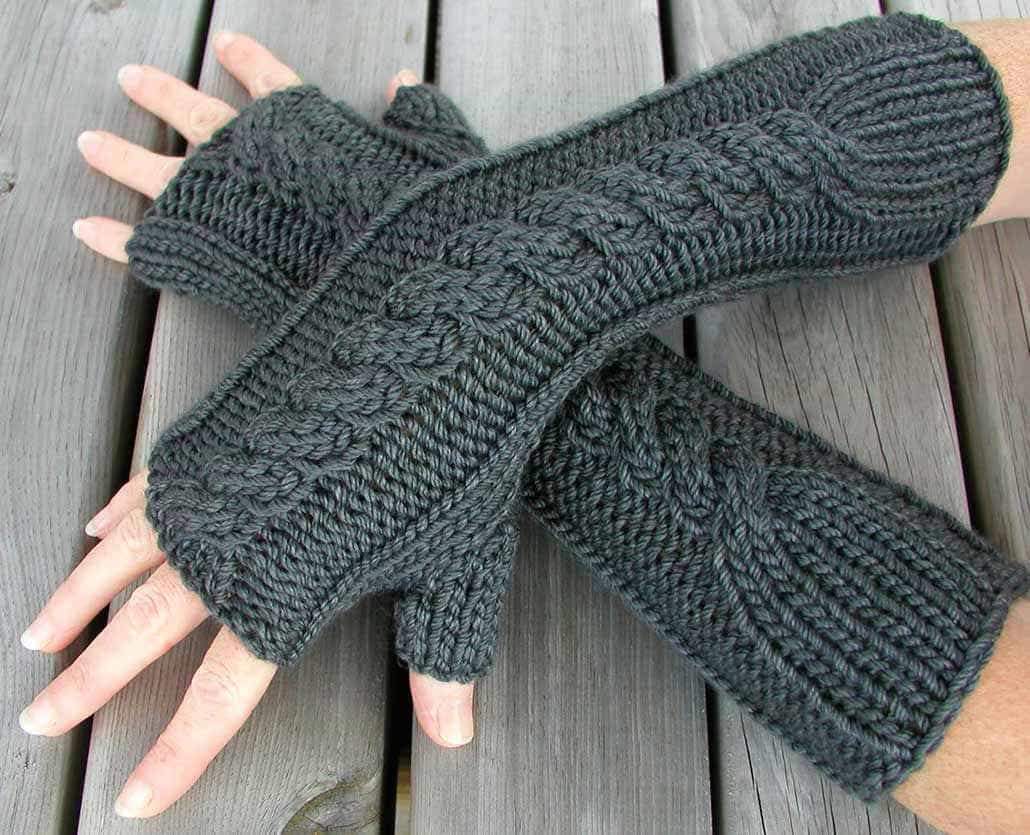
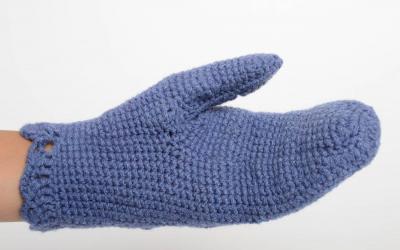
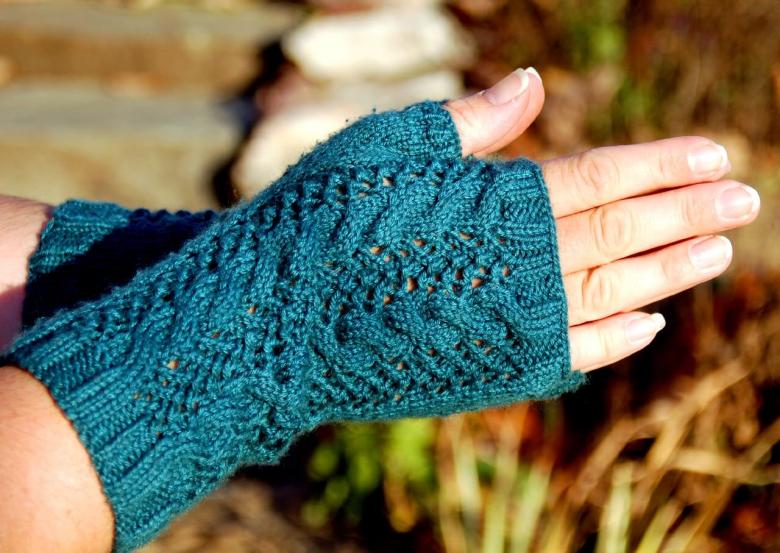
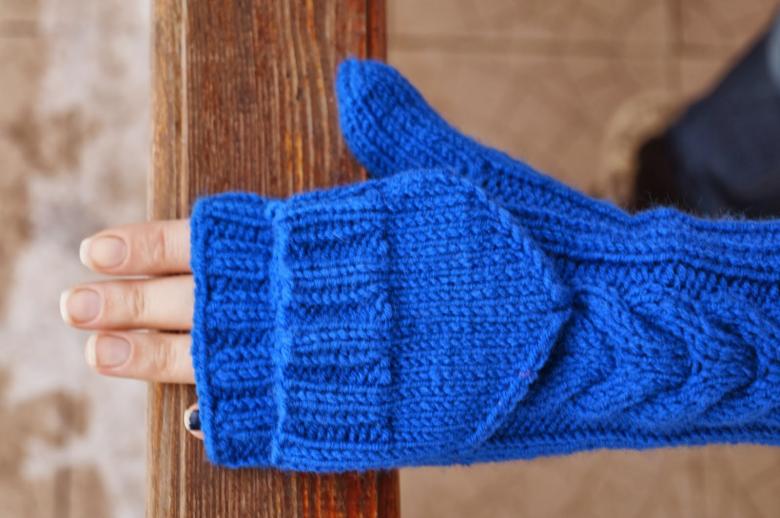
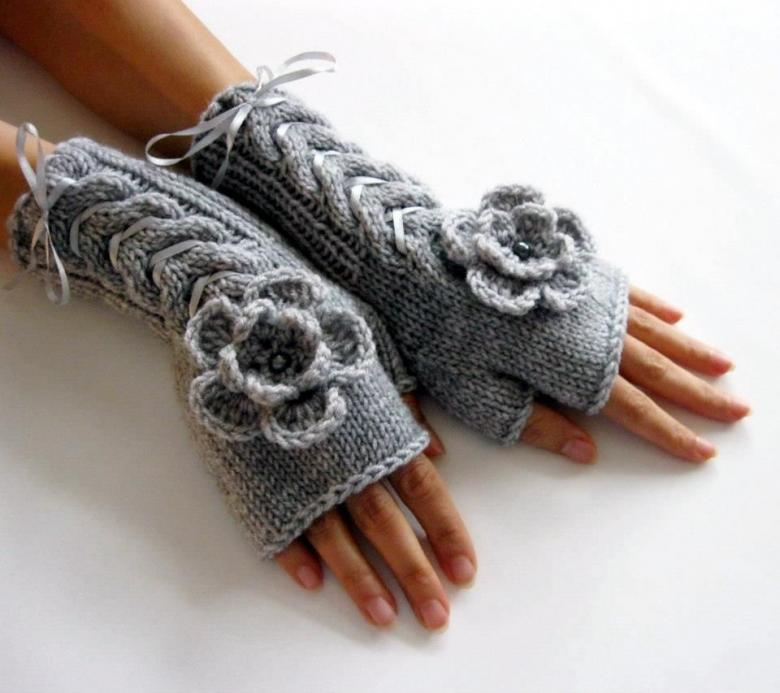
Mittens: style and practicality
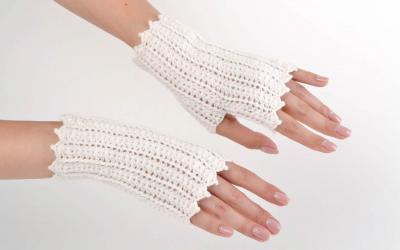
This unique accessory came to us from Europe, where it has gained special love and popularity among young people. It is interesting that fingerless gloves are easy and convenient to knit, even for beginners.
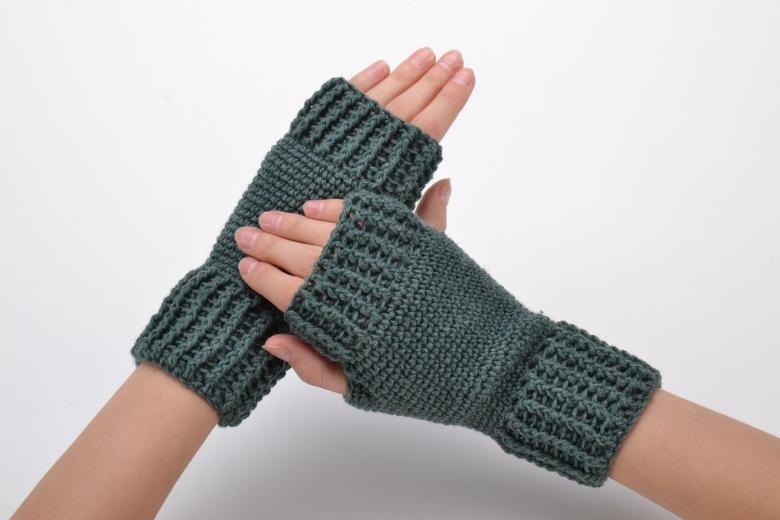
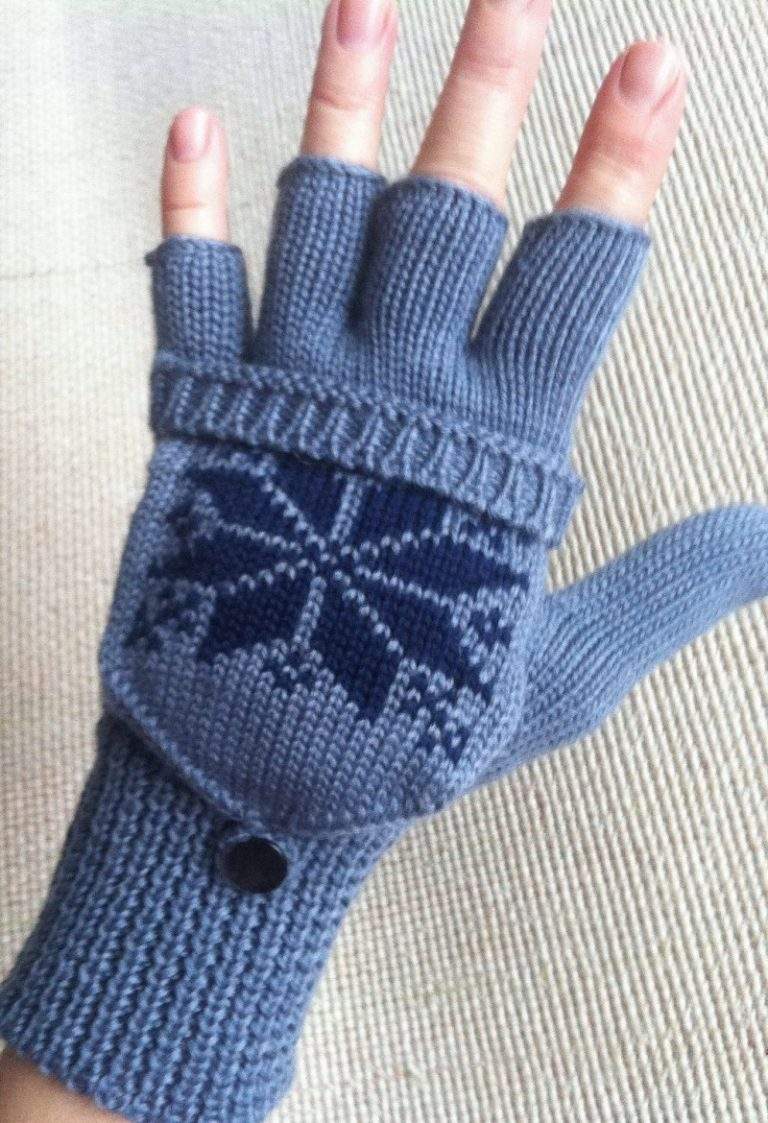
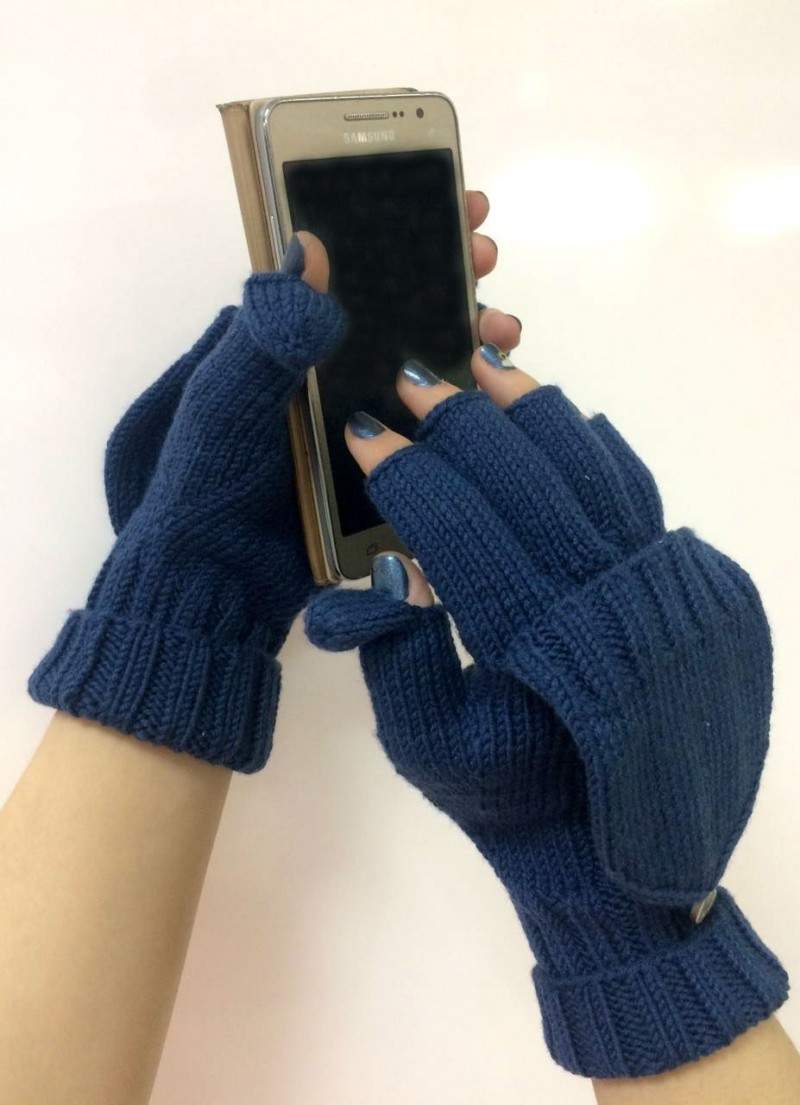
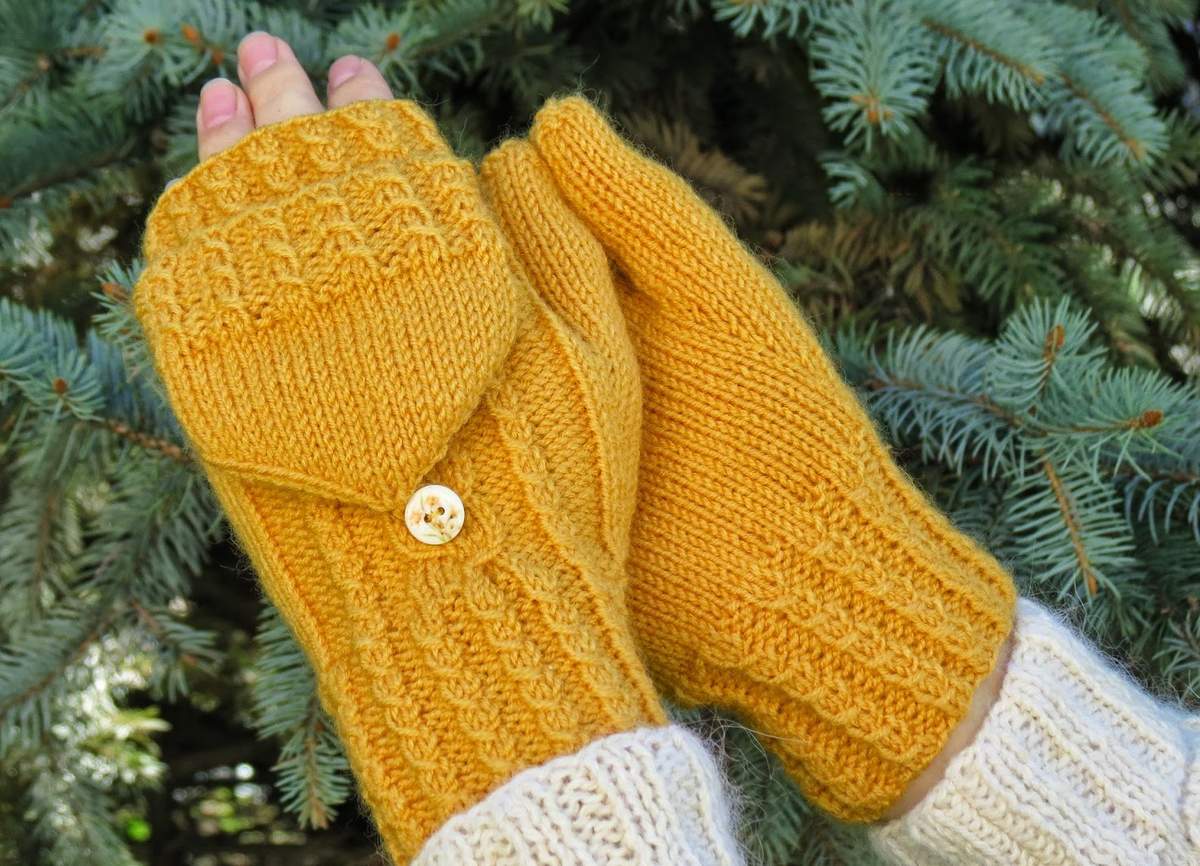
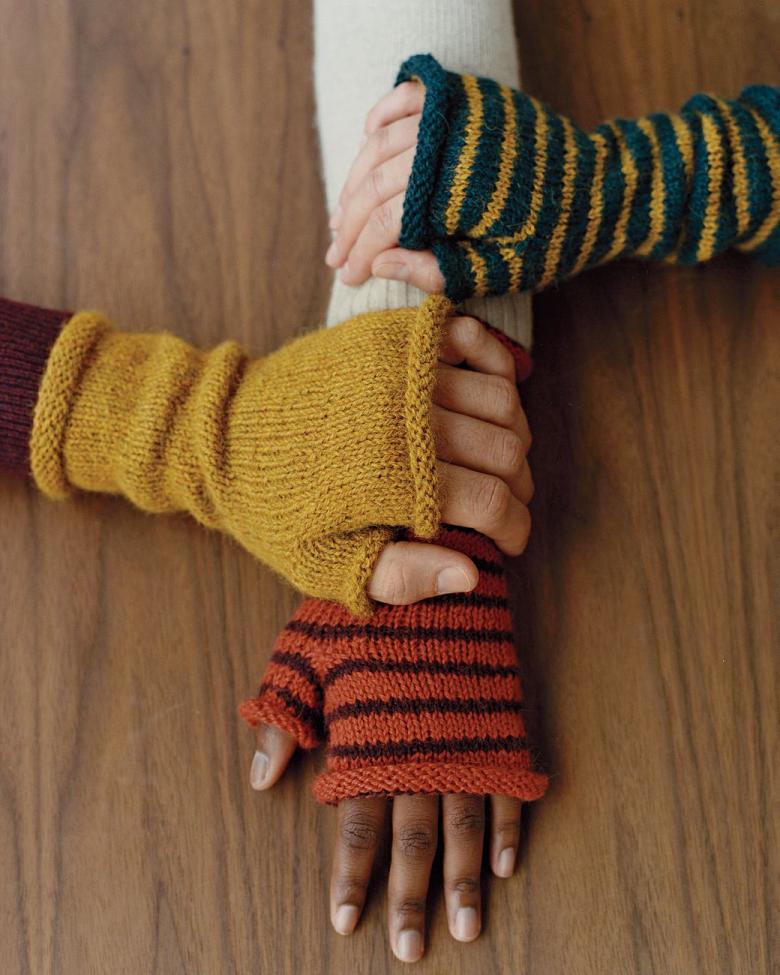
To date, there are known 4 models of this product:
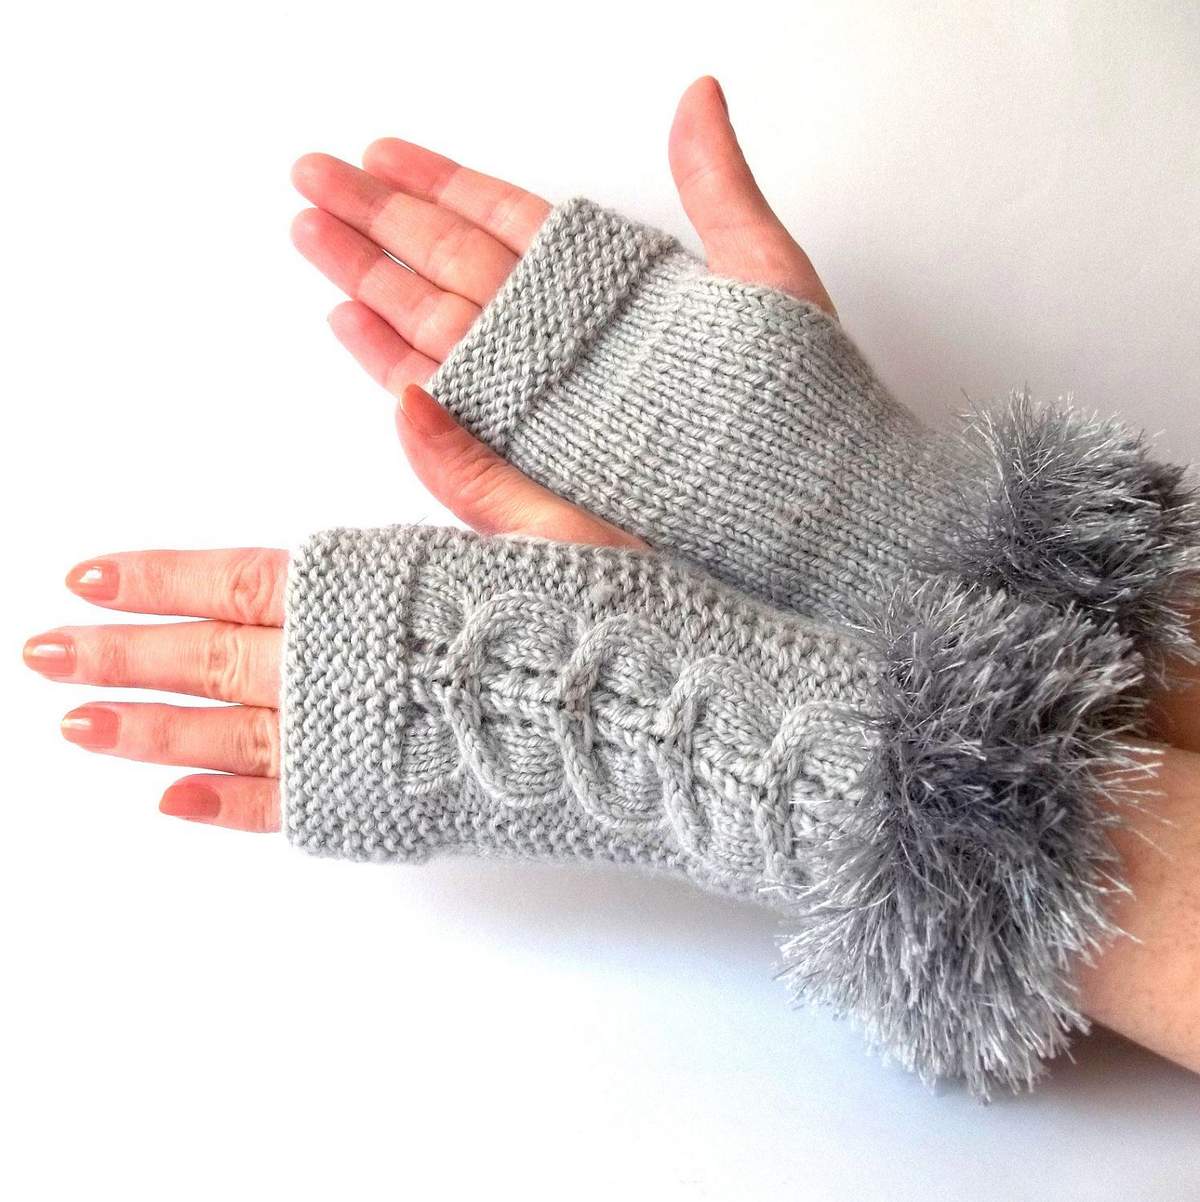
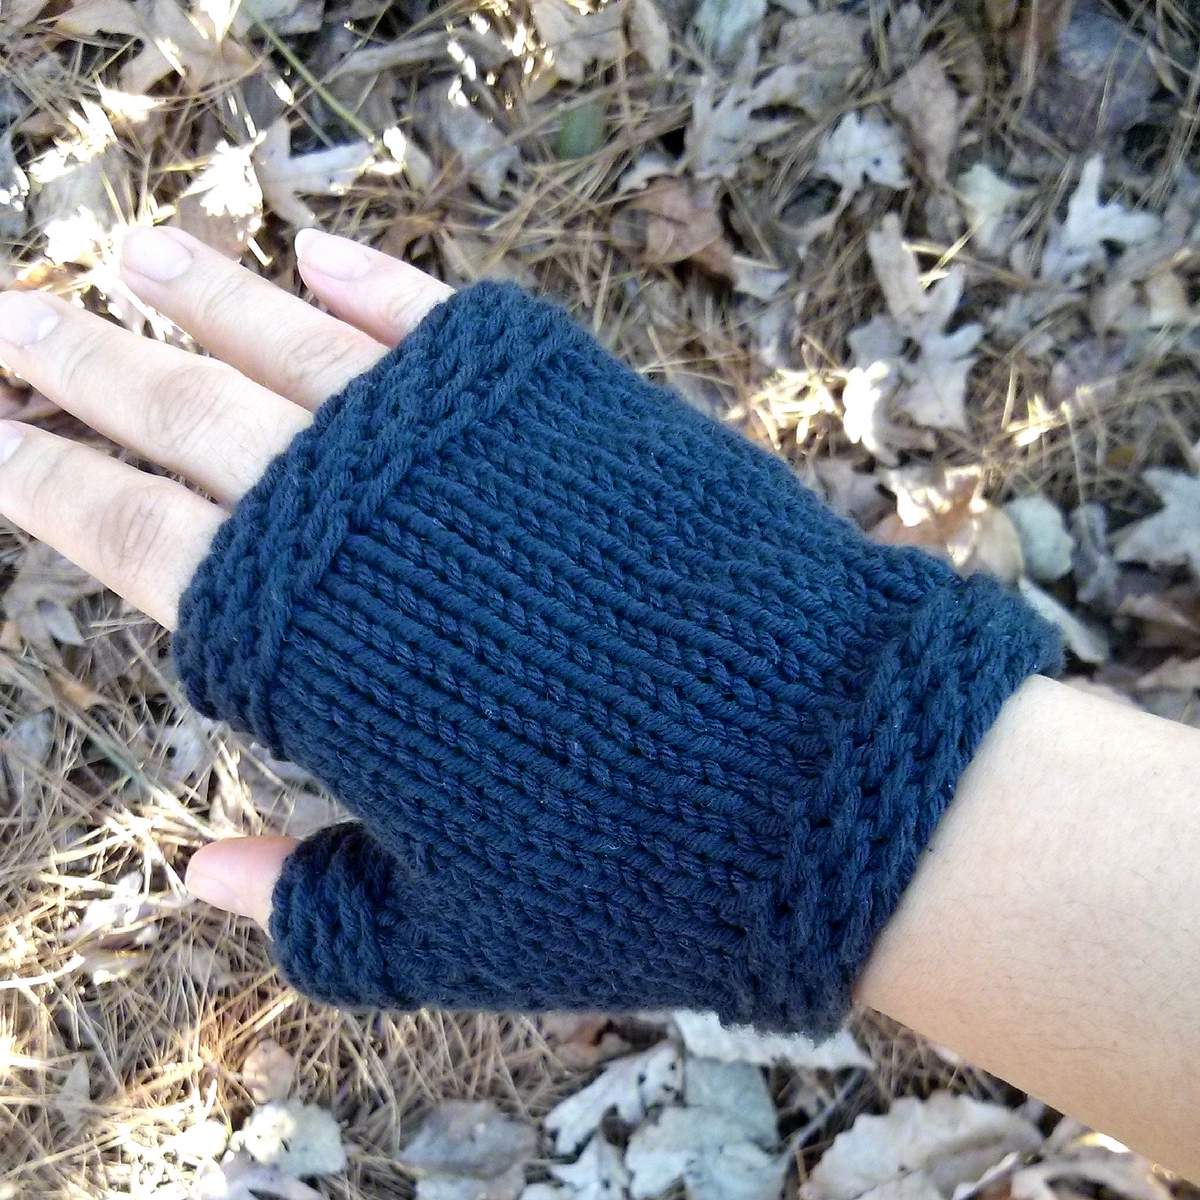
- Mittens in the form of a solid tube;
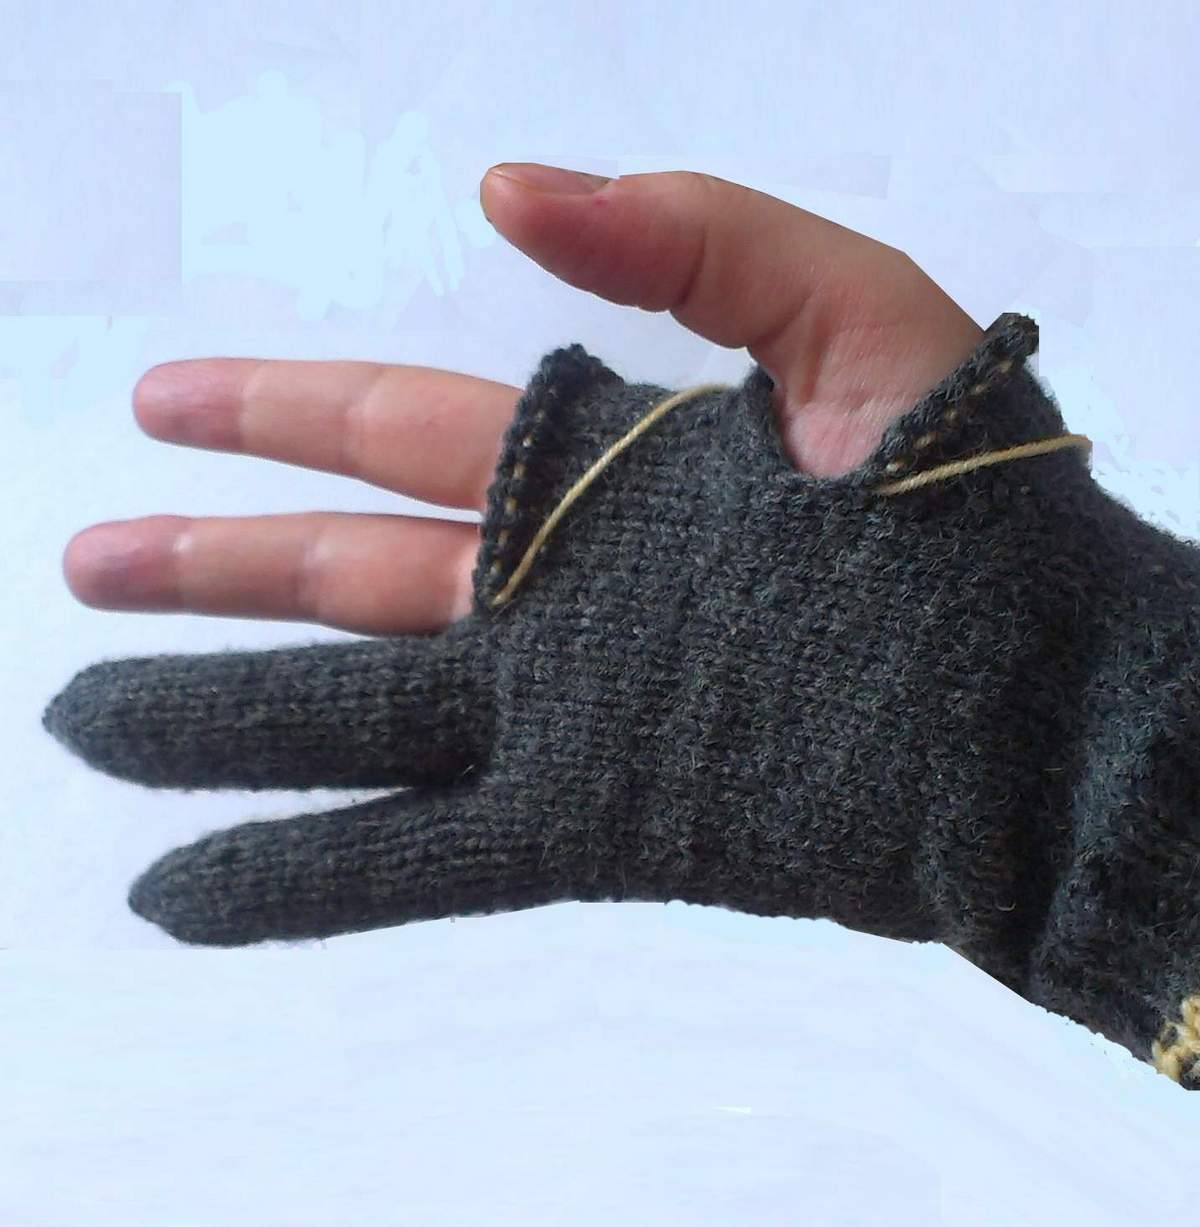
- With a branch for 1 finger;
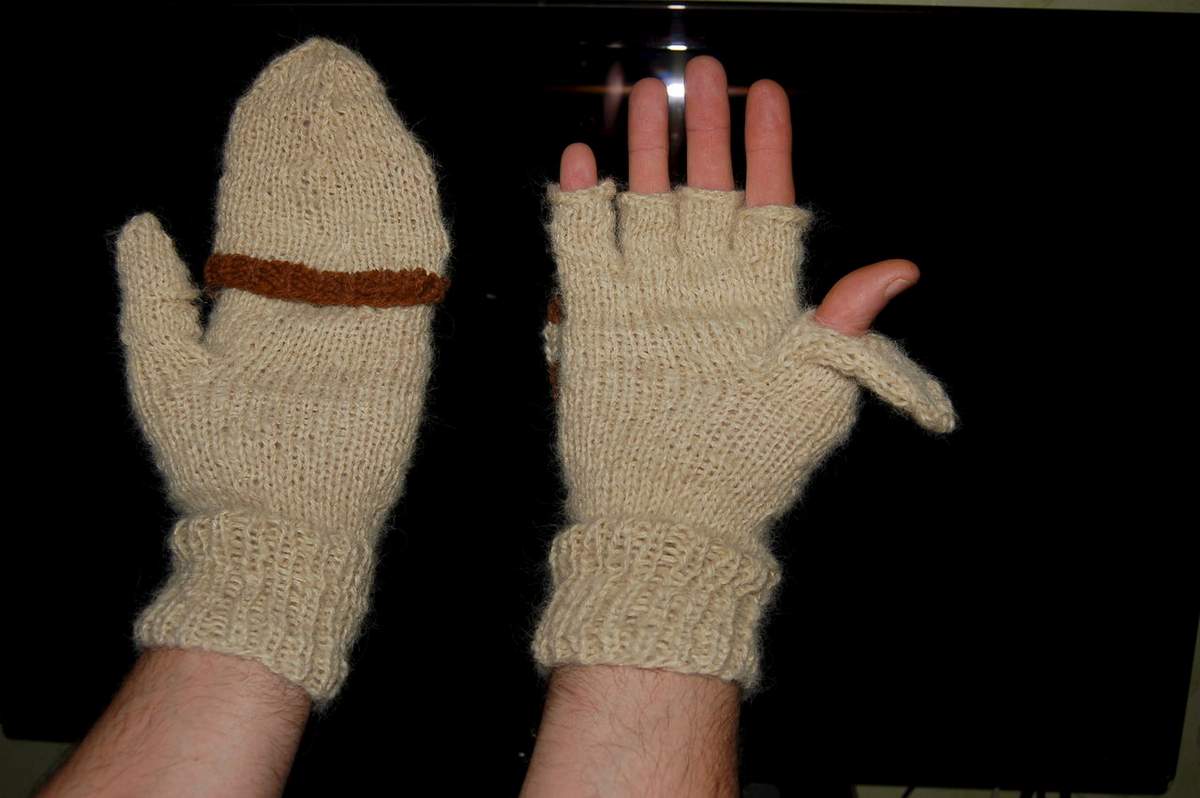
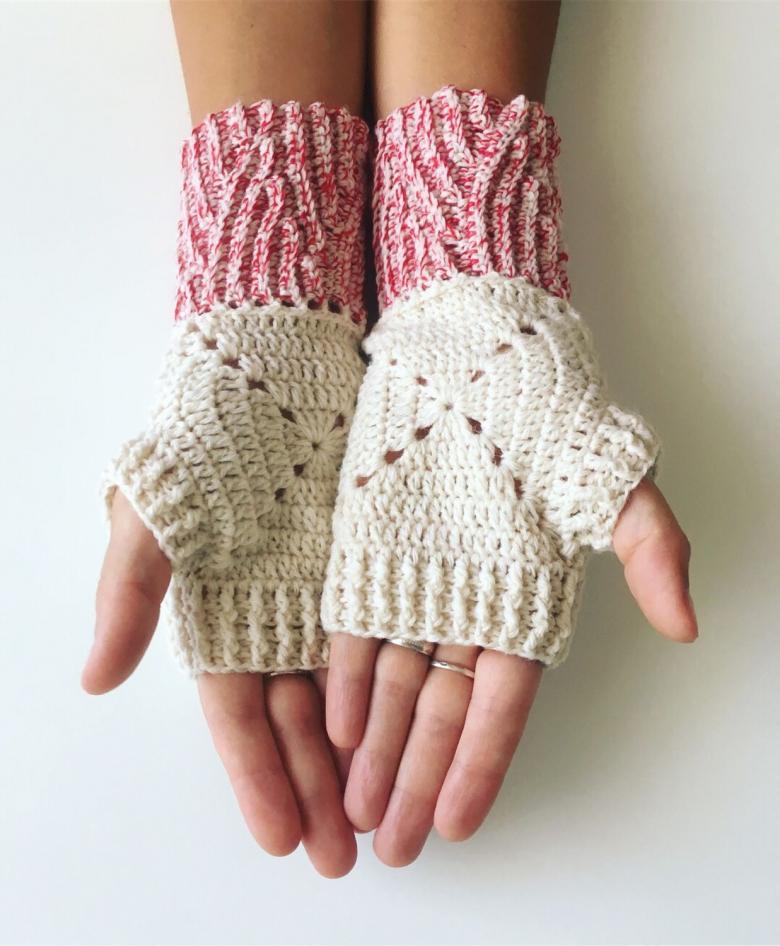
- With additional "tunnel" on ¾ for the thumb;
- With additional "tunnels" on ¾ for all fingers.
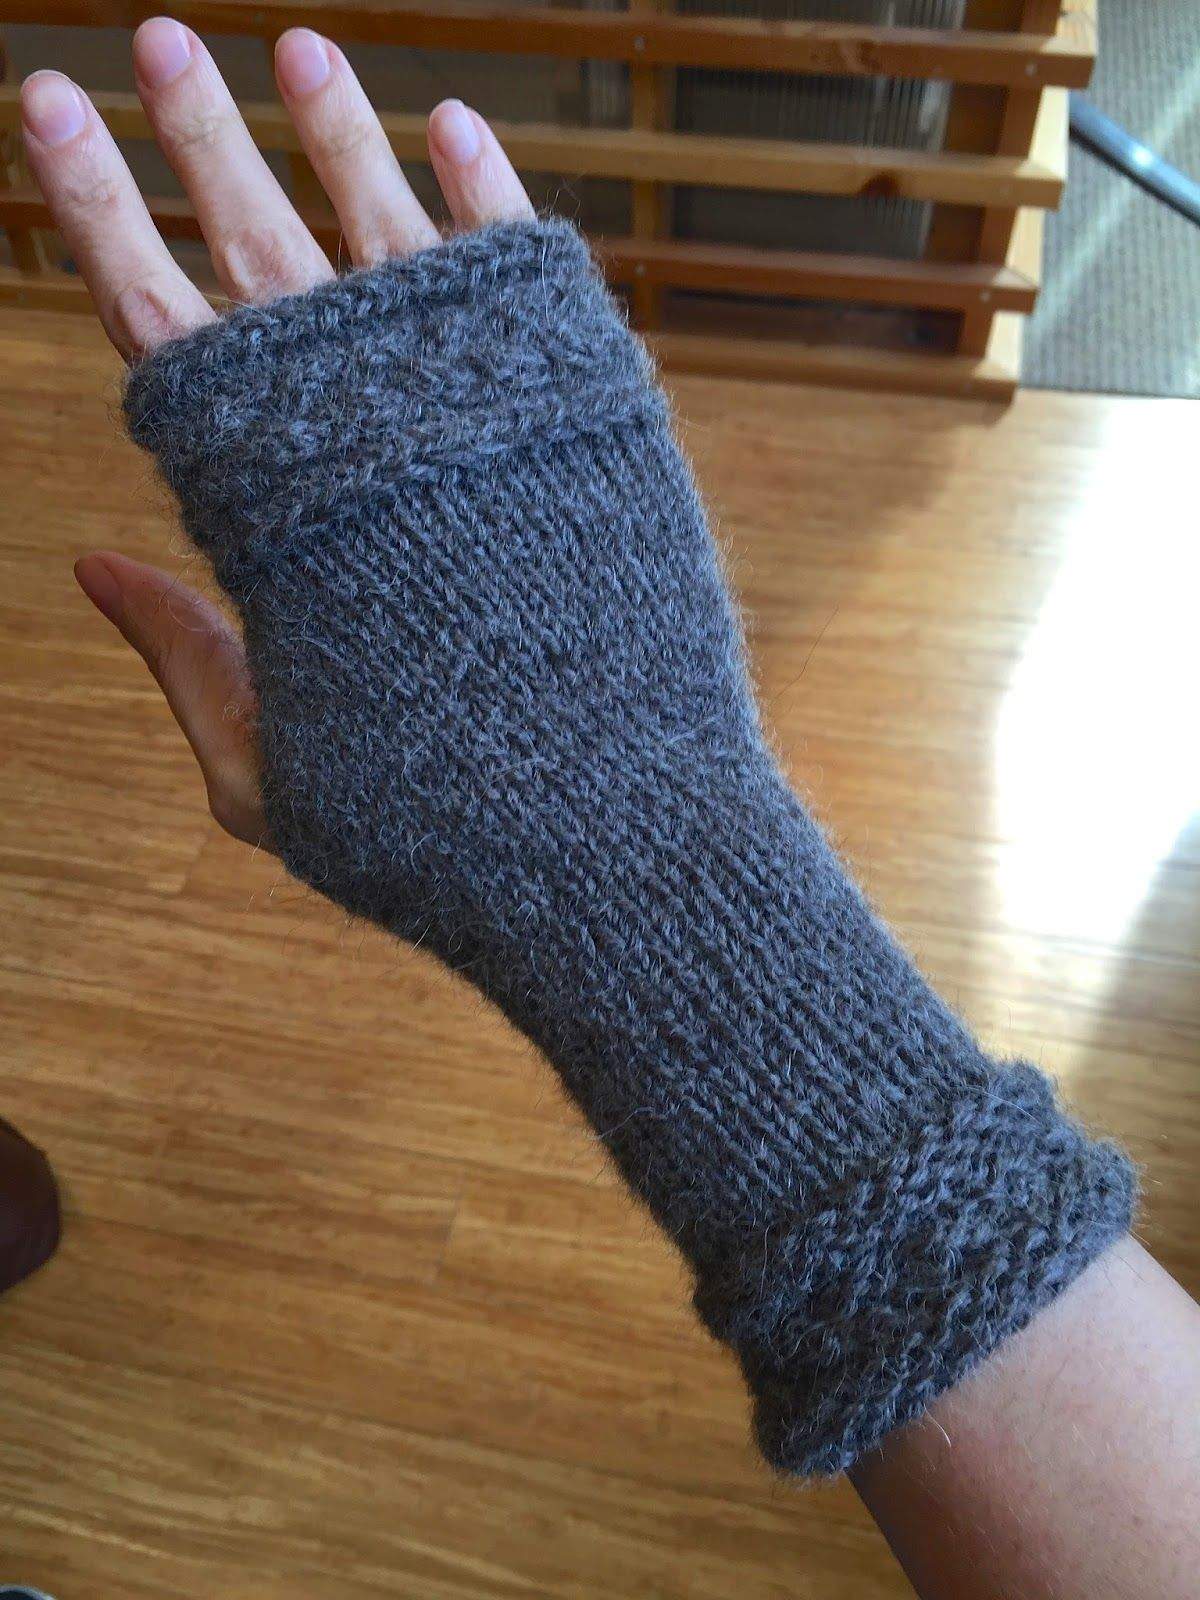
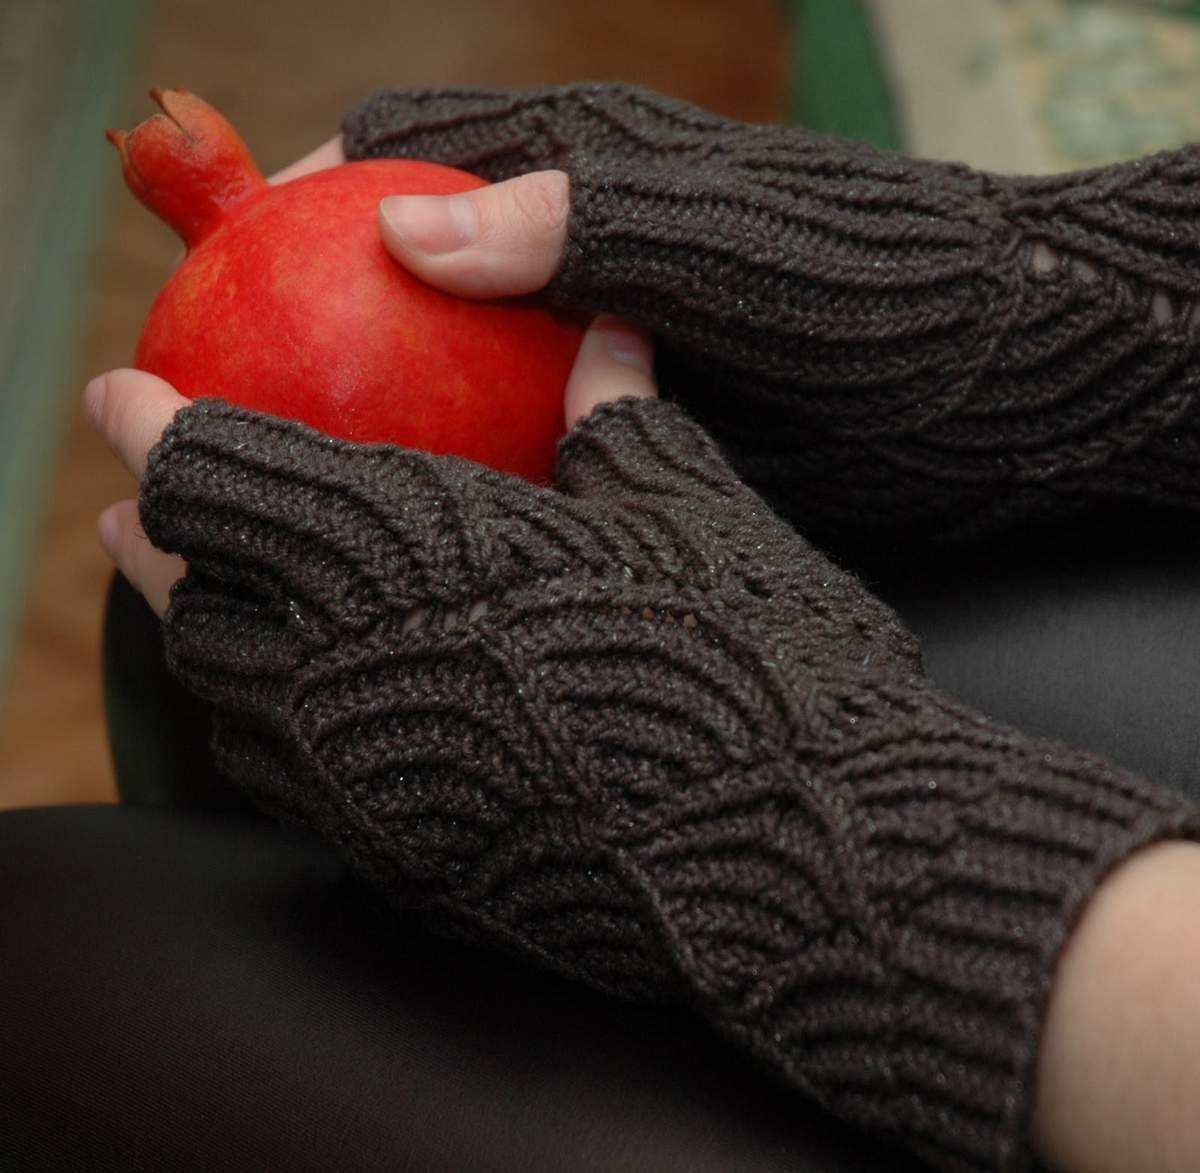
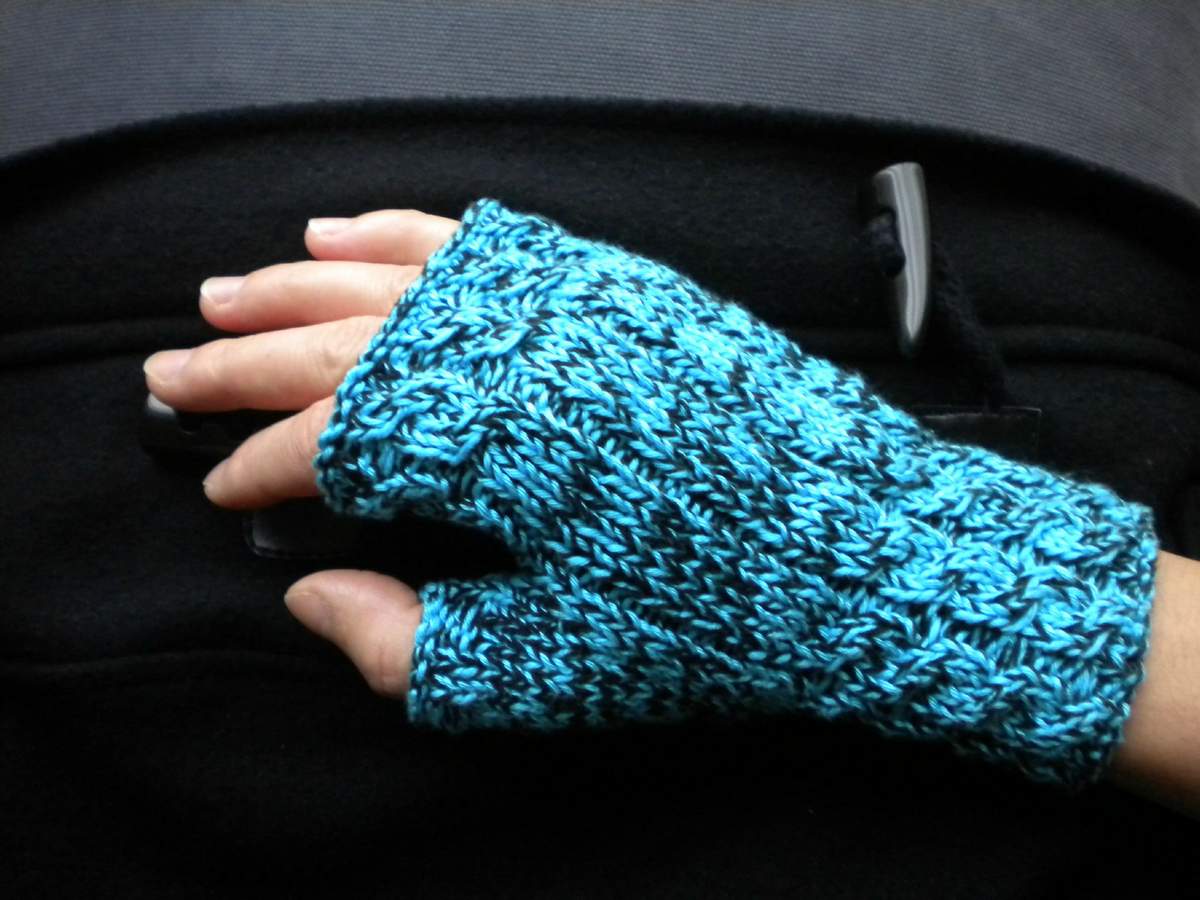
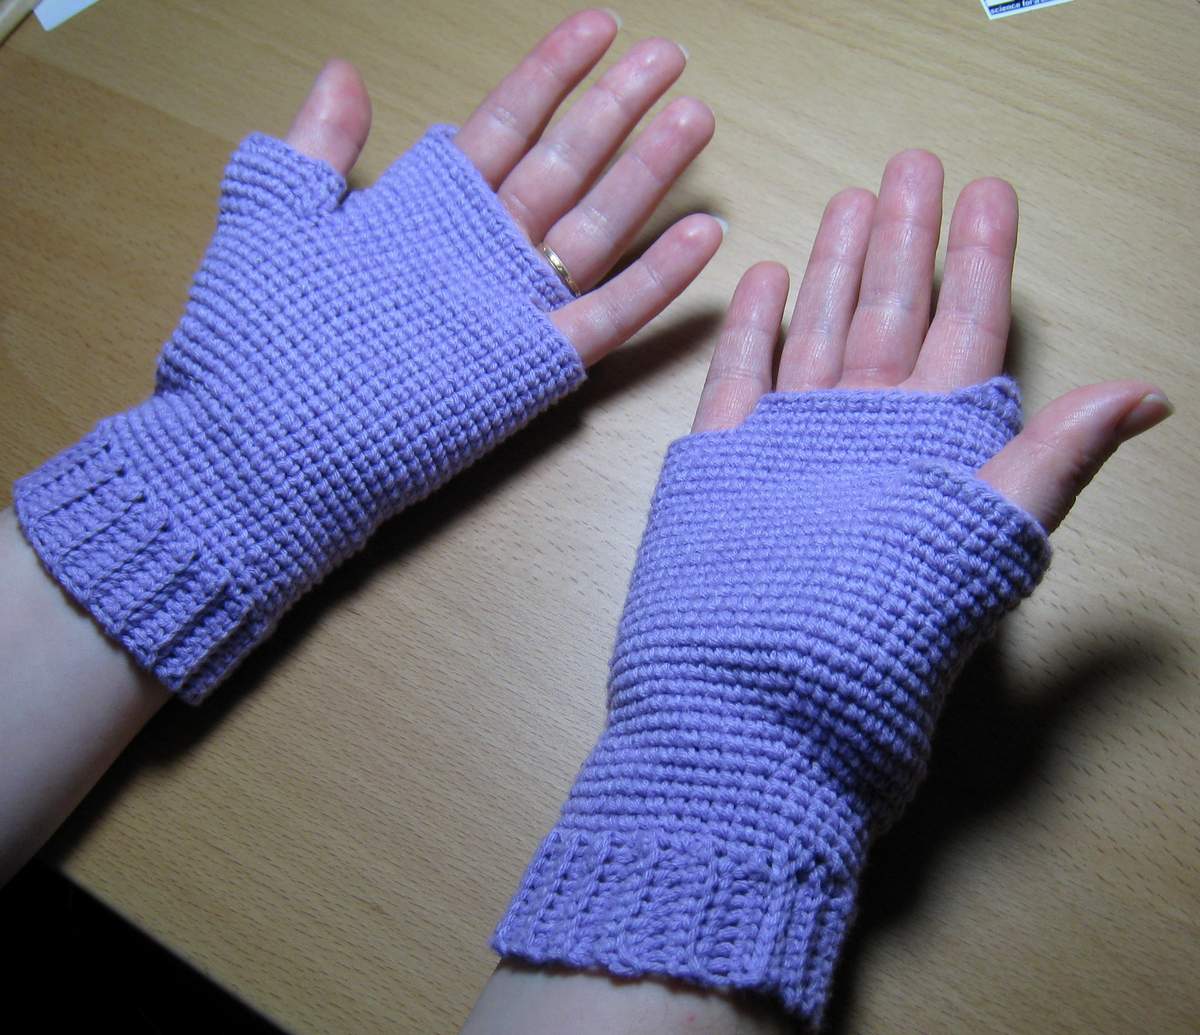
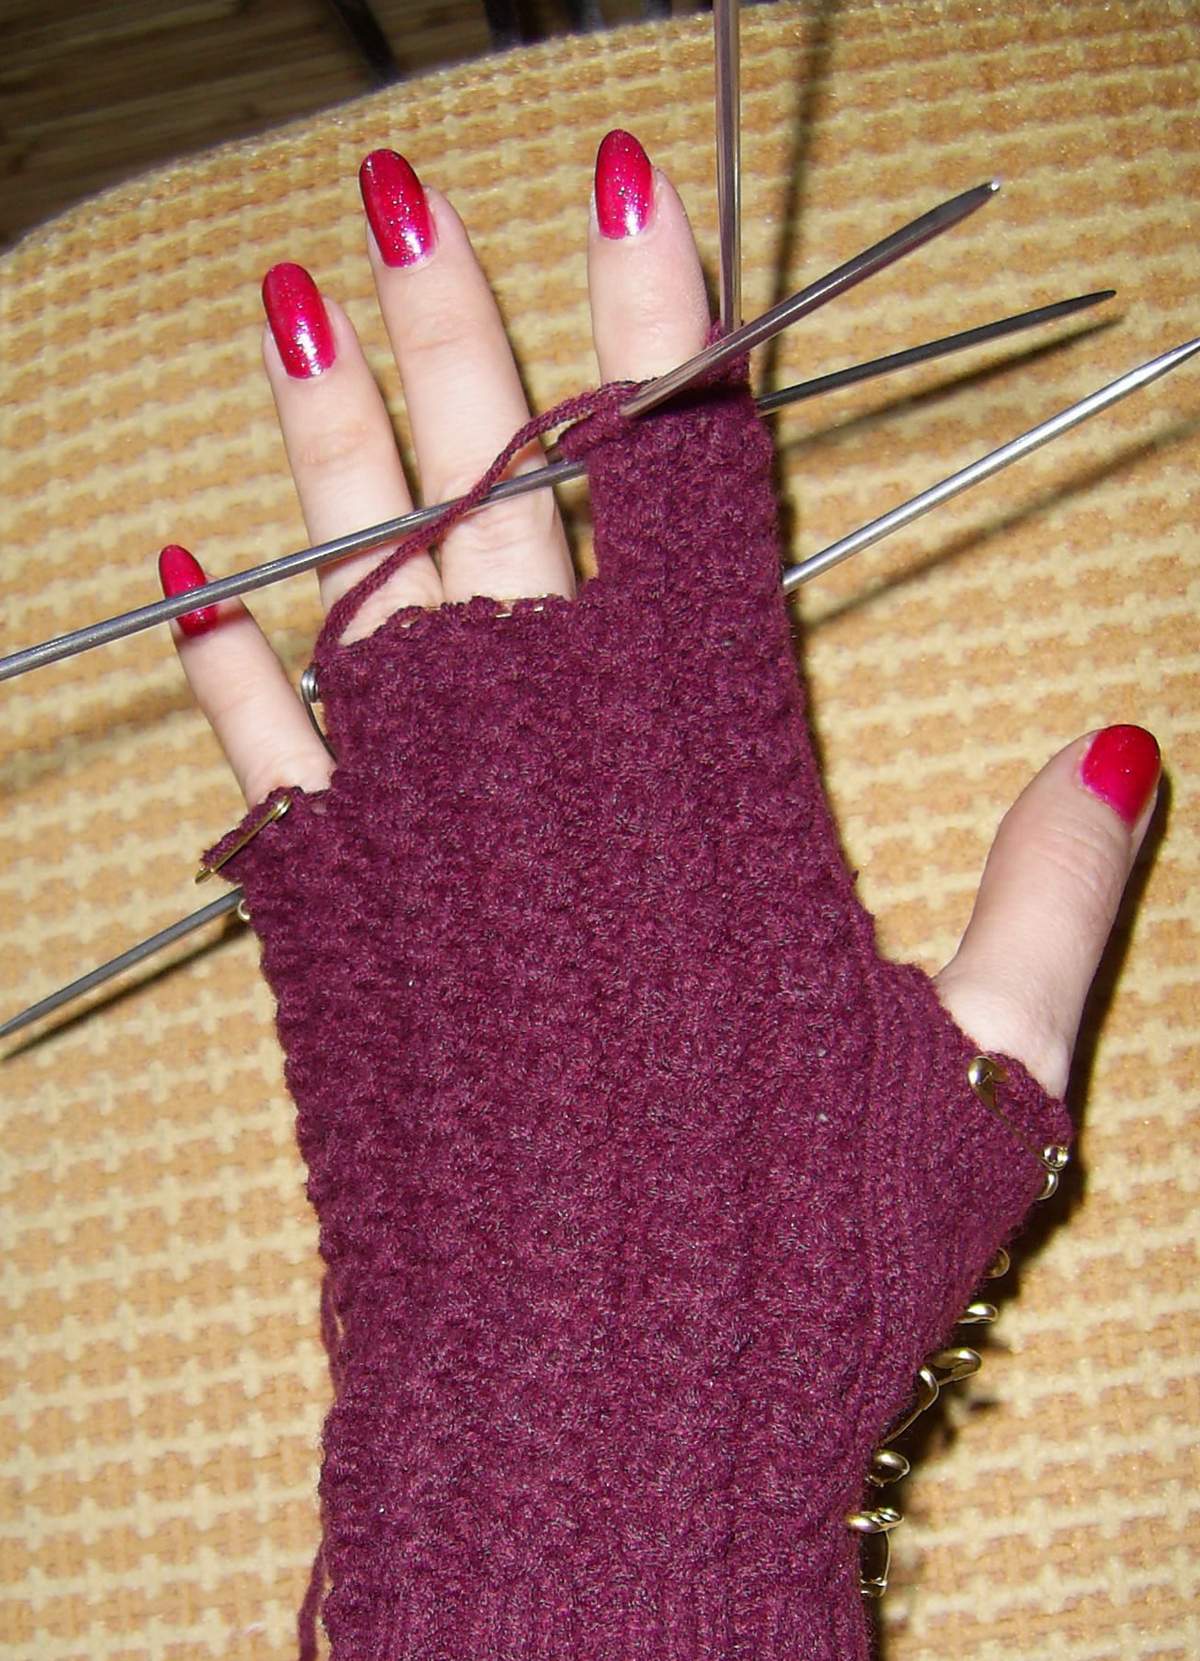
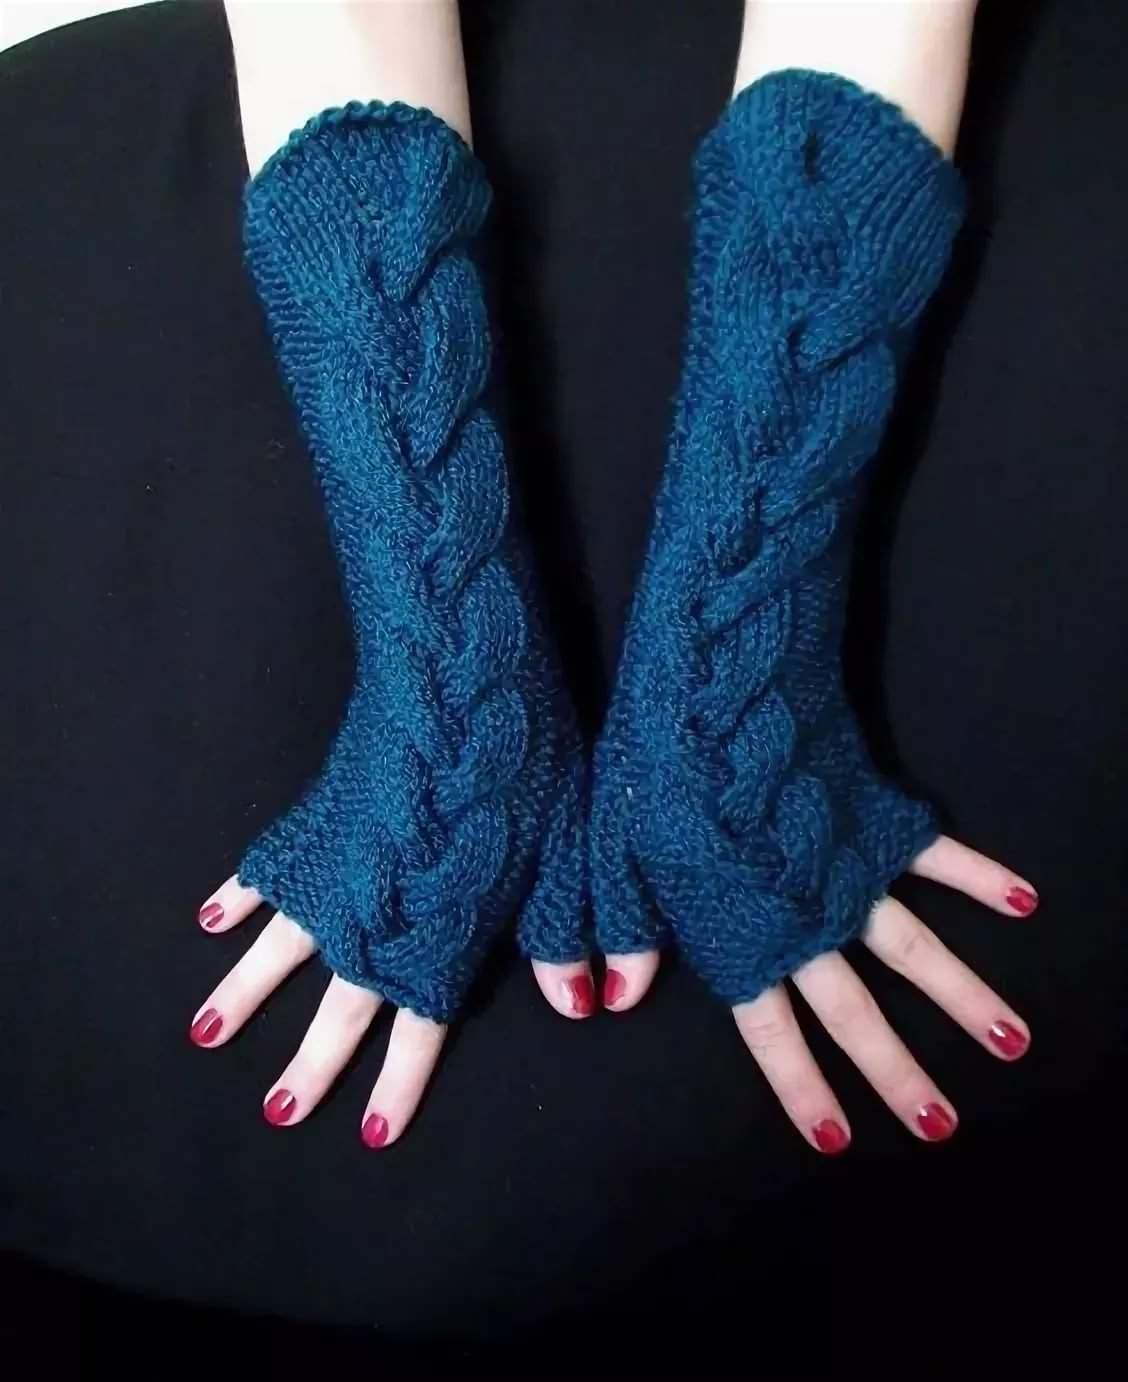
We'll look at the knitting diagram for the first option only:
- Depending on your size, put the necessary number of loops on the needles.
- The first 5-6 rows we knit with a rubber band with alternating 2 wrong and 2 left loops.
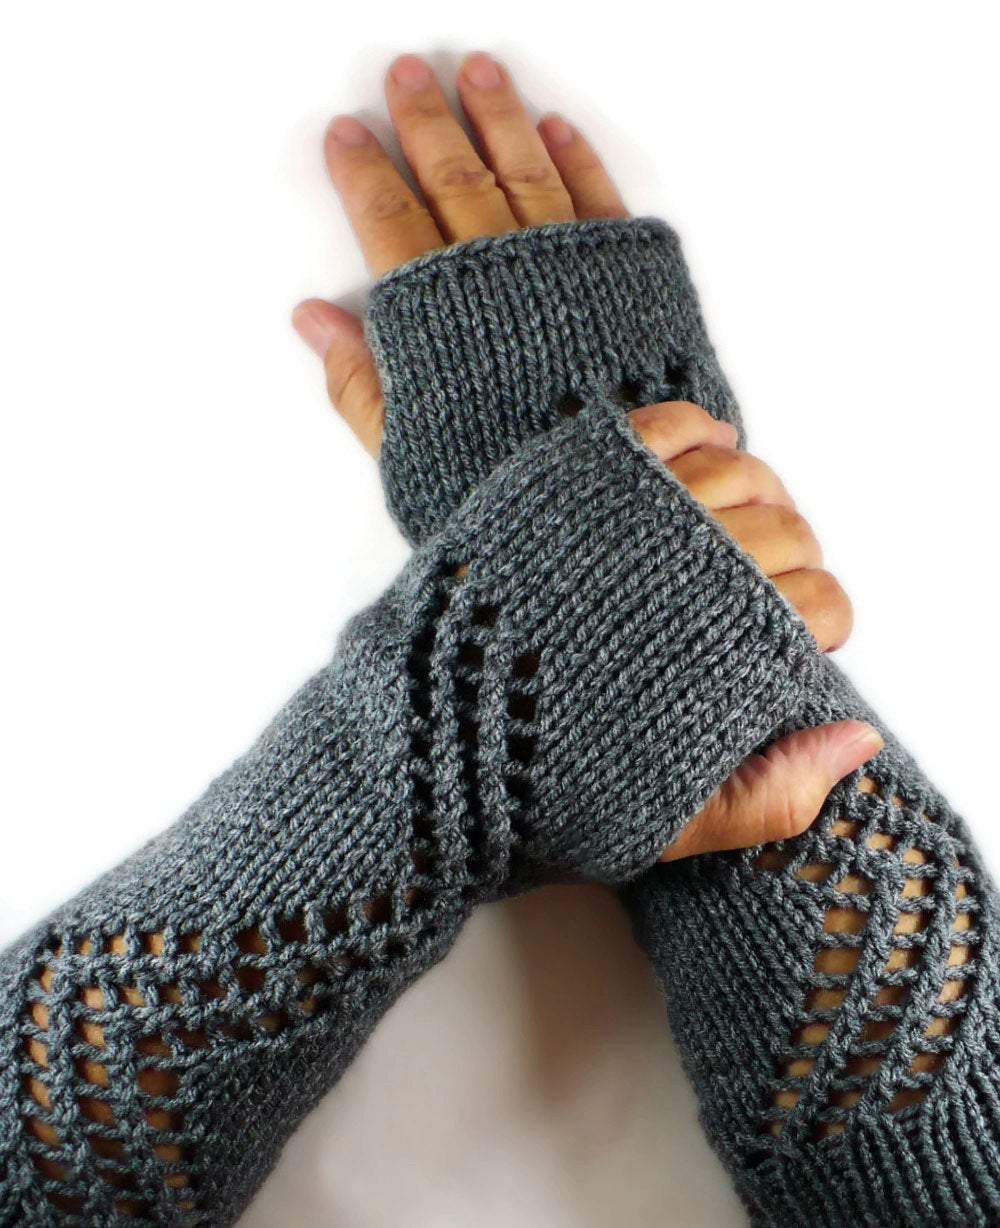
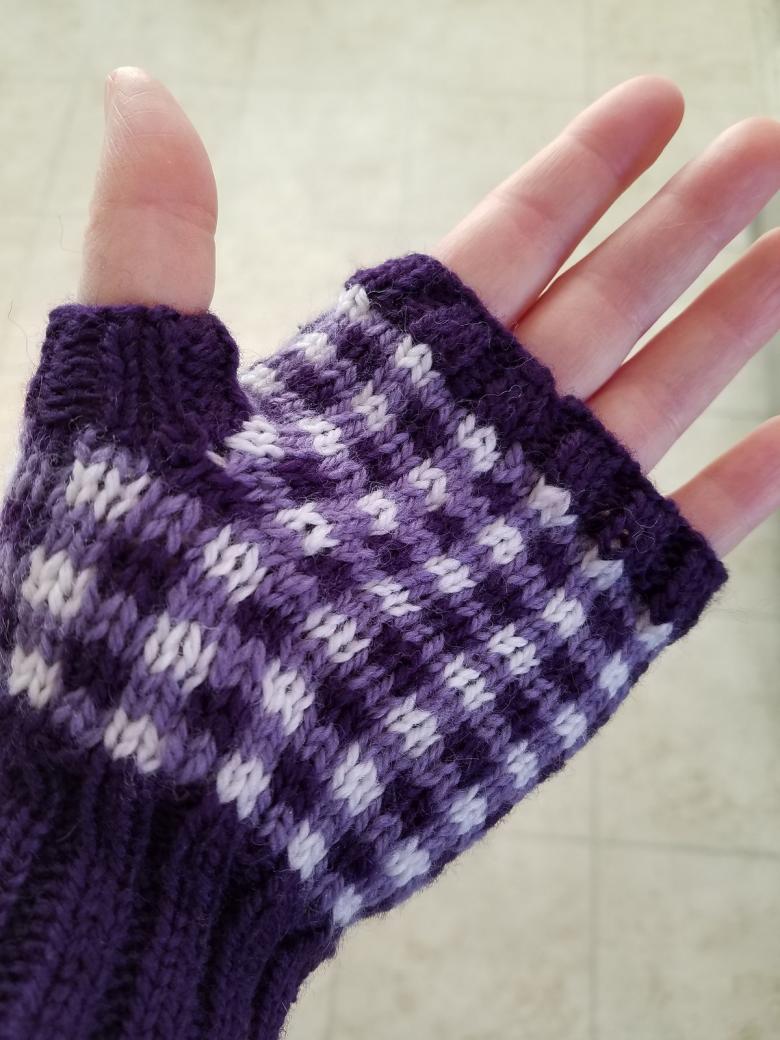
- The next 10-12 cm of fabric we are doing according to the scheme of the chosen pattern (choose for yourself and sketch the designations, knit according to the plan). This length is a feature of mittens, which should cover up to 2/3 of the forearm.
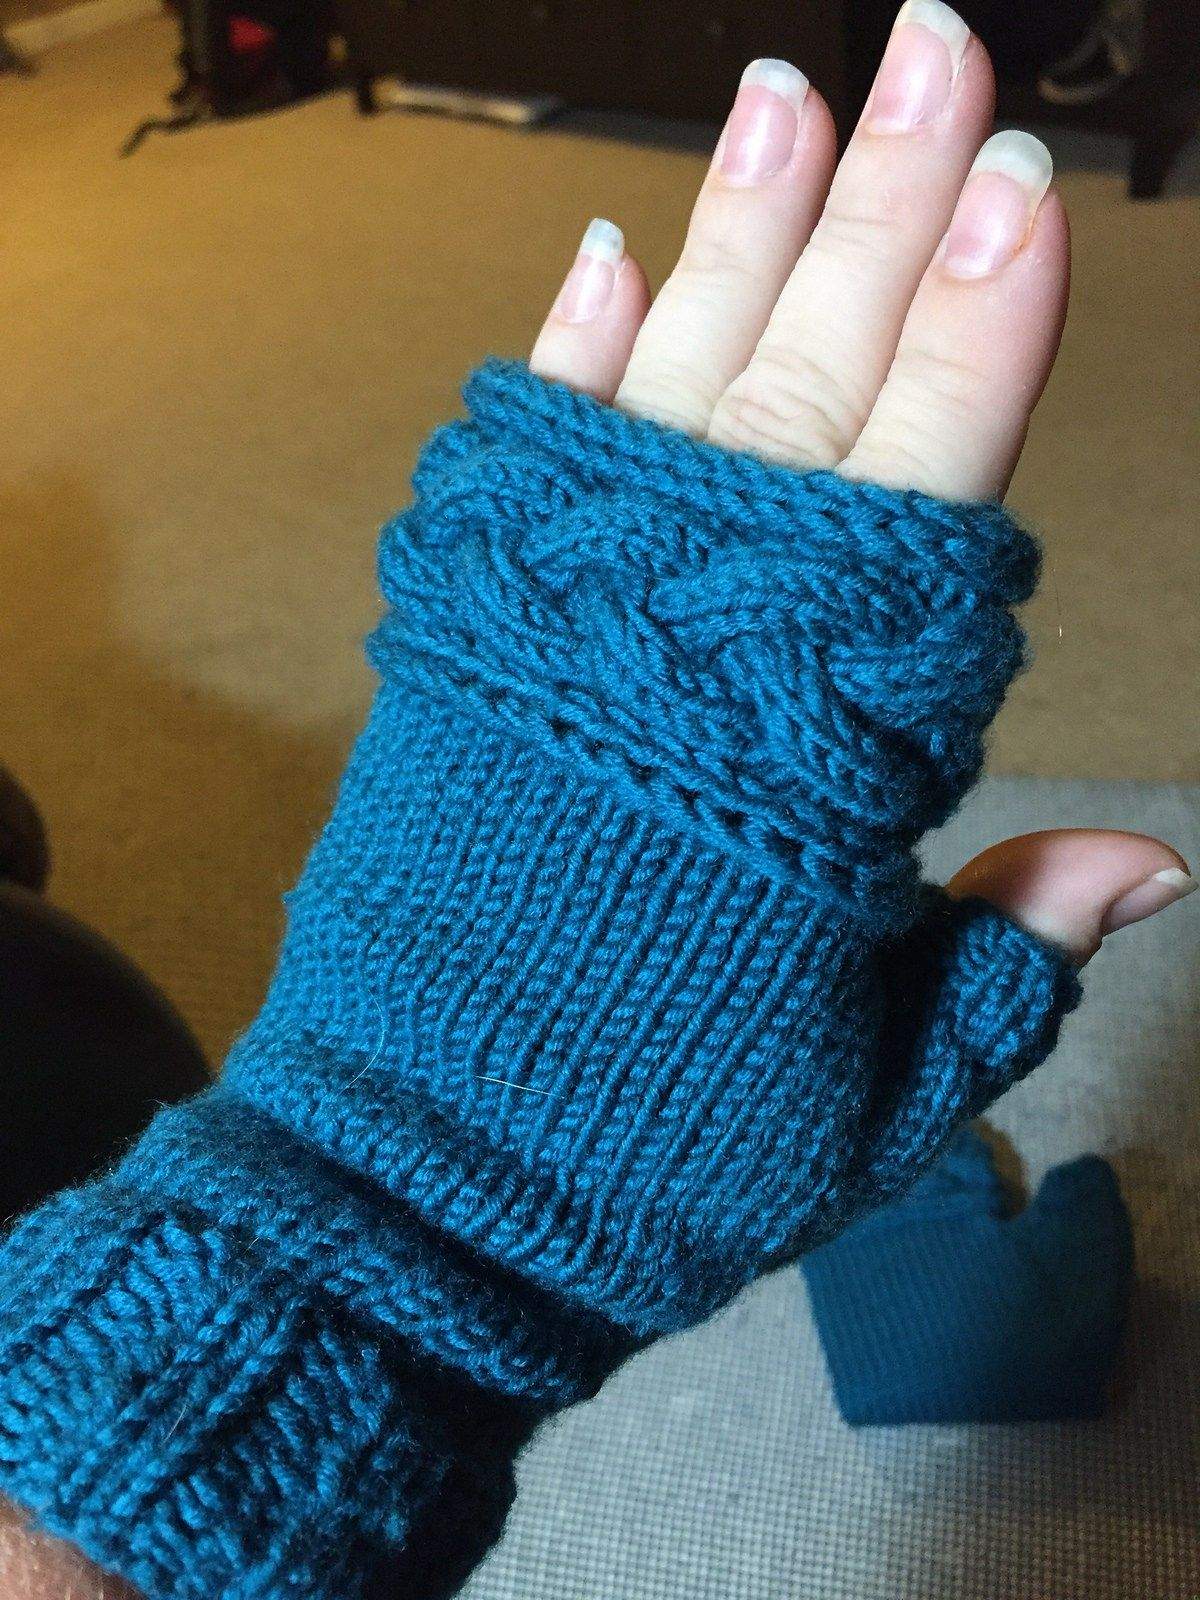
- In the transition to the palm, add extra stitches (take into account the width of the palm).
- The main fabric is knitted either in the wrong way or according to the picture.
- The end of the knitting is oriented on ¼ of the thumb: on this line we cut 2 stitches and go through four more rows of shawl knitting.
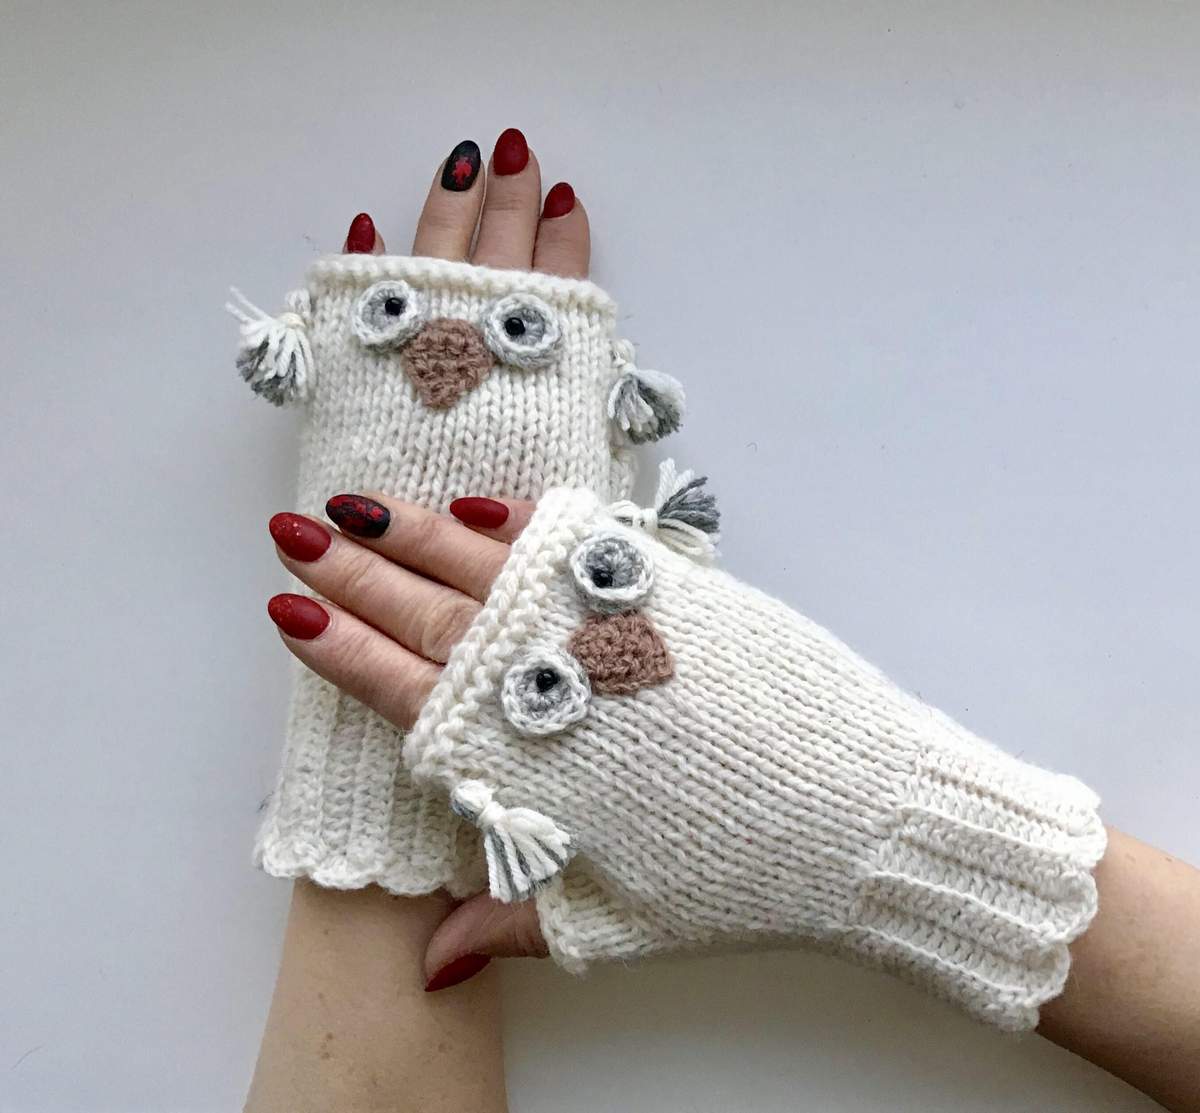
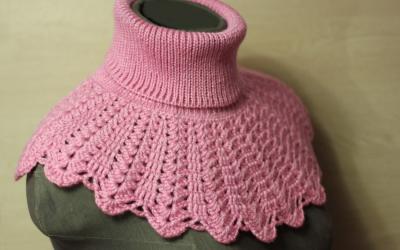
- Then we close all the loops tightly. If you want to add originality to your product, take a thread of a different color and a hook: knit a few rows of openwork patterns.
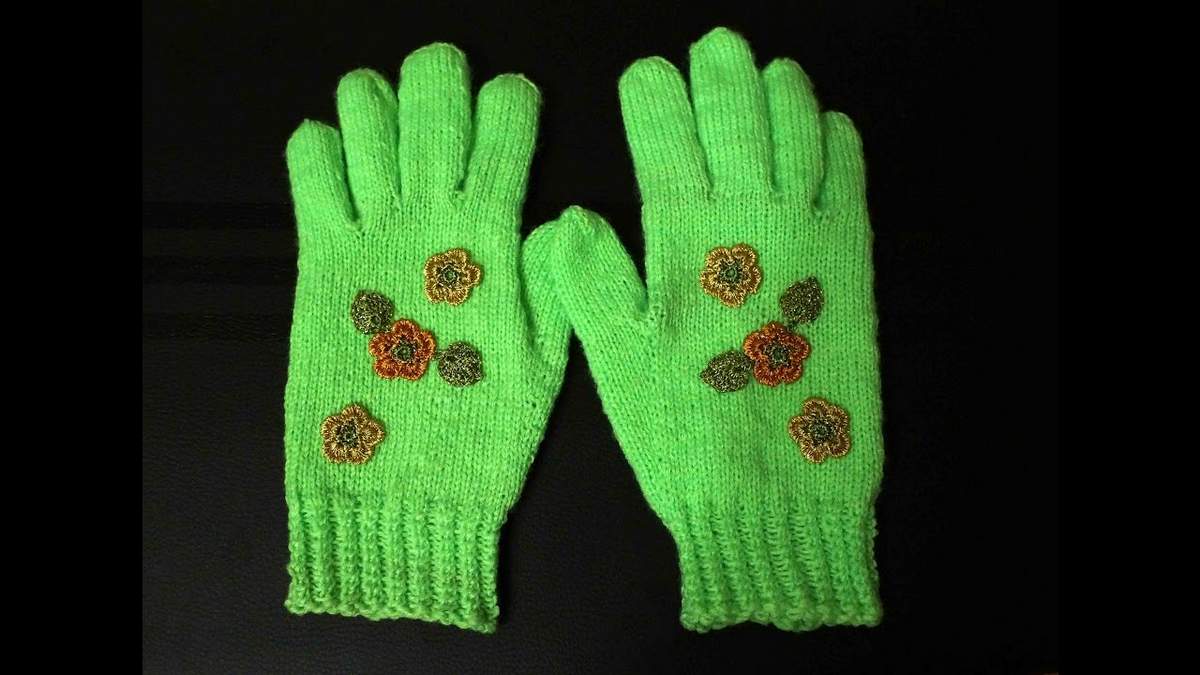
Knit gloves for a baby: warm and bright
Indeed, children's gloves are distinguished by only two details:
- Bright colors;
- Sizes.
If the variety of shades is not a problem, there are questions about the size range. Children's hands are not only much smaller than adult hands, but often have non-standard proportions. When working with knitting such products, you need to strictly follow the presented schemes, otherwise you can make a mistake in the construction of the pattern.
Today we will knit gloves for girls from plush yarn:
- We start knitting, as with all other methods: use 5 spokes, the rubber band we knit according to the scheme 1/1 in 2-4 cm, then - front smoothing. Use any colors. For our model it is pink yarn.
- Palm knit regular rows without changing the number of loops.
- Allocate the wedge for the thumb, adding additional elements totaling 8 pieces.
- Use pins to distribute the loops for each finger and start knitting.
- On the fingers we will create colored stripes, using pink, white and blue yarn: each ring on the finger will be 1.0 cm.
- Distribute the loops of the thumb on the spokes and knit further along the height, periodically changing yarns. For the tip, remove 2 stitches from each side in all rows. The remaining stitches are knit with a single thread and tighten.
- The remaining fingers are knit in the same way. Do not forget to use extra stitches for the interdigital spaces.
Snowy winter is a real adventure for a child, where there is room for games of snowballs, skating on the ice. Yes, and adults go out for evening walks, go to work, play with children. To warm your hands and the palms of your child does not have to go to the store with winter clothes. You can spend a little time and effort, and maybe be creative, and knit a model of gloves that suits you!
Hi photo of homemade knitted gloves